
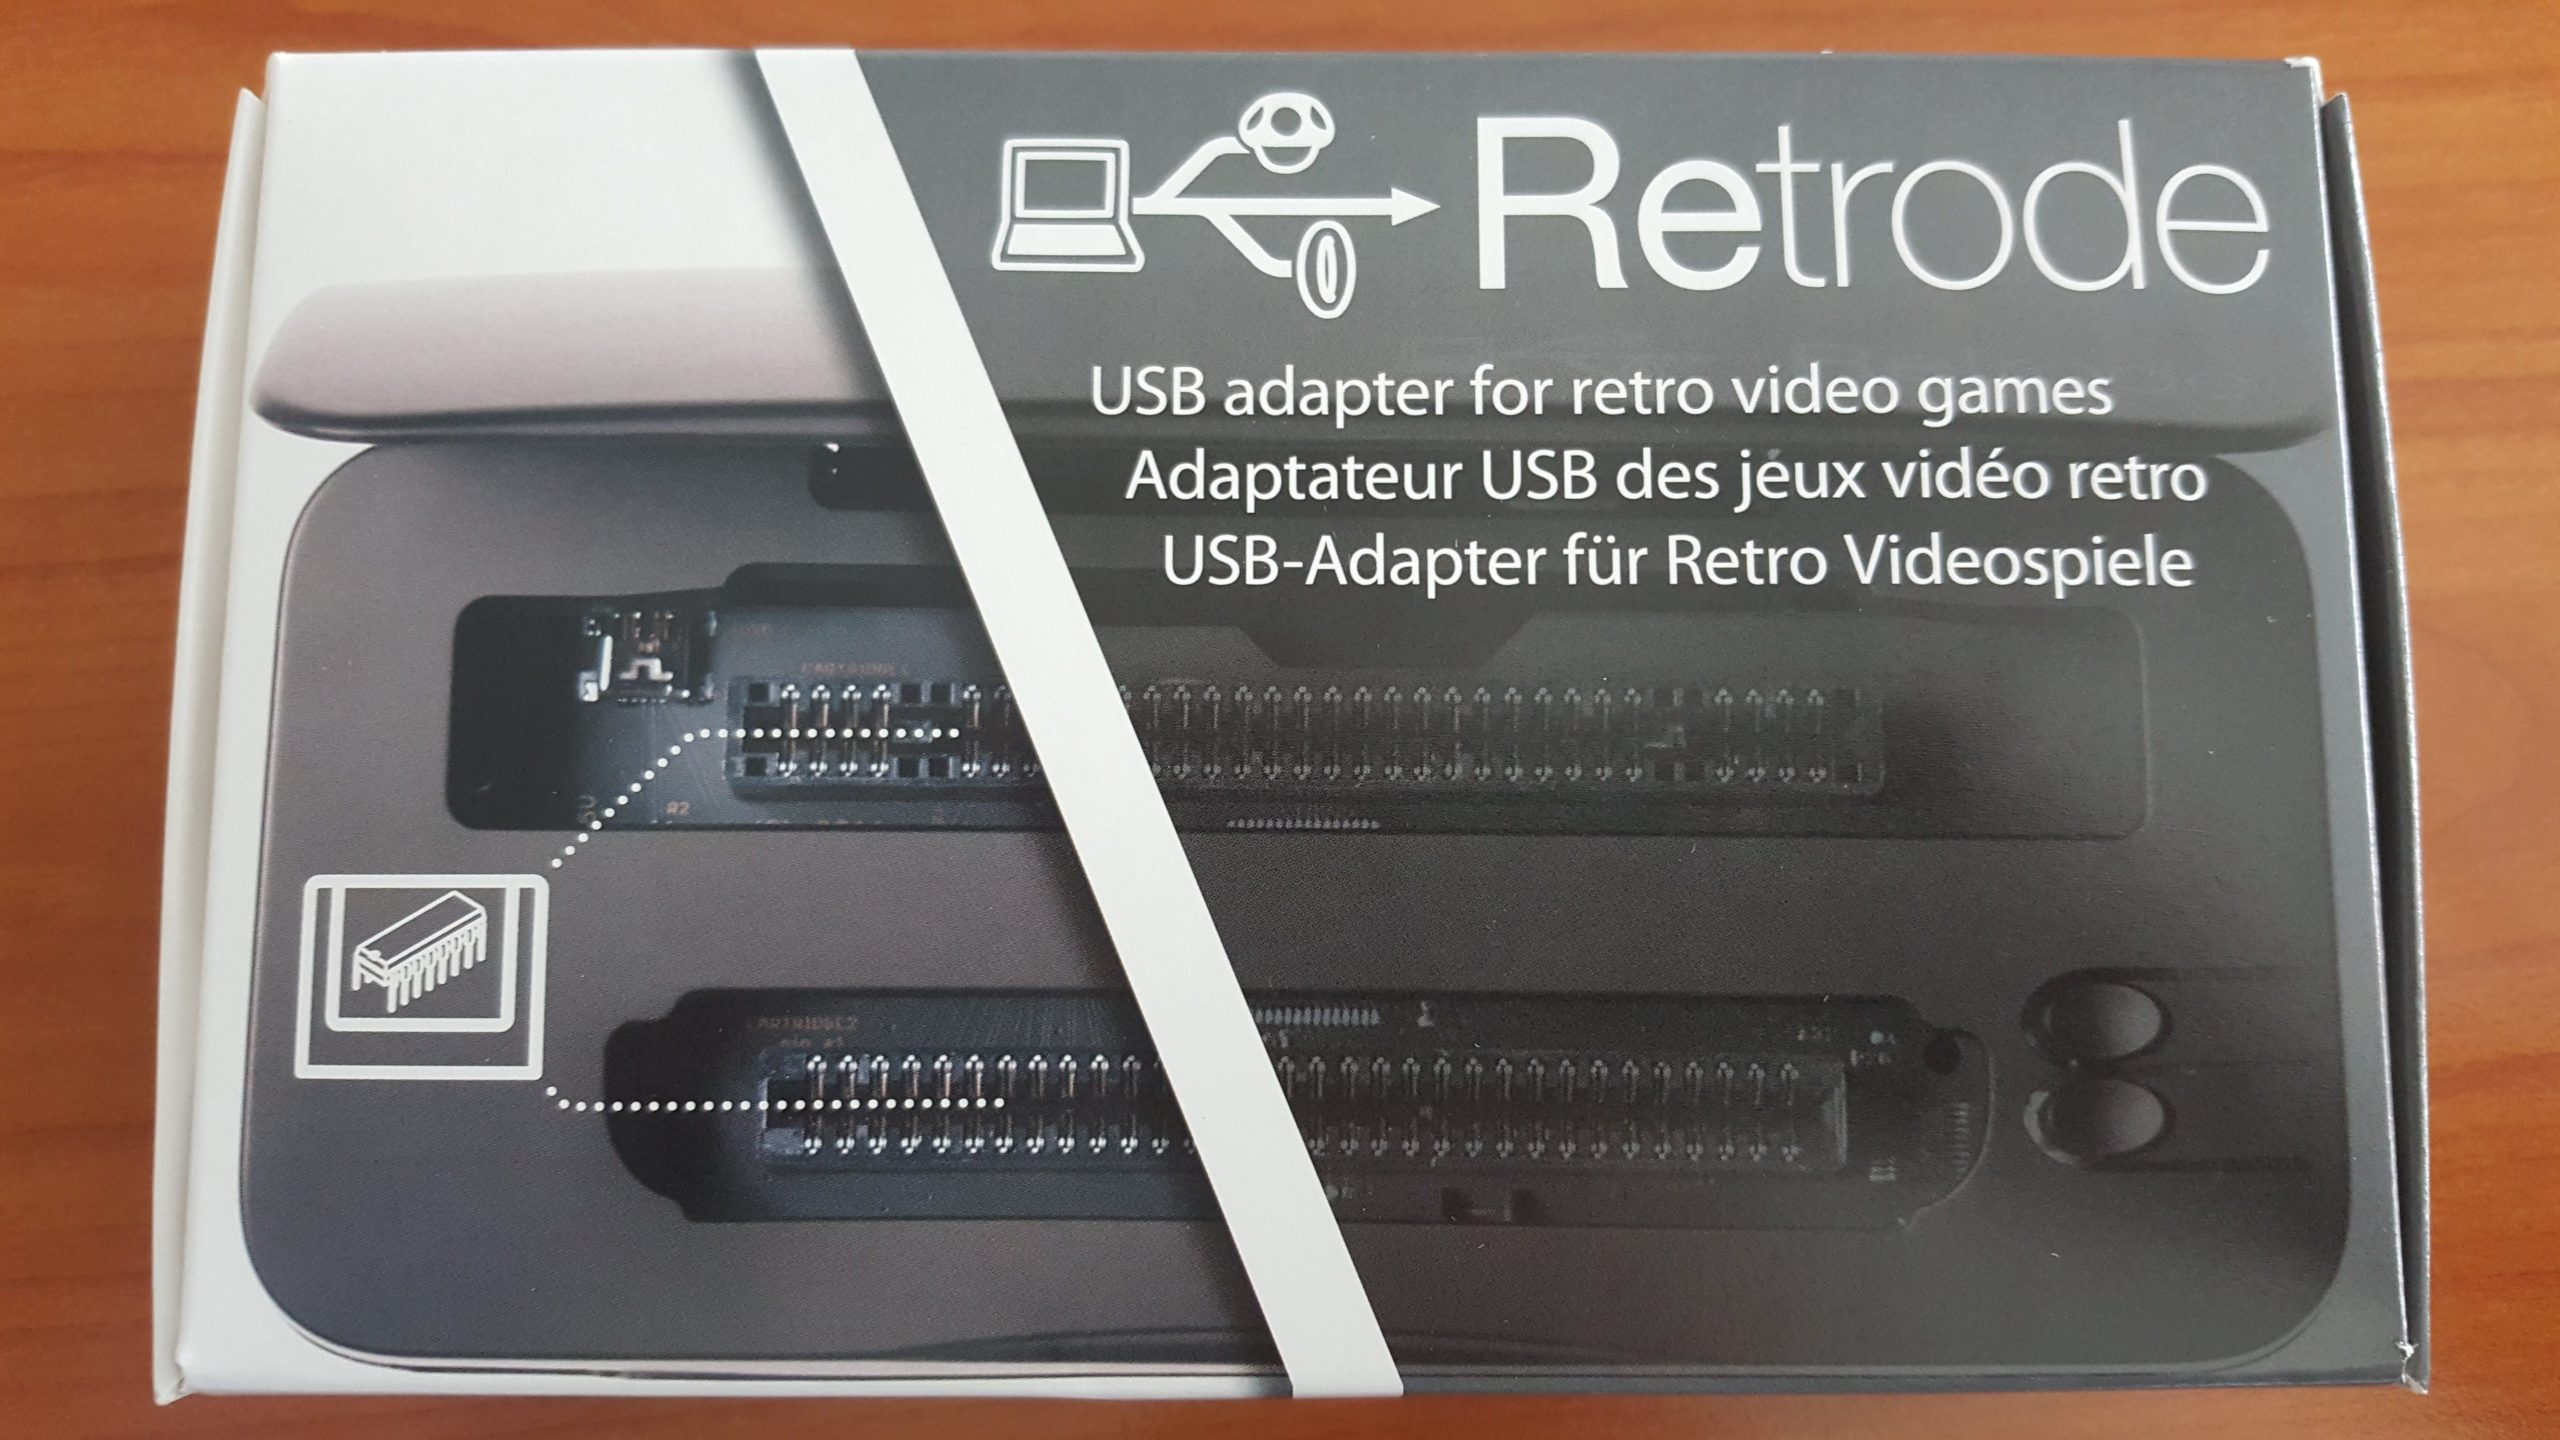
What is it?
Retrode 2 is a small device, which allows you to dump roms from real cartridges. The device itself has slots for Genesis/Mega Drive and SNES/Super Famicom cartridges, but there are also 3 adapters (called plugins): for N64, Game Boy + Game Boy Advance and Sega Master System. You can use roms with emulators and you can also attach real controllers to the retrode and use them to play games.
This device was created by Matthias Hullin and is produced under his license by OpenPandora GmbH. You can buy it here.
Useful links:
- Official site
- dragonbox.de (shop, selling this device)
- Forum
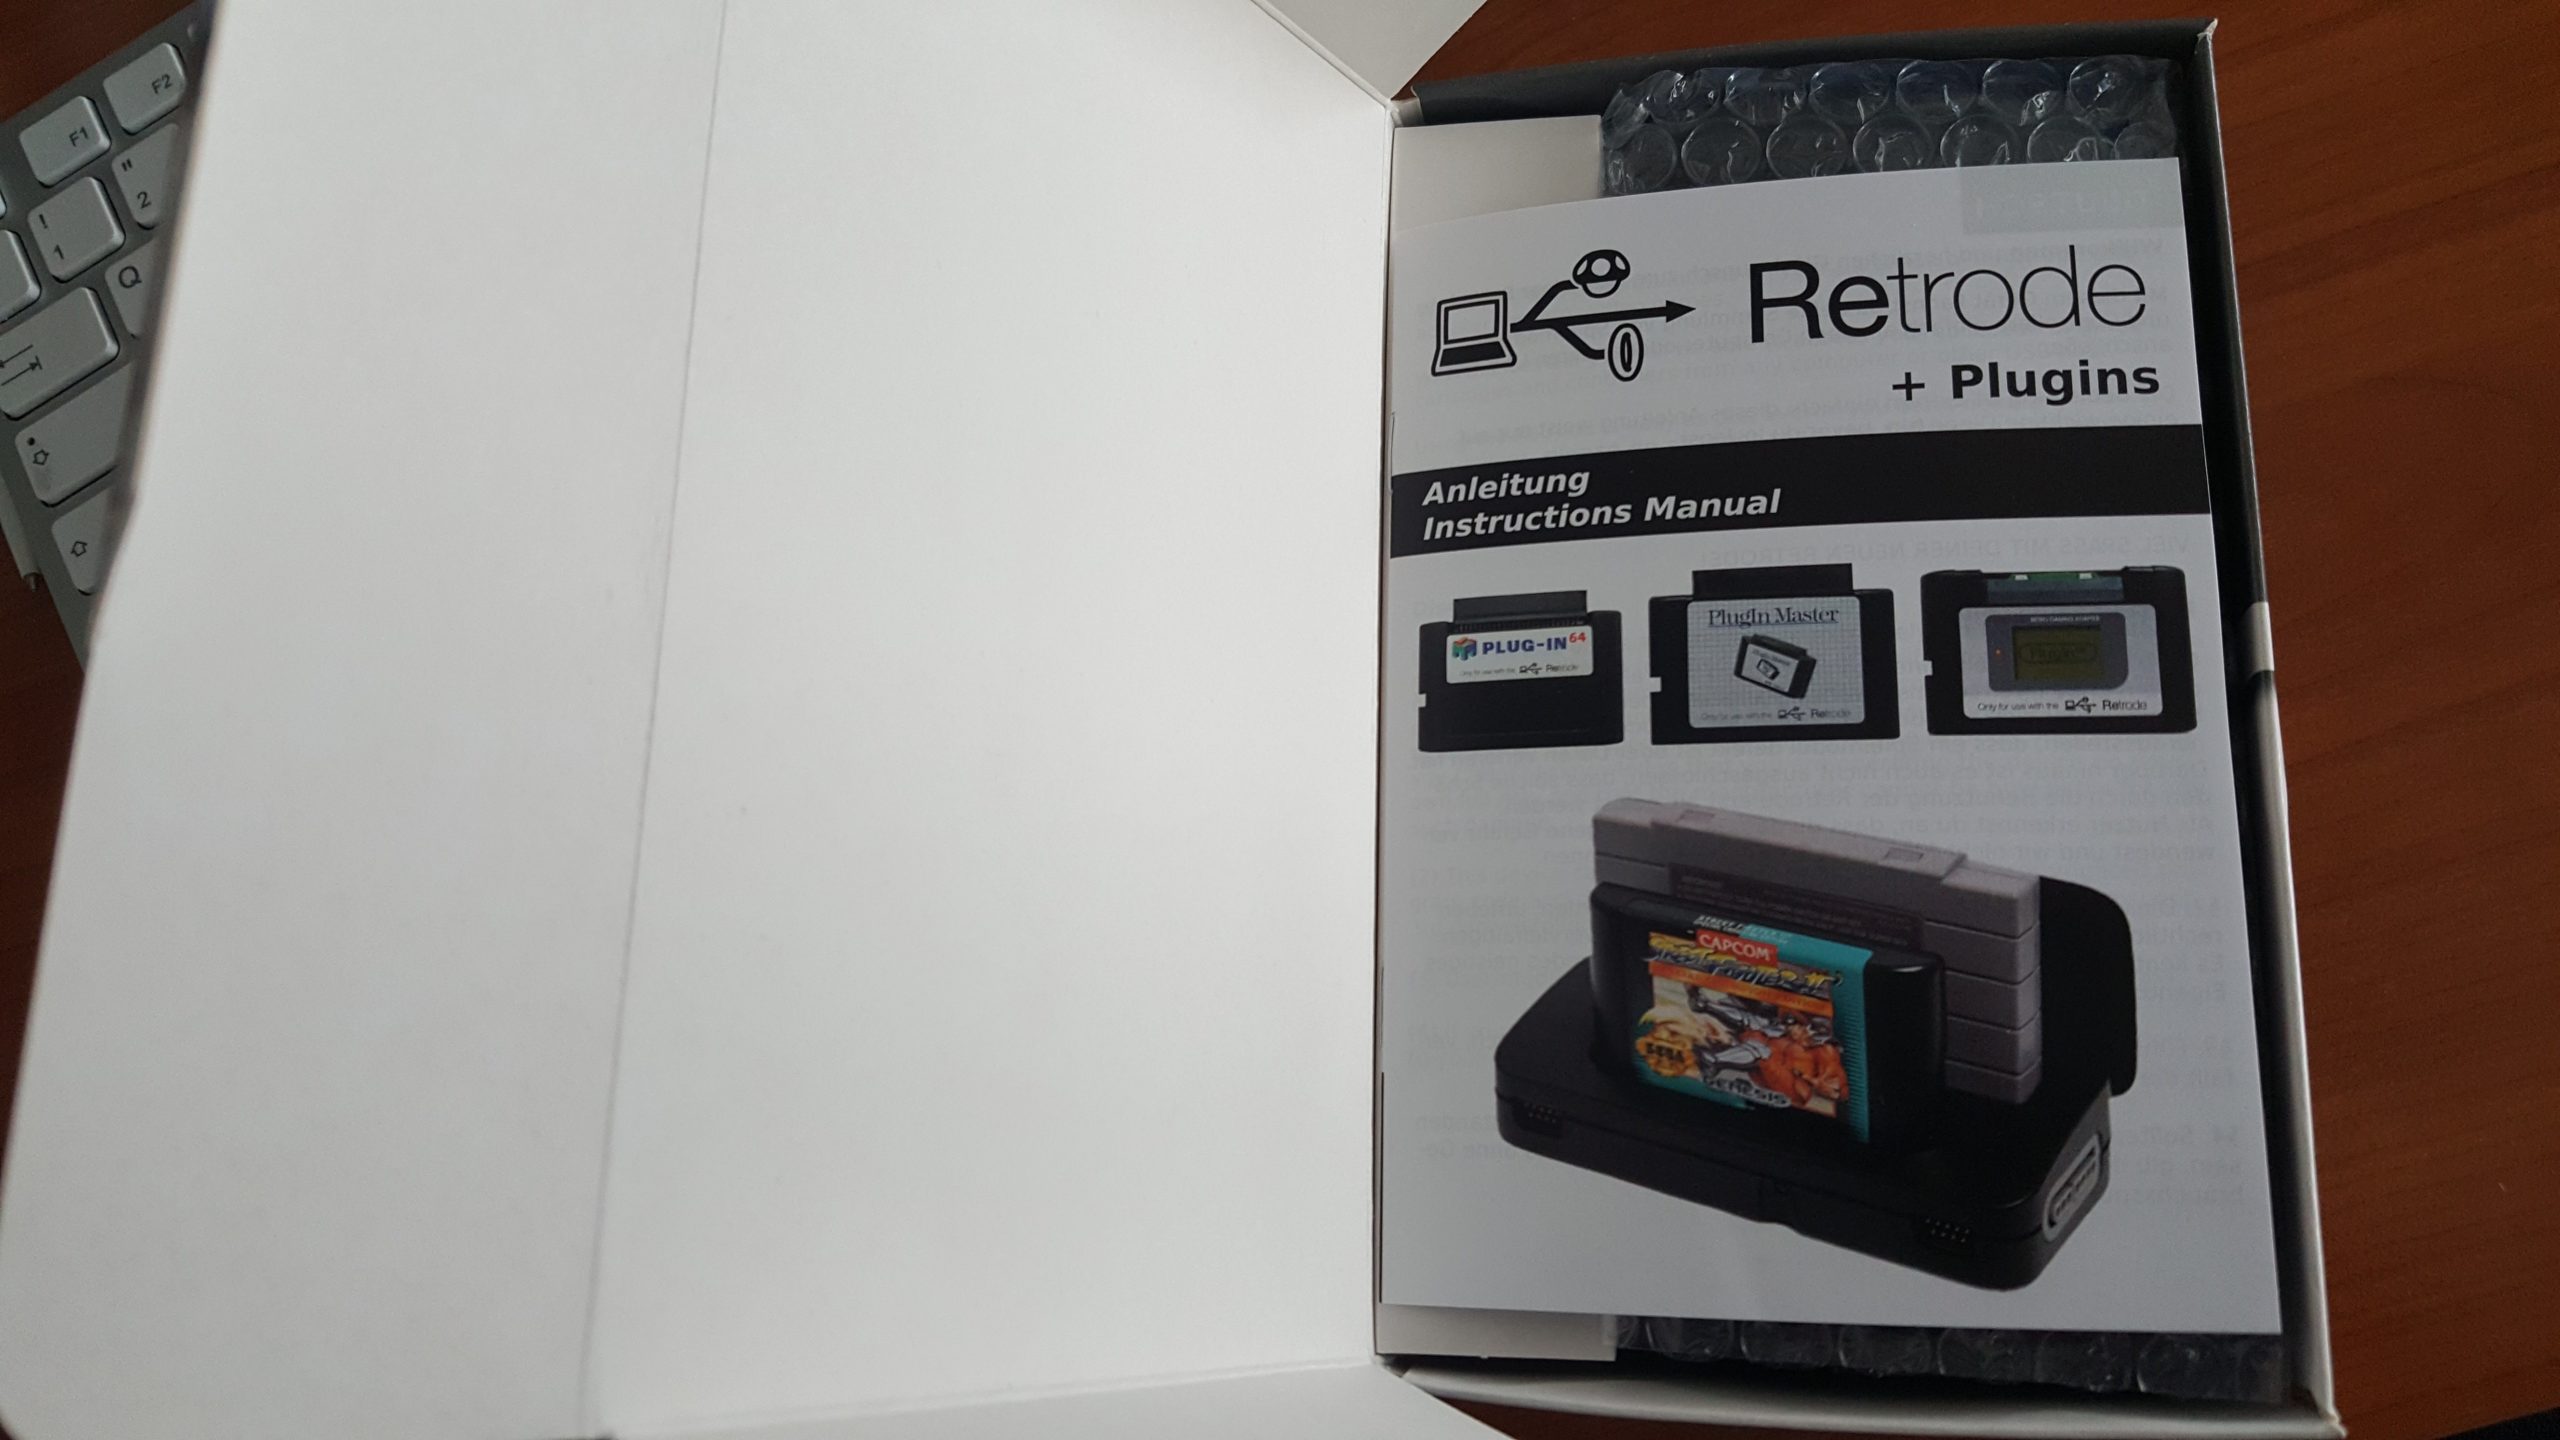
What’s inside the package
In the nice and professionally made package (mine is produced by OpenPandora GmbH in Germany) there are:
- the device itself
- a Mini-USB (B-Type) to USB cable
- paper manual
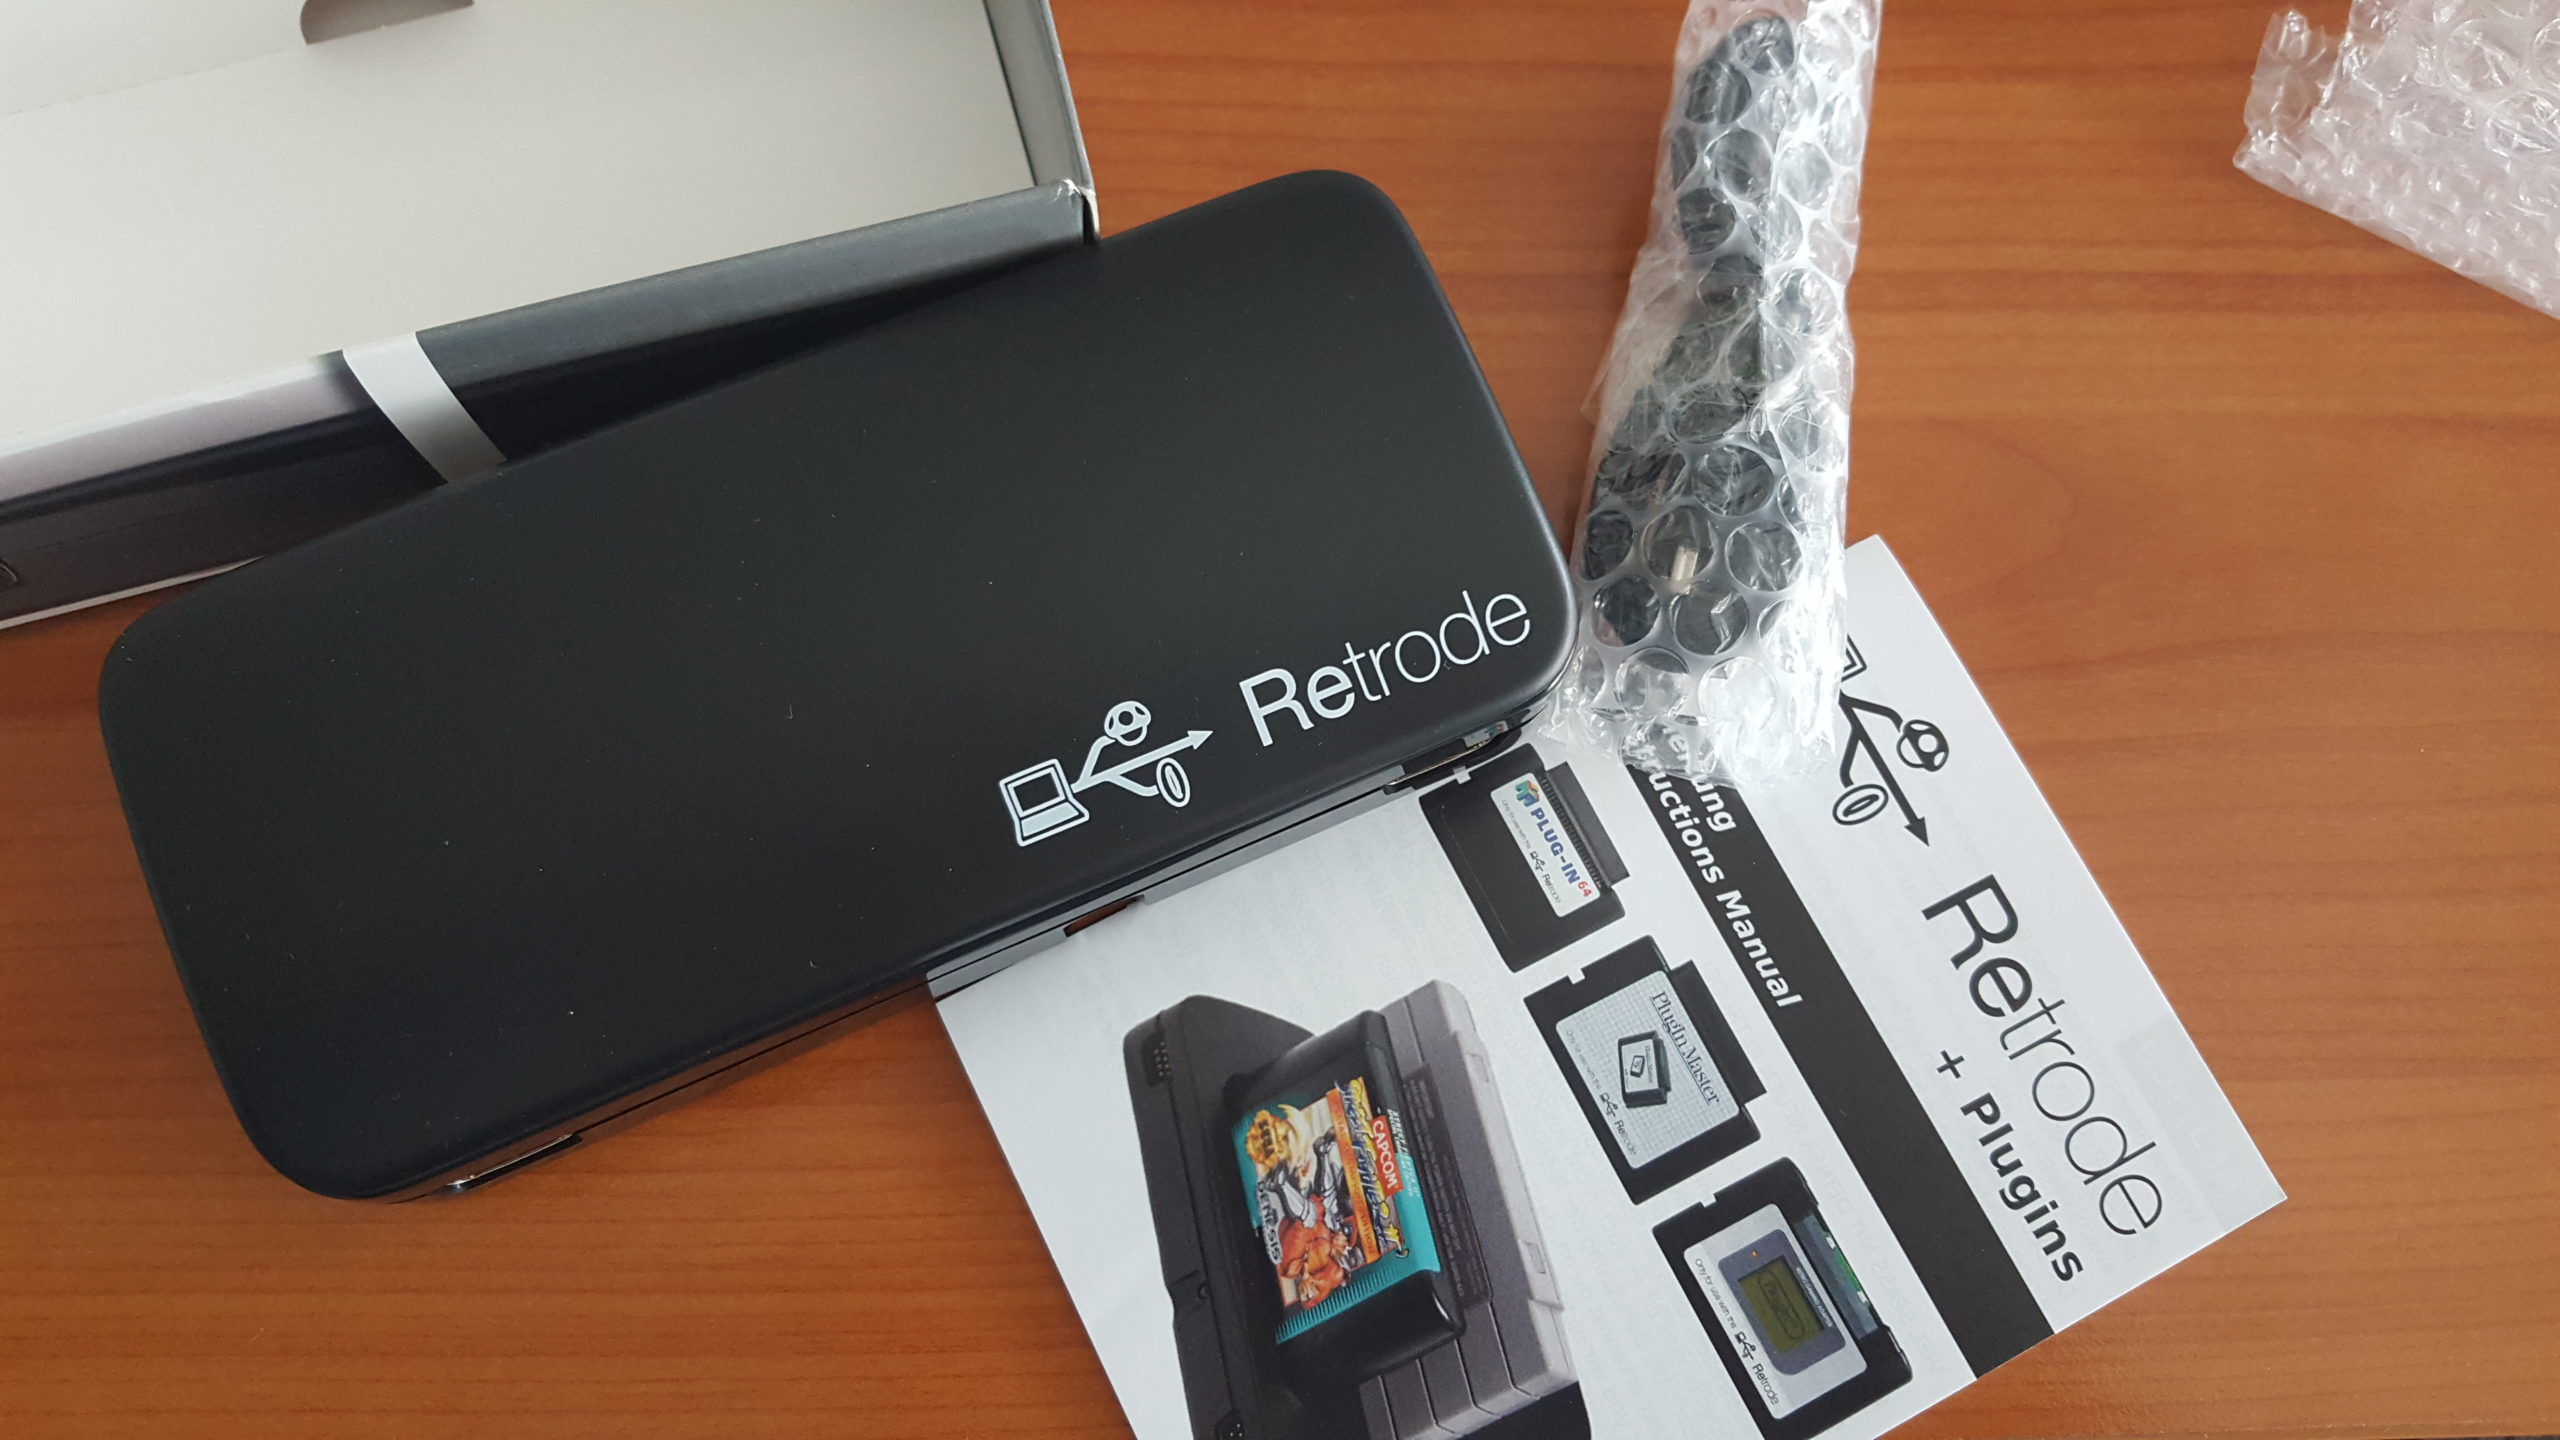
Device
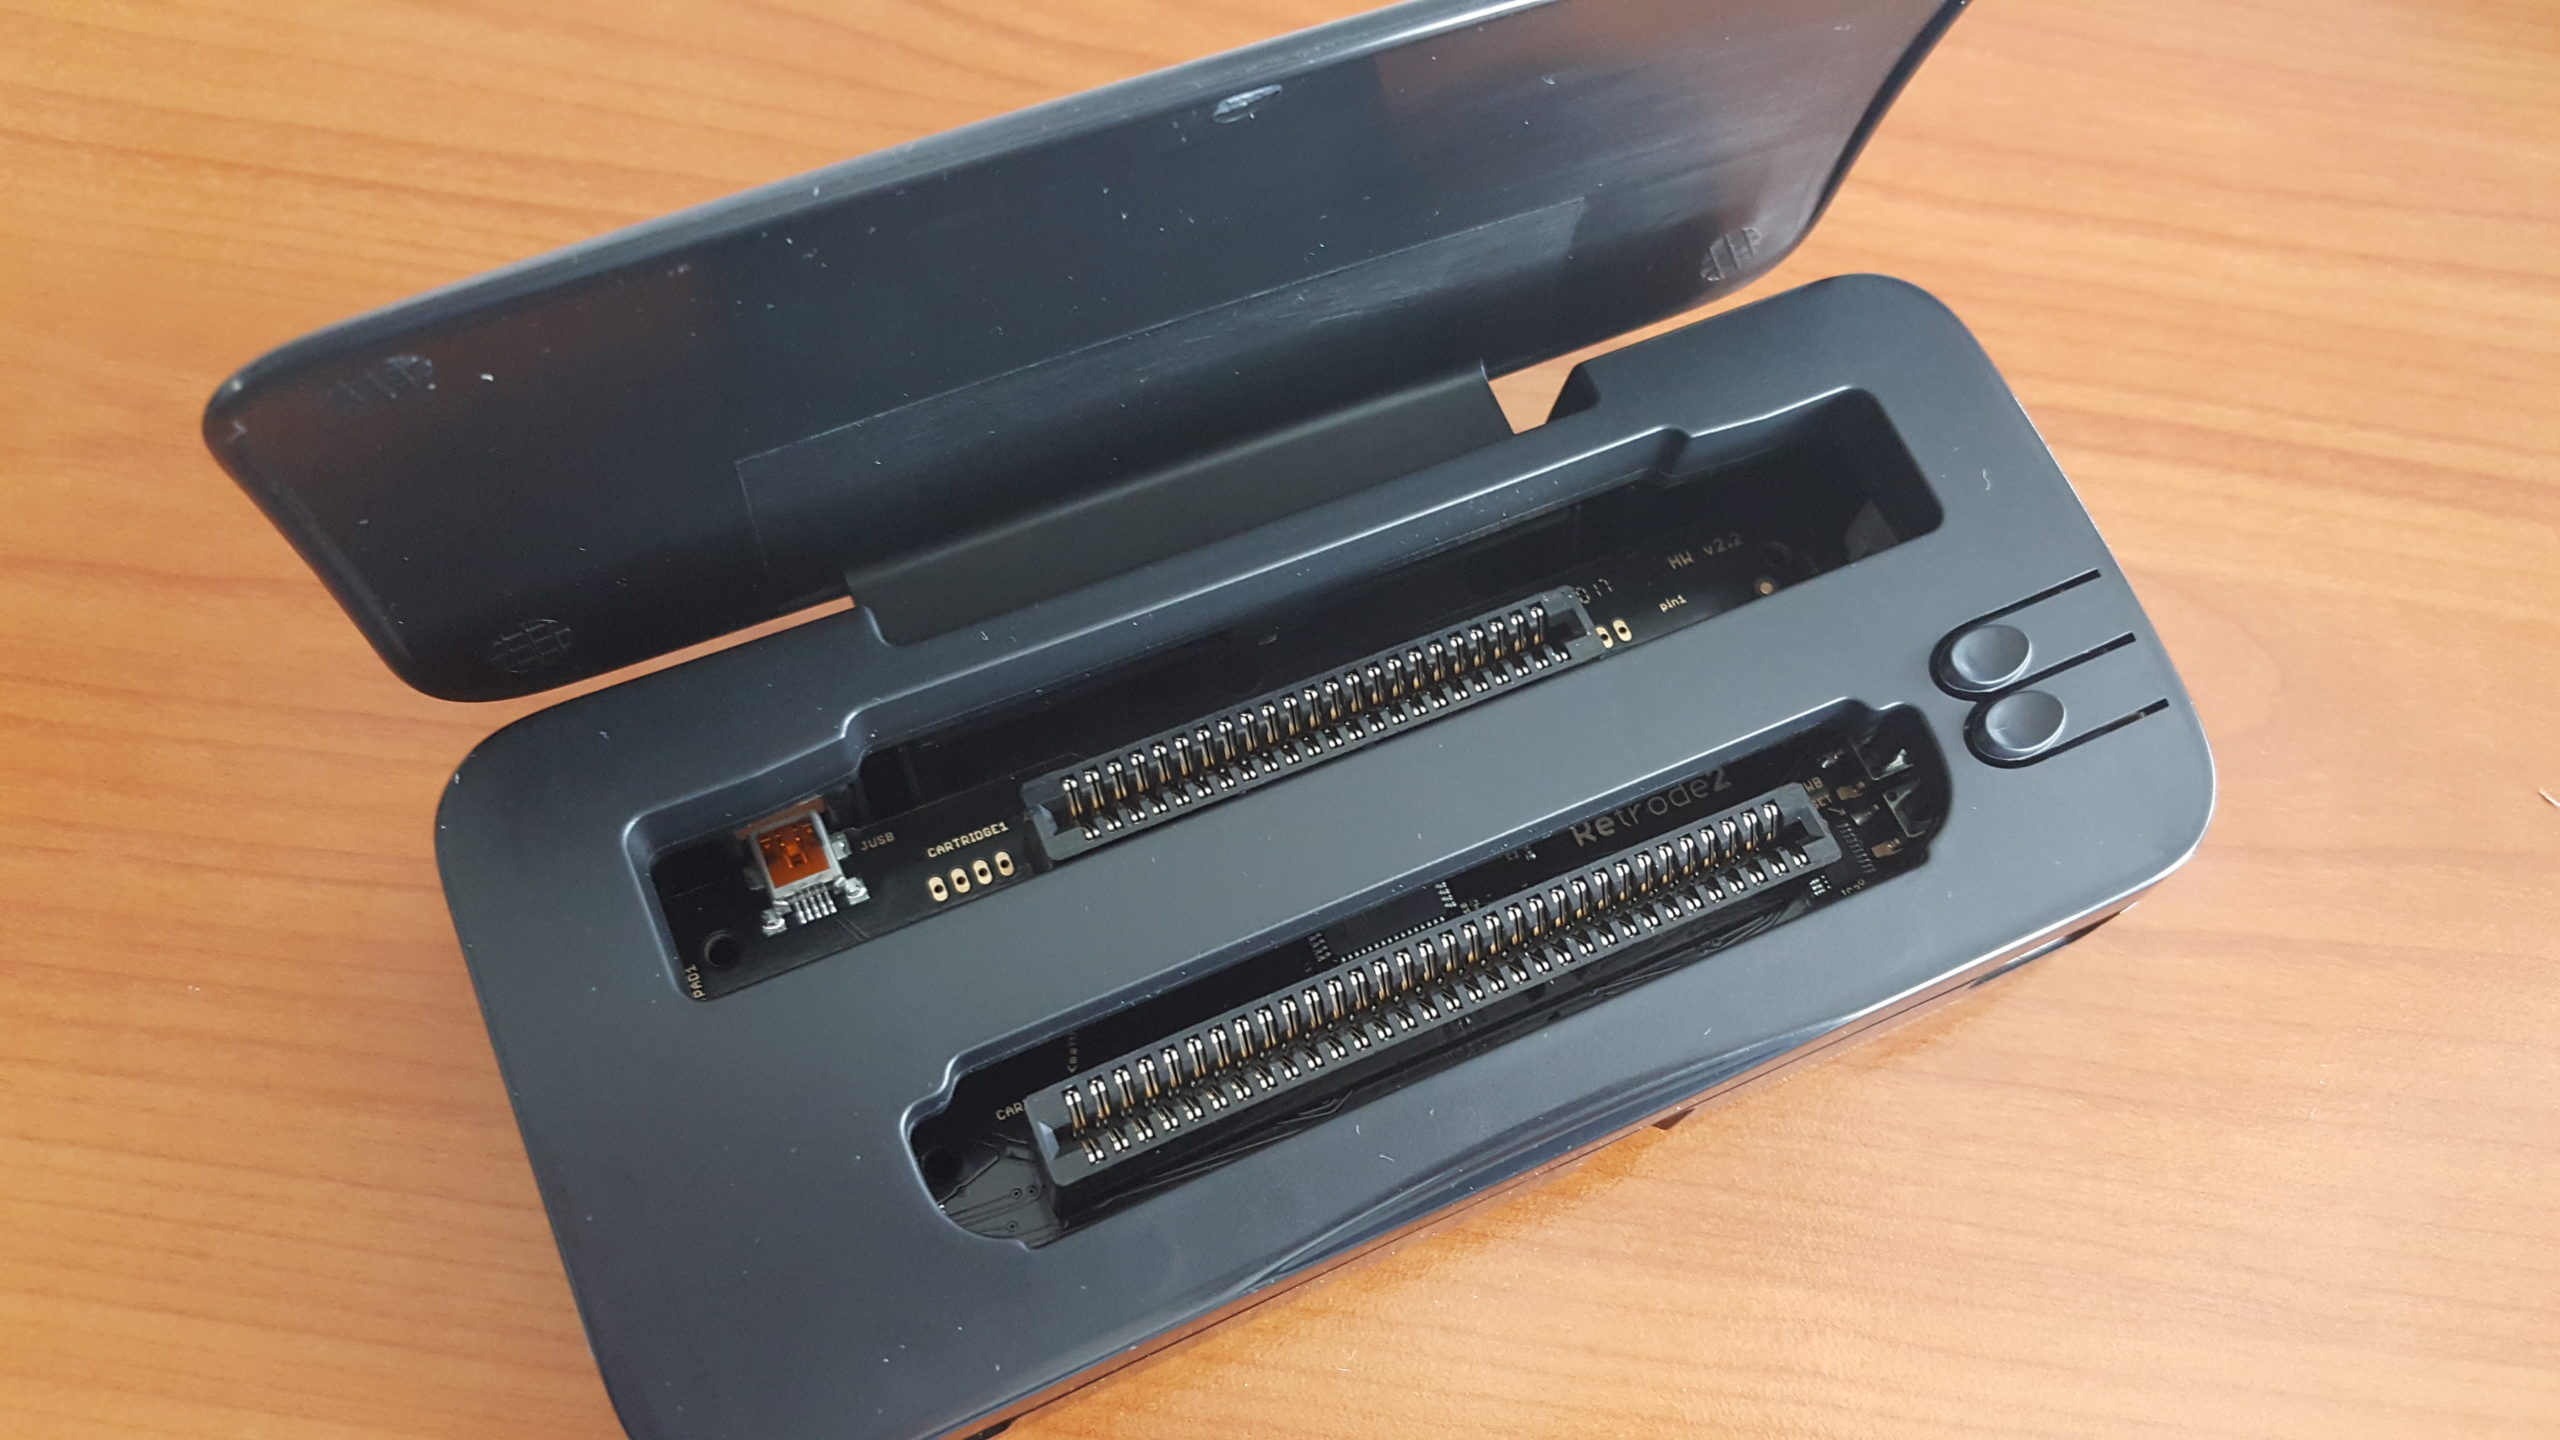
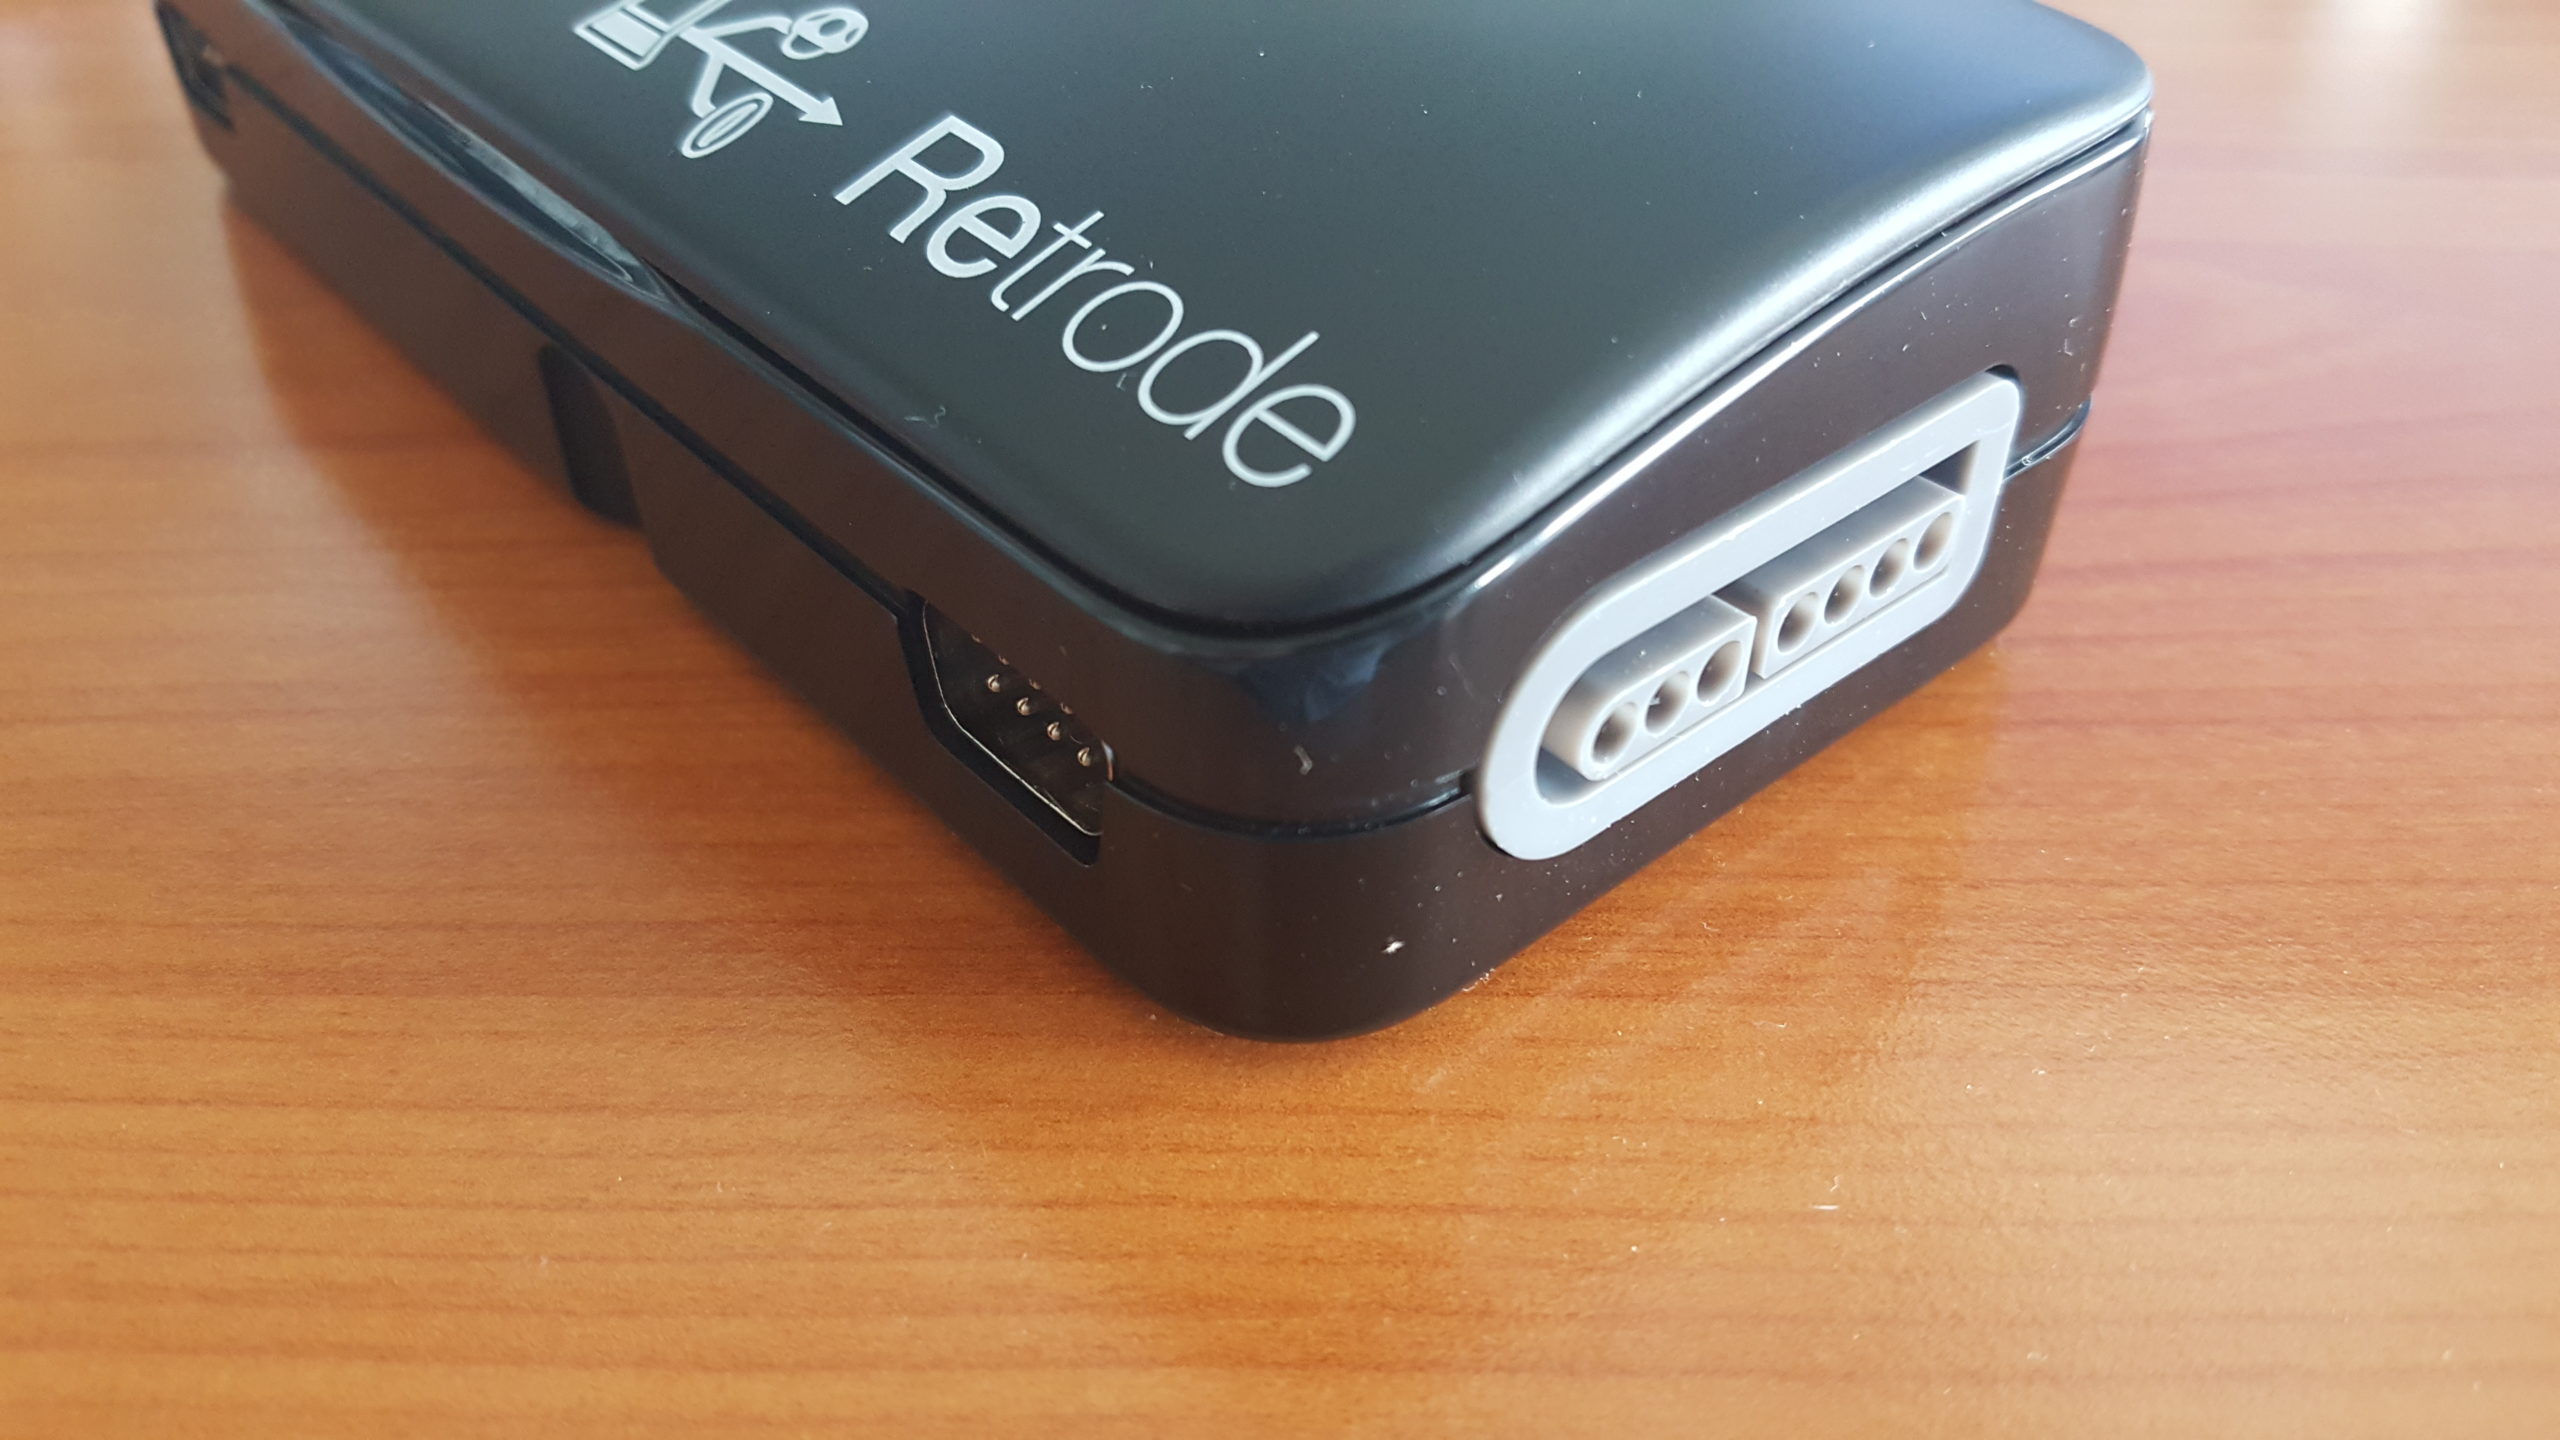
The device is very well built, the slots can be covered with the lid. It resembles a glasses case. On the front there is a green led, which is lit while reading or ejecting in progress or when buttons are pressed.
Dimensions are 170 (length) x 75 (width) x 30 (height).
USB cable length is 1 m.

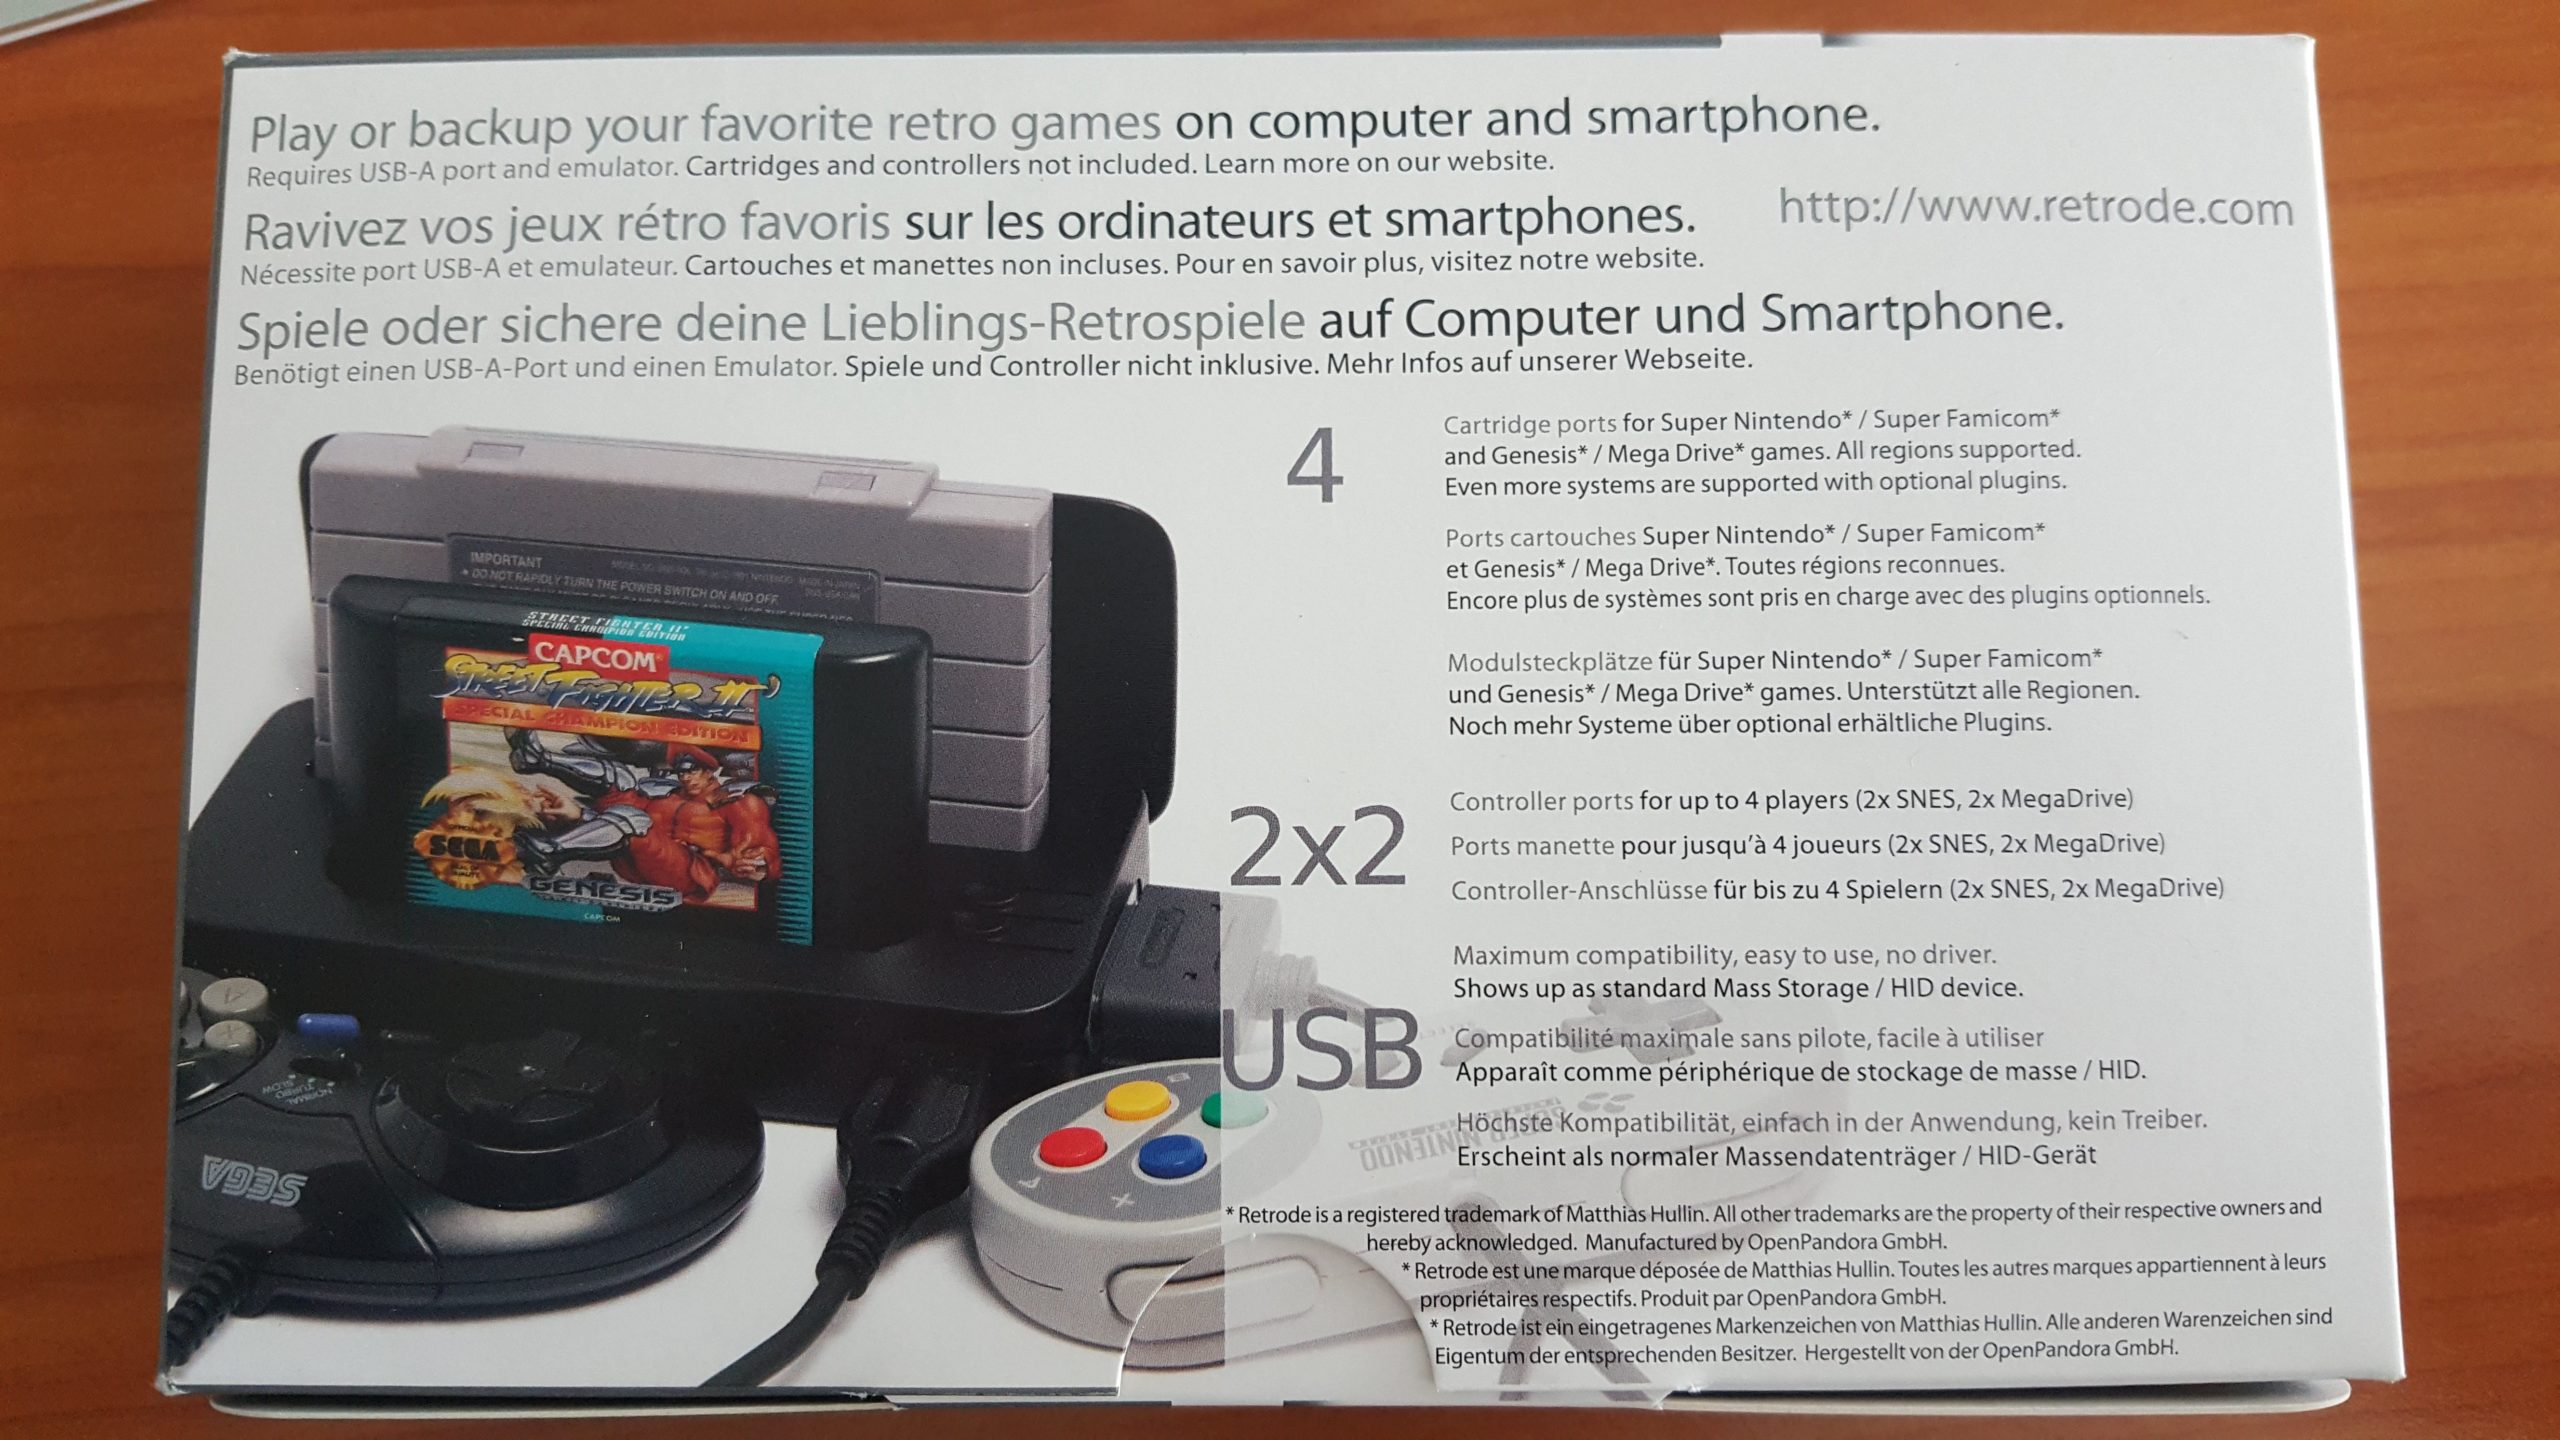
Connections
The Retrode 2 has two cartridge slots: the lower (and shorter) accept game cartridges from Sega Genesis, Mega Drive (2); the upper (wider) accepts SNES and Super Famicom cartridges. On both sides are ports for SNES/SF controllers, on the front panel are 9-pin ports for Genesis/MD controllers.
On the back is the mini-USB port.


Plugins
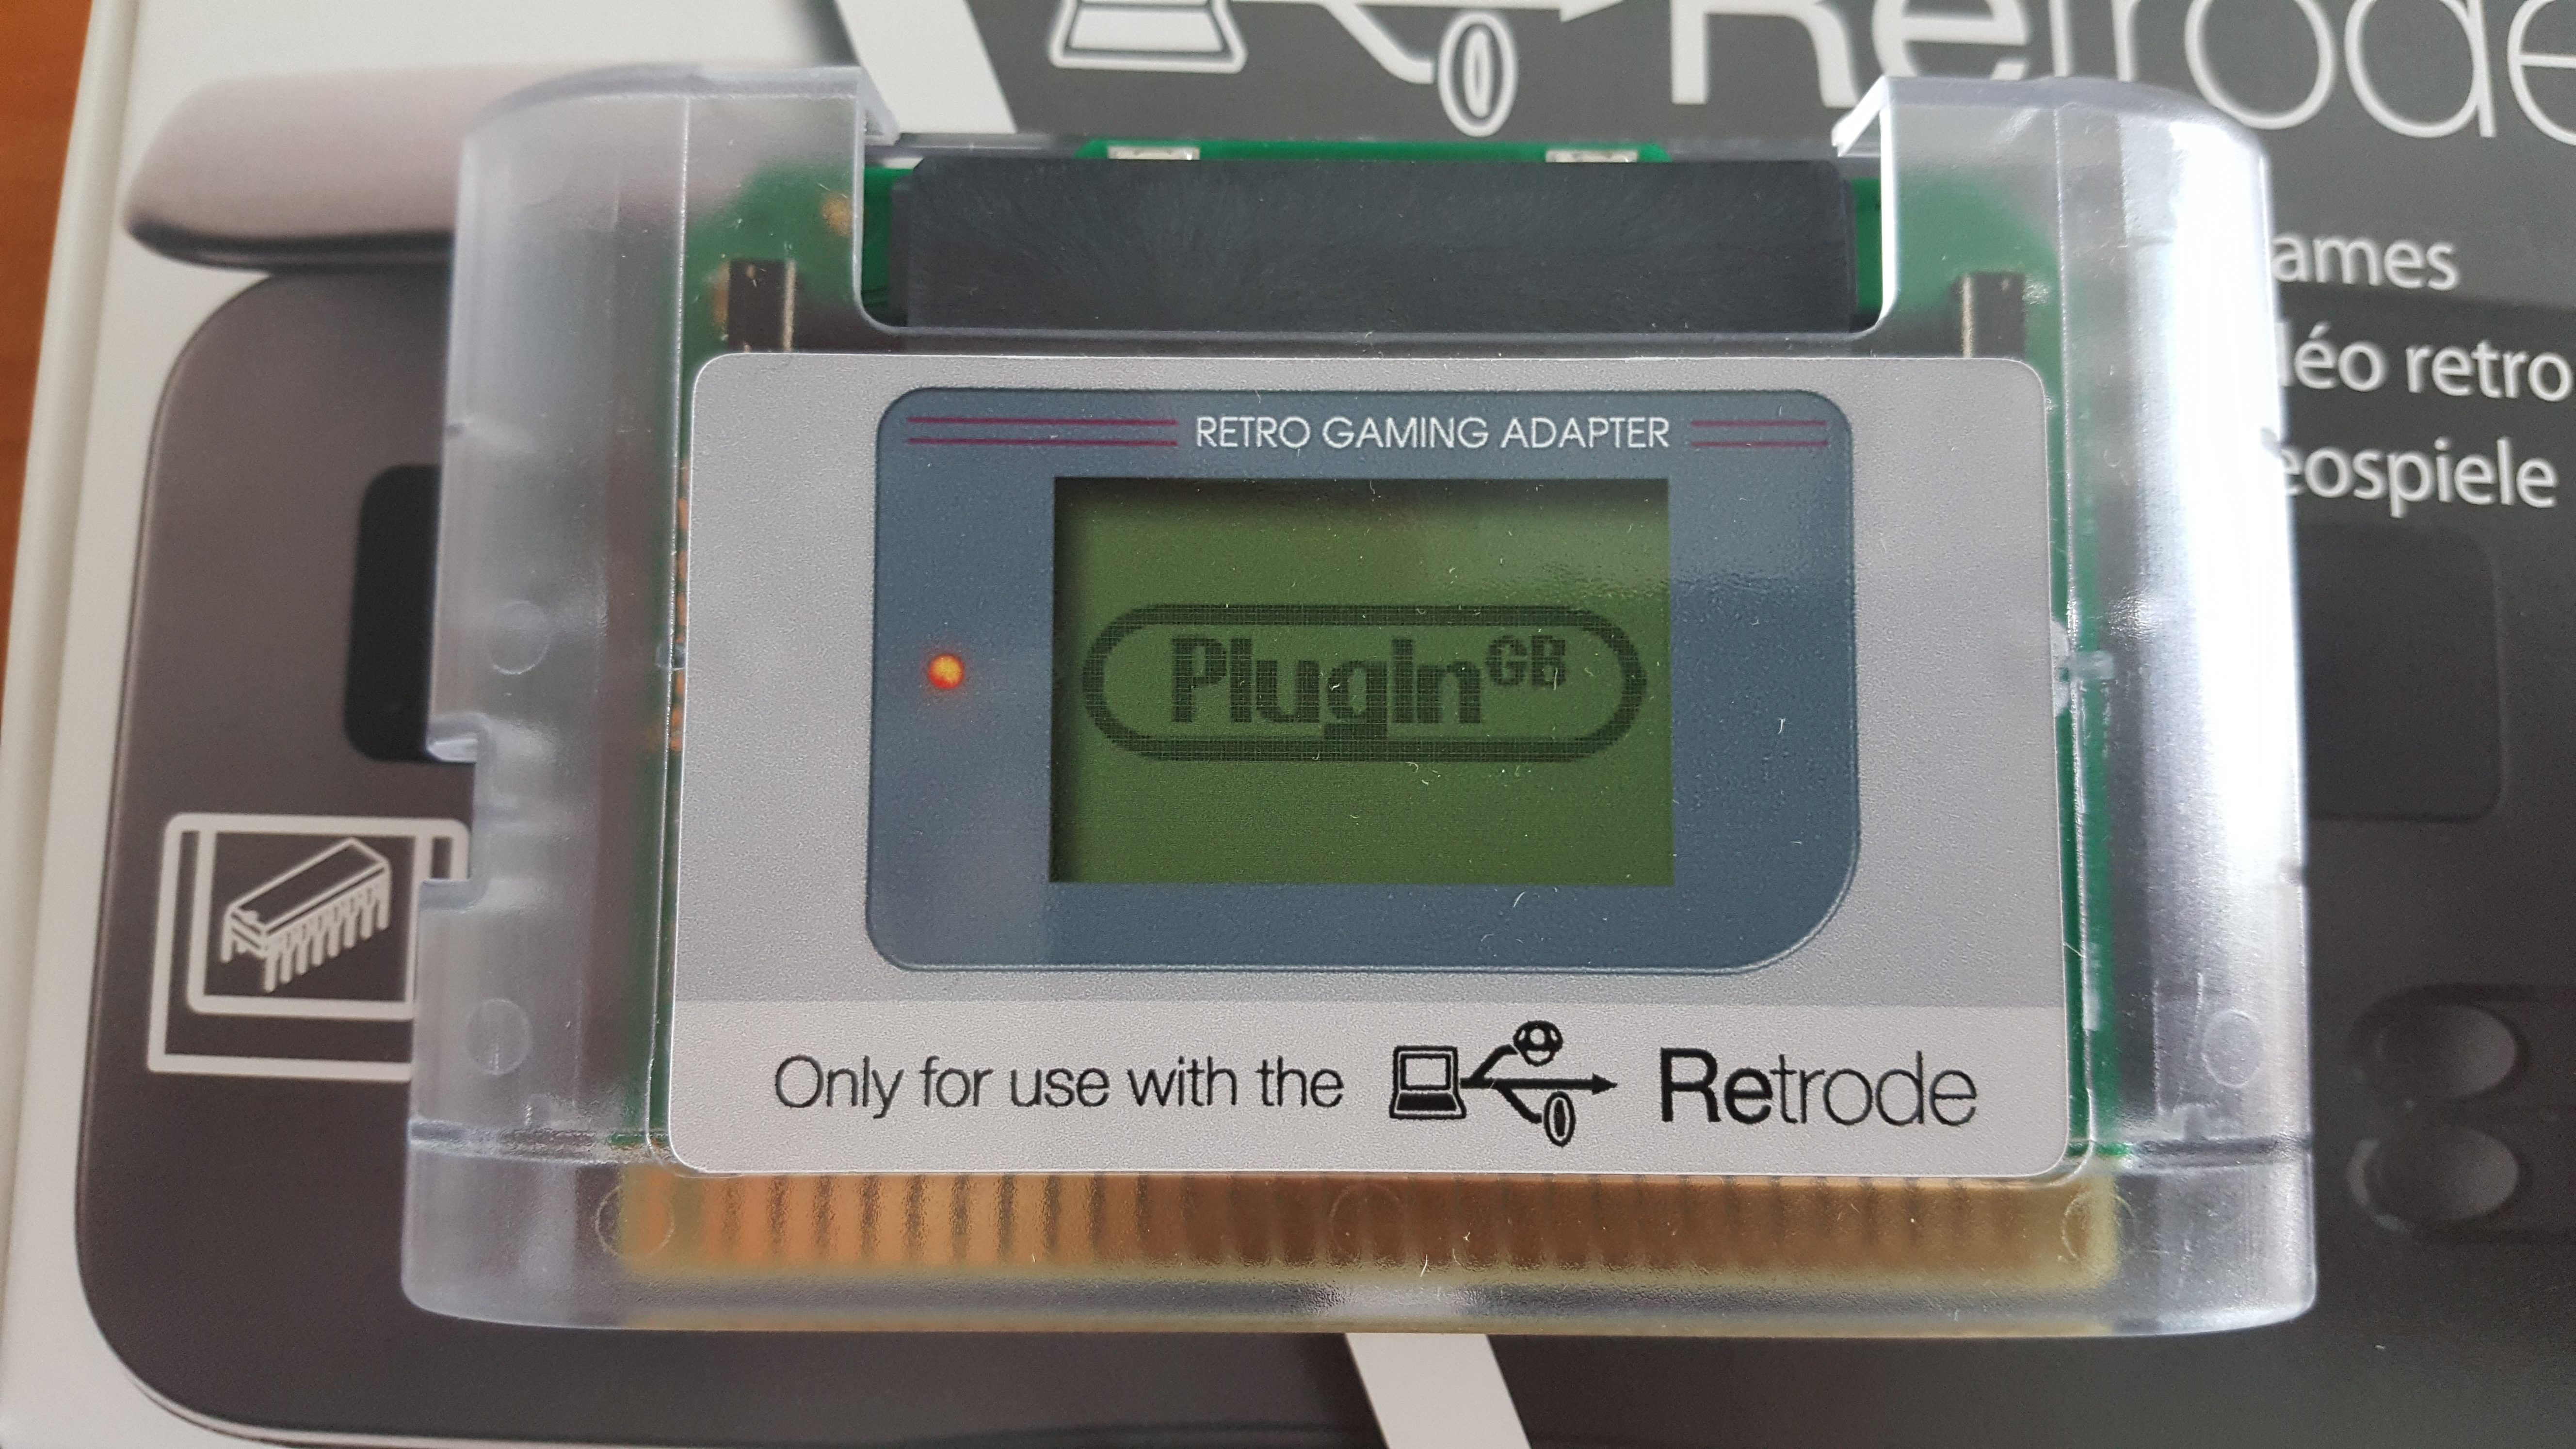
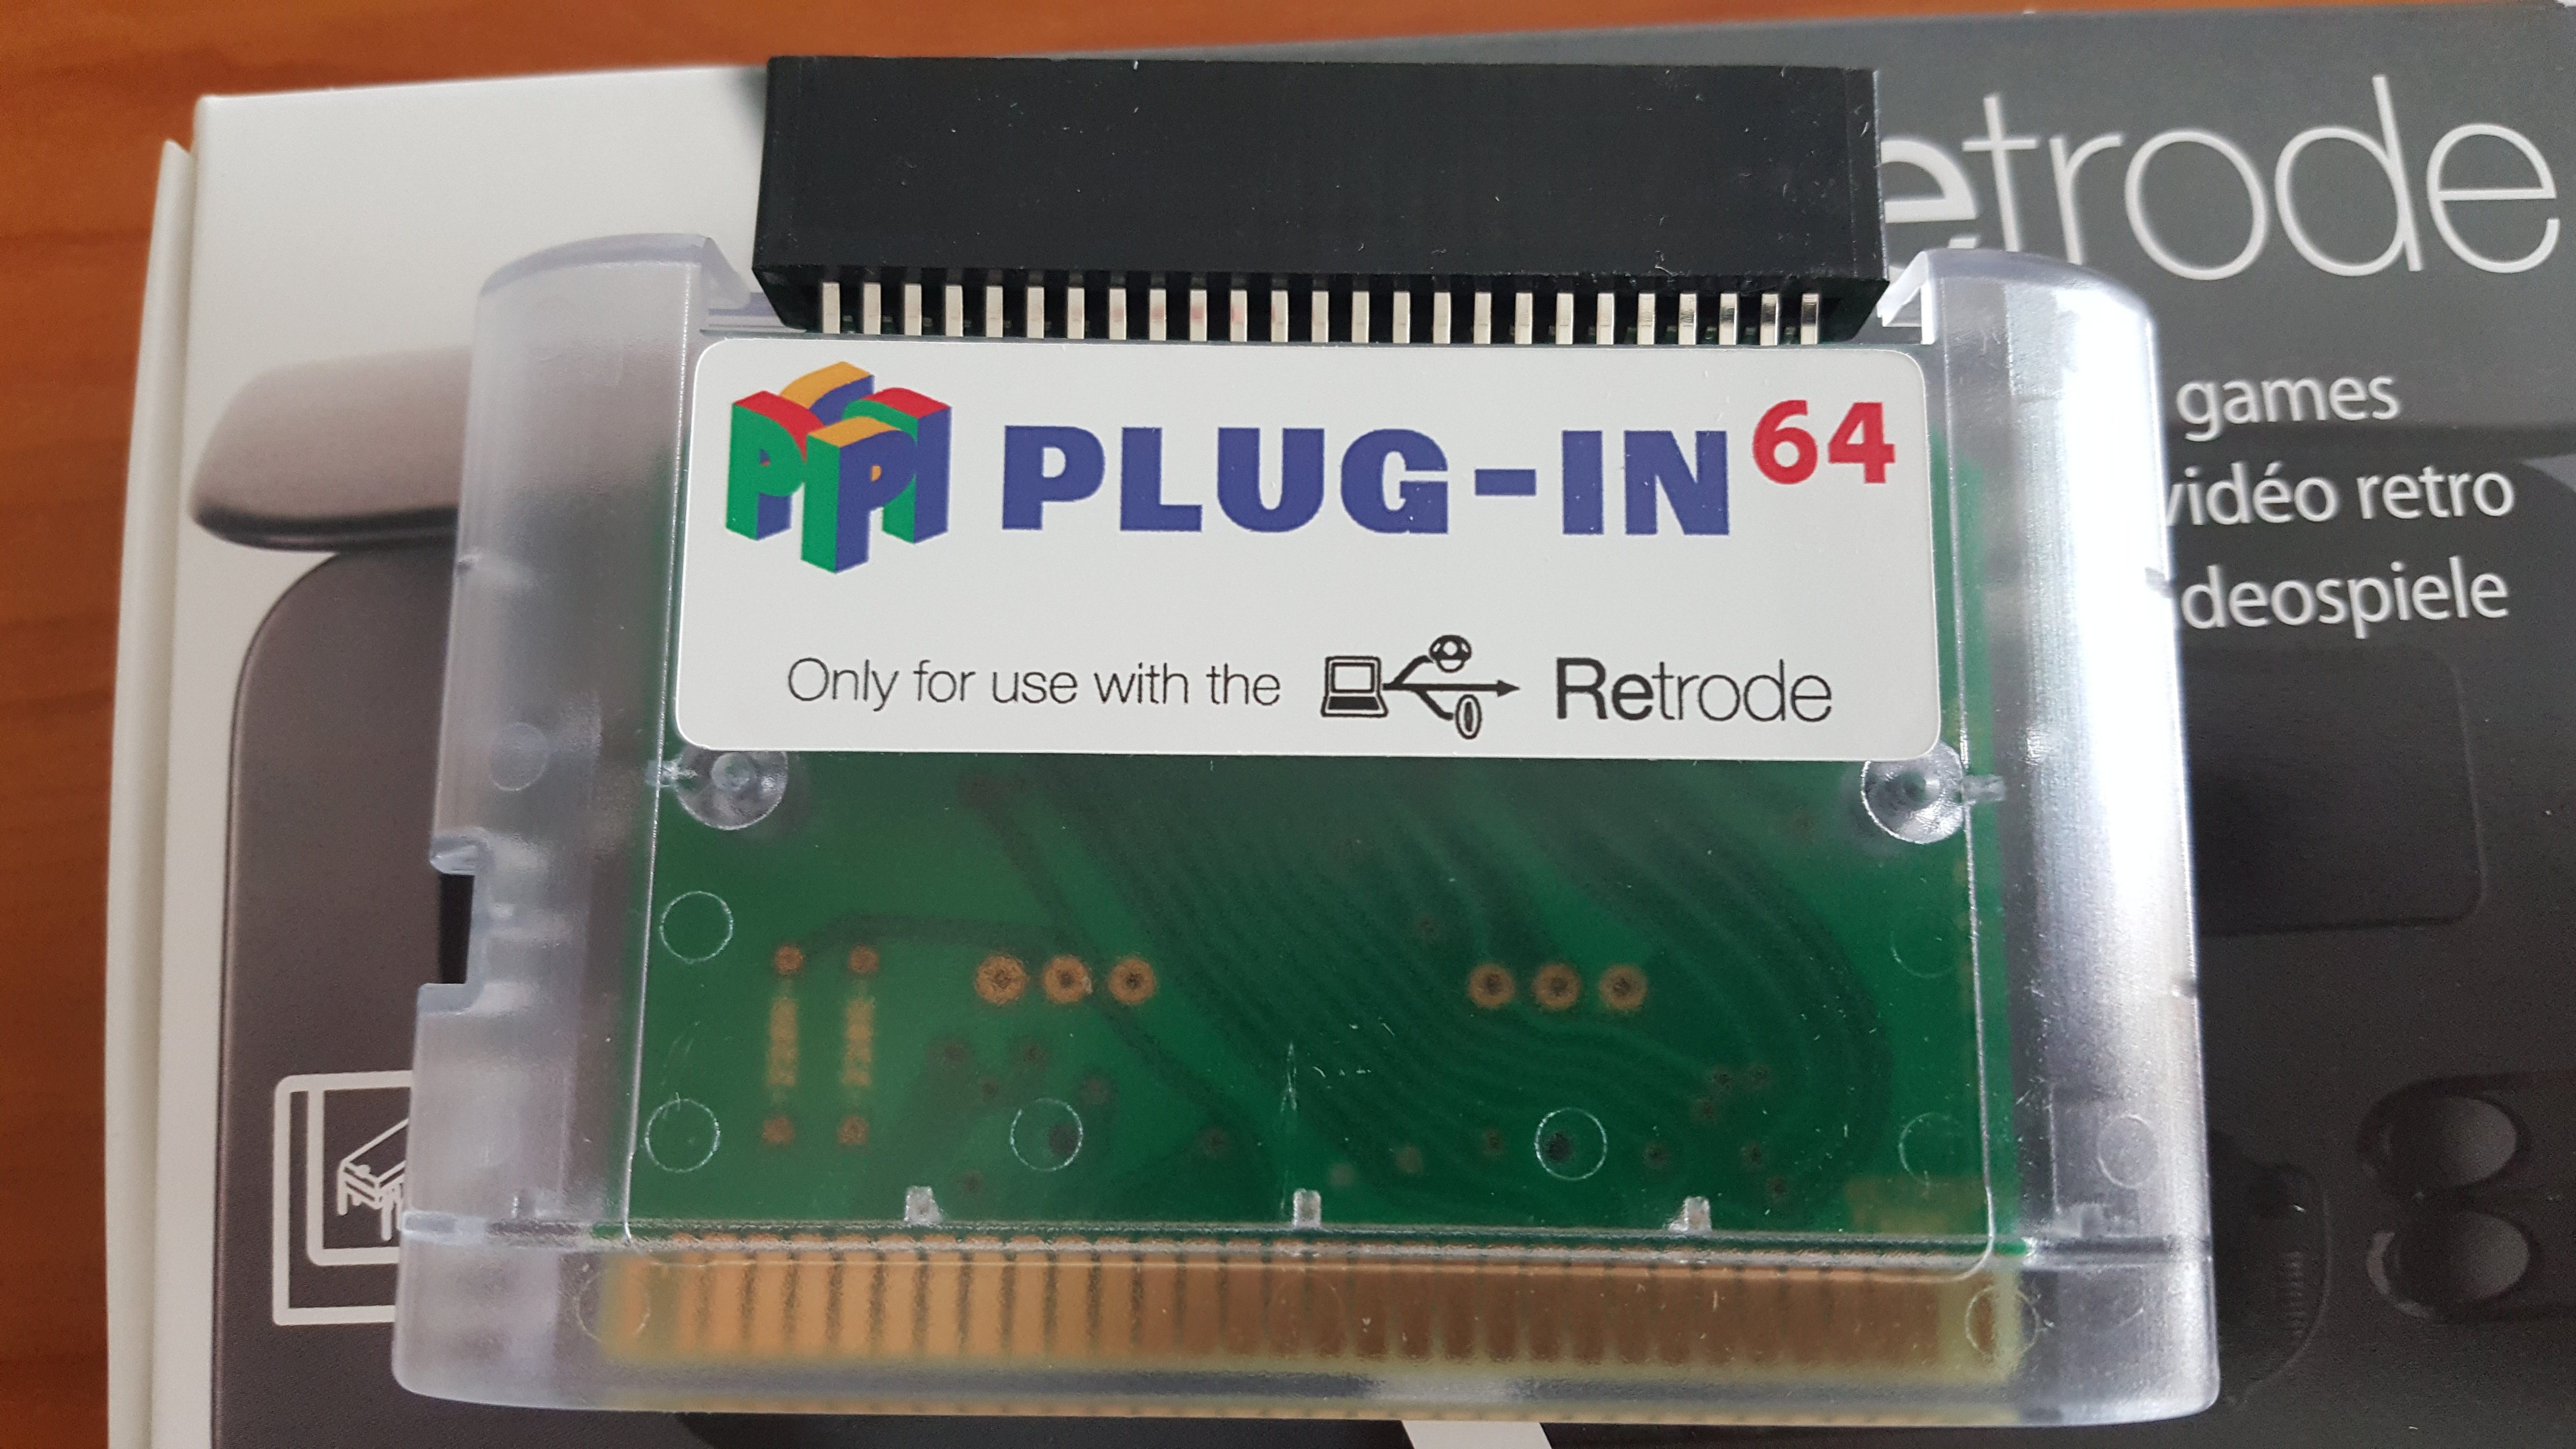
There are three officially released and available plugins. All three use the genesis cartridge slot.
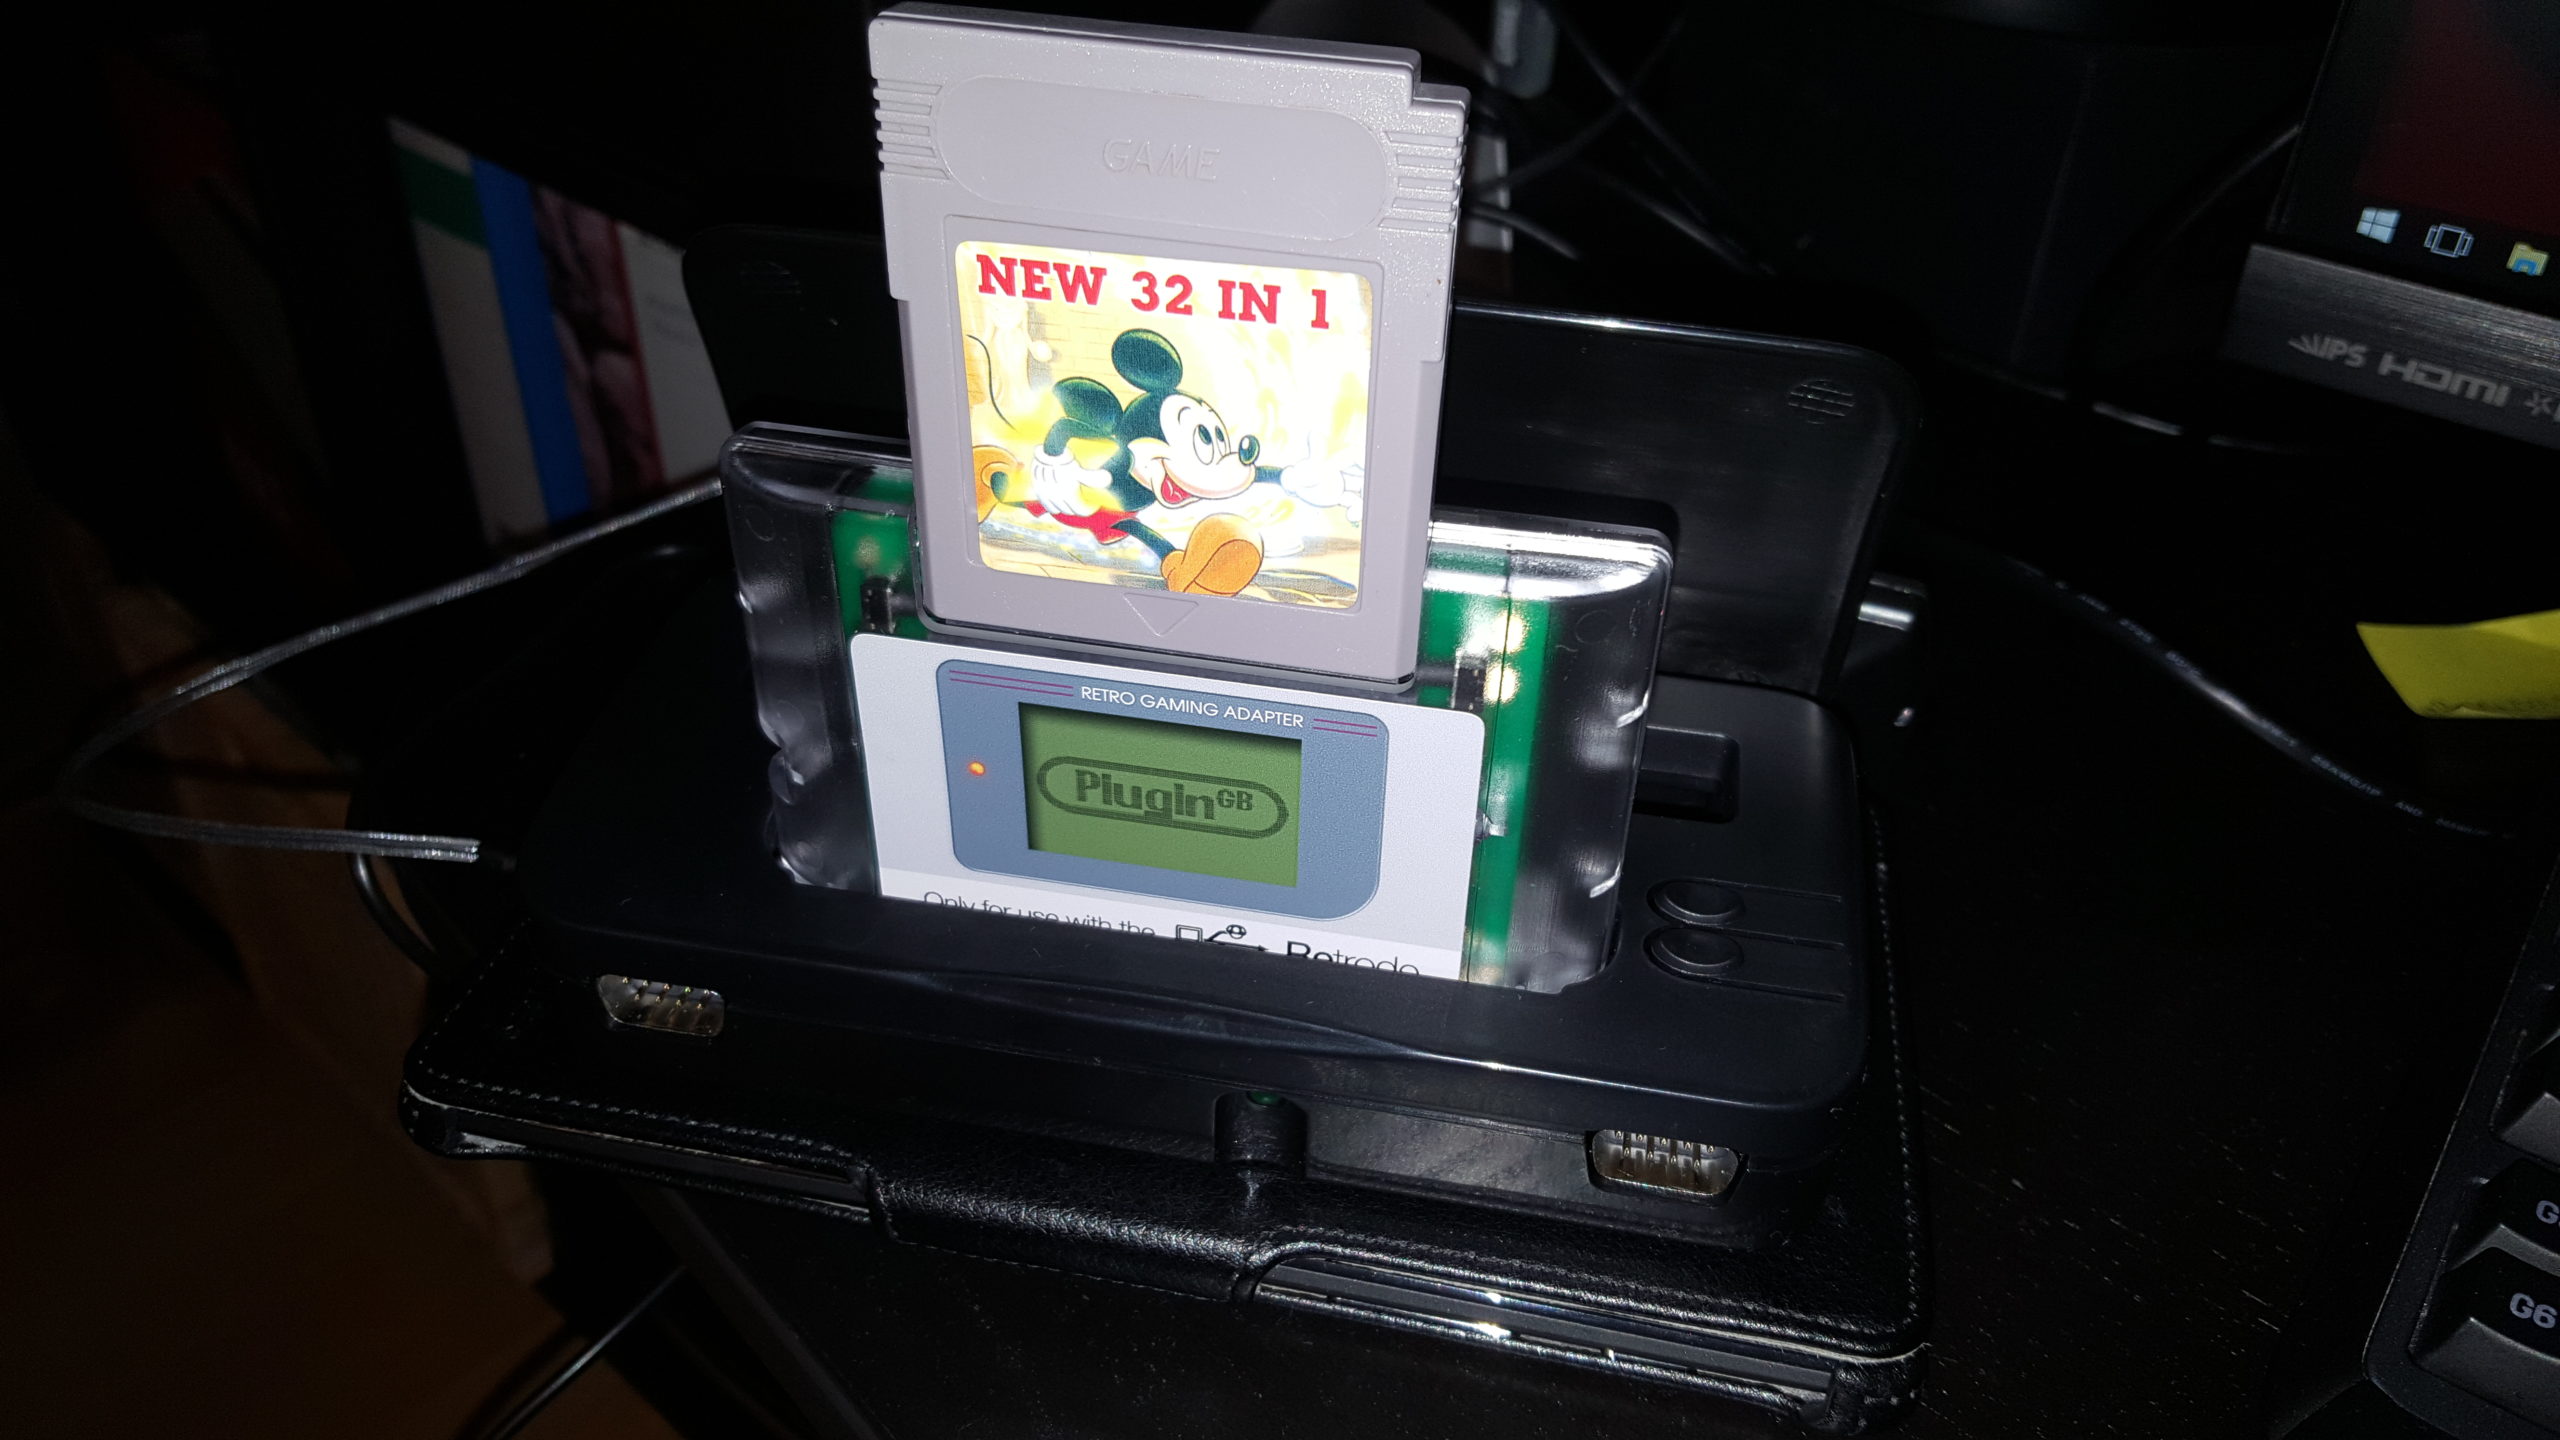
PluginGB: for Game Boy, Game Boy Color and Game Boy Advance
 Plug-in64: for Nintendo 64 games.
PlugIn Master: for Sega Master System games.![]()
How to use
Insert your game, connect the Retrode 2 with the included USB cable to your PC and look for a newly connected USB-Drive. On this, the contents of the cartridge (ROM and save) will be shown. SRAM dumps (=save files) have the extension “srm”. The extension of the rom depends on the used cartridge: e.g. “bin” for Genesis/MD and “sfc” for SNES/Super Famicom. You can change the extensions in the config file.
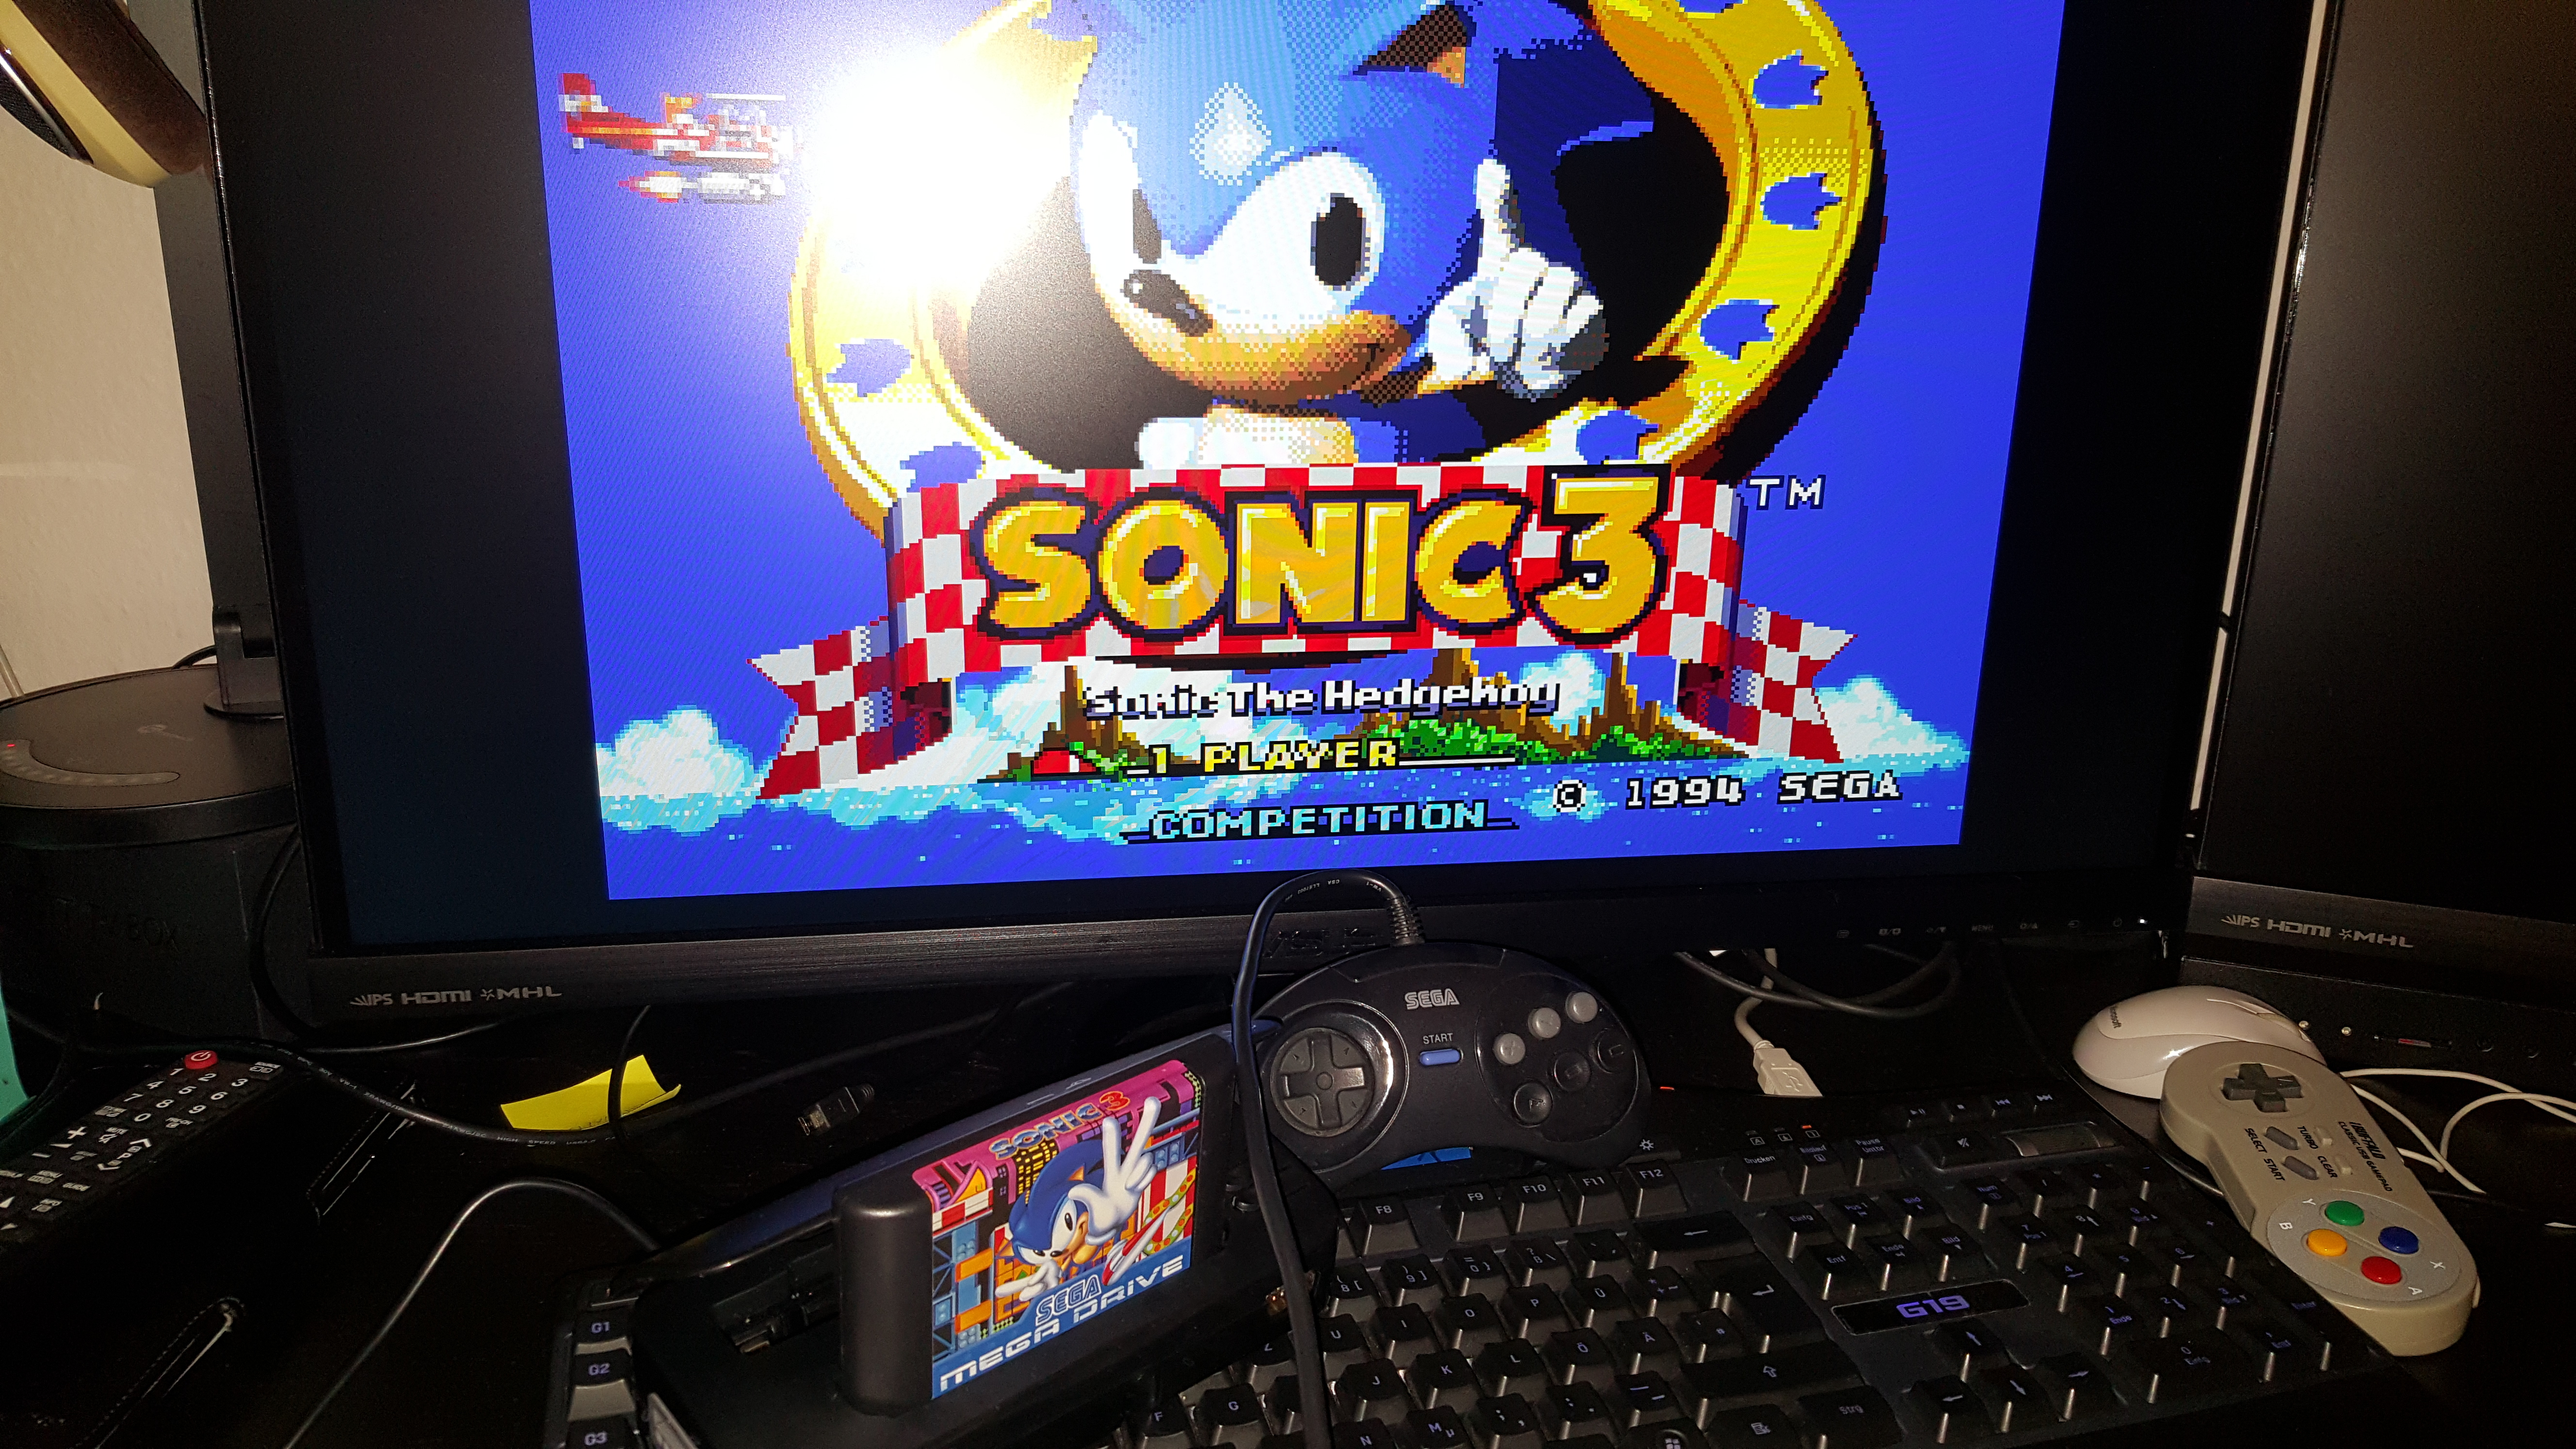
You can copy dumped files and use with any compatible emulator (e.g. Kega Fusion for Sega games). You can also leave the files where they are and navigate your emulator to them and play directly.
Insert and eject very gently!

Note: SNES/SFC cartridges are inserted in opposite direction!
After you’ve dumped your cartridge, you can eject it and insert another. To read the new cartridge, press the lower button (RESET) and the contents will be refreshed.
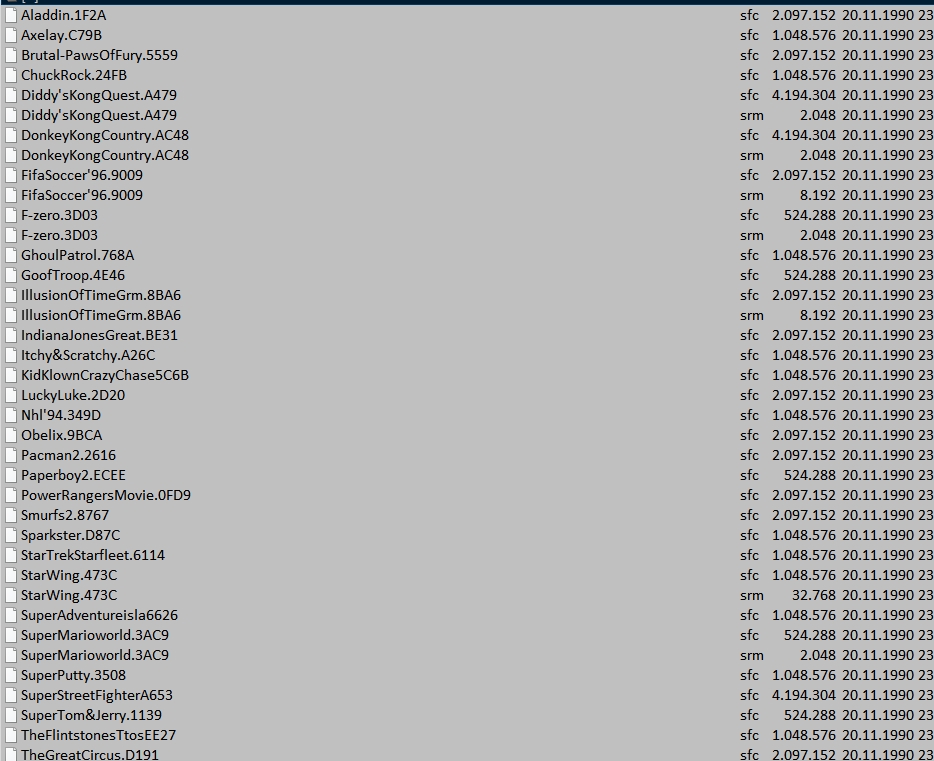
The names of the ROMs may differ a bit from official names (also abridged or regional), but make sure they are correct (e.g. if the name consists only of some symbols, the dumping was not successful).
This is how the ROMs’ names look like (in this case SNES games):
Controllers
You can attach real controllers! Dont’ forget to configure them in your emulator’s options. This is a very cool feature, because I like playing SEGA games using the original 6-button controller.
In emulators, you need to switch from keyboard or another controller to controllers with names “Retrode”. They have all same names, you need to test them, e.g. I’ve found that my genesis controller is retrode 5.
RETRODE.CFG
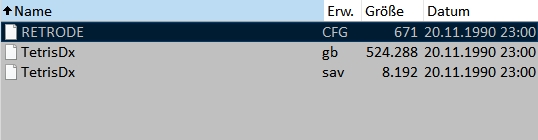
When connected, you will also see a file named RETRODE.CFG. This is the configuration file.
Let’s see, what it shows:
; Retrode .20-beta – Config
; Remove any line to revert setting to factory default
[HIDMode] 1 ; 0: Off; 1: 4Joy+Mouse; 2: 2Joy; 3: KB; 4: iCade
[blinkControllers] 1
[nesMode] 0 ; 1: NES gamepads; 0: SNES
[filenameChksum] 1 ; checksum in filename? 0,1
[detectionDelay] 5 ; how long to wait after cart insertion/removal
[sramReadonly] 1 ; write protect SRAM?
[segaSram16bit] 1 ; use 16bit words for SRAM?
[sramExt] srm
[snesRomExt] sfc
[segaRomExt] bin
; Override autodetect:
[forceSystem] auto
[forceSize] 0
[forceMapper] 0
; Optional plug-ins:
[n64RomExt] n64
[gbRomExt] gb
[gbaRomExt] gba
[smsRomExt] sms
[ggRomExt] gg
Please consult this page to see what lines mean.
The very first line shows the current firmware version.
[HIDMode]
the USB protocol for controller support
- 0: disable controllers (for quick plugging and unplugging)
- 1: 4 USB controllers and SNES mouse. Each port can be mapped to different controllers and the protocol supports up to 4 players
- 2: 2 USB controllers; left ports mapped to controller 1 and vice versa with the right ports; up to 2 players
- 3: Keyboard mode: in this mode you can map controllers using hexadecimal USB keycodes
- 4: arcade mode: in this mode both presses and releases are sent to the emulator
[blinkControllers]
if 1: the Retrode will blink on any controller button press (so that you can be sure it’s working!).
[filenameChksum]
- 0 – don’t add the 4 digit checksum to the filename
- 1 – add the 4 digit checksum to the filename
[detectionDelay]
Values from 0 to 255: after what time the device should rescan if cartridge is removed and reinserted.
[sramReadonly]
You can lock the writing of the SRAM to protect the save file on the cartridge
- 0: disable rewriting of the SRAM
- 1: enable rewriting of the SRAM
[sramExt]
File extension for SRAM contents (your save game file extension). Default is “srm”.
[segaSram16bit]
1: enable “16-bit mode” for sram, because some emulators access SRAM in bytes, some in words
[SnesRomExt] / [SegaRomExt] / […RomExt]
Define the rom file extension with a 3 letter combination. This just tells the device which extension should be used in naming. E.g. you can change bin to whatever you want or maybe your emulator is working with another extension (like gen).
[forceSystem], [forceSize], [forceMapper]
you can override the system’s auto-detection settings if Retrode can’t detect them correctly.
Values for [forceSystem]: auto, snes, mdrv, n64, gba, gboy, tg16
Values for [forceSize]: 0 means no changes. If forceSystem is not set to auto, retrode will try to detect the size.
- for SNES/SFC, Genesis/MD, GBA and TG16/PCE: 1-32 (=Mbit)
- for N64: 1-64 (=Mbyte)
- for GB/GBC 1-128 (=16kByte)
Values for [forceMapper]:
- for SNES/SFC: 0 = LoROM, 1 = HiROM
- for TG16/PCE: 0 = TG16, 1 = PCE
If no rom can is recognised and GenericRomInSegaSlot.dat is shown, you can try to change the value of forceSystem (e.g. from auto to gba) or set the size of the rom manually.
Savegames
Whether you can dump savegames depends on the plugins and whether the battery on your cartridge is still working. I’ve dumped my Starflight (for Mega Drive) and had no save file, because the battery is dead.
Savegames for Game Boy have extension “sav”. For Genesis/SNES: “srm”.
If you change the parameter [sramReadonly], you can rewrite the SRAM (save).
Roms
Yes, you create your own roms from your own cartridges. You can copy these to other devices and use with any emulator, whether Android, or PC. You can also copy files to your Everdrives or other consoles, which support this roms (Retro Freak, Analogue NT, etc.)!
Cartridge not recognized
If your cartridge is not recognized, only the file “GenericRomInSegaSlot.dat” or “GenericRomInSNESSlot.dat” and the config file will be shown. This happens when your cartridge is dirty or not working. E.g. my Donkey Kong Country 2 could only be recognized after the 3-rd attempt.
Sometimes the USB-Drive may not reappear. Press reset again.
When the game is not recognized (but there’s a rom-file, sometimes wrong name or just cryptic numbers-letter), press reset to try again, usually it helps. Sometimes you need to reset multiple times or reinsert the cartridge (or clean it!). Keep trying until you get a meaningful name!
What you can’t do
- Upload other roms to cartridge
How to update
My Retrode 2 came with the latest 0.20 beta firmware (thank you EvilDragon!), so I didn’t need to upgrade mine. If you need to update your Retrode, follow instructions on the official site.
Step 1: Connect your retrode and check the version in the RETRODE.CFG
Step 2: Download the Flip-software and install it.
Step 3: Connect the device to the USB port, press and hold RESET+HWB buttons, release RESET und then HWB. A new device will popup in the device manager. Open the device manager and look for a device named libusb-win32 Usb Devices -> AT90USB64 (use USB3.0 port). You can update the driver by choosing the folder c:\Program Files (x86)\Atmel\Flip 3.4.7\usb\ via manual driver update. On newer Windows the device may have a problem shown in the device manager (if you open the properties, there will be something about Error Code 43). In this case you need to add a key under HKEY_LOCAL_MACHINE\SYSTEM\CurrentControlSet\Control\usbflags\. Key name is XXXXYYYYZZZ (where XXXX=VID, YYYY=PID, ZZZZ=REV, you can find these in the USB info window, for me it was “03EB2FF90000”) and then add REG_DWORD (32) with Value 1. Then restart Retrode and the device will be recognised correctly.
Step 4: Start FLIP software, select “Device -> Select” and choose AT90USB64. Then “Settings -> Communication -> USB” and then “Open”. Information will appear about the connected device. After that “File -> Load Hex File” and choose the update file (find updates here). Then press “Run”. After the update progress is finished, press RESET button on the Retrode and check the RETRODE.CFG file if the update was successful. Close other applications.
Compatibility
For more information, please read the readme.txt of the last update file. Many new updates have been implemented!
Some SNES games and 1 Genesis game (Virtua Racing) are not compatible. Although the Retrode 2 doesn’t have connections for extra pins on games like Yoshi’s Island, the cartridge is still compatible.
With the update 0.22 support for enhanced chip carts for SNES was introduced.
You cannot dump Game Boy games via the Super Game Boy adapter or GBA game via the Retro Advance Adapter! Or any other pass through adapters (NES on SNES, Genesis on SNES, etc.)
1 комментарий к “Retrode2 Guide”