Introduction
RetroTINK-5X is an advanced upscaler designed and produced by RetroTINK (Mike Chi) in San Diego. The scaler was released in May 2021.
It’s successor is RetroTINK 4K, which will be released in December 2023.
The “5X” in its name refers to the possibility of this scaler to line multiply the source signal up to 5 times (240p and 288p for retro gaming consoles), but actually even higher:
- 240 x 5 = 1200
- 288 x 5 = 1440
And thus these are the highest compatible or supported resolutions (although 1440p is now regarded as experimental).
Main Features:
- Linedoubling up to 5X and higher (with maximal resolution that can be achieved: 1200 or 1440)
- Modern deinterlacing algorithm Motion Adaptive Deinterlacing (also older algorithms Bob, Blend, Weave, Linear and CRT simulated are supported) for interlaced signals
- Support of RGB SCART and composite signal over SCART (you can use component inputs for component cables and SCART for composite)
- Polyphase interpolation to reduce shimmering or increase sharp pixels
- Horisontal sampling (aspect ratio settings) with separate optimal settings for many consoles
- Comb and notch filter for composite video to remove analog noise
- PAL-50, PAL-60 and NTSC support
- Scanlines in 50, 90 and 100% strength
- Low pass filter for noise reduction
- Supported Resolutions: 240p/480i, 288p/576i, 480p, 720p, 1080i
- Output Resolutions: 480p, 720p, 768p, 1080p, 1200p, 1440p (only for 240p/480i/480p sources) and also 240p and 480i when downscaling
- In-game switching resolutions without dropping synchronisation (with framebuffer and very low lag)
- Latency of ca. 0.25 frames in frame lock mode and 0.25 to 1.25 in triple buffered mode
Comparison
RetroTink-5X vs OSSC
- Input Compatibility:
- RetroTINK-5X: Offers a broad range of input options, including composite, S-Video, component, and RGB (SCART), though no VGA or digital input (HDMI). This makes it highly versatile and compatible with a vast array of retro gaming systems.
- OSSC: Focuses primarily on RGB and component video inputs. It is highly regarded for its performance with RGB sources but lacks native support for lower-quality inputs like composite or S-Video and also has no digital input (HDMI).
- Upscaling Quality and Resolution:
- RetroTINK-5X: Capable of upscaling to high resolutions like 1080p, 1200p or even 1440p and remain compatible. RetroTINK-5X has more and better post-processing options (shadow masks, better customizable borders)
- OSSC: It can upscale similar high resolutions as the RetroTINK-5X, but due to raw line double nature has more incompatibility issues. The final image is considered slightly sharper on OSSC.
- Latency:
- Both devices are designed with low latency in mind, crucial for responsive gameplay in fast-paced retro games.
- RetroTINK-5X: copes better with resolution switches due to the possibility to use a framebuffer (though it adds minimal latency).
- OSSC: remain lag-free, because it uses no framebuffer and outputs lines almost immideately
- Ease of Use and Customization:
- RetroTINK-5X: Generally user-friendly with an easy-to-navigate interface. It offers a good balance between advanced features and simplicity. Buttons on device were deactivated after a certain firmware release and are not usable. The original remote controller is slightly laggy. You can create presets, but there is no possibility to save them on external media (like SD card).
- OSSC: Might require more technical knowledge and adjustments for optimal performance, especially for various consoles and games. It’s favored by users who enjoy fine-tuning their setup. Device buttons remain operable and the remote controller is very responsive. SD card support allows to store profiles externally.
- Price and Availability:
- RetroTINK-5X: Priced higher (300-400$), offering good value for its features and broad compatibility.
- OSSC: More affordable, about 100-150$
- Target Audience:
- RetroTINK-5X: Ideal for gamers looking for a versatile, high-quality solution that is compatible with a wide range of consoles and displays.
- OSSC: Best suited for enthusiasts who have a technical inclination and primarily use consoles with RGB output.
RetroTink-5X vs OSSC PRO
- Input Compatibility:
- RetroTINK-5X: Offers a broad range of input options, including composite, S-Video, component, and RGB, e.g. SCART (but no VGA input). This makes it highly versatile for use with various retro gaming systems. No digital input (HDMI).
- OSSC Pro: Like the original OSSC, it focuses on RGB and component video inputs (VGA and SCART inputs available) but with added features and capabilities. It’s designed for high-quality sources and may not support lower-quality inputs like composite or S-Video without additional adapters. It has a digital input (HDMI). Compatibility for old computers might be better (especially due to direct VGA input).
- Upscaling Quality and Resolution:
- RetroTINK-5X: Capable of upscaling to high resolutions like 1080p or 1440p. It uses line multiplication for clean scaling and has various options to optimize image quality. No 4K output, maximal supported input resolution is 1080i.
- OSSC Pro: Same or similar high resolutions (even 4:3 4K is possible), but no full 4k output. Quality wise very similar. It also retains the pure line doubling functionality as in the predecessor and thus can achieve the same very high sharpness. It now also has a customizable scaler. Support 1080p and can passthrough or upscale it.
- Latency:
- Both devices are designed with low latency in mind, crucial for responsive gameplay in fast-paced retro games.
- Features and Customization:
- RetroTINK-5X: Known for being user-friendly with easy-to-navigate menus and settings. It balances advanced features with simplicity of use. Post-processing options are similar. Profiles cannot be stored externally, only on device itself.
- OSSC Pro: Likely to include more advanced features and customization options, building upon the original OSSC’s capabilities. This could include more detailed image adjustments and potentially more sophisticated processing techniques. Post-processing options are similar, but OSSC-PRO allows to load user-defined masks in MiSTer format. Profiles can be stored internally and externally (SD card). (OSSC Pro has USB input and only theoretically may have more cores, e.g. gaming cores, in future).
- Price and Availability:
- Have similar prices about 300-400$.
- Target Audience:
- RetroTINK-5X: Suitable for a wide range of users, from casual retro gamers to more dedicated enthusiasts, due to its ease of use and broad compatibility.
- OSSC Pro: Aimed more at the enthusiast market, particularly those who are looking for the highest possible video quality and are willing to delve into more complex setup and customization.
RetroTink-5X vs Framemeister
- Input Compatibility:
- RetroTINK-5X: Supports a wide range of inputs including composite, S-Video, component, and RGB. This broad compatibility makes it suitable for a vast array of retro consoles. RT5X doesn’t have digital input (HDMI)
- Framemeister: Primarily focuses on RGB and component video inputs. It is highly regarded for its performance with RGB sources but may require additional adapters for other types of connections. Scart or Component are not easily available though, you need a separate adapter for SCART and separate adapter for component cables. Framemesiter has digital input with upscale or passthrough functionality.
- Upscaling Quality:
- RetroTINK-5X: Offers high-quality upscaling up to 1440p with multiple resolution options. It uses line-multiplying methods to scale the image cleanly, reducing artifacts. The compatibility is better, because RT5X can maintain or restore signal during resolution change faster. RT5X supports signals via component better, because it doesn’t downgrade the color space. RT5X has better post-processing options, including masks, HDR, VRR or frequence locks. It also has better deinterlacing options. Final image is sharper, than on Framemeister.
- Framemeister: Known for its excellent upscaling quality, with options up to 1080p. It provides detailed image adjustments and is particularly strong in handling color accuracy and image sharpness. It cannot handle resolution changes very good, so in such cases, the signal needs to be restored and it may take some time. Framemeister has issues with colors via component signal, including degraded colors or noise. Post-processing options are less versatile and there are no shadow masks.
- Latency:
- RetroTINK-5X: Designed with low latency in mind, crucial for gaming. It’s generally considered to have imperceptible lag.
- Framemeister: Has slightly higher latency compared to the RetroTINK-5X but is still suitable for most gaming needs. Unfortunately resolution change is a major problem.
- User Interface and Customization:
- RetroTINK-5X: User-friendly with an on-screen display for settings. It offers a balance between advanced features and ease of use.
- Framemeister: Known for its extensive customization options, which can be both a strength and a complexity. It requires more time to configure optimally. Presets can be stored on an SD card.
- Availability and Price:
- RetroTINK-5X: Generally more readily available and priced moderately.
- Framemeister: Often more expensive and can be harder to find, as it has been discontinued and is sought after in the retro gaming community. It won’t be developed anymore, so no updates are to expect.
- Target Audience:
- RetroTINK-5X: Ideal for gamers looking for a versatile, high-quality solution compatible with a wide range of consoles and displays.
- Framemeister: Best suited for enthusiasts who desire precise control over image settings and are willing to invest time and money for the optimal setup. Actually, it’s rather for collectors or those, who want to be able to compare different devices.
RetroTink-5X vs RetroTink-2X PRO
- Input Compatibility:
- RetroTINK-5X: Supports a wider range of inputs, including composite, S-Video, component, and RGB (also via SCART), making it compatible with a vast array of retro consoles.
- RetroTINK-2X PRO: Primarily designed for composite, S-Video, and component inputs. It lacks SCART support, which might be a downside. There is a separate RT2X device, which has SCART input though, but then, it lacks other inputs.
- Upscaling Capabilities:
- RetroTINK-5X: Capable of upscaling to higher resolutions, such as 1080p or even 1440p in some cases, with various scaling options and filters to improve image quality.
- RetroTINK-2X PRO: Limited to doubling the input resolution to 480p (for NTSC) or 576p (for PAL) or passthrough. This is sufficient for many applications but doesn’t provide the same level of clarity as the 5X.
- Image Quality and Features:
- RetroTINK-5X: Offers more advanced image processing features, such as customizable scanlines, various aspect ratio options, and different filtering modes, scanlines settings and shadow masks to enhance visual quality.
- RetroTINK-2X PRO: Provides a basic but effective upscaling solution with fewer customization options. Only several options, like smoothing or scanlines without possibility to adjust them. It’s more about simplicity and straightforward use.
- Latency:
- Both devices are designed with minimal latency, making them suitable for fast-paced gaming where timing is crucial.
- Ease of Use:
- RetroTINK-5X: Offers more features and settings, which can be a positive for users who want to fine-tune their experience but might be overwhelming for those who prefer simplicity. Can be adjusted with a remote control and has an OSD. Allows to create presets (and store them internally).
- RetroTINK-2X PRO: Known for its plug-and-play simplicity, making it a great choice for users who want an easy setup without much fuss. Cannot be controlled with a remote and as no OSD. Some options have separate switches, many options are selectable by clicking on the same button. No presets can be made.
- Price:
- RetroTINK-5X: Generally more expensive due to its advanced features and higher resolution support.
- RetroTINK-2X PRO: More affordable, offering good value for gamers who need a basic upscaling solution.
- Target Audience:
- RetroTINK-5X: Aimed at enthusiasts who want the highest possible video quality and don’t mind paying extra for advanced features.
- RetroTINK-2X PRO: Suited for casual retro gamers or those new to using upscalers, looking for an easy-to-use, effective solution without needing high-end features.
Contents
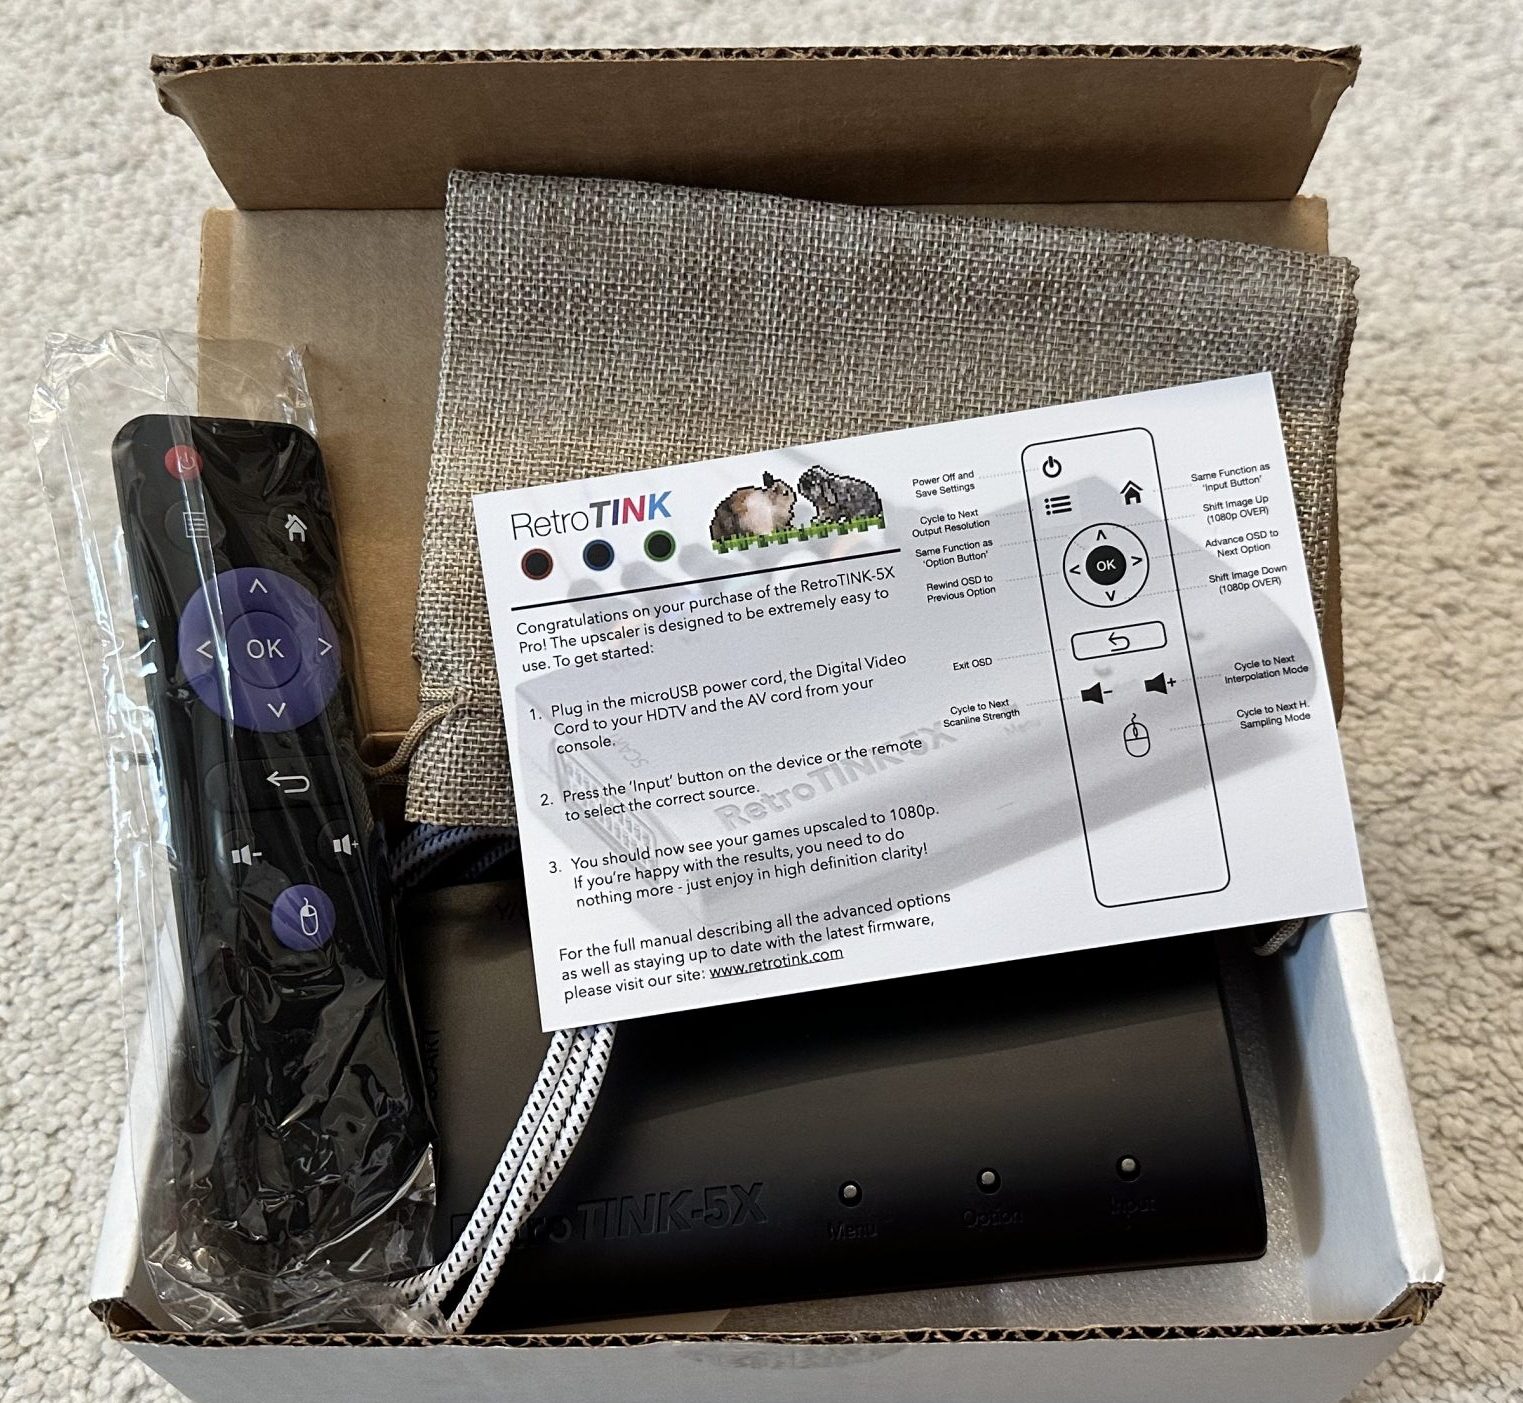
- Device itself in a plastic enclosure
- Micro-USB cable
- Sticker
- Remote control (no batteries included)
- Bag
- Welcome card
Measurements
Ca. 16 x 10 x 3.5 including connectors.
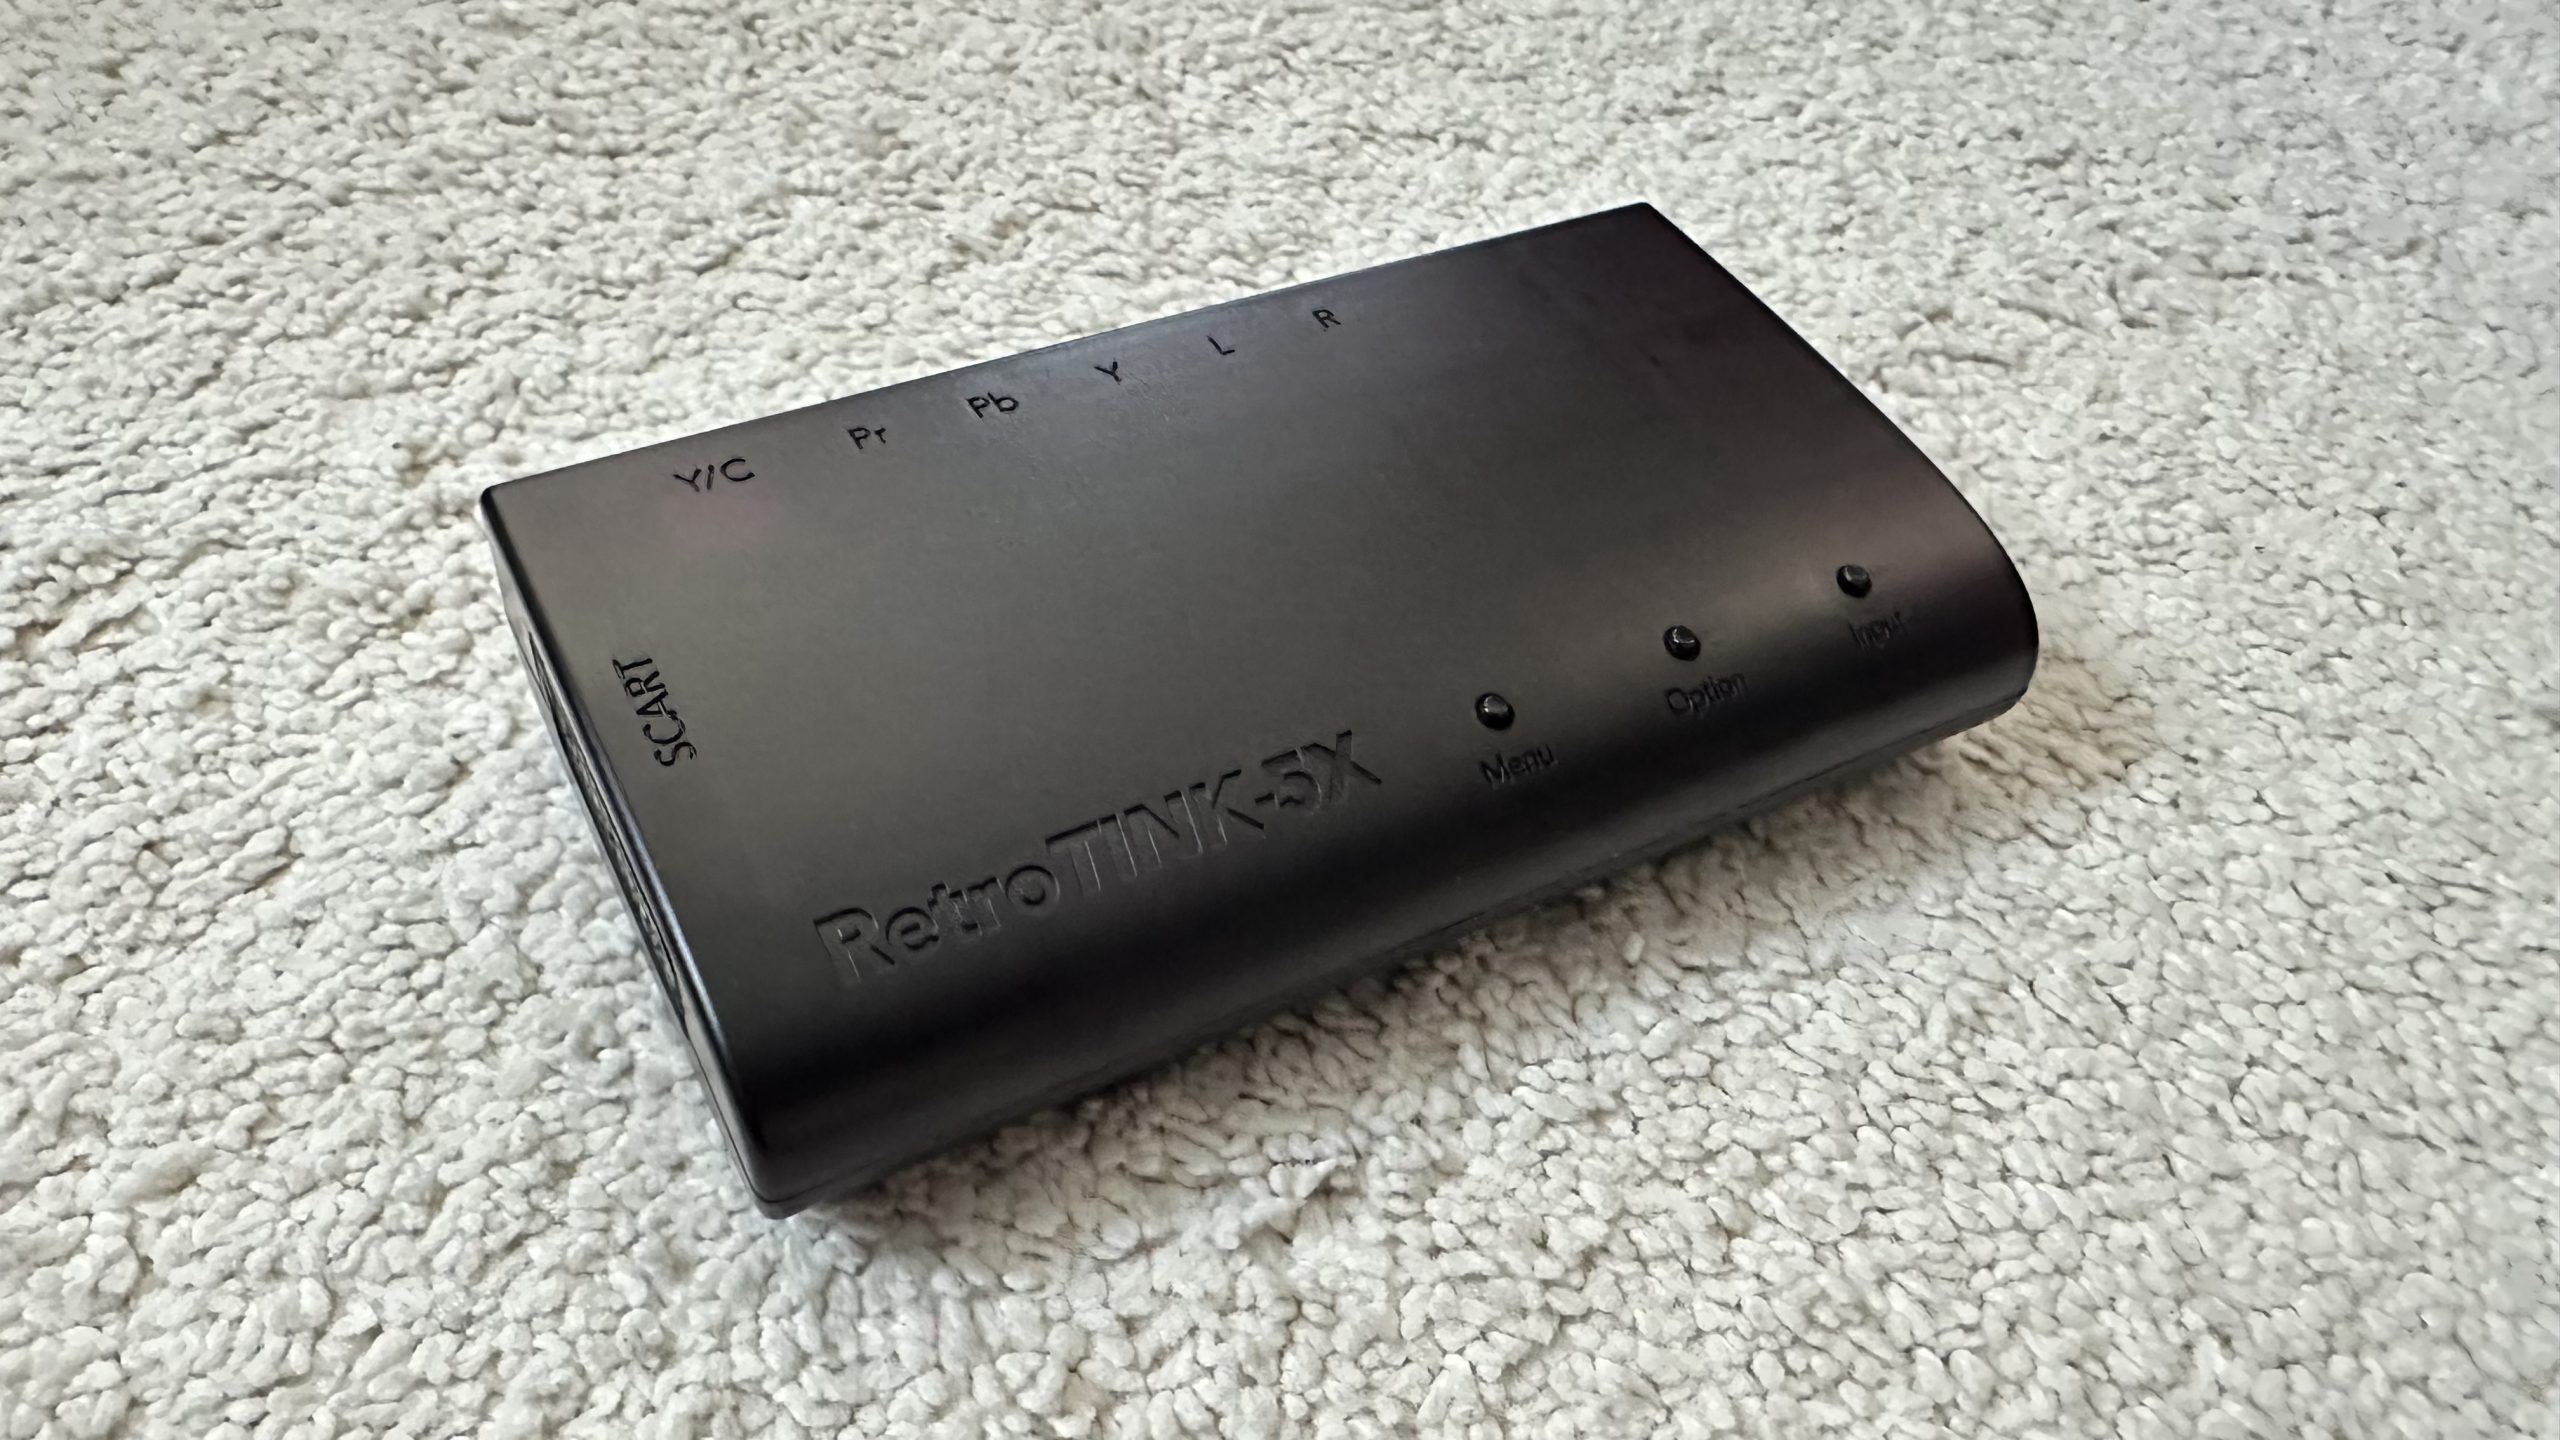
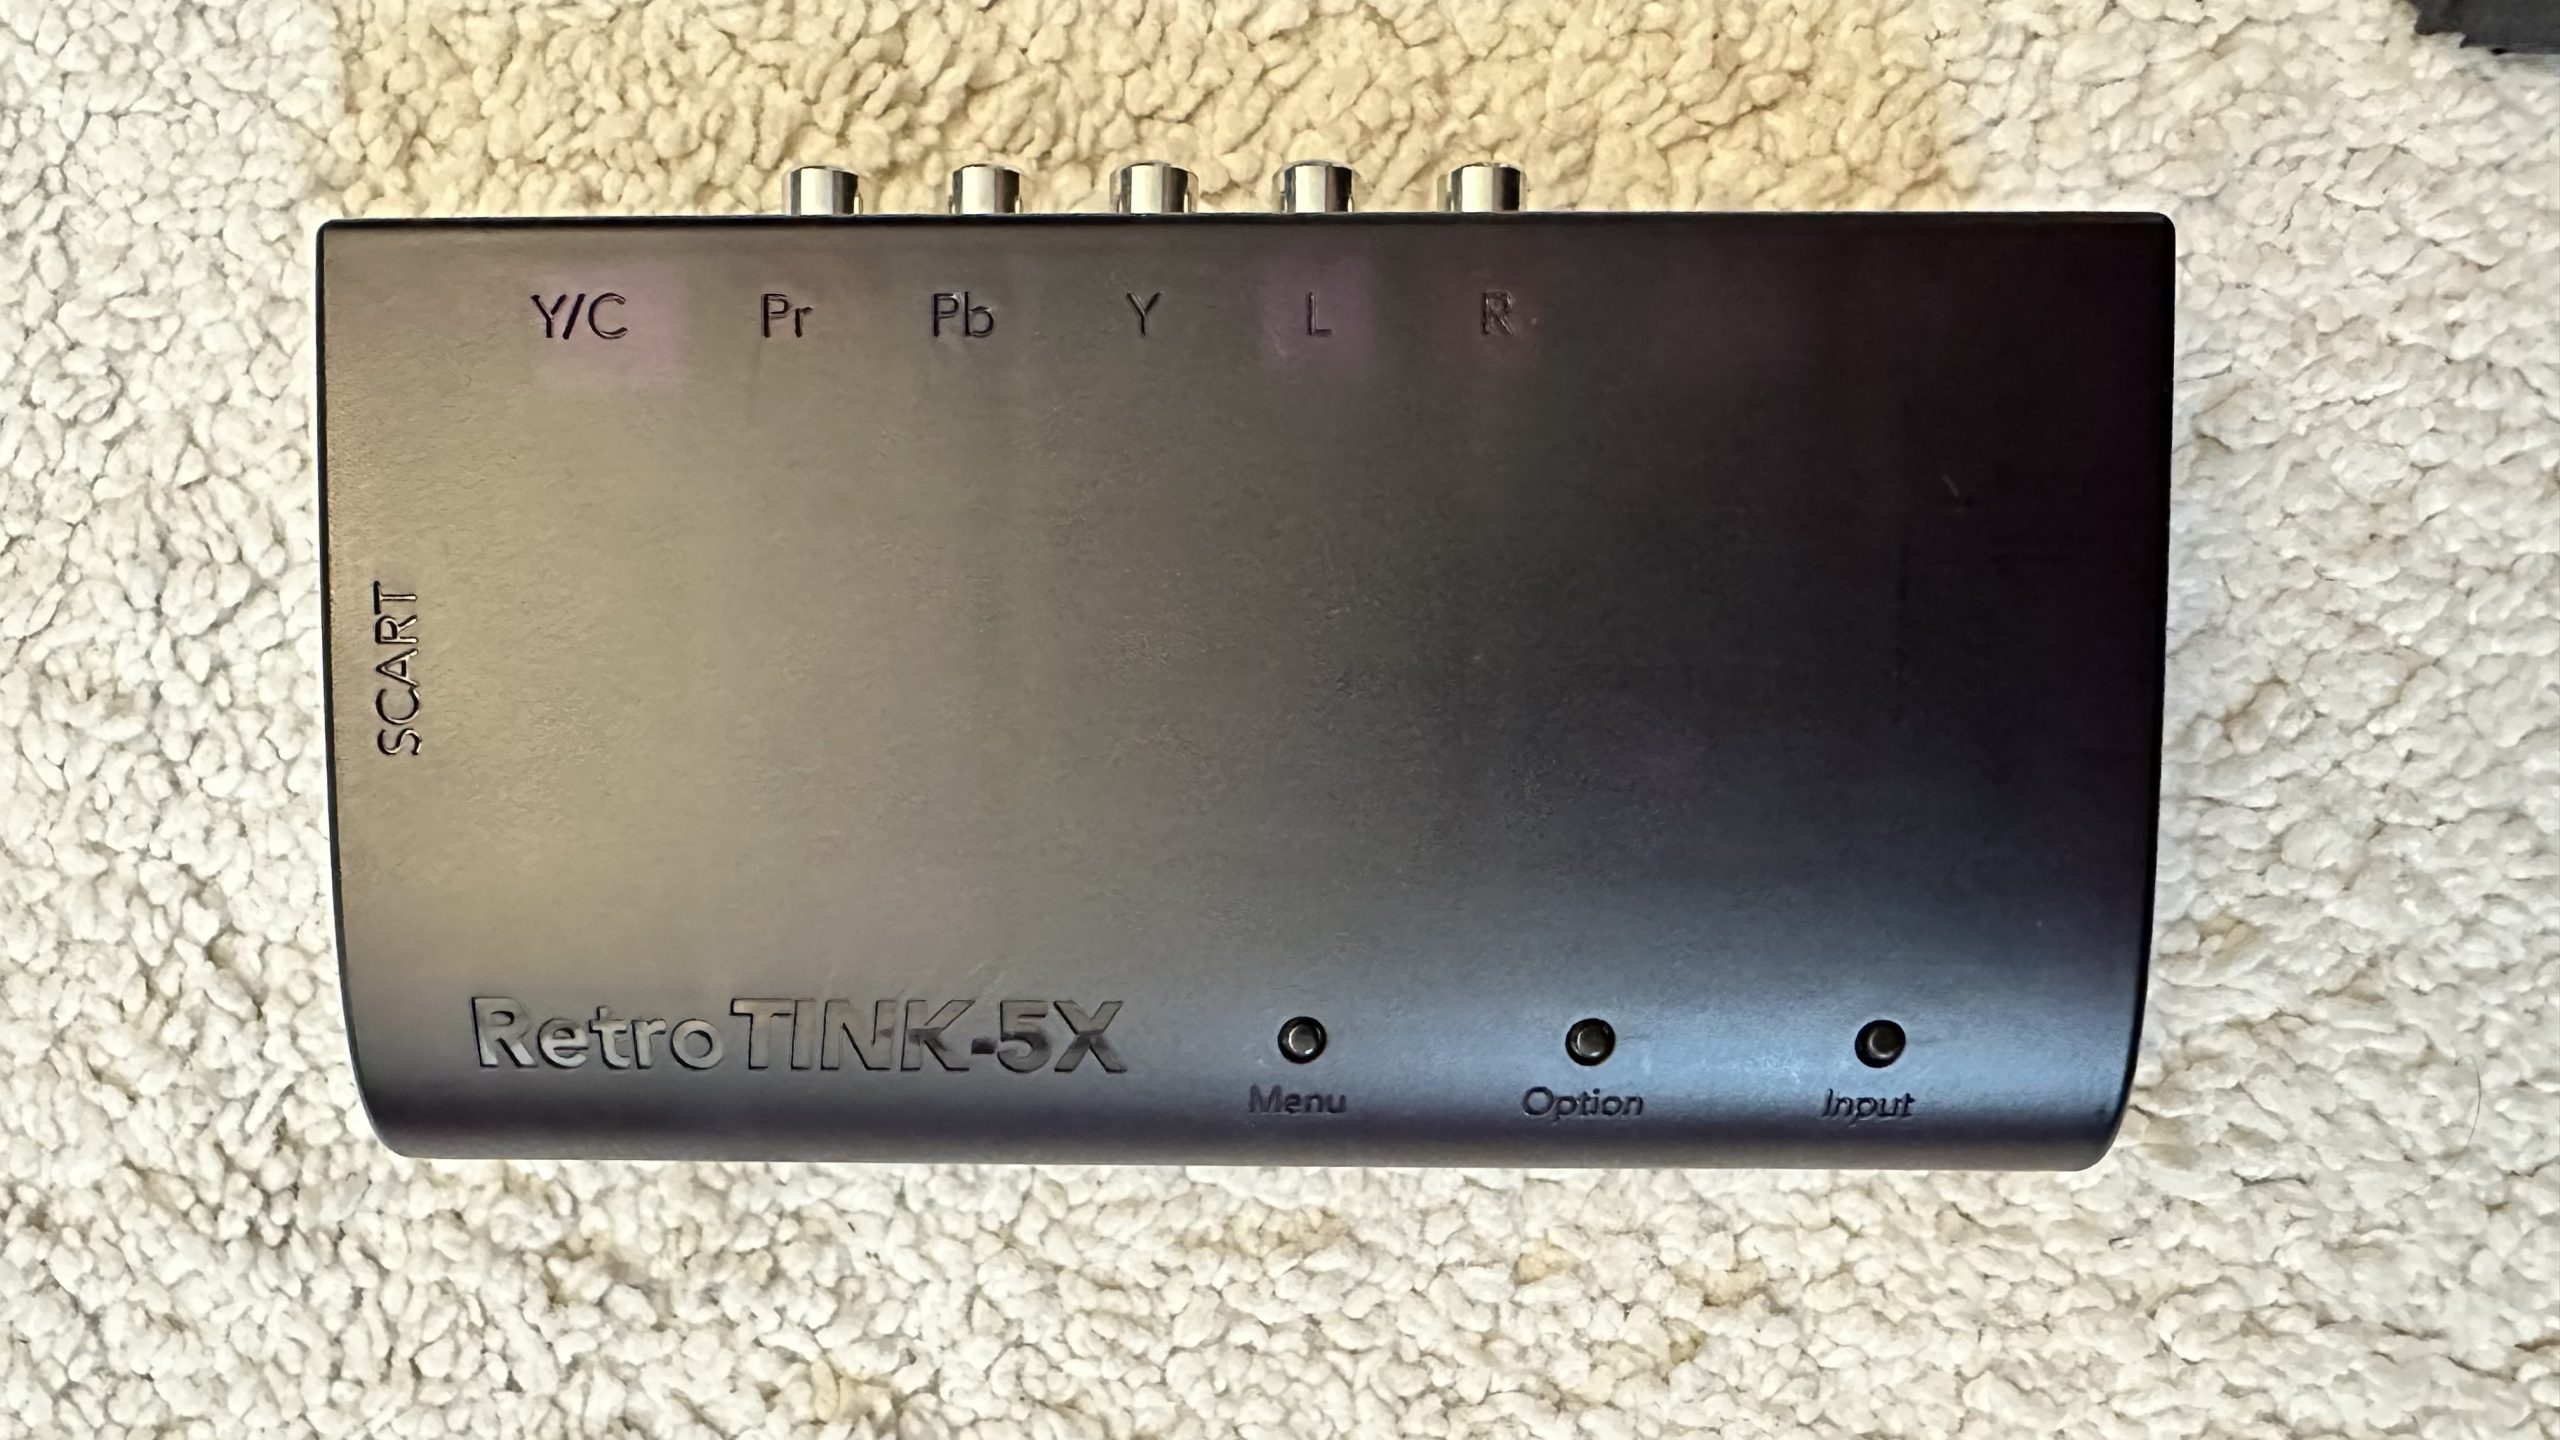
Case Overview
Front:
- Status Led:
- Purple: Component (YPbPr)
- Green: Scart RGB
- Yellow: Composite over green RCA jack
- White: S-Video (Y/C)
- Cyan: Composite over Scart (CVBS)
- Red: while firmware update
- Menu Button: (not used after firmware 2.0) opens the on-screen menu and cycles through the options. (This button is also used to set the device into upgrade mode – hold the button and insert the micro-USB cable, the led will be lit red)
- Option Button: (not used after firmware 2.0) cycles through the settings for the selected menu option
- Input Button: (not used after firmware 2.0) cycles between input sources. Closes the on-screen menu, if it’s shown.
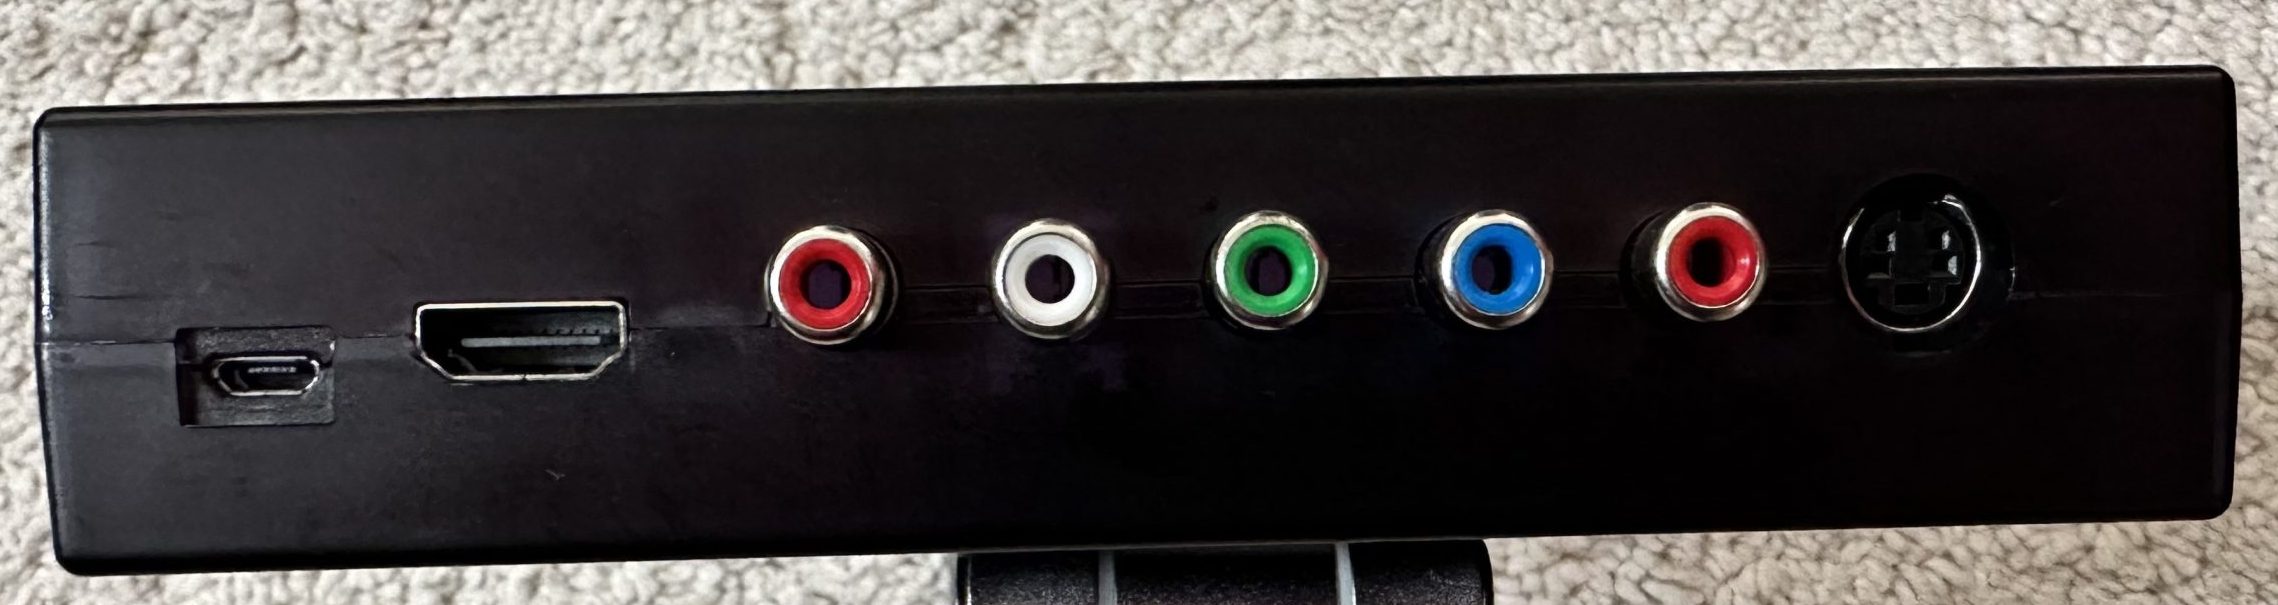
Back:
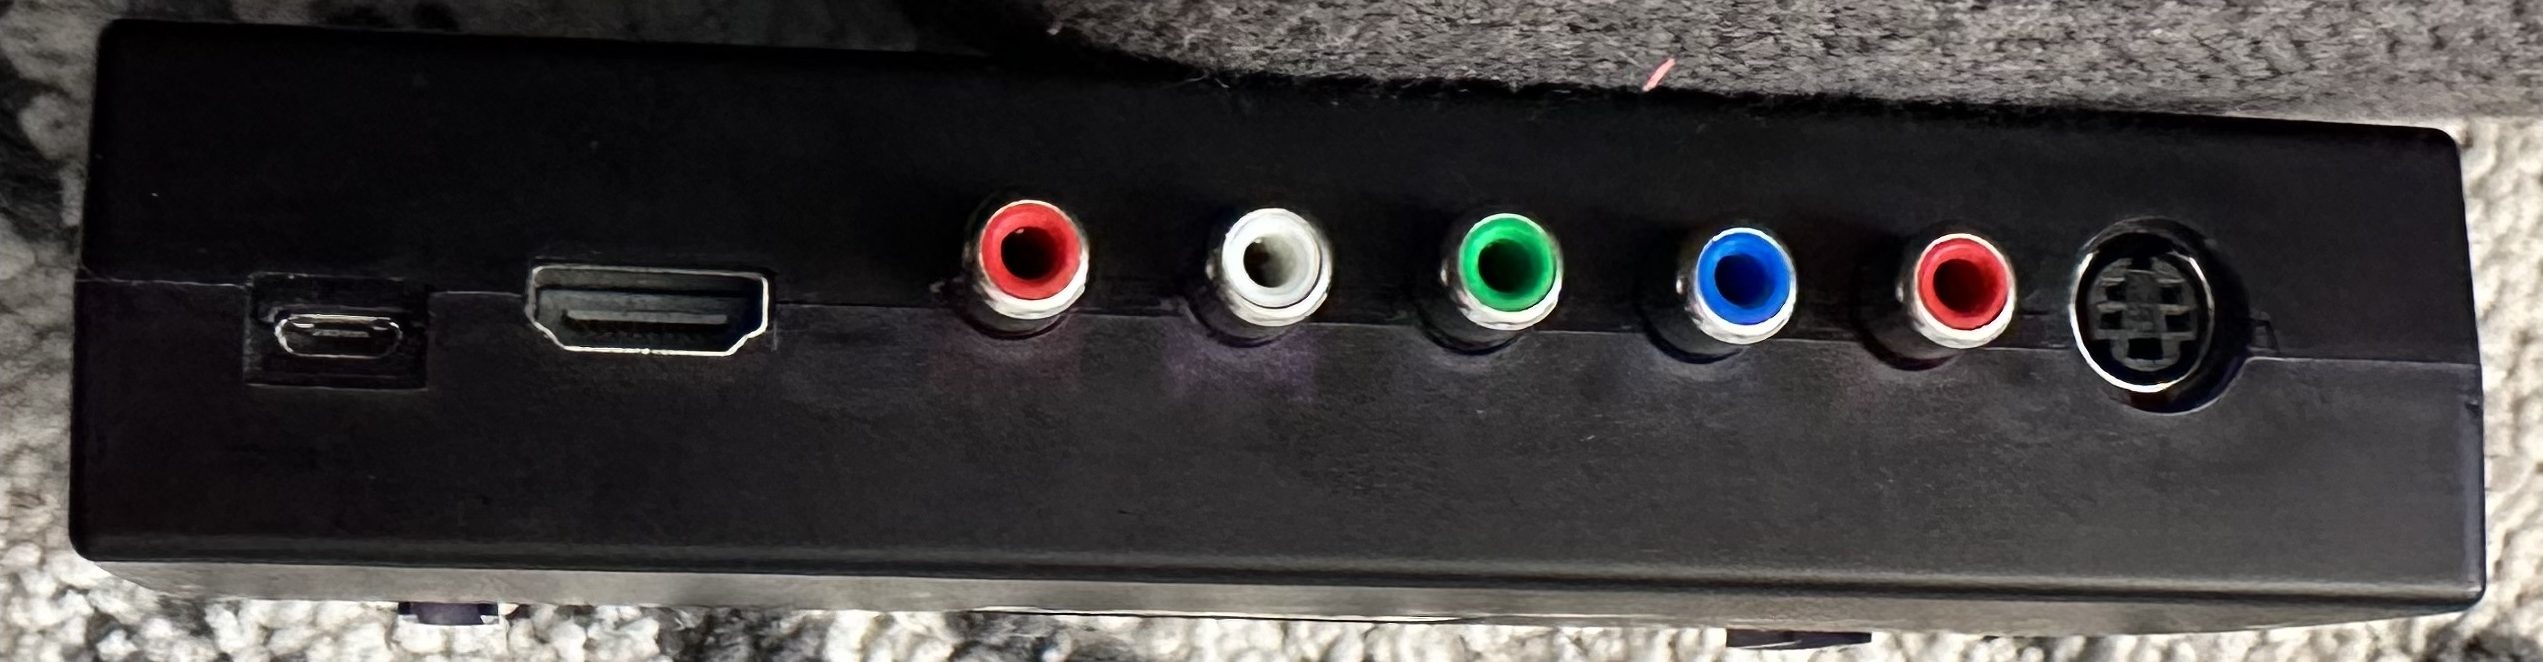
- Micro USB for power (requires at least 1 A), also for updating the firmware (connection to PC)
- Full size HDMI input
- RCA red and white (audio input for composite and component)
- RCA green, blue, red: for component and (green only!) for composite (note the custom order of colors, GBR/RBG instead of BGR/RGB)
Right:
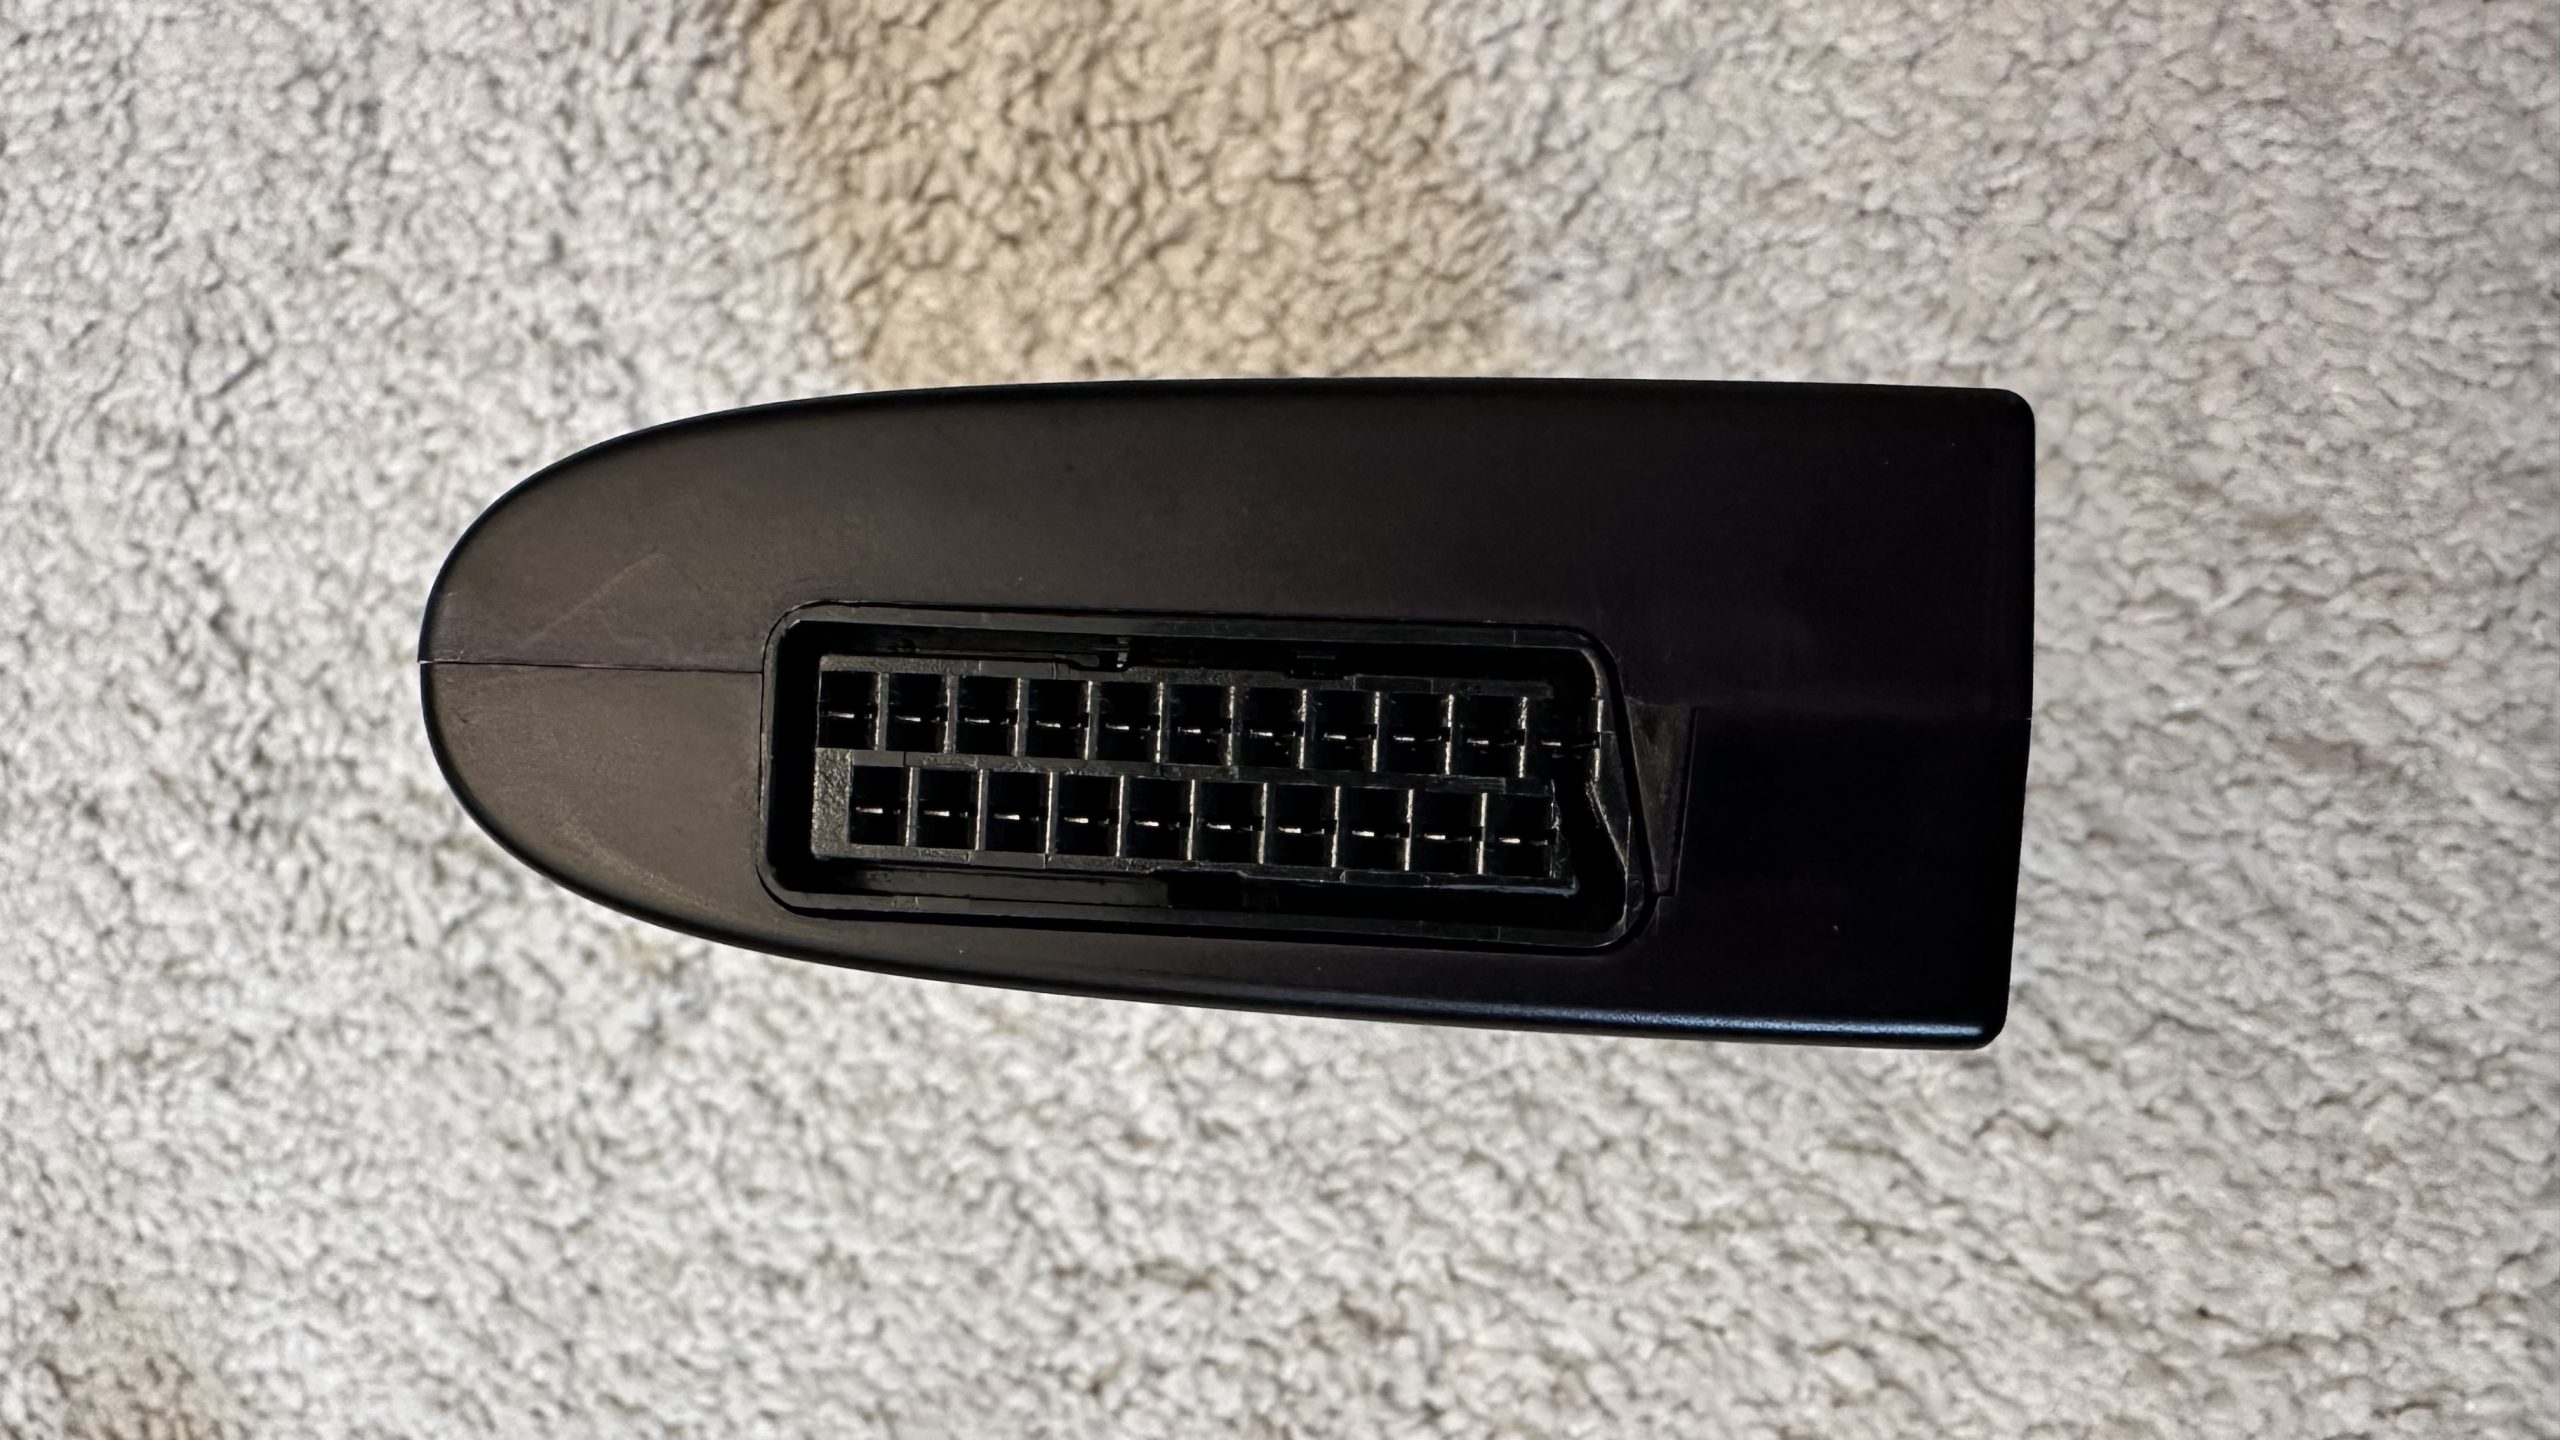
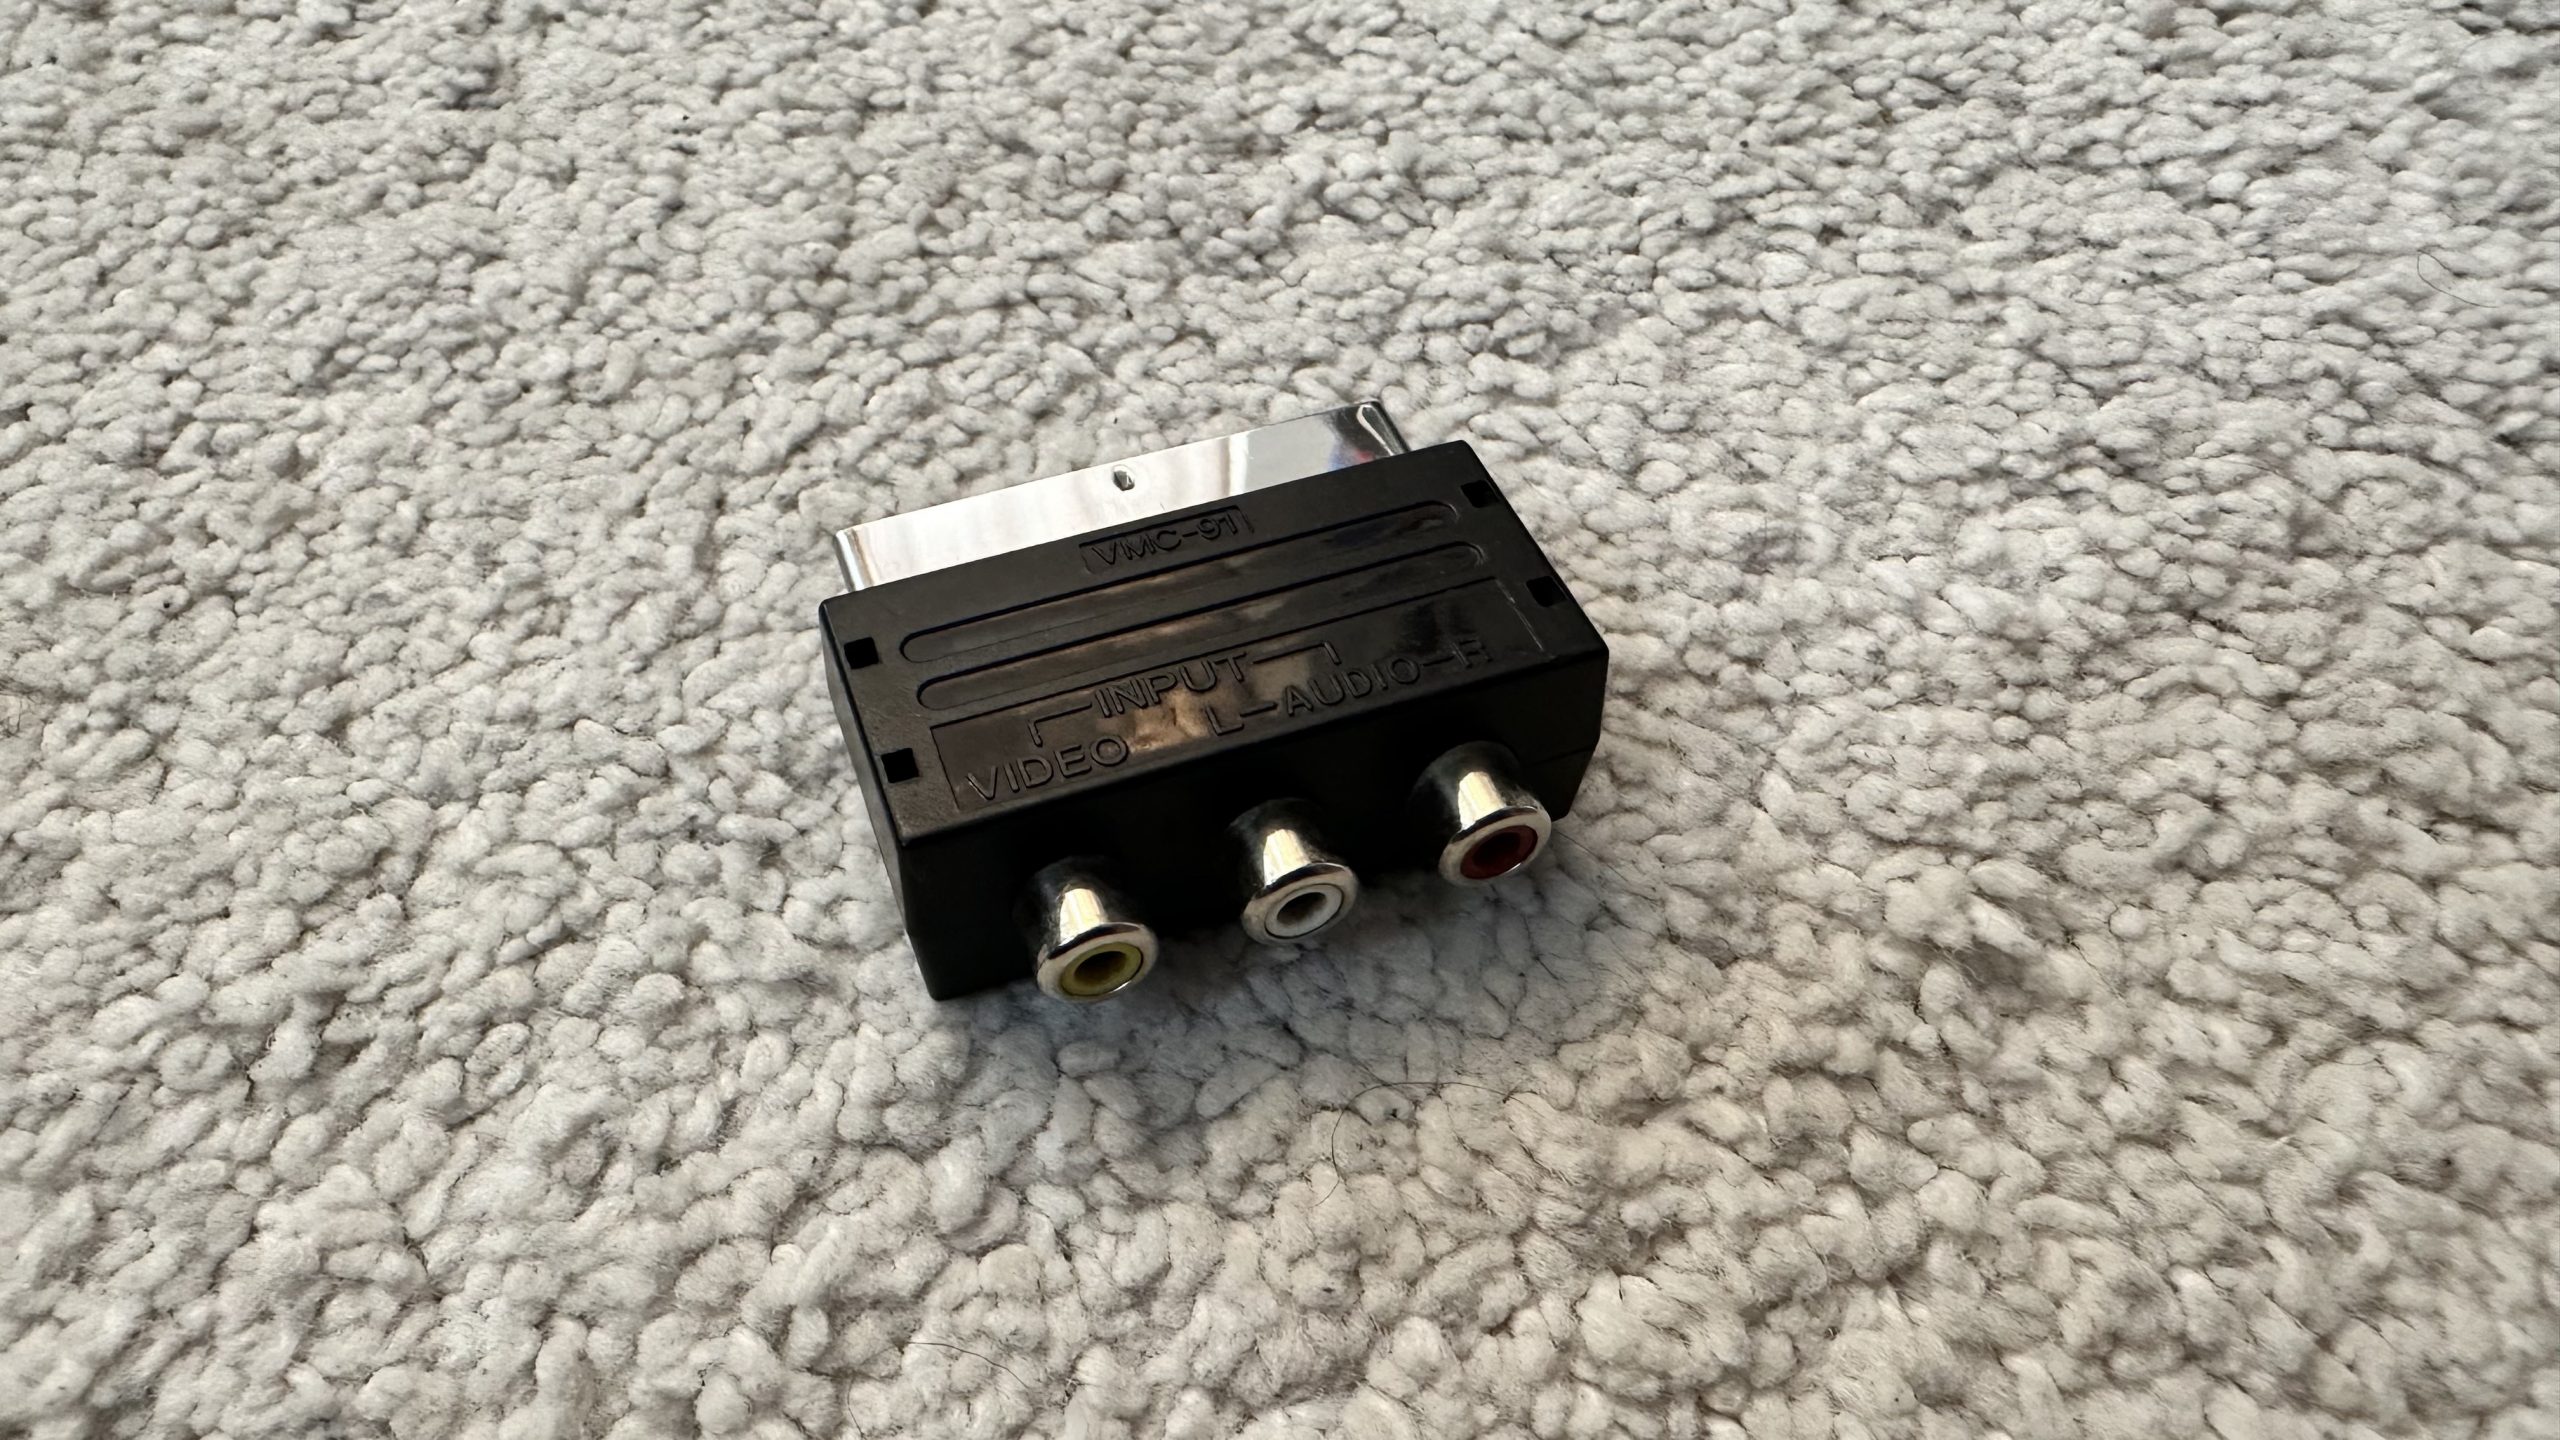
- RGB Scart input, also composite over Scart is possible, using a generic scart adapter like this:
Bottom:
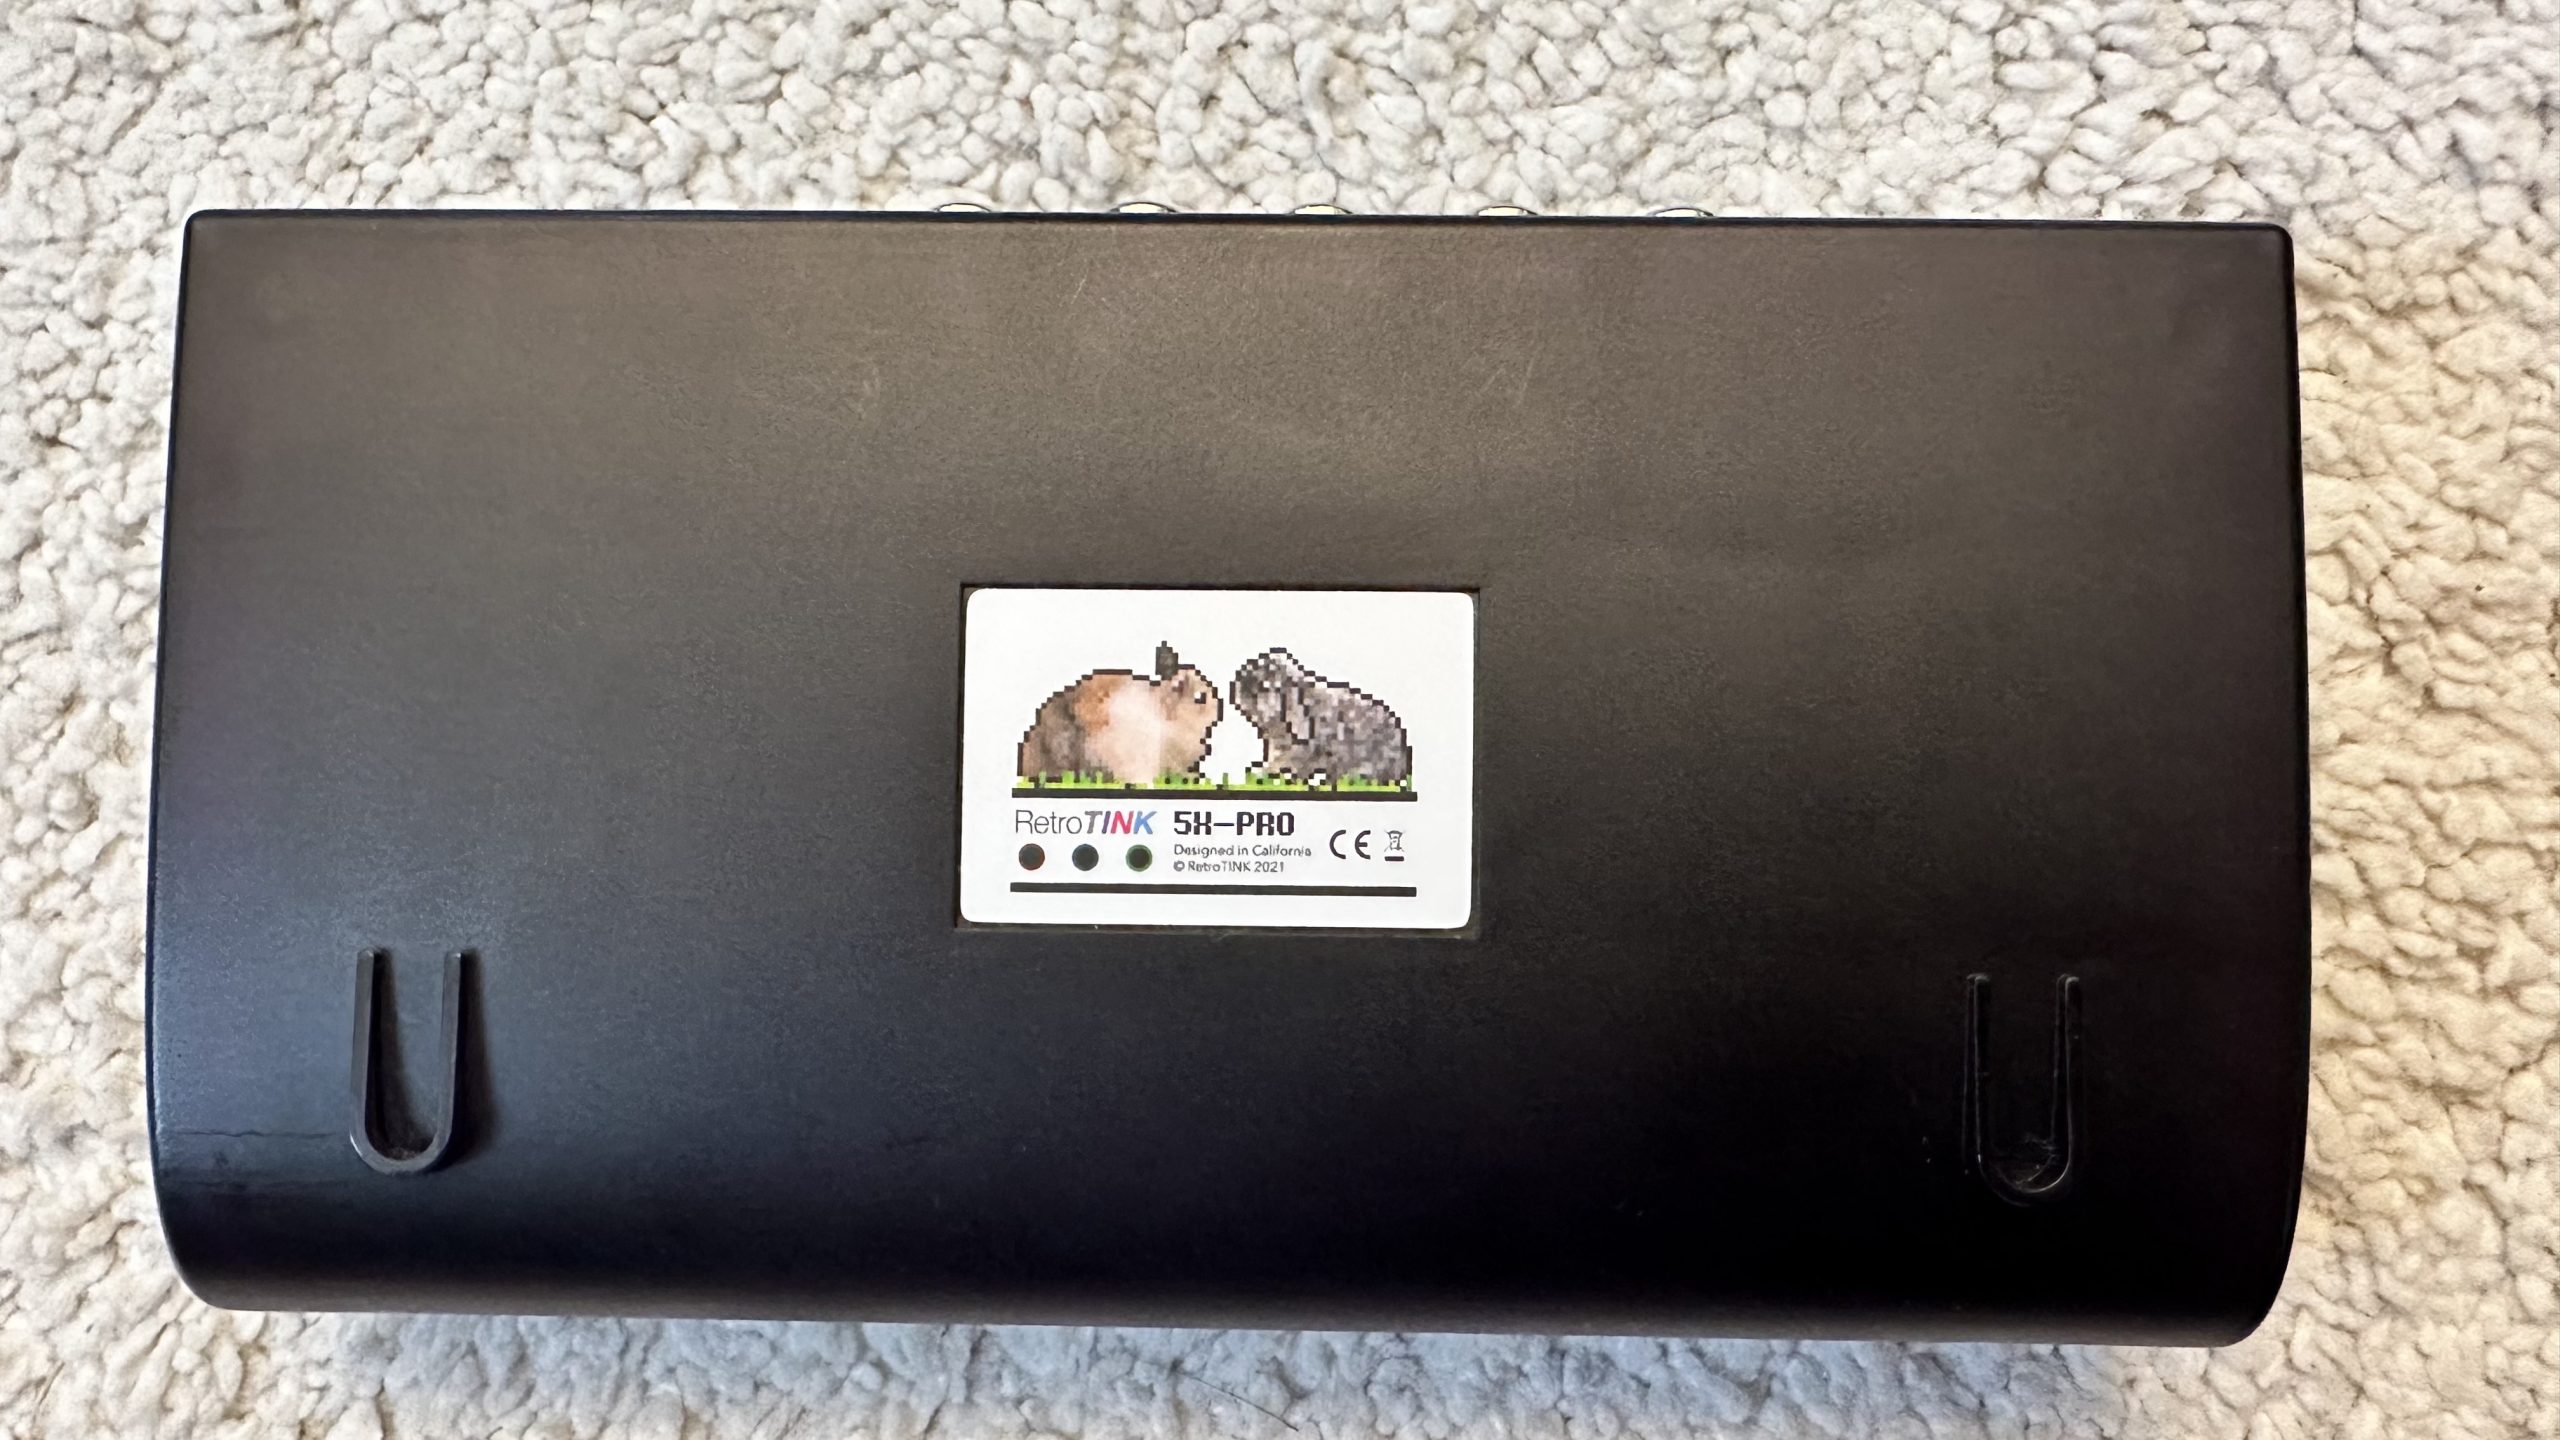
- RetroTink product sticker
Left side is empty
Connections

Video Inputs:
- S-Video (Y/C), DIN-4 connector (use red and white RCA for audio input)
- Composite aka AV (via the green RCA jack, shared with component!) (use red and white RCA for audio input)
- Component (YPbPr)
- RGB Scart and Composite over Scart (CVBS)
Video Output:
- HDMI full size, CEA-861 compliant
- 720p and 1080i are sampled to 4:2:2, all other resolutions are oversampled to 4:4:4. 1080p is not supported.
Usage
- Connect your console to RetroTINK using a cable: composite, component or SCART cables are supported
- Connect RetroTINK to your TV with an HDMI cable
- Connect RetroTINK to a power source (either TV, or if it doesn’t output enough, to any other appropriate source). You can use a phone charger adapter, if you want to connect RetroTINK to power outlet.
- Turn on your console and TV, then turn on RetroTINK with the remote
- Set your TV to the HDMI output, which RetroTINK is connected to
- Using the RetroTINK remote, open the main menu and select Input menu. Select the type of connection with your console.
That’s actually it.
But you can also do following:
- Go to output resolution menu and select resolution your TV can handle (if the selected resolution is not supportet, press OK to return to the previous)
- You can also save the current profile, if you wish to restore it anytime
Options
Overview over the main menu.

Input (Input Source)
This option allows you to select one of available inputs.

- YPbPr: Component source. This source is one of the best available and consoles like PS2, Gamecube, PS3, XBox/Xbox 360 or PSP can be connected with component cables. Older consoles like Genesis/MegaDrive, Saturn, Dreamcast or SNES can be connected via HD Retrovision component cables. This source separated audio and RGB channels and provides excellent analog quality with higher resolutions up to 1080i.
- SCART-RGB: RGB input using SCART connector. This source is maybe a bit worse than YPbPR, because it doesn’t support higher resolution. Used with many consoles in PAL region, like Genesis, Super Nintendo, PlayStation, PlayStation 2. This format separates RGB and audio channels and can have many different sync options (sync on Luma, etc.). RetroTink will support most of them, they will differ in quality. SCART RGB usually support resolutions up to 480p.
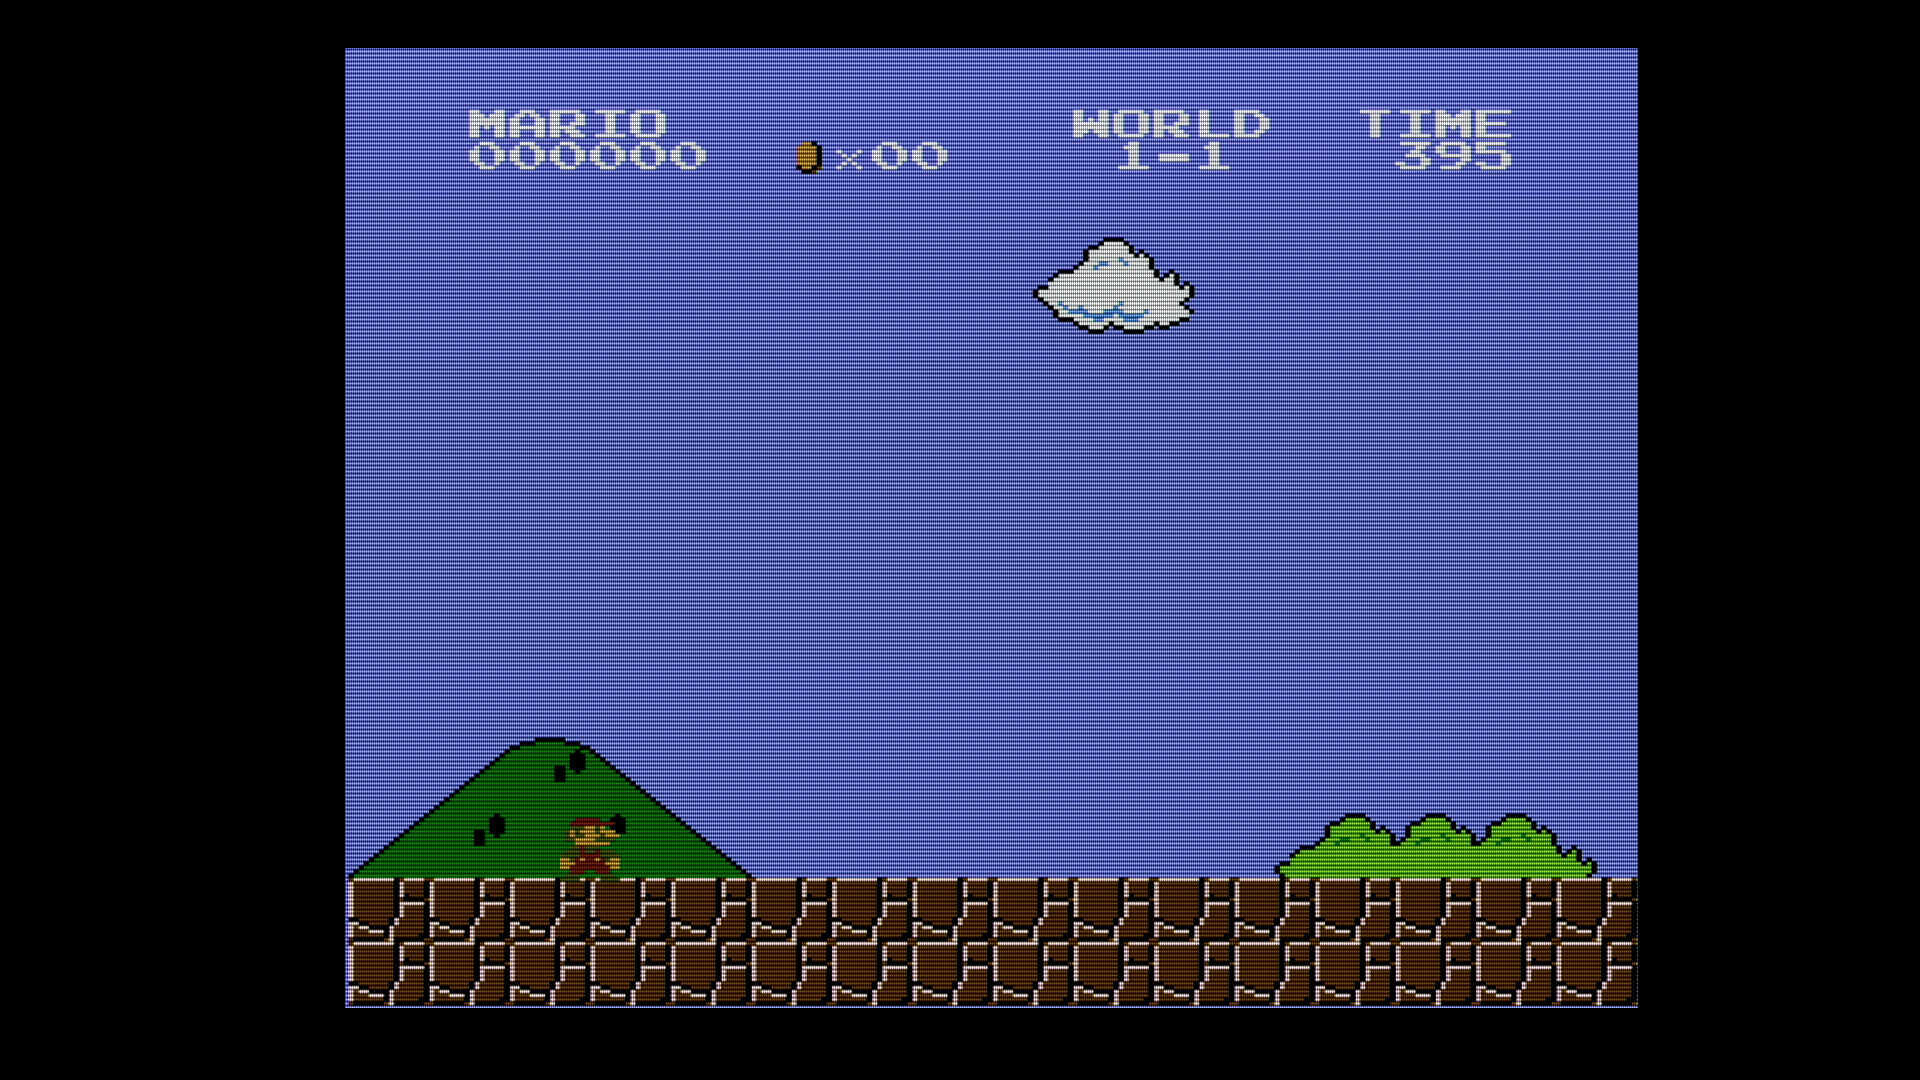
- Composite: Very common connection type, consisting of one yellow and two (white and yellow) RCA-cables. Since colors and brightness are mixed into one yellow cable, the quality is not the best, showing a lot of noise artifacts and very blurry image. Almost all consoles can be connected via this type of connection, but you should always try to use the best possible. Examples of consoles using this connection are NES, many home computers, N64.
- SCART-CV: Scart connector can also transfer composite video, which is actually the same type as above, just transferred via SCART instead of RCA cables. You can also use an adapter from RCA to SCART, you you want to connect multiple composite inputs.
- YPbPr (SDP): SDP stands for standard-definition processor. It handle problematic sync signals better and allows for brightness/contrast control, but it only supports 240p/480i signals and uses a lower sampling rate. The sharpness is lower than normal YPbPr.
- S-Video: This connection type may be a bit better than composite, but still much worse than Scart RGB or YPbPr. It has a round connector (similar to the one used in Genesis input). Ot handles brightness and sharpness better. Some consoles support S-Video, like unmodded N64.
Output Res (Output Resolution).

This menu allows you to set the desired resolution. The scaler will adjust the image according to the selected option.
You must select the highest possible value, that matches the native resolution of your monitor or TV.
We will discuss them from bottom to top.
- 480p is the most compatible option, but choose it only, if your TV or monitor doesn’t support higher resolutions.
- For (non-full) HD-monitors, the sharpest result will be with 720p. This resolution is also highly compatible. Since this resolution is 3×240, the result is an integer-scaled image with no need for interpolation and pixels are very sharp.
- For Full-HD you can use one of the 1080p options:
- 1080p (Fill): this option will try to fill the whole 1080p frame with the image. This will not be always the exact multiplicaton of the original image, therefore the result will not be very sharp and interpolation has to be applied.
-
- 1080p (Over): this option will upscale to 5x (exact multiplication) and be slightly bigger, than 1080p frame. The image will be sharp, because it’s integer-scaled image. Since many games didn’t use the whole space and left some for overscan area (not shown on older tvs), you can upscale the image and only several lines will be cropped. You can move the image vertically within 1080 frame to show or hide elements not relevant for game.
-
- 1080p (Under): this option will upscale and fit the image into the 1080p frame, to the next possible resolution (4×240=960), which will fit into 1080p frame. The result image will be smaller than the 1080p frame and there will be black borders around the picture. The image will be sharp, because it’s an integer-scaled image.
- For pc monitors supporting 1200p, you can select this option to have a bit more sharpness. Best result can be achieved on monitors with 1200p as panel resolution, otherwise the image will be not 100% sharp because of interpolation.
All listed resolutions are progressive, that means that your interlaced signals will always be deinterlaced to become progressive (each line is drawn).
More resolutions are hidden, because they are experimental or not supported, or you may experience compatibility problems. If you want to enable them, go to OSD -> Advance Res -> Yes

Now more resolutions will be shown in the Resolution menu:
- 1920x1440p
- 2560x1440p (widescreen)
- 1536 (iPad)
- 240p: downscaling to 240p
- 480i: skipping lines and ouputting interlaced signal (for TVs, not supporting 480p)

Scaling Options
This is a powerful scaler configuration window, which allows to adjust the position of the frame, the size and the cropping borders.

Panning
- H Position: the start of the output image – you can pan the image to the left or right, if it’s not centered correctly
- V Position: pan the image vertically, if it is not centered correctly
Resizing
The aspect ratio will be shown in the right bottom corner to show you, when you match ratios like 4:3, 16:9 etc.

- H (Interp) Size: resize the image horizontally
- V Size: resize the image vertically
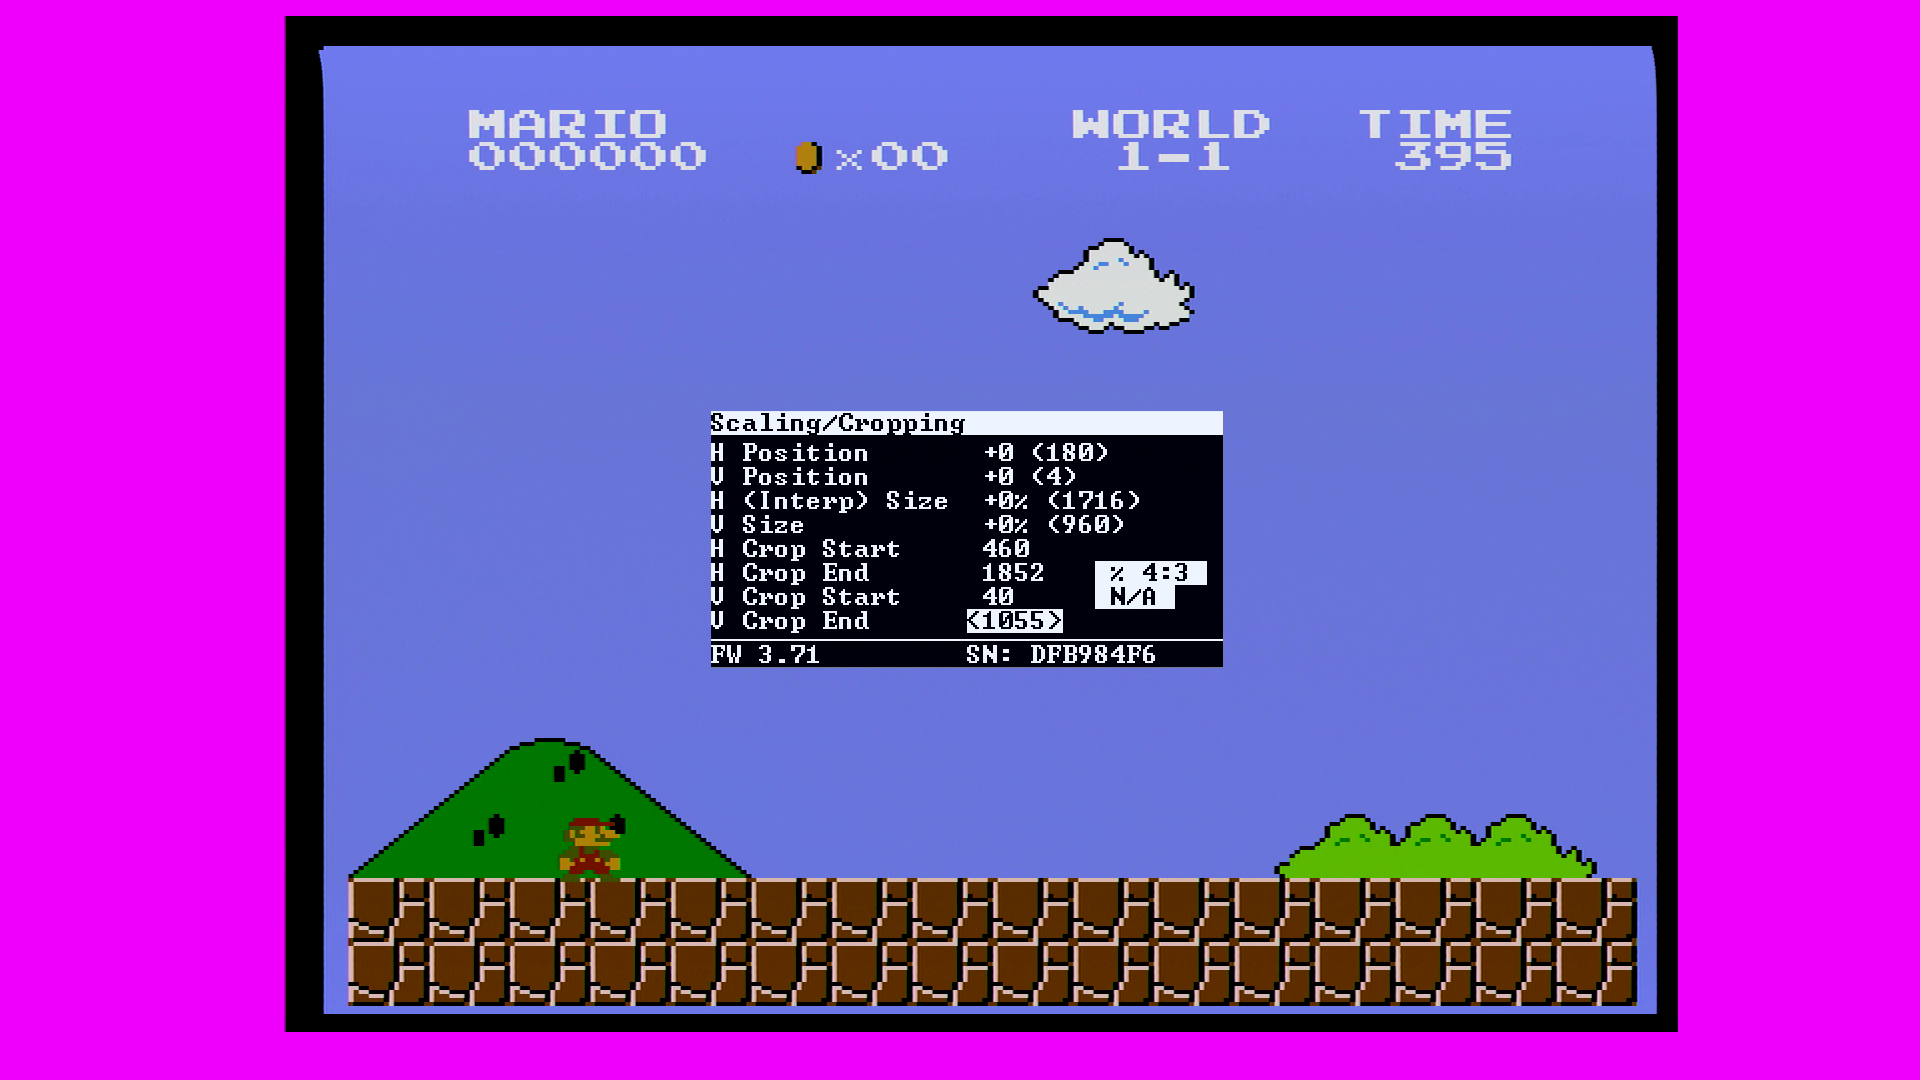
Cropping
When changing the following options, a pink border will be shown to show the position of the border (or mask).
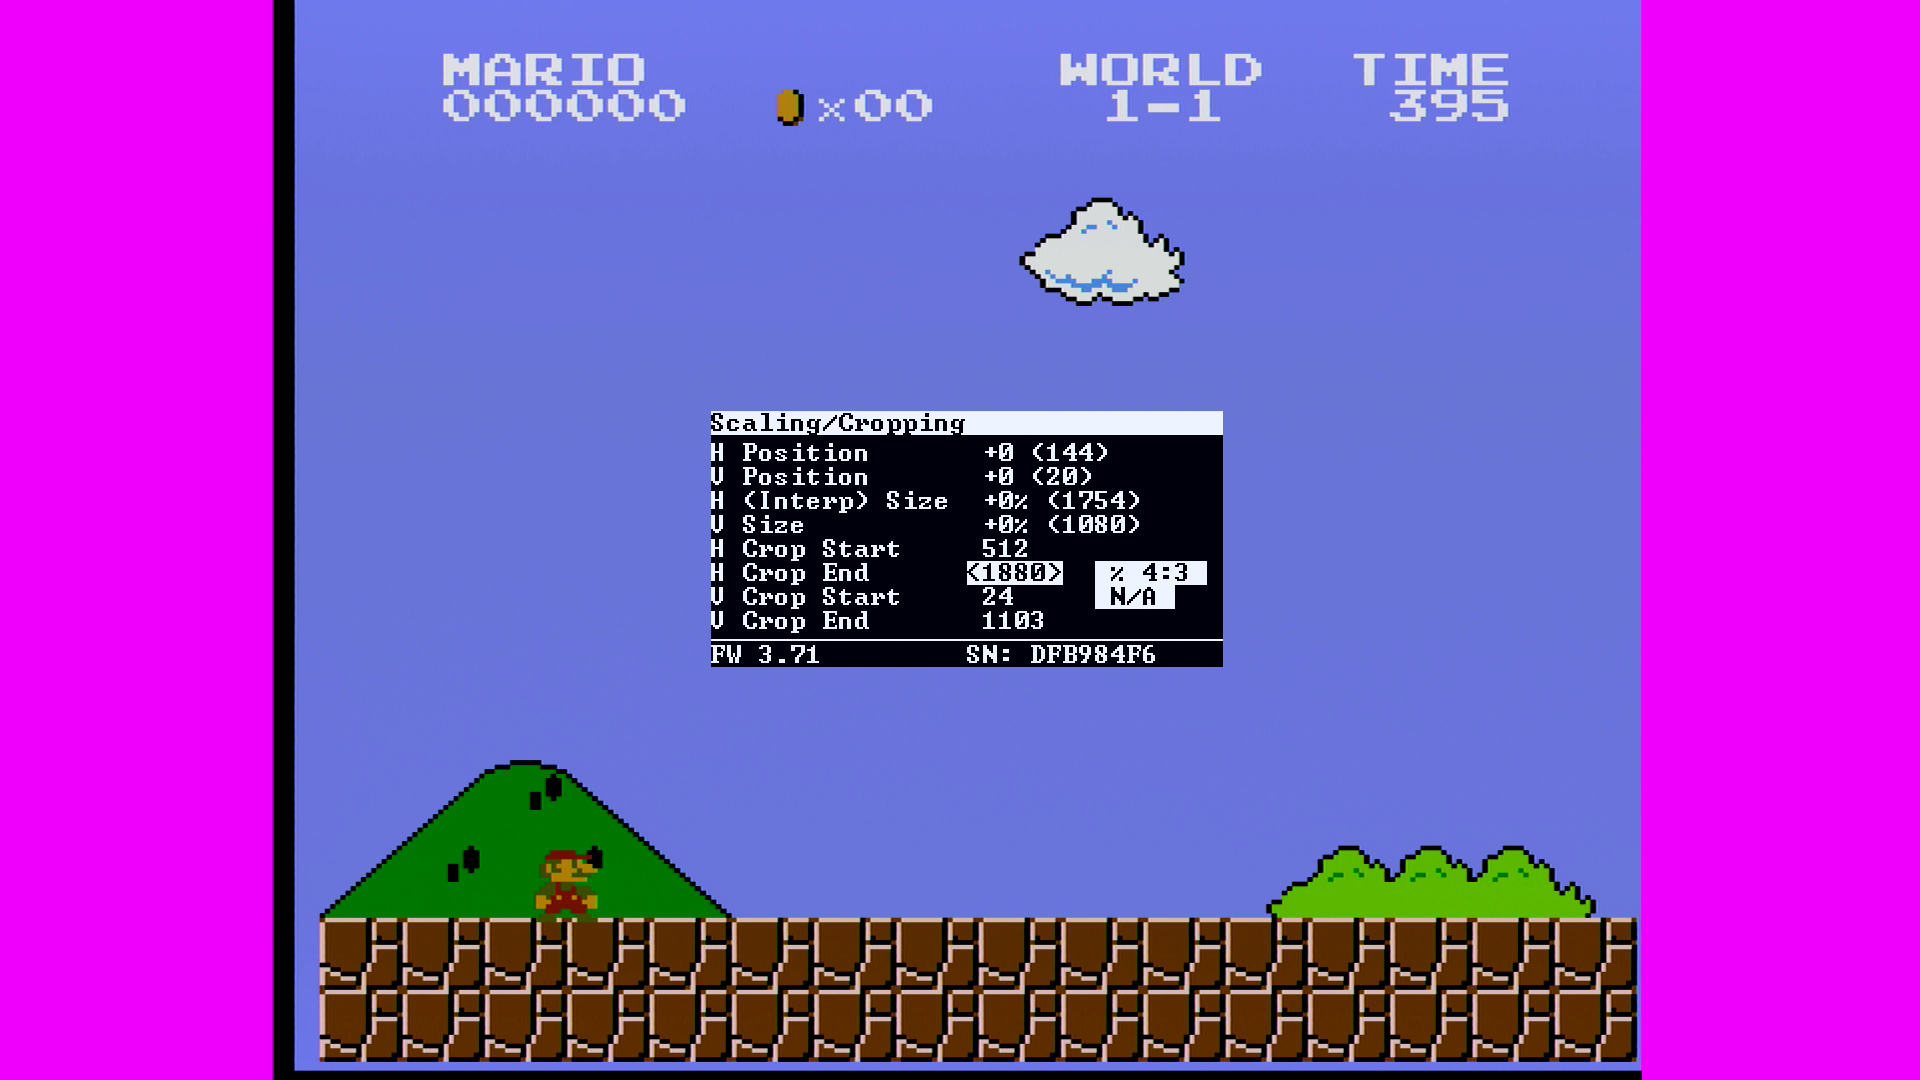
- H Crop Start: position (size) of the left border
- H Crop End: position (size) of the right border
- V Crop Start: position (size) of the upper border
- V Crop End: position (size) of the bottom border
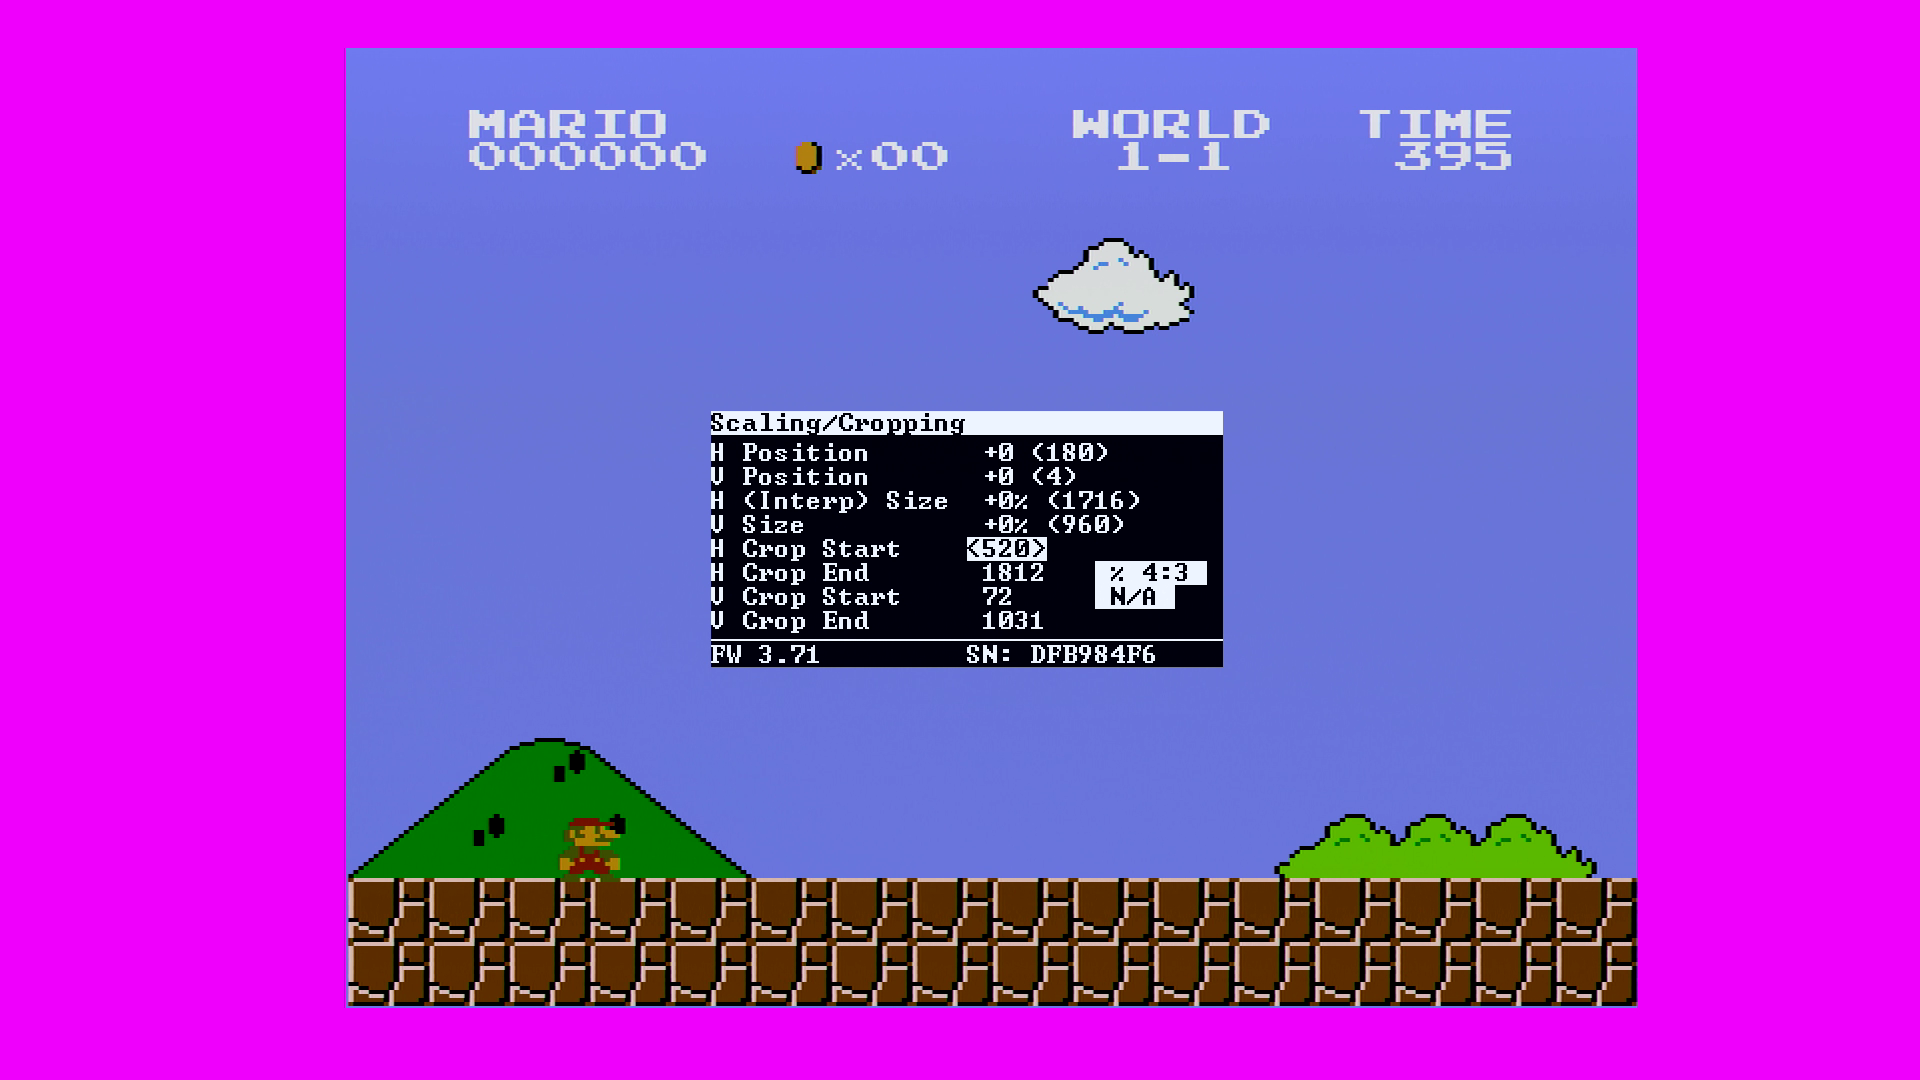
Your aim here is to adjust the border, until all unwanted (overscan) area of the image is hidden behind the black mask.
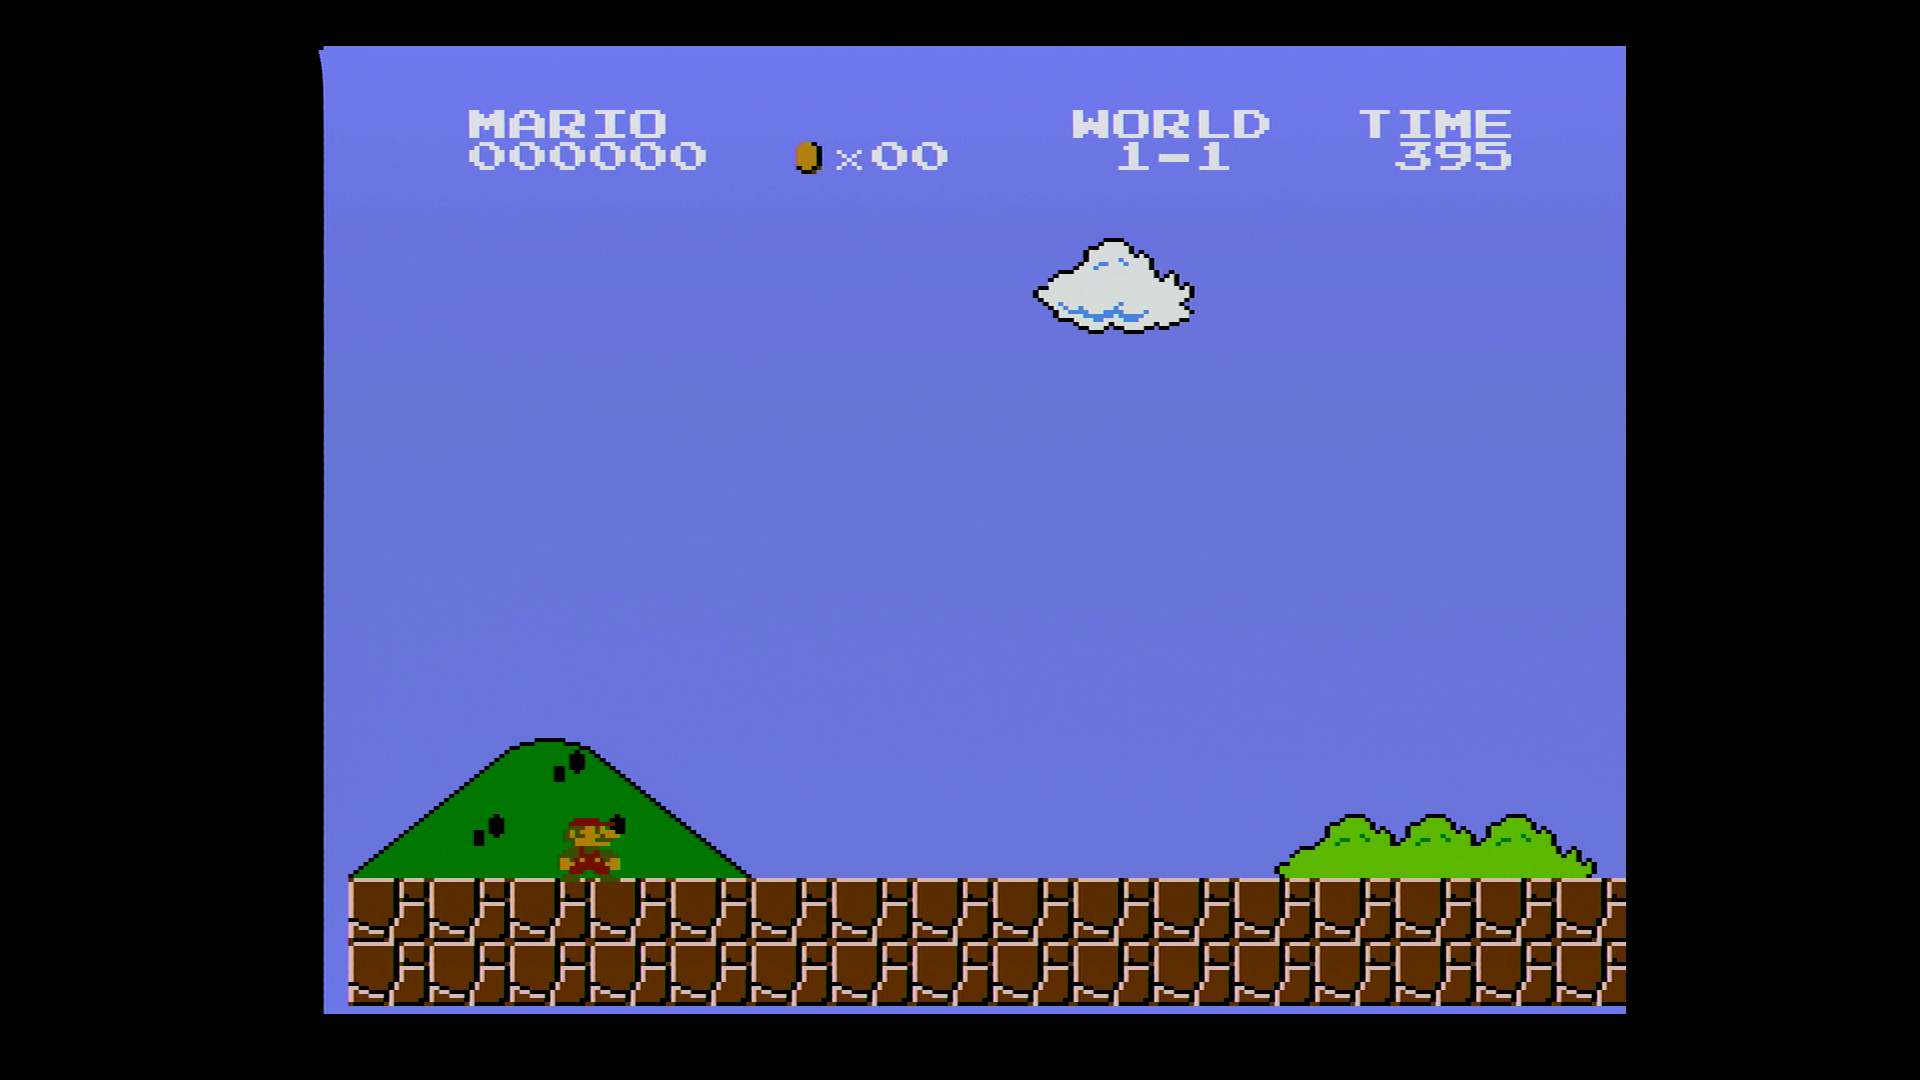
Here is an example of not adjusted image:
And the final result, which hides all unwanted areas:
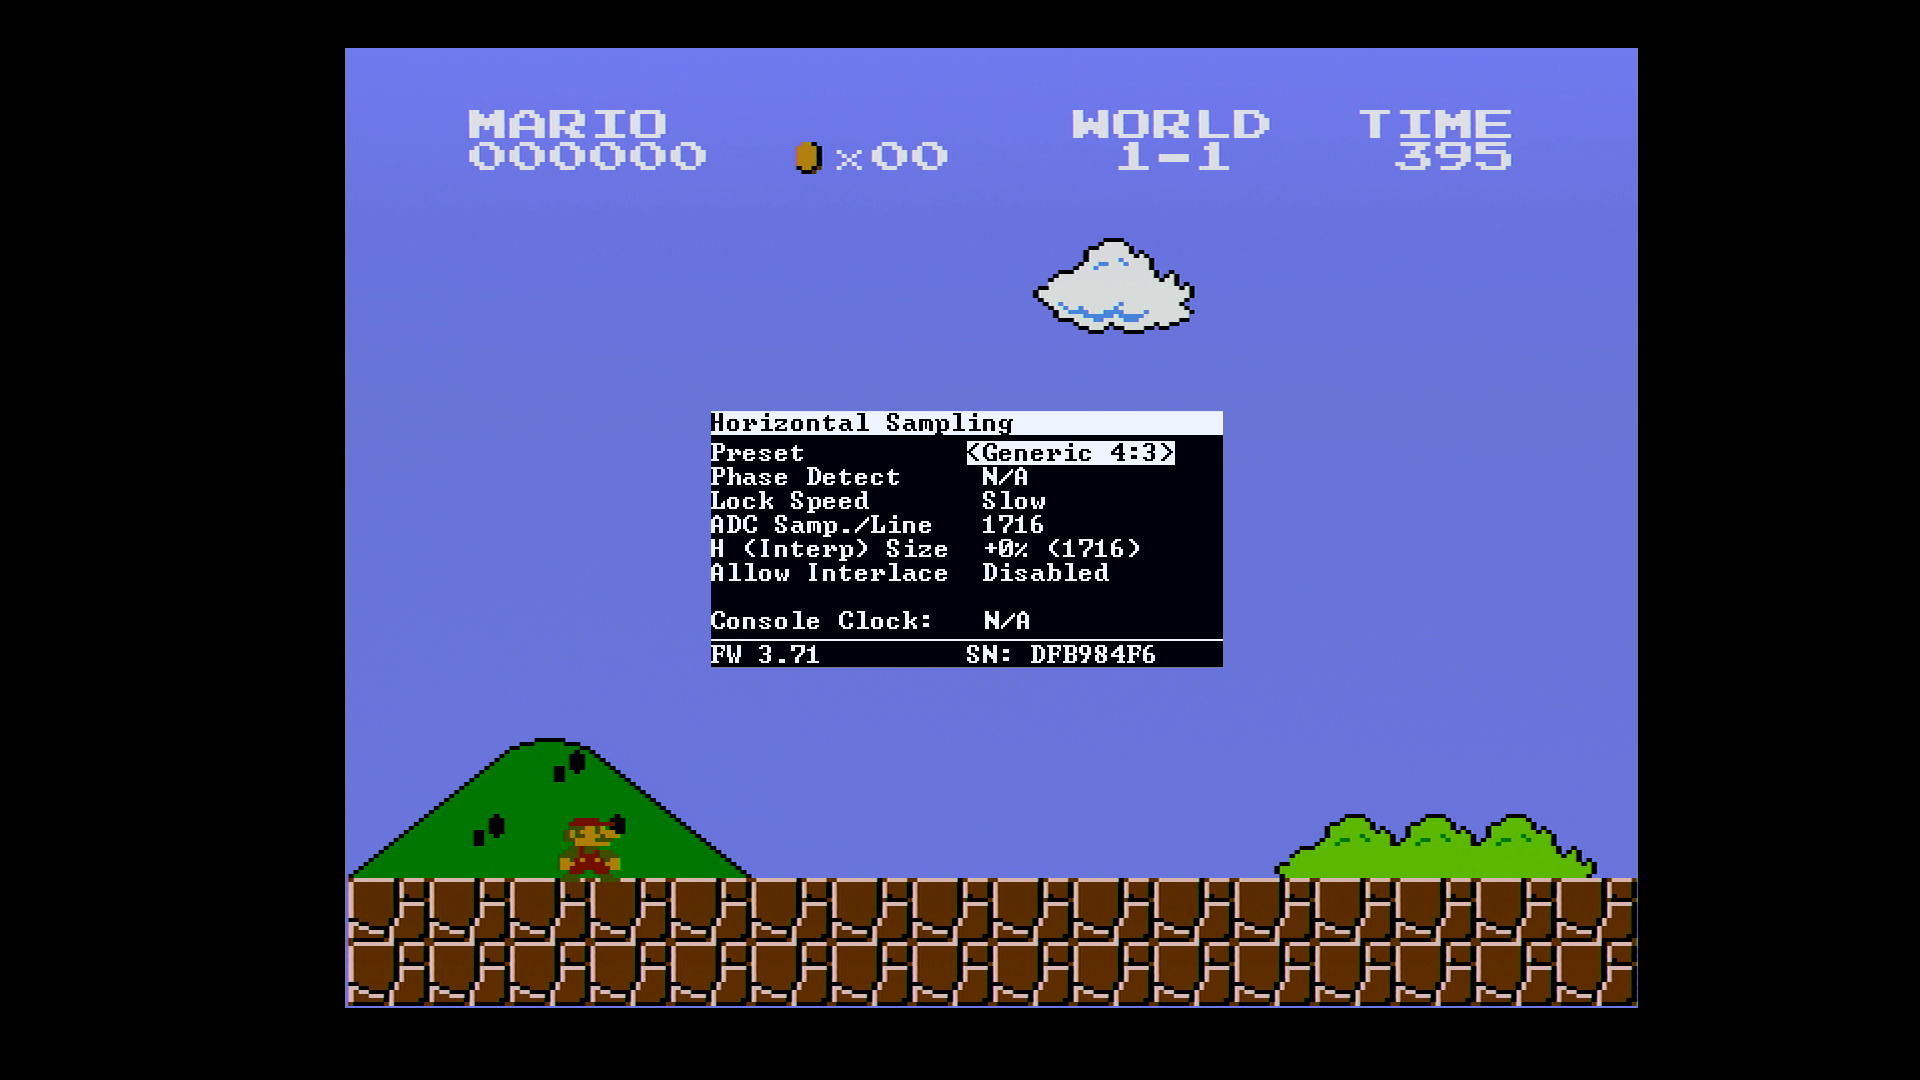
H. Sampling (Horizontal Sampling)

This section allows to adjust horizontal sampling options (mainly important for aspect ratio). With presets you can get the most suitable aspect ratio, size of pixels and therefore sharpness:
- Preset: select from many preinstalled presets for different consoles.
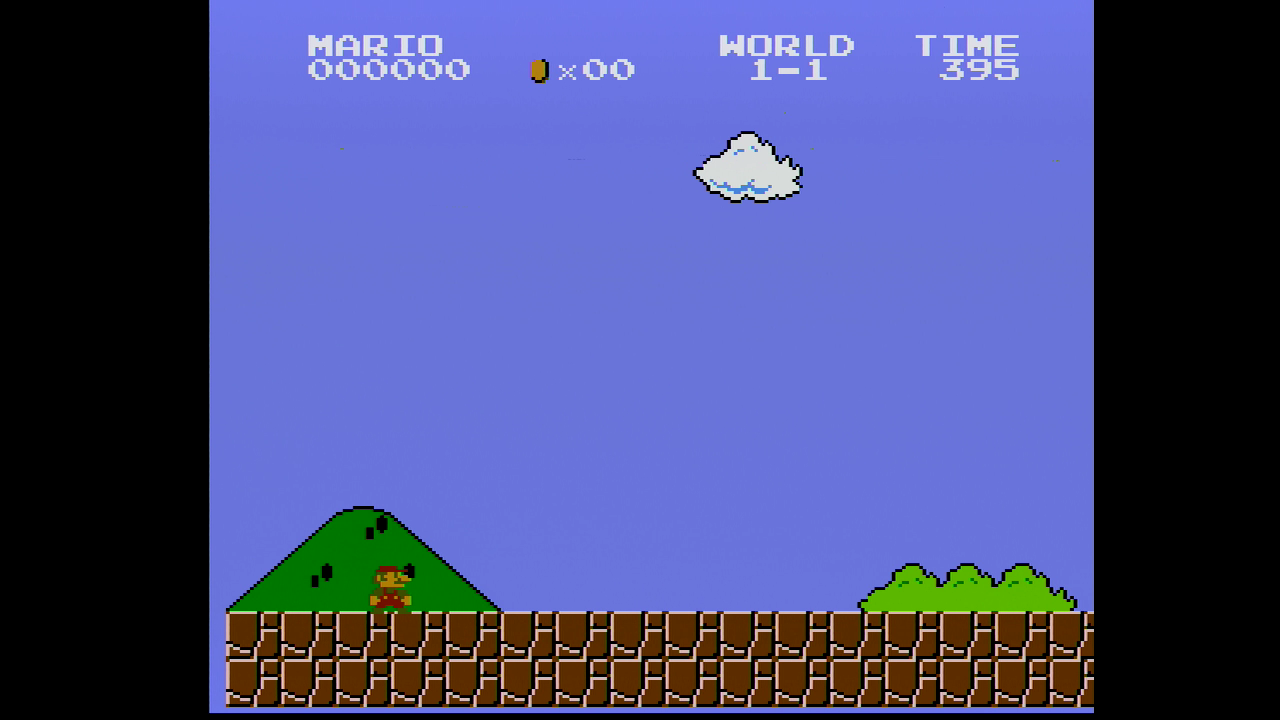
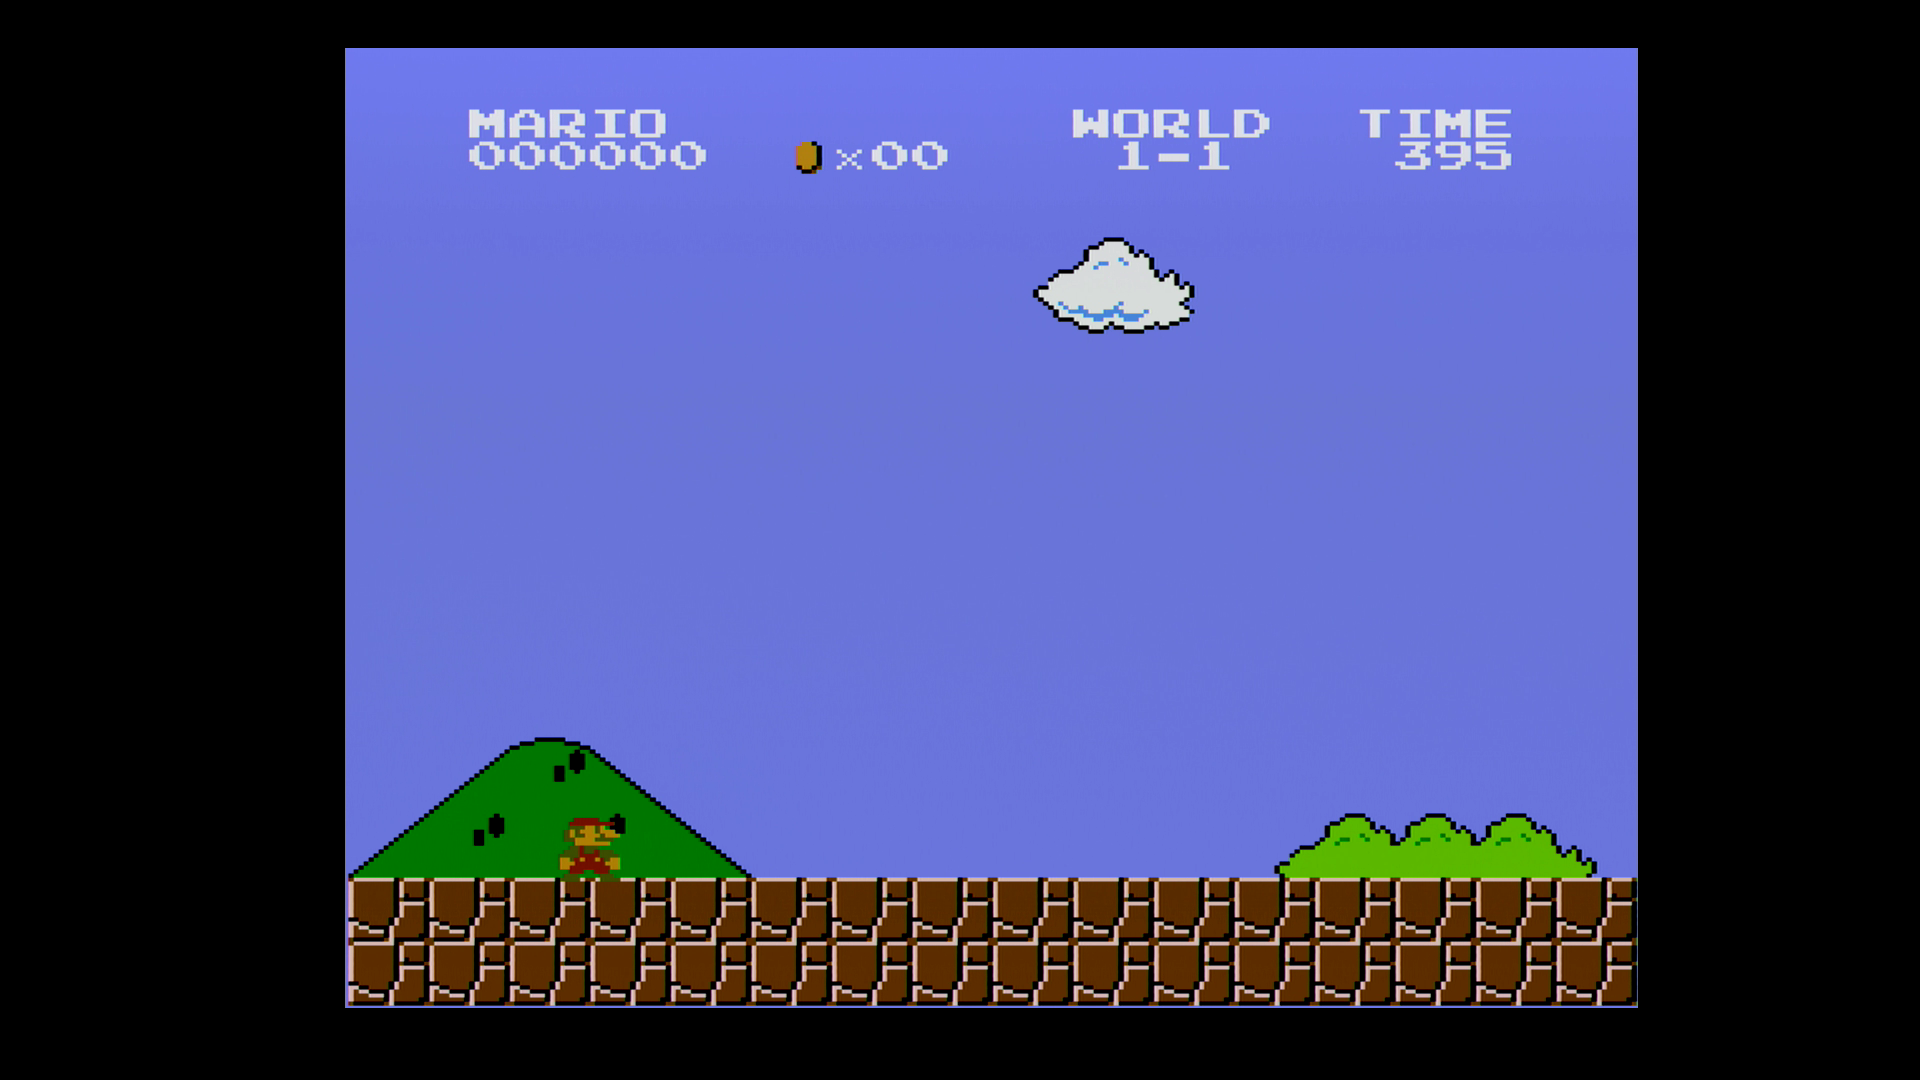
- Generic 4:3: Select this option for consoles using the 4:3 aspect ratio (or similar).
-
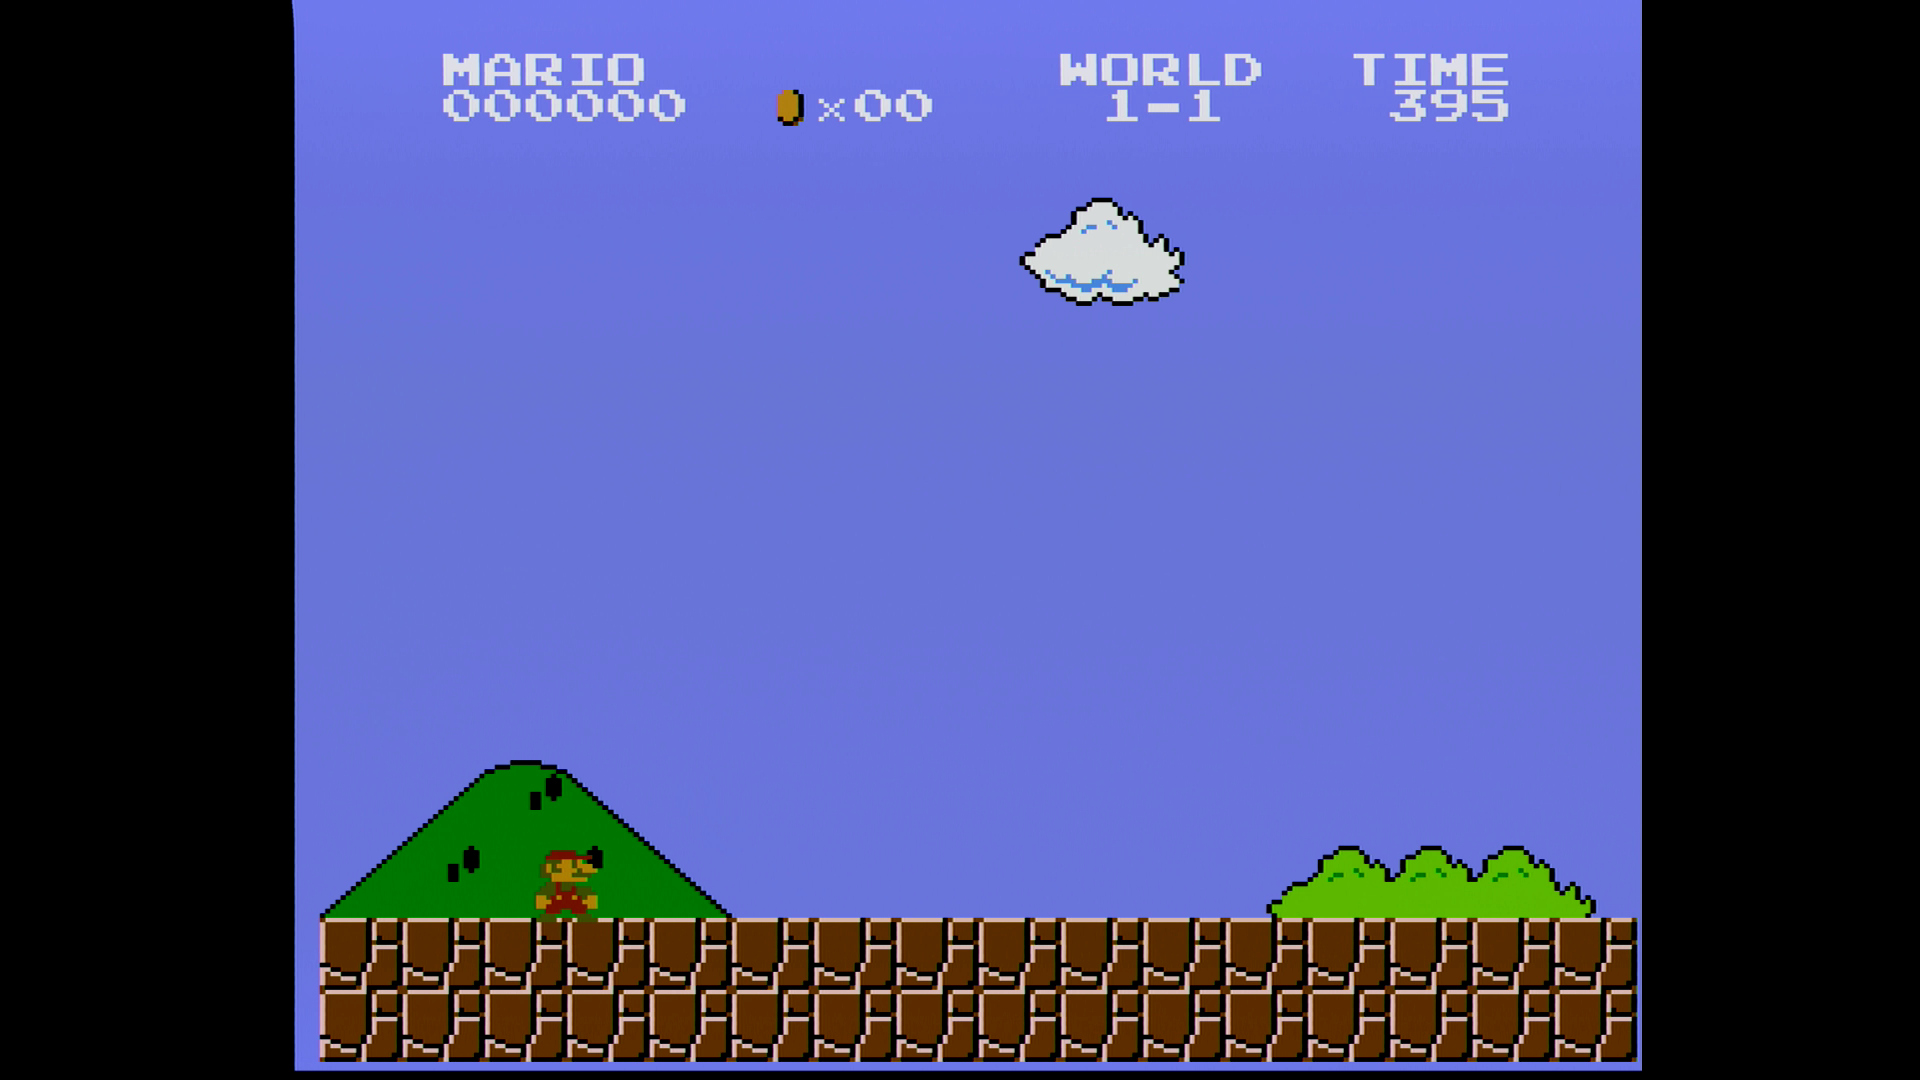
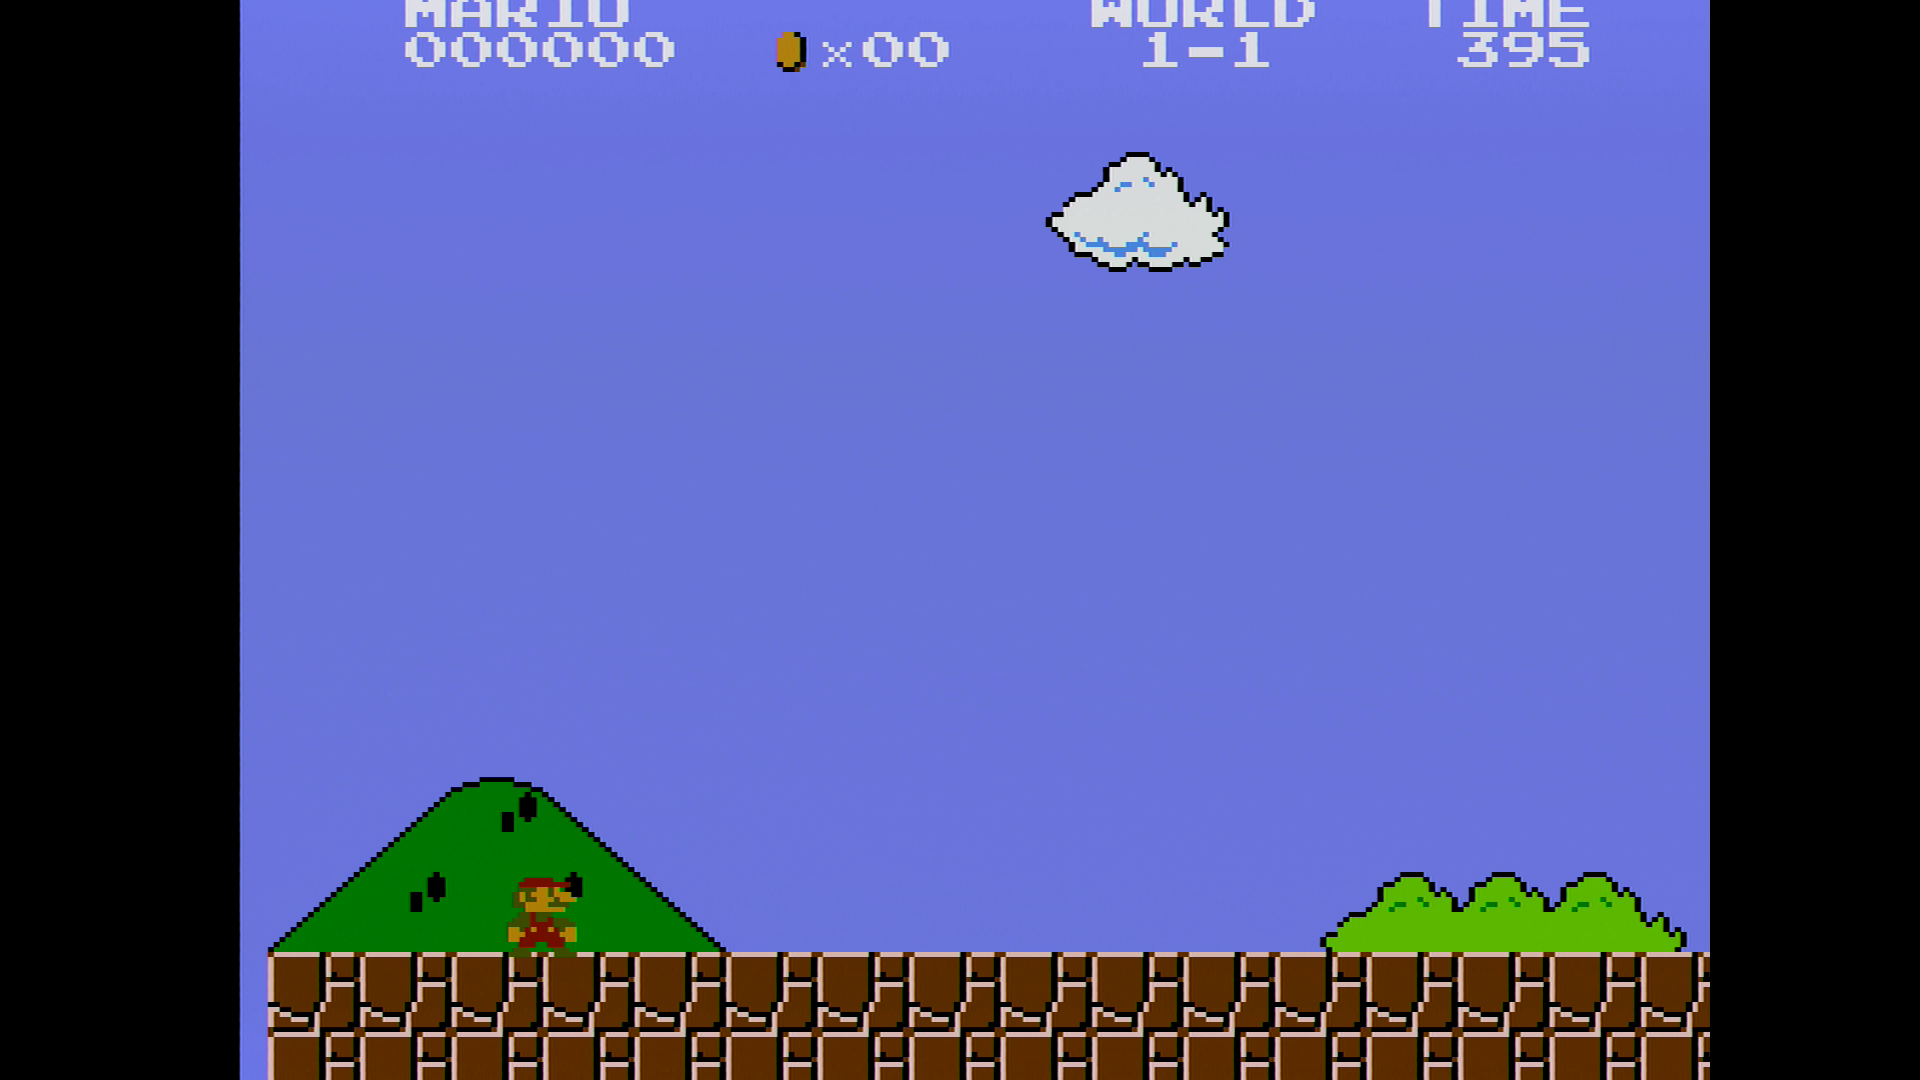
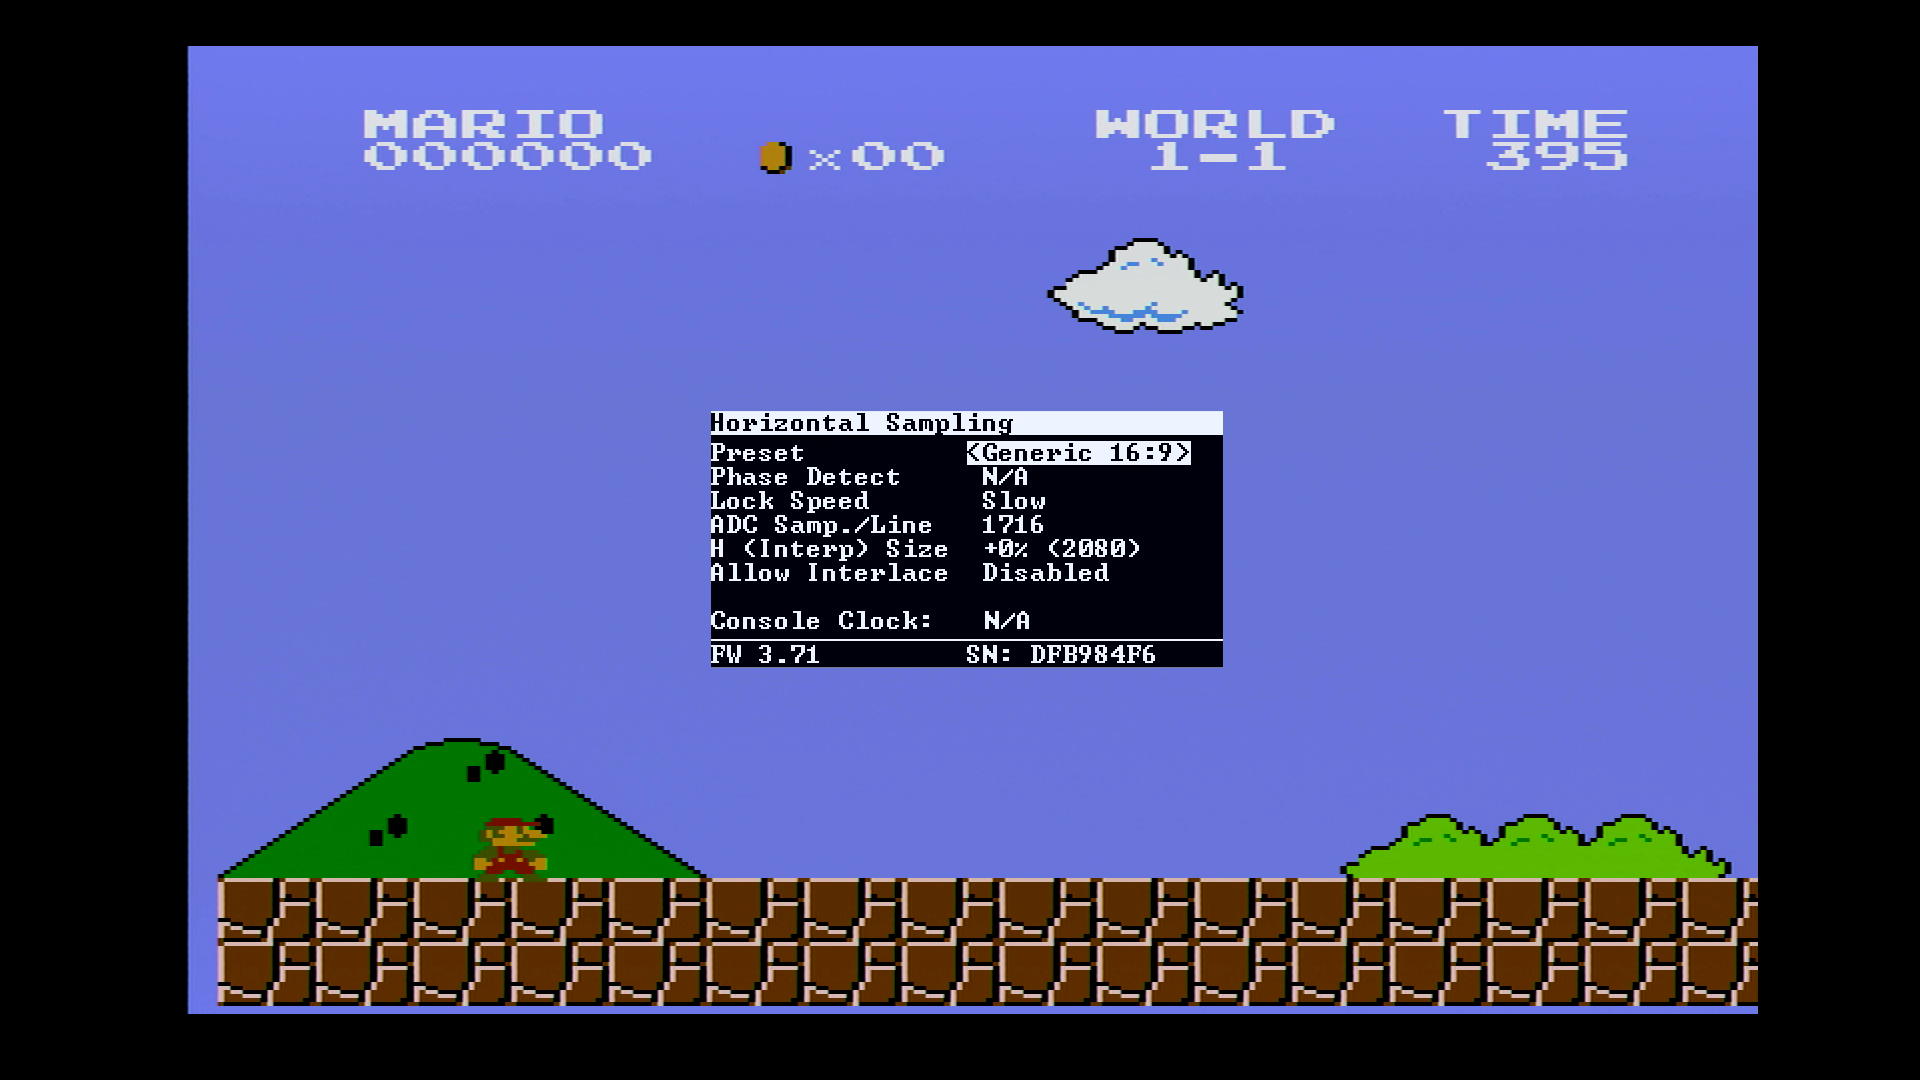
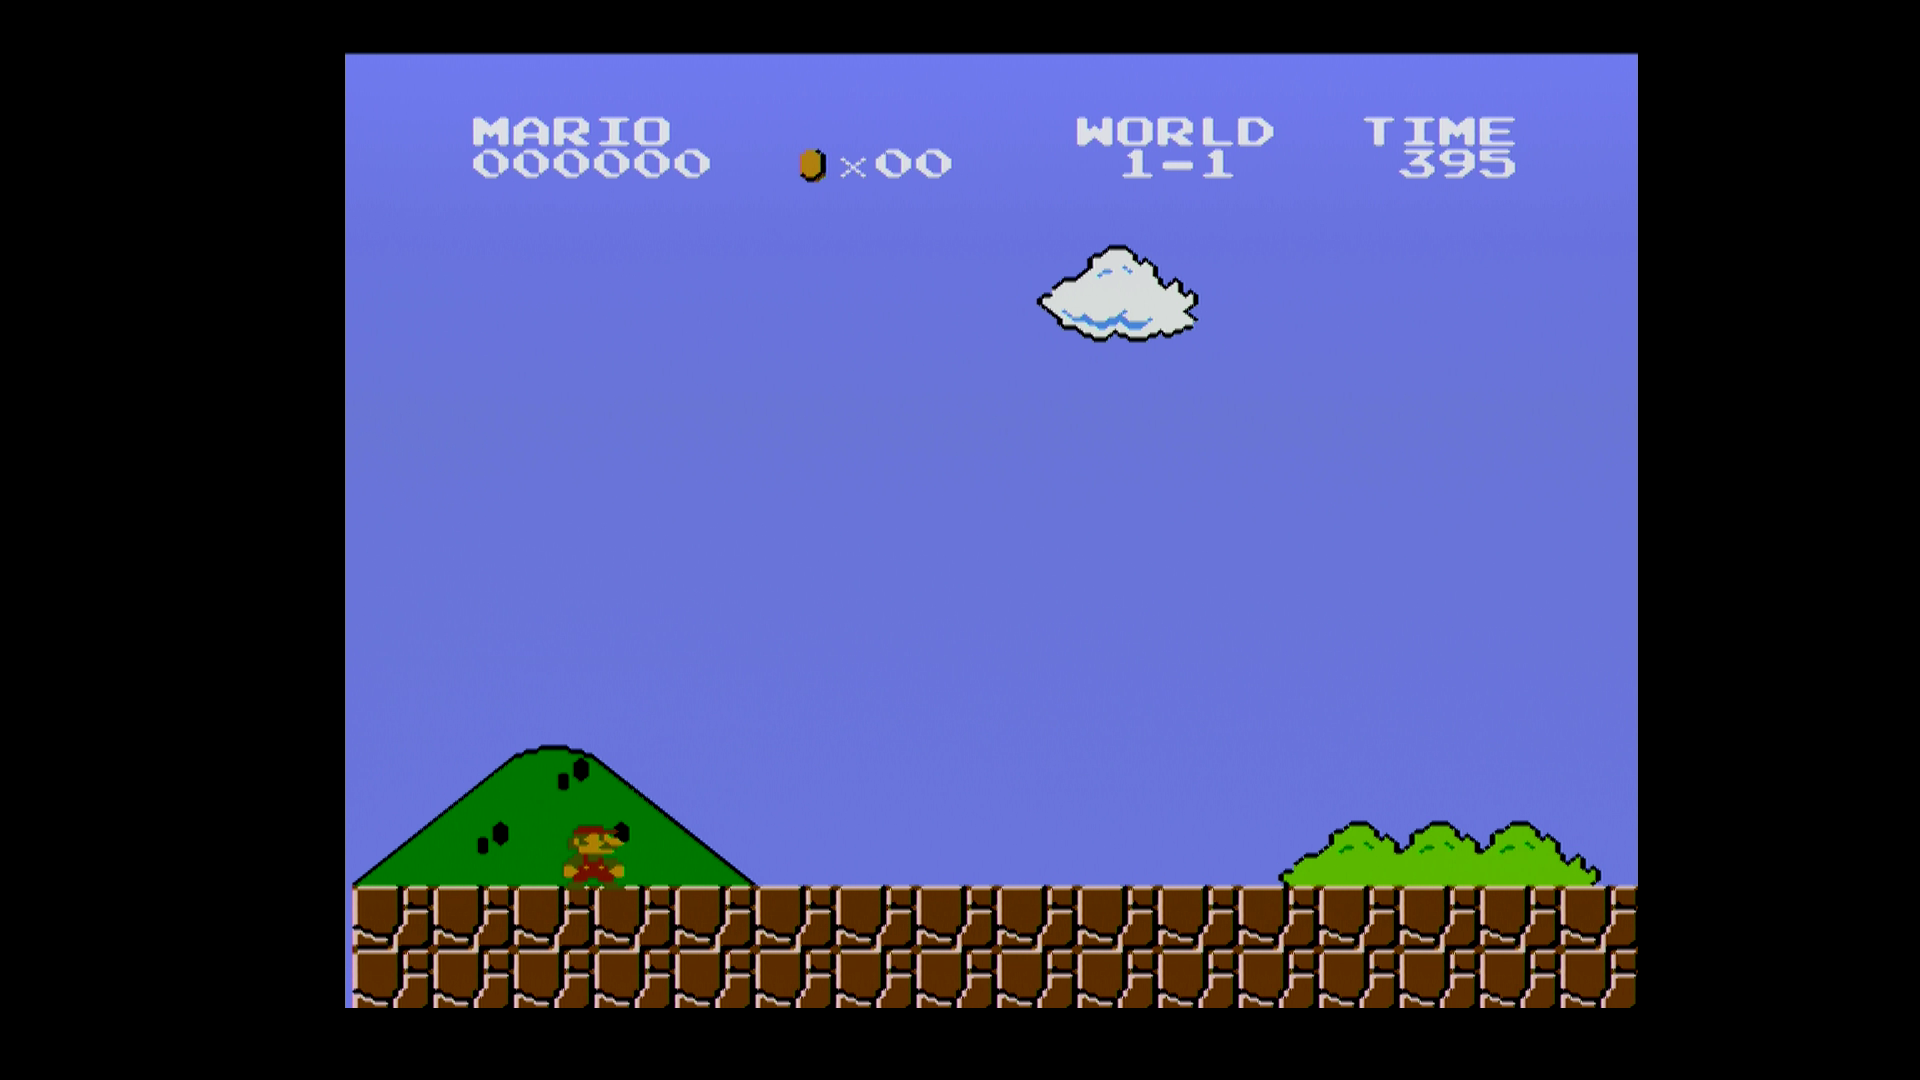
- Generic 16:9: This aspect ratio is for wide-screen format (not suitable for consoles using 4:3 aspect-ratio, as you can see from the screenshot below). This option may help you to stretch the image for the modern tv or monitor, but it will alter the size of pixels and made the image look too stretched.
-
- SNES/PCE 256: Format suitable for SNES or PC Engine.
- Gen/Sat 320: Format suitable for Genesis and Saturn with slightly bigger horizontal resolution.
- PS1 320: Format suitable for PlayStation 1 with slightly bigger horizontal resolution.
- N64 320: Format suitable for Nintendo 64 with slightly bigger horizontal resolution.
- NEOGEO 320: Format suitable for Neo Geo with slightly bigger horizontal resolution.
- Saturn 352: Format suitable for Saturn for games with slightly bigger horizontal resolution.
- PS1 384: Format suitable for PlayStation for some games with slightly bigger horizontal resolution.
- HiRes 512: Format suitable for consoles outputting in high resolution of 512 pixels
- HiRes 858: Format suitable for consoles outputting in even higher resolution of 858 pixels
- Phase Detect: timing of the sampling of the signal is adjusted to maximize the resolution and minimize artifacts like aliasing
- N/A (not available in generic presets), Auto, 1 of 5, 2 of 5, 3 of 5, 4 of 5, 5 of 5
- Lock Speed:
- Slow, Medium, Fast
- ADC Samp./Line: Analogue Digital Converter Sampling
- H (Interp) Size: you can adjust the horizontal size to find the best interpolation (good interpolation makes the image less shimmering)
- Allow Interlace: allow to process interlaced video sources in this menu
- Disabled (Default), Enabled
- Console Clock
V. Interp. (Interpolation)

In general, in this section you can adjust the filter applied to the image. You can select the level of sharpness or apply smooth filter (especially interesting for edgy polygonal lower resolution graphics from PlayStation or Saturn).
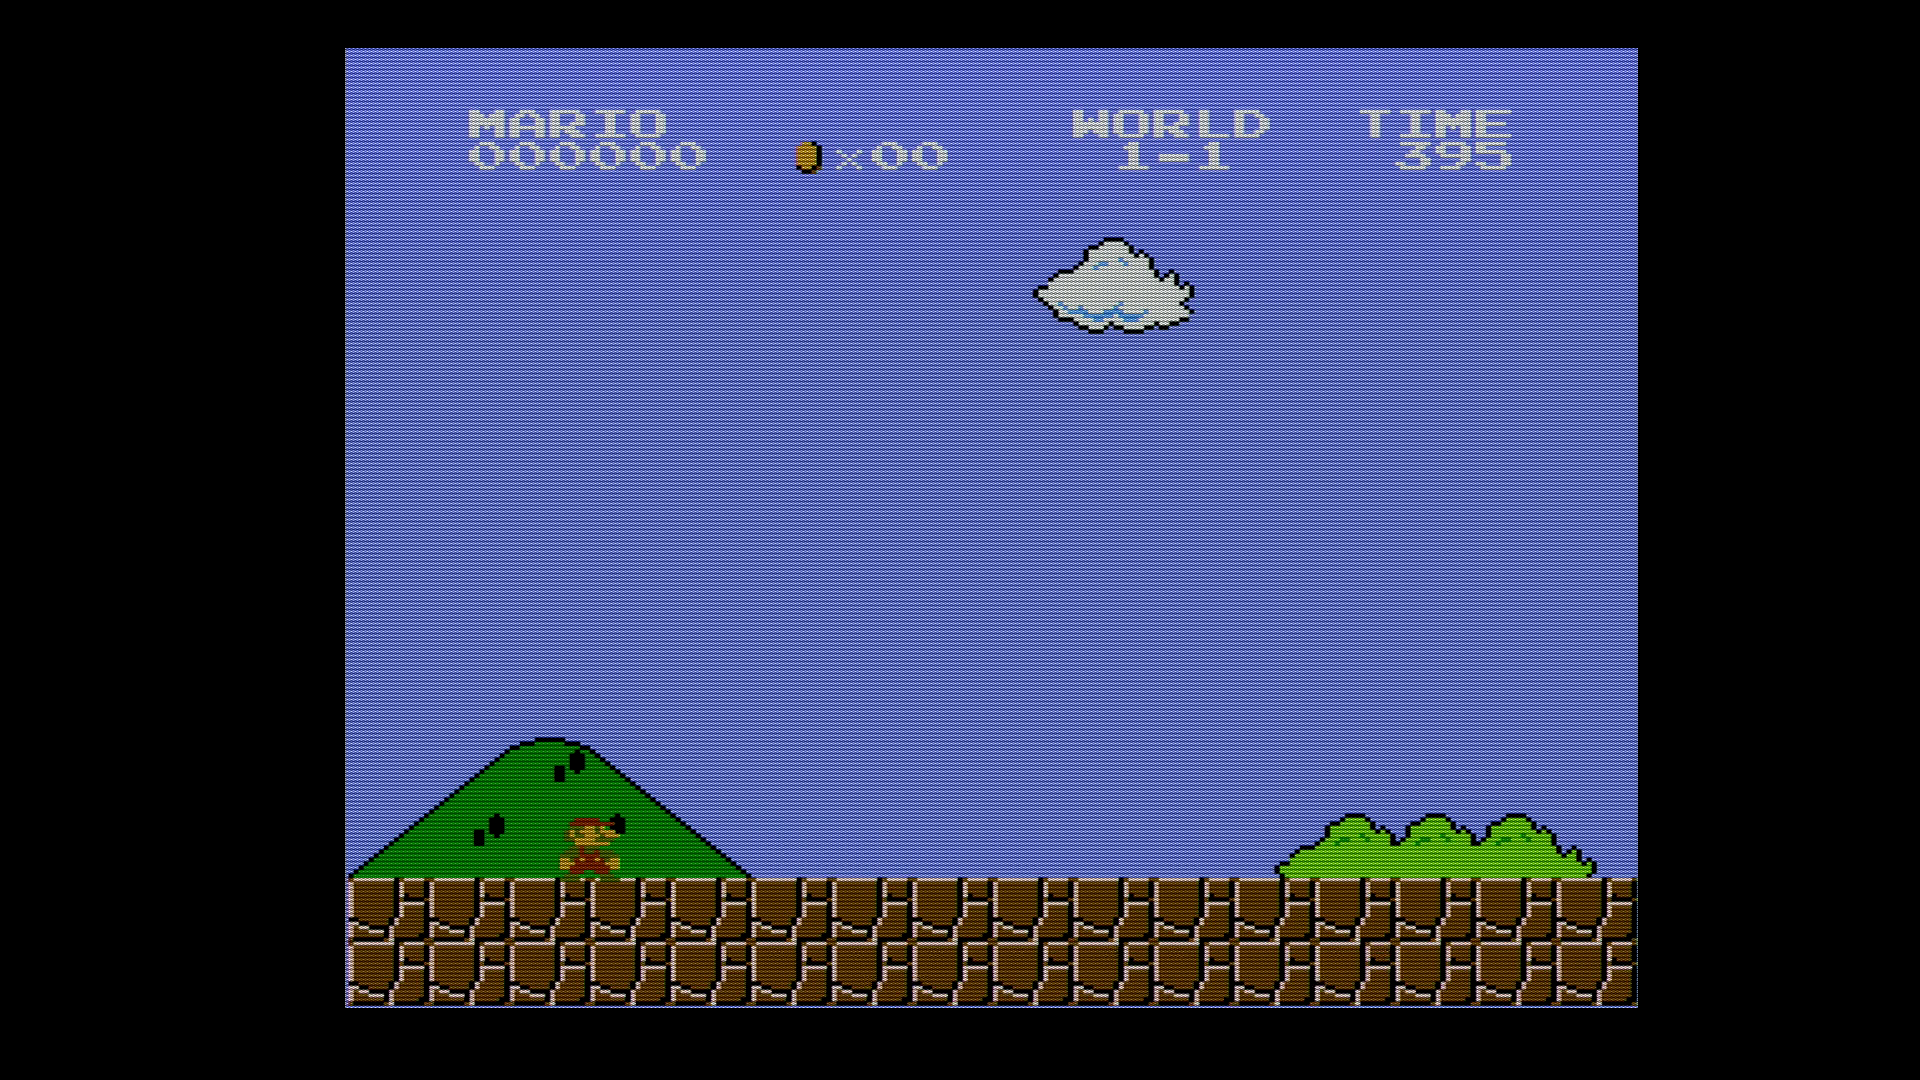
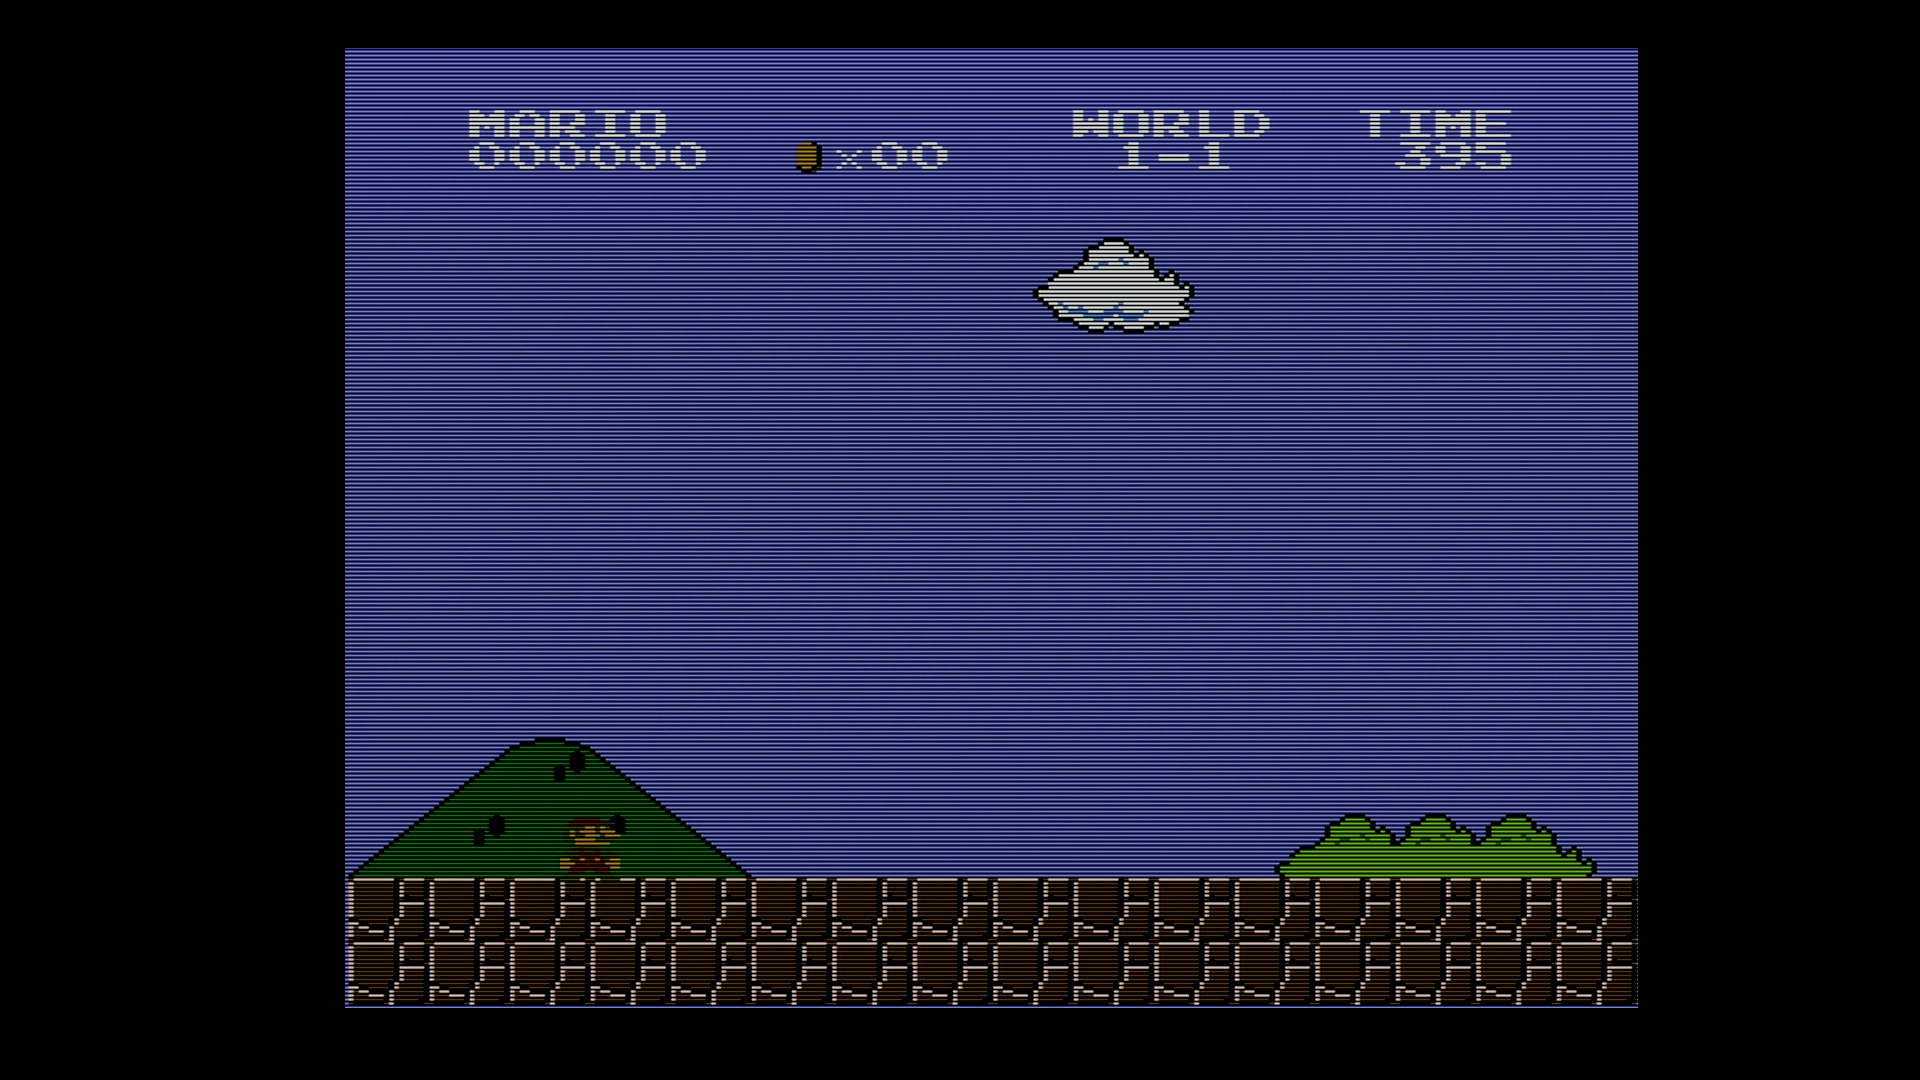
- Vertical Filter (note, that following screenshots are made in scaler mode, where the final image is 1080p and the frame is 960p, upscaled Famicom 240p). Press on each image to see it in full size.
- Sharp

-
- Medium
-
- Soft

-
- Smooth: should be used with jaggy polygonal graphics (Saturn, PS2 and higher), makes not much sense for pixel or sprite graphics
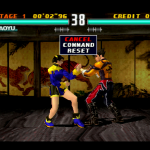
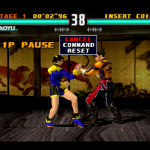
Here’s another gallery with a PS1 game “Tekken 3”:


- Pre-Scaler: used to downscale higher resolutions and skip lines (this allows to make scanlines thicker, otherwise they will be barely visible)
- N/A: not available
- 1/2: skip every other vertical line (480p->240p)
- 1/3: skip 2 out of 3 lines (720p->240p)
Deinterlacer

This section is about making an interlaced signal (which shows alternating even or odd lines) progressive (which means every line is shown on every refresh). There are different methods, how interlaced signals can be deinterlaced, you can adjust them here.
- Deinterlacer: different deinterlacing modes with various quality
- Motion Adapt. -> most advanced deinterlacing method, smart combination of bob and wieave depending on movements detected in image
- Weave: Weave deinterlacing combines the fields of an interlaced video frame into a single progressive frame, effectively merging the odd and even lines to produce a complete image without motion compensation. This method will reuse the last line.
- Blend: Blend deinterlacing is a video processing technique that combines the even and odd fields of an interlaced video frame to produce a single, non-interlaced frame, reducing motion artifacts but potentially causing some blurring. Fields are averaged.
- Bob: involves duplicating existing lines in an interlaced video to create new frames, which increases motion smoothness but can introduce a “bobbing” effect due to the line-doubling approach. Current line is used.
- Smooth-Bob: Bob deinterlacing and vertical smooth filter.
- IVTC 3:2: Inverse Telecine 3:2 deinterlacing method is a process used to convert interlaced video, such as 60i format, back to its original 24 frames per second progressive format by removing the redundant fields and frames introduced during telecine. For NTSC.
- IVTC 2:2: Same as above, for PAL/SECAM.
- Bob Offset
- from -4 to +4
- Bob Scanline
- Post-Deint.: scanlines added to 480p, but 480i is deinterlaced to 480p first and then scanlines are applied
- CRT Simulate: (only when scanlines are enabled) same as Pre-Deint. tries to reproduce a CRT display
- Pre-Ident.: 480i source is treated as 240p which results in thicker scanlines
- Field Order
- Normal
- Invert
- DS Pass-thru: the output resolution will be either set by the selection made in the Output Resolution menu or will match the input resolution
- No
- Yes
- IVTC Filter
- Default
- Low
- Medium
- Max
- IVTC Status
Post-Proc. (Post-Processing)

This is a very interesting menu section, it allows to enable and adjust scanlines (black lines, which make the image look like it’s a classic monitor or tv) or even mask (adding more likeness to different types of monitors and how their image looked on the screen itself).
- Load Preset: select from multiple preinstalled presets
- Off

-
- Slot Mask
-
- A. Grille-1

-
- BVM
-
- PVM-600
-
- FV310

-
- Consumer-1
-
- Consumer-2
-
- LCD
- Scanline Beam: scanline style
- Off, Exponential, Gaussian, S. Gaussian, LCD
- Scanline Str.(ength): scanlines thickness
- Intensity Mod.: strength of black lines
- Mask: aperture grill mask, mimicking the older CRT TV screen
- Off, Slot, Grille-Med., Grille-Bright, Grille-Coarse, Shadow-1, Shadow-2, Shadow-3
- Gamma Boost: make gamma higher, if the image becomes too dull because of mask or scanlines
- Color Boost: add color, if the image becomes too dull because of mask or scanlines
- Pre-emph: makes the image sharper (positive values) or softer (negative values). For consoles like SNES, this allows to restore sharpness lost via the internal image conversion.
SDTV Decoder (Standard Definition Decoder)

For composite signals, if they are too noisy, you can adjust the options.
- Brightness: This controls the overall light level of the image. Adjusting the brightness affects how dark or light the picture appears, particularly influencing the visibility of details in the darker areas of the image.
- Contrast: Contrast adjusts the difference between the darkest and lightest parts of the image. High contrast makes the darks darker and the lights lighter, leading to a more vivid picture, but potentially losing details in shadows and highlights. Low contrast makes the image appear flatter but can reveal more details in extreme dark or light areas.
- Phase: Phase adjustment is often related to the color phase of an analog signal. It can correct issues like hue shifts in the image, ensuring that the colors are represented accurately.
- Chroma: This setting controls the saturation of colors in the image. High chroma increases the intensity and vividness of colors, while low chroma makes the colors appear more washed out or closer to grayscale.
- Y/C Filter: Y/C filters are used in video processing to separate the luminance (Y) and chrominance (C) components of a video signal, particularly in S-Video connections. These filters aim to reduce cross-color artifacts and improve overall image quality. The different types represent various approaches to this separation
- 4L Adaptive (default): This is a four-line adaptive filter. It dynamically adjusts its filtering based on the content of the video signal. For instance, it might use different filtering strengths for static images versus fast-moving scenes. The adaptiveness helps in maintaining detail while minimizing artifacts in a wide range of video content.
- 4L Fixed: Similar to the 4L Adaptive filter in that it operates over four lines of video, the 4L Fixed filter, however, does not adapt to the video content. Instead, it applies a consistent level of filtering across all types of content. This can be less effective than an adaptive filter in some scenarios, as it may not handle varying levels of detail and motion as effectively.
- Notch: A Notch filter in Y/C separation is designed to specifically target and remove frequencies where cross-color artifacts are most likely to occur, without affecting other parts of the spectrum. This can be particularly useful for reducing color bleeding or rainbow-like artifacts in composite video signals, but it might not be as effective in preserving fine detail as the line-based filters.
- Aperture: The aperture setting often refers to a type of sharpness control. It adjusts the edge contrast or the enhancement of fine details in the image, which can make the picture appear sharper or softer. Chroma sharpening.
- CTIE: (Color Transient Improvement Enhancement) This is a feature designed to improve the transition between colors, making them appear smoother and more natural, especially in fast-moving scenes or areas with high color contrast.
- Black Level: This controls the overall light level of the image. Adjusting the brightness affects how dark or light the picture appears, particularly influencing the visibility of details in the darker areas of the image. In the NTSC standard, 7.5 IRE is often used as the black level, meaning that the darkest part of the image is set to this level, providing a certain baseline brightness even for black. In other standards, like PAL, the black level is set at 0 IRE, meaning true black with no additional brightness. Adjusting the black level can affect the overall depth and contrast of the image.
VIDEO ADC

This section allows you to select some Low-Pass filters to remove remove noise from the signal and make colors more consistent. Also some settings will allow to make the synchronization more stable.
- SDTV LPF: “Standard Definition Television Low Pass Filter.” It’s a filter used to remove high-frequency noise and artifacts from standard definition video signals (such as those with resolutions like 240p, 480i or 576i) before they are converted from analog to digital, ensuring a cleaner and more stable digital signal.
- EDTV LPF: “Enhanced Definition Television Low-Pass Filter.” This setting is used to filter out high-frequency noise from an analog video signal, particularly for EDTV (Enhanced Definition Television) resolutions (480p), to ensure a cleaner and more stable digital signal conversion.
- SoG Thresh: Sync-on-Green Threshold is the level at which the ADC distinguishes between the actual video signal and the sync pulses within the green channel. This threshold is crucial for properly converting the analog signal into a digital format without losing sync information. If the threshold is set incorrectly, it can lead to issues with image stability, such as jitter or loss of sync, as the ADC might incorrectly interpret parts of the video signal as sync pulses or vice versa.
- LLPLL Gain: Low-Level Phase Locked Loop Gain refers to the gain or amplification level applied within the phase-locked loop circuit. Adjusting this gain affects how the PLL responds to the incoming signal. A higher gain can make the PLL more responsive to changes in the input signal, potentially improving synchronization or stability, especially in the presence of a weak or noisy signal. However, too high a gain can also lead to instability or oscillation if the PLL overreacts to minor signal variations. Conversely, a lower gain results in a more stable but less responsive PLL. This might be suitable for signals that are already stable and don’t require rapid adjustments, but it could fail to maintain synchronization if the input signal varies significantly.
- LLPLL BW: Low-Level Phase Locked Loop Bandwidth refers to the range of frequencies over which the phase-locked loop (PLL) can maintain lock on the input signal. Essentially, it determines how quickly the PLL can respond to changes in the signal’s frequency. A wider bandwidth allows the PLL to lock onto a broader range of frequencies, making it more responsive to rapid changes, while a narrower bandwidth provides more stability but is less responsive to frequency shifts.
- Pre-Coast: refers to a setting that adjusts the timing for when the ADC starts to ignore the incoming sync (synchronization) pulses before the next vertical sync pulse. This setting is used to ensure proper timing and synchronization of the video signal as it is converted from analog to digital format.
- Post-Coast: refers to the period after the vertical synchronization (VSync) pulse during which the ADC ignores incoming sync pulses. This adjustment helps in properly timing the conversion of the analog signal to a digital format, ensuring synchronization with the display’s refresh cycle.
- ADC Phase: the timing adjustment of the sampling phase. This setting determines the exact point in the analog signal’s cycle at which it is sampled and converted into a digital signal. Adjusting the ADC Phase can help in aligning the sampling process more accurately with the incoming signal, which is crucial for maintaining the integrity and quality of the digital representation of the analog signal.
Video ADC-2

More tuning for S-Video and component channels.
- Y-Gain: the gain adjustment for the luminance (Y) component of a video signal. It controls the amplification level of the brightness information in the video, affecting how light or dark the image appears after conversion.
- Y Offset: an adjustment setting that shifts the baseline level of the luminance (Y) signal. This setting allows you to correct or alter the black level or brightness of the video image.
- Pb Gain: the gain adjustment specifically for the Pb component of a component video signal. In component video, the signal is split into three parts: Y (luminance), Pb (difference between blue and luminance), and Pr (difference between red and luminance). “Pb Gain” controls the amplification level of the Pb component, affecting the balance and intensity of blue hues in the video image.
- Pb Offset: an adjustment setting for the Pb (blue) component in a YPbPr component video signal. It allows fine-tuning of the blue color channel’s baseline level to correct color imbalances or biases in the video signal.
- Pr Gain: the gain adjustment for the Pr (Pb/Pr) component of a component video signal. This setting adjusts the amplification level specifically for the Pr channel, which represents the difference between the red component and the luminance (Y) in a video signal. Adjusting the Pr Gain affects the intensity or saturation of the red hues in the image.
- Pr Offset: the offset adjustment for the Pr (Pb/Pr) component of a component video signal. It’s used to calibrate or correct the baseline level of the Pr signal, which represents part of the color information in the video, specifically the red color difference signal. Adjusting the Pr Offset helps in ensuring accurate color representation in the digital output of the ADC.
- Clamp Length: refers to the duration for which the clamping circuit is active to stabilize the baseline level of the video signal. It sets the period during which the ADC clamps or fixes the black level of the signal to ensure consistent brightness and color balance across the video.
- Clamp Current: refers to the current used to stabilize the black level of a video signal. This current ensures that the black level (or the baseline of the signal) remains consistent, which is crucial for accurate color and brightness representation in the digital output.
HDMI

Options for the resulting HDMI signal, affecting colorspace, frequency lock and synchronization type, and some more advanced features like HDR injection flag, variable refresh rate and so on.
- V-Sync: Vertical Synchronization, a process that aligns the frame rate of the video source with the refresh rate of the display to prevent screen tearing, where a display shows information from multiple frames in a single screen draw. If analog signal changes resolutions, this option will eliminate sync drop and long resynchronization. The bigger the buffer, the more lag is added, but also less problems with handshake and resyncronization (typical “signal lost”).
- Triple Buffer: helps synchronize the output frame rate with the HDMI display’s refresh rate. It uses three memory buffers to hold frames and reduces the resolution switch problem. It adds a bit of lag and some tearing, due to mismatching frequency.
- Frame Lock: lower lag, thus lower compatibility and not able to cope with resolution change very well.
- Lock to Hz: locks the output to 50 or 60 Hz. For modded consoles, which switch from 50 to 60 Hz frequently (e.g. menu 50Hz. game 60Hz), you can force to stay in one of the frequencies.
- Colorspace: select the option matching to the setting on your TV or monitor (and also the option your tv or monitor actually supports). RGB full, if supported, will produce more vibrant image with correct black levels.
- Inject HDR: if your TV supports High Dynamic Range image format, you can enable this option to make the image more vibrant.
- Blue Only: outputs only blue colors, is used for calibration purposes
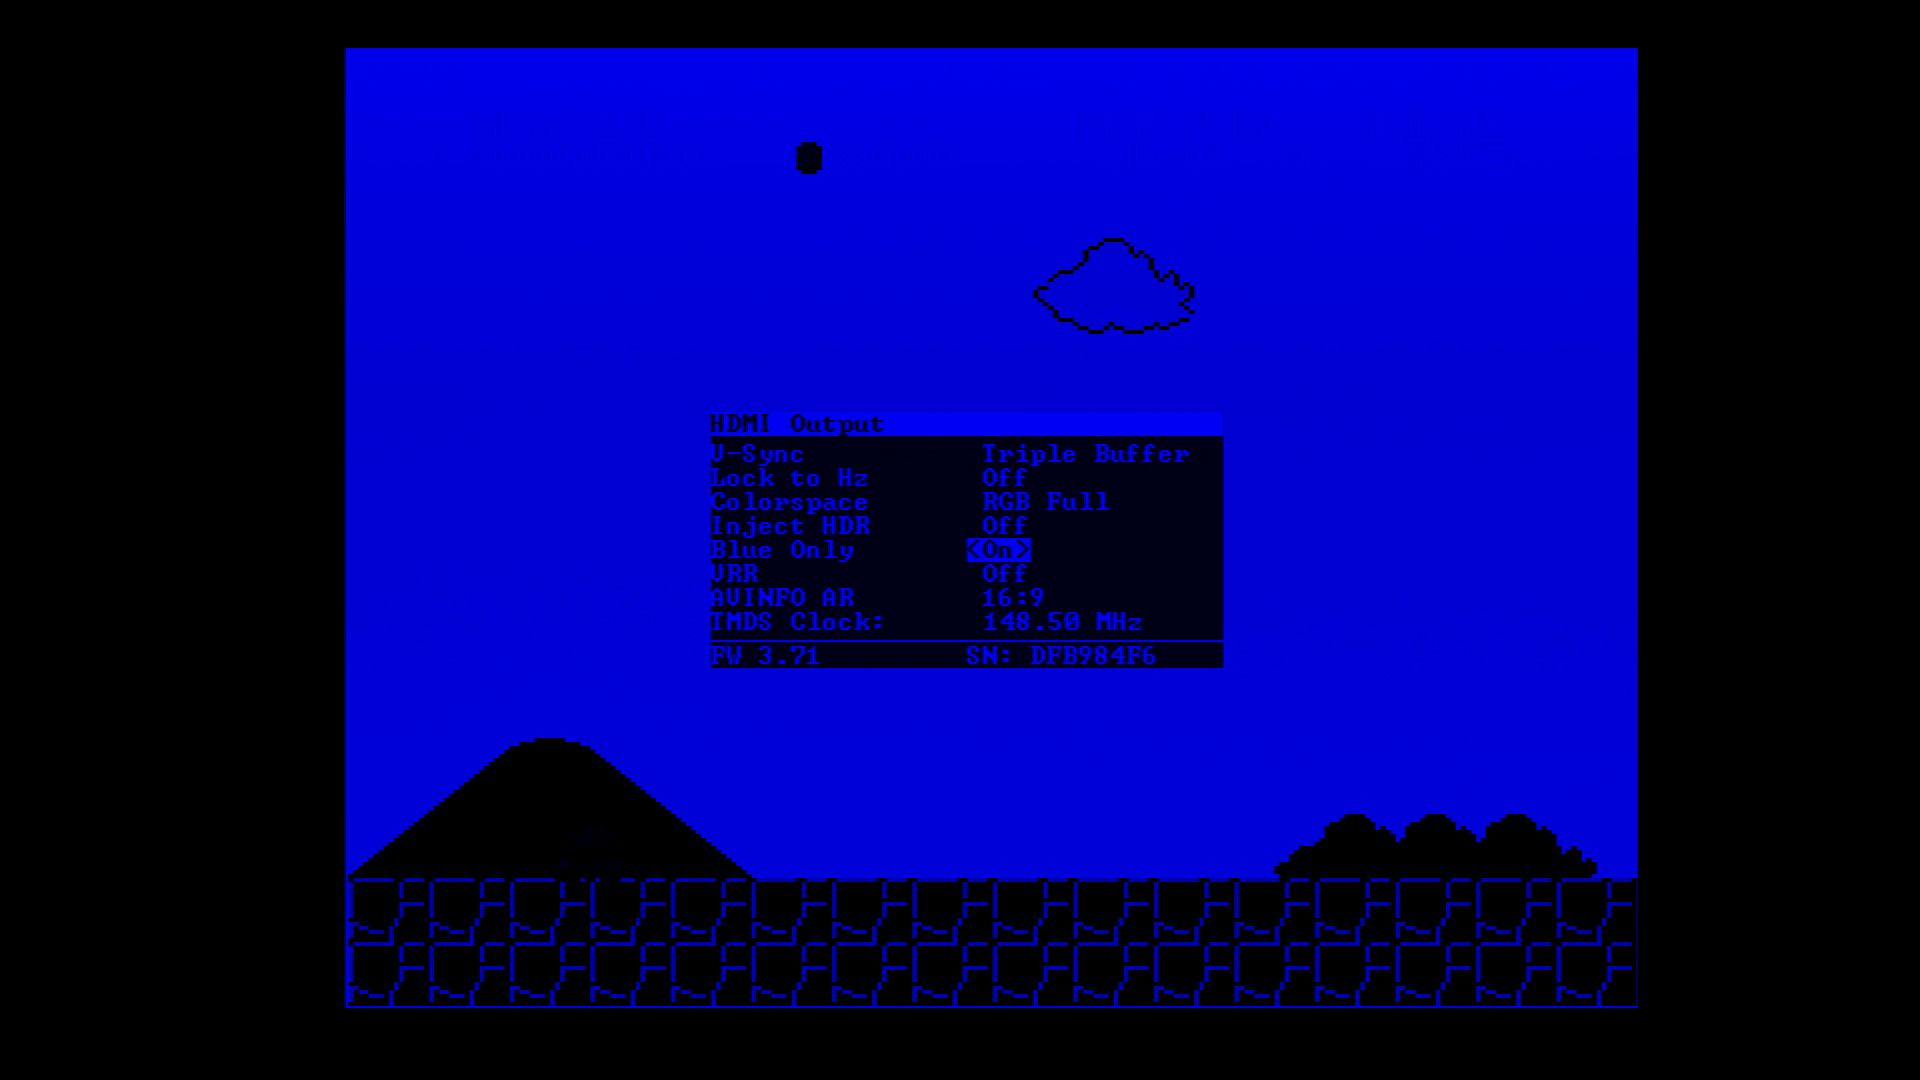
- VRR: allow variable refresh rate, if your TV supports it
- AVINFO AR: force aspect ratio recognition flag
- TDMS Clock: clock signal used in TMDS (Transition Minimized Differential Signaling), a technology for transmitting high-speed serial data. This clock is crucial for synchronizing the data transmission, especially in digital video interfaces like HDMI, ensuring stable and accurate display of the upscaled video signal.
OSD

On Screen Display options.
- Size: the size of the on screen menu
- Small, Tiny, Normal
- Blanking Color: when no signal is recognized, blank screen is shown. This is the color for the blank screen.
- Blue, Green, Red, Gray, Black
- Lightgun Border: adds a white border for light gun support.

- Startup Profile: automatically load the selected profile when started
- Advance Res: hide or show unsupported or experimental resolutions in the Output Resolution menu
Save Profile

In this section you can save your changes into one of available profile slots.
When you save a preset, you can input a name from the shown symbol set:

Notice: after each firmware update the presets are erased!
Load Profile

In this section you can load profiles.
Status

This screens shows details information about the signal and resolutions. It also shows the overall uptime (reseted after firmware upgrade).
- Source: currently selected signal source
- Output Res: currently selected output resolution
- Input Lines: input source resolution in lines
- Input H-Freq: horizontal frequency of the input signal
- Input V-Freq: vertical frequency of the input signal
- Samples/Line
- ADC Clock: Analog Digital Converter clock frequency
- BufferLag: current lag introduced by the buffer
About

Short information about the RetroTink5X with a cute bunny.
Updating
Read this page for the most recent information.
In order to update, visit the page https://www.retrotink.com/post/retrotink-5x-pro-firmware-updates page and download the last (or desired) firmware. Unpack the zip-file and you will get a hex-file.
Set the device into the upgrade mode by holding the Menu-button and then connecting the unit to your computer via the micro-usb cable. The led on the devicewill be lit red.
Start the RetroTINK Upgrade Tool and click on “Search” button.

If your device will be found, the combobox will be filled with a message “UART” etc.

Then click on the next button “Load HEX” and load the hex-file (update file).
Presse “Flash” to start the update process. You will be warned no to power off your device.
Update process can take up to 5 minutes and the application may even show the progress as hanging. Be patient and wait, in the end the RetroTink will be reseted and you will get a message in computer, that the update is finished.

Accessories
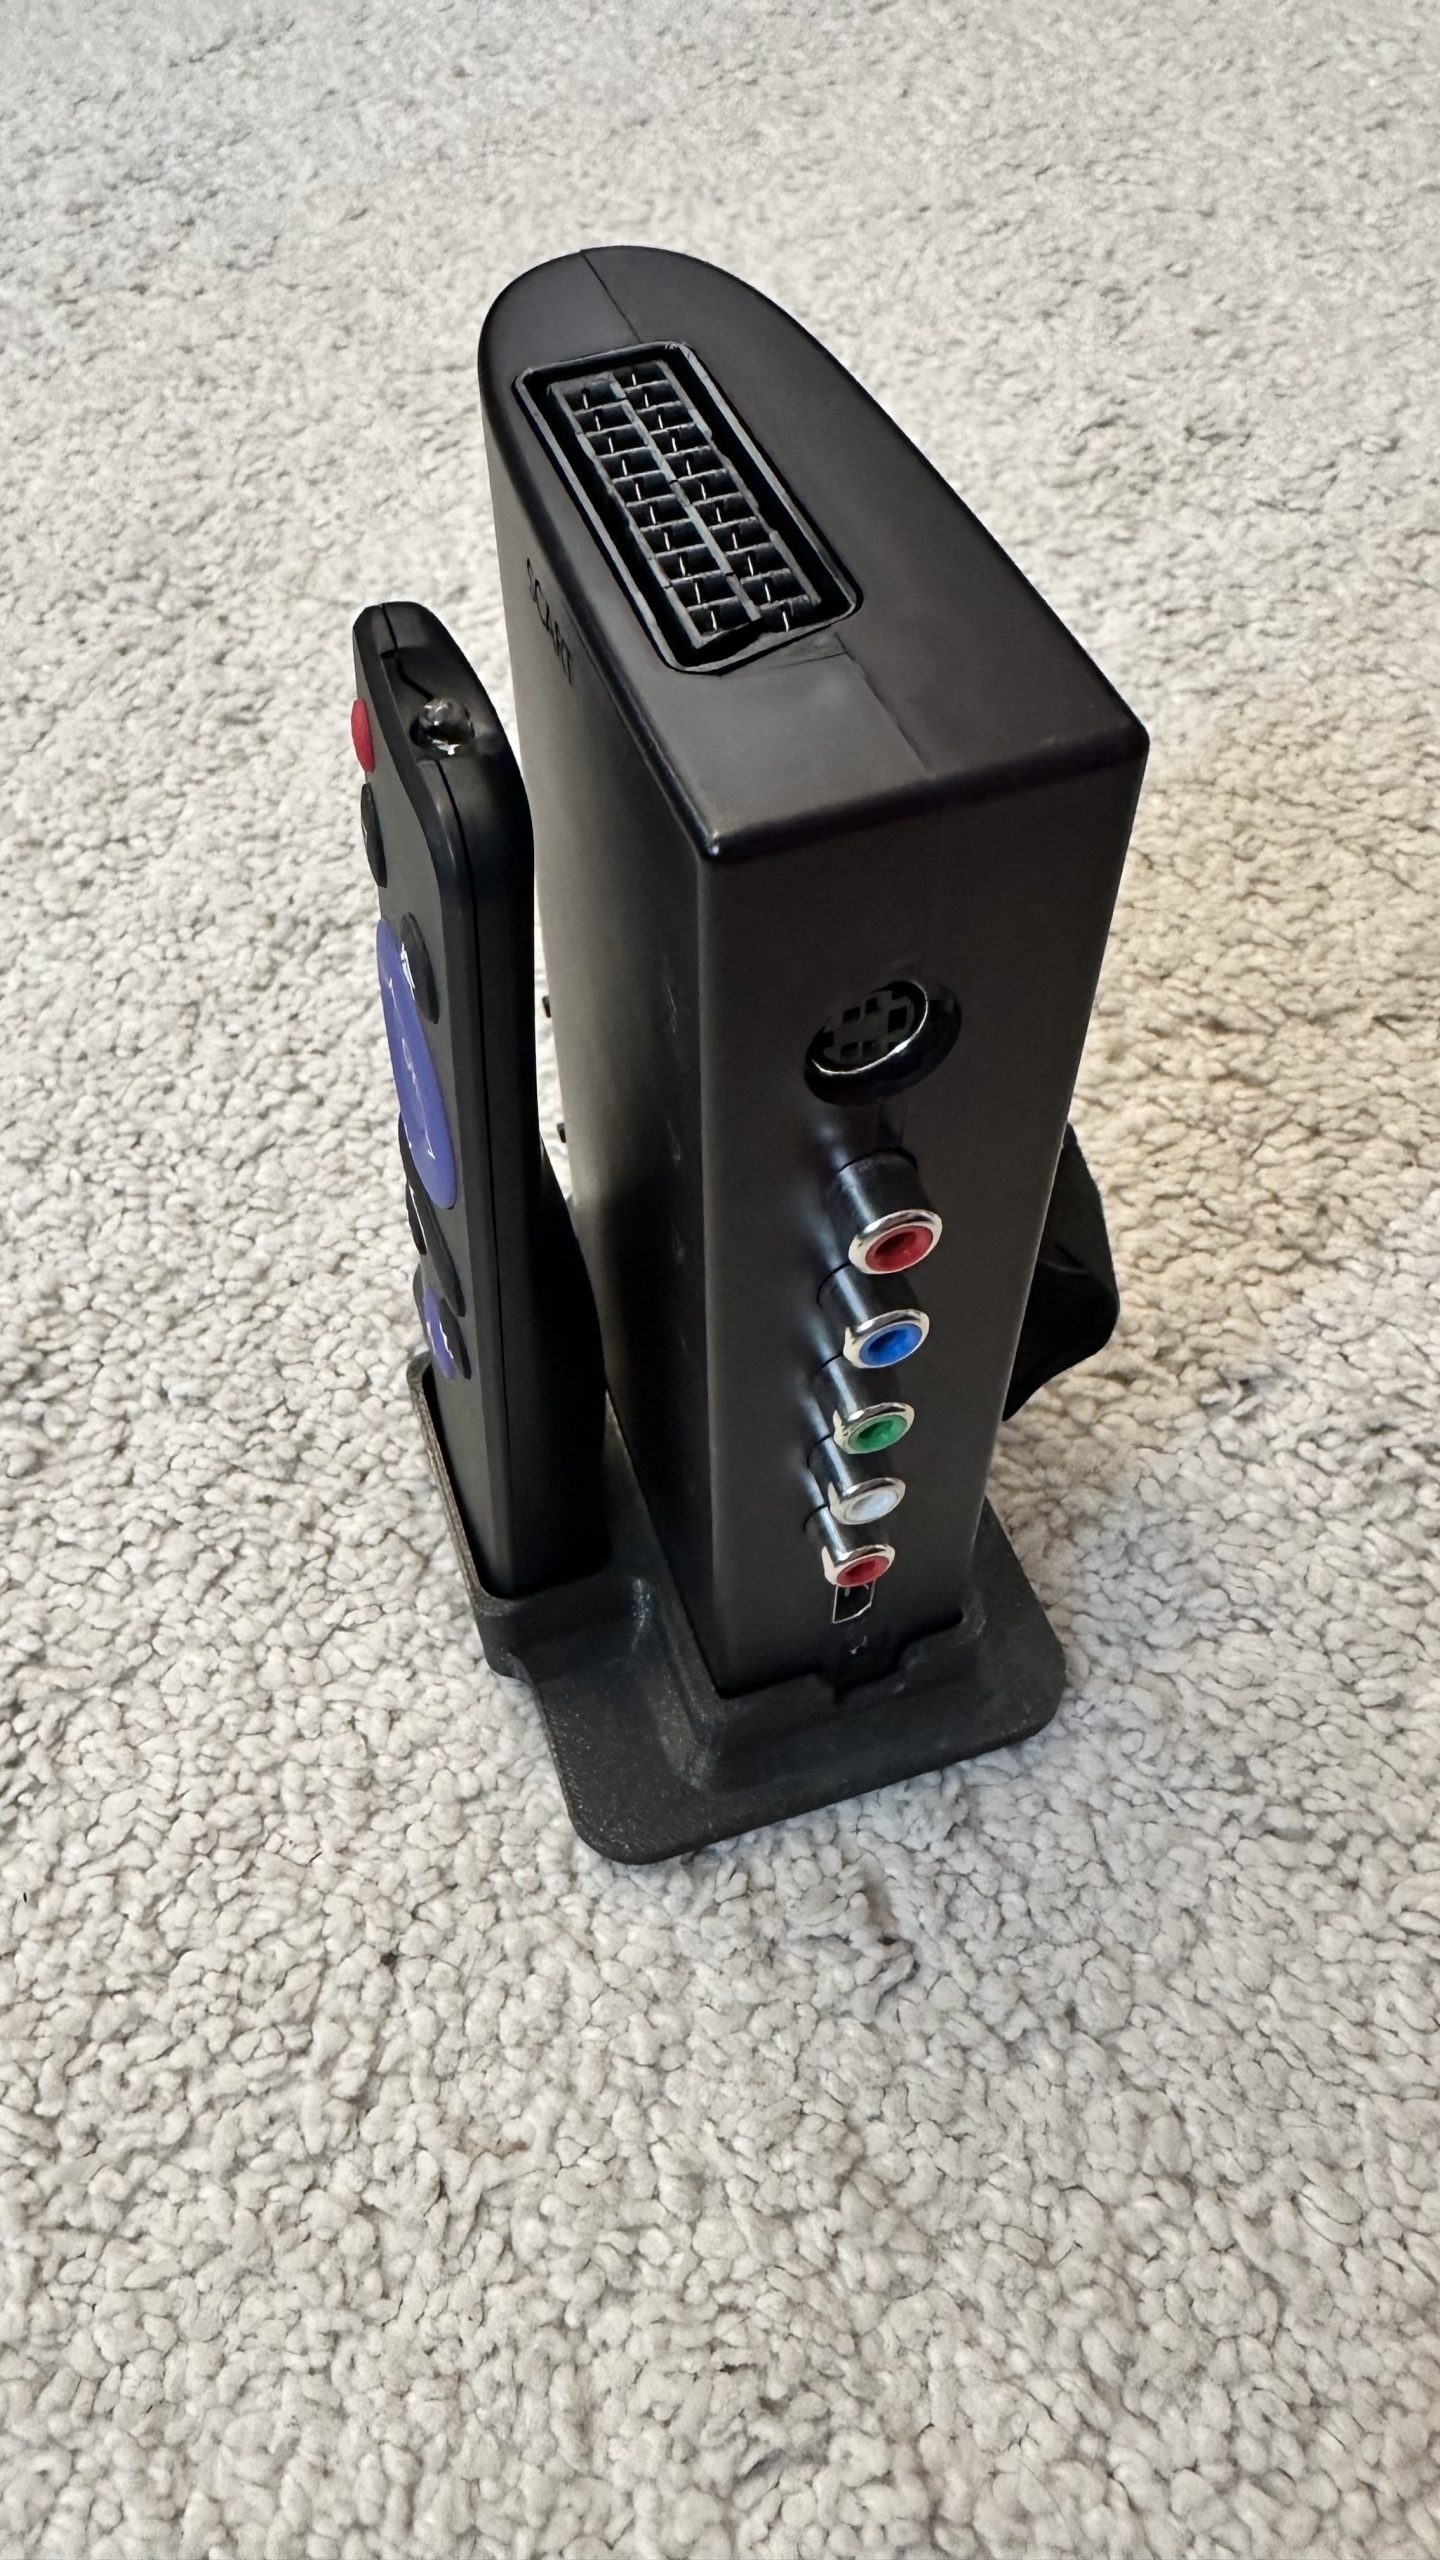
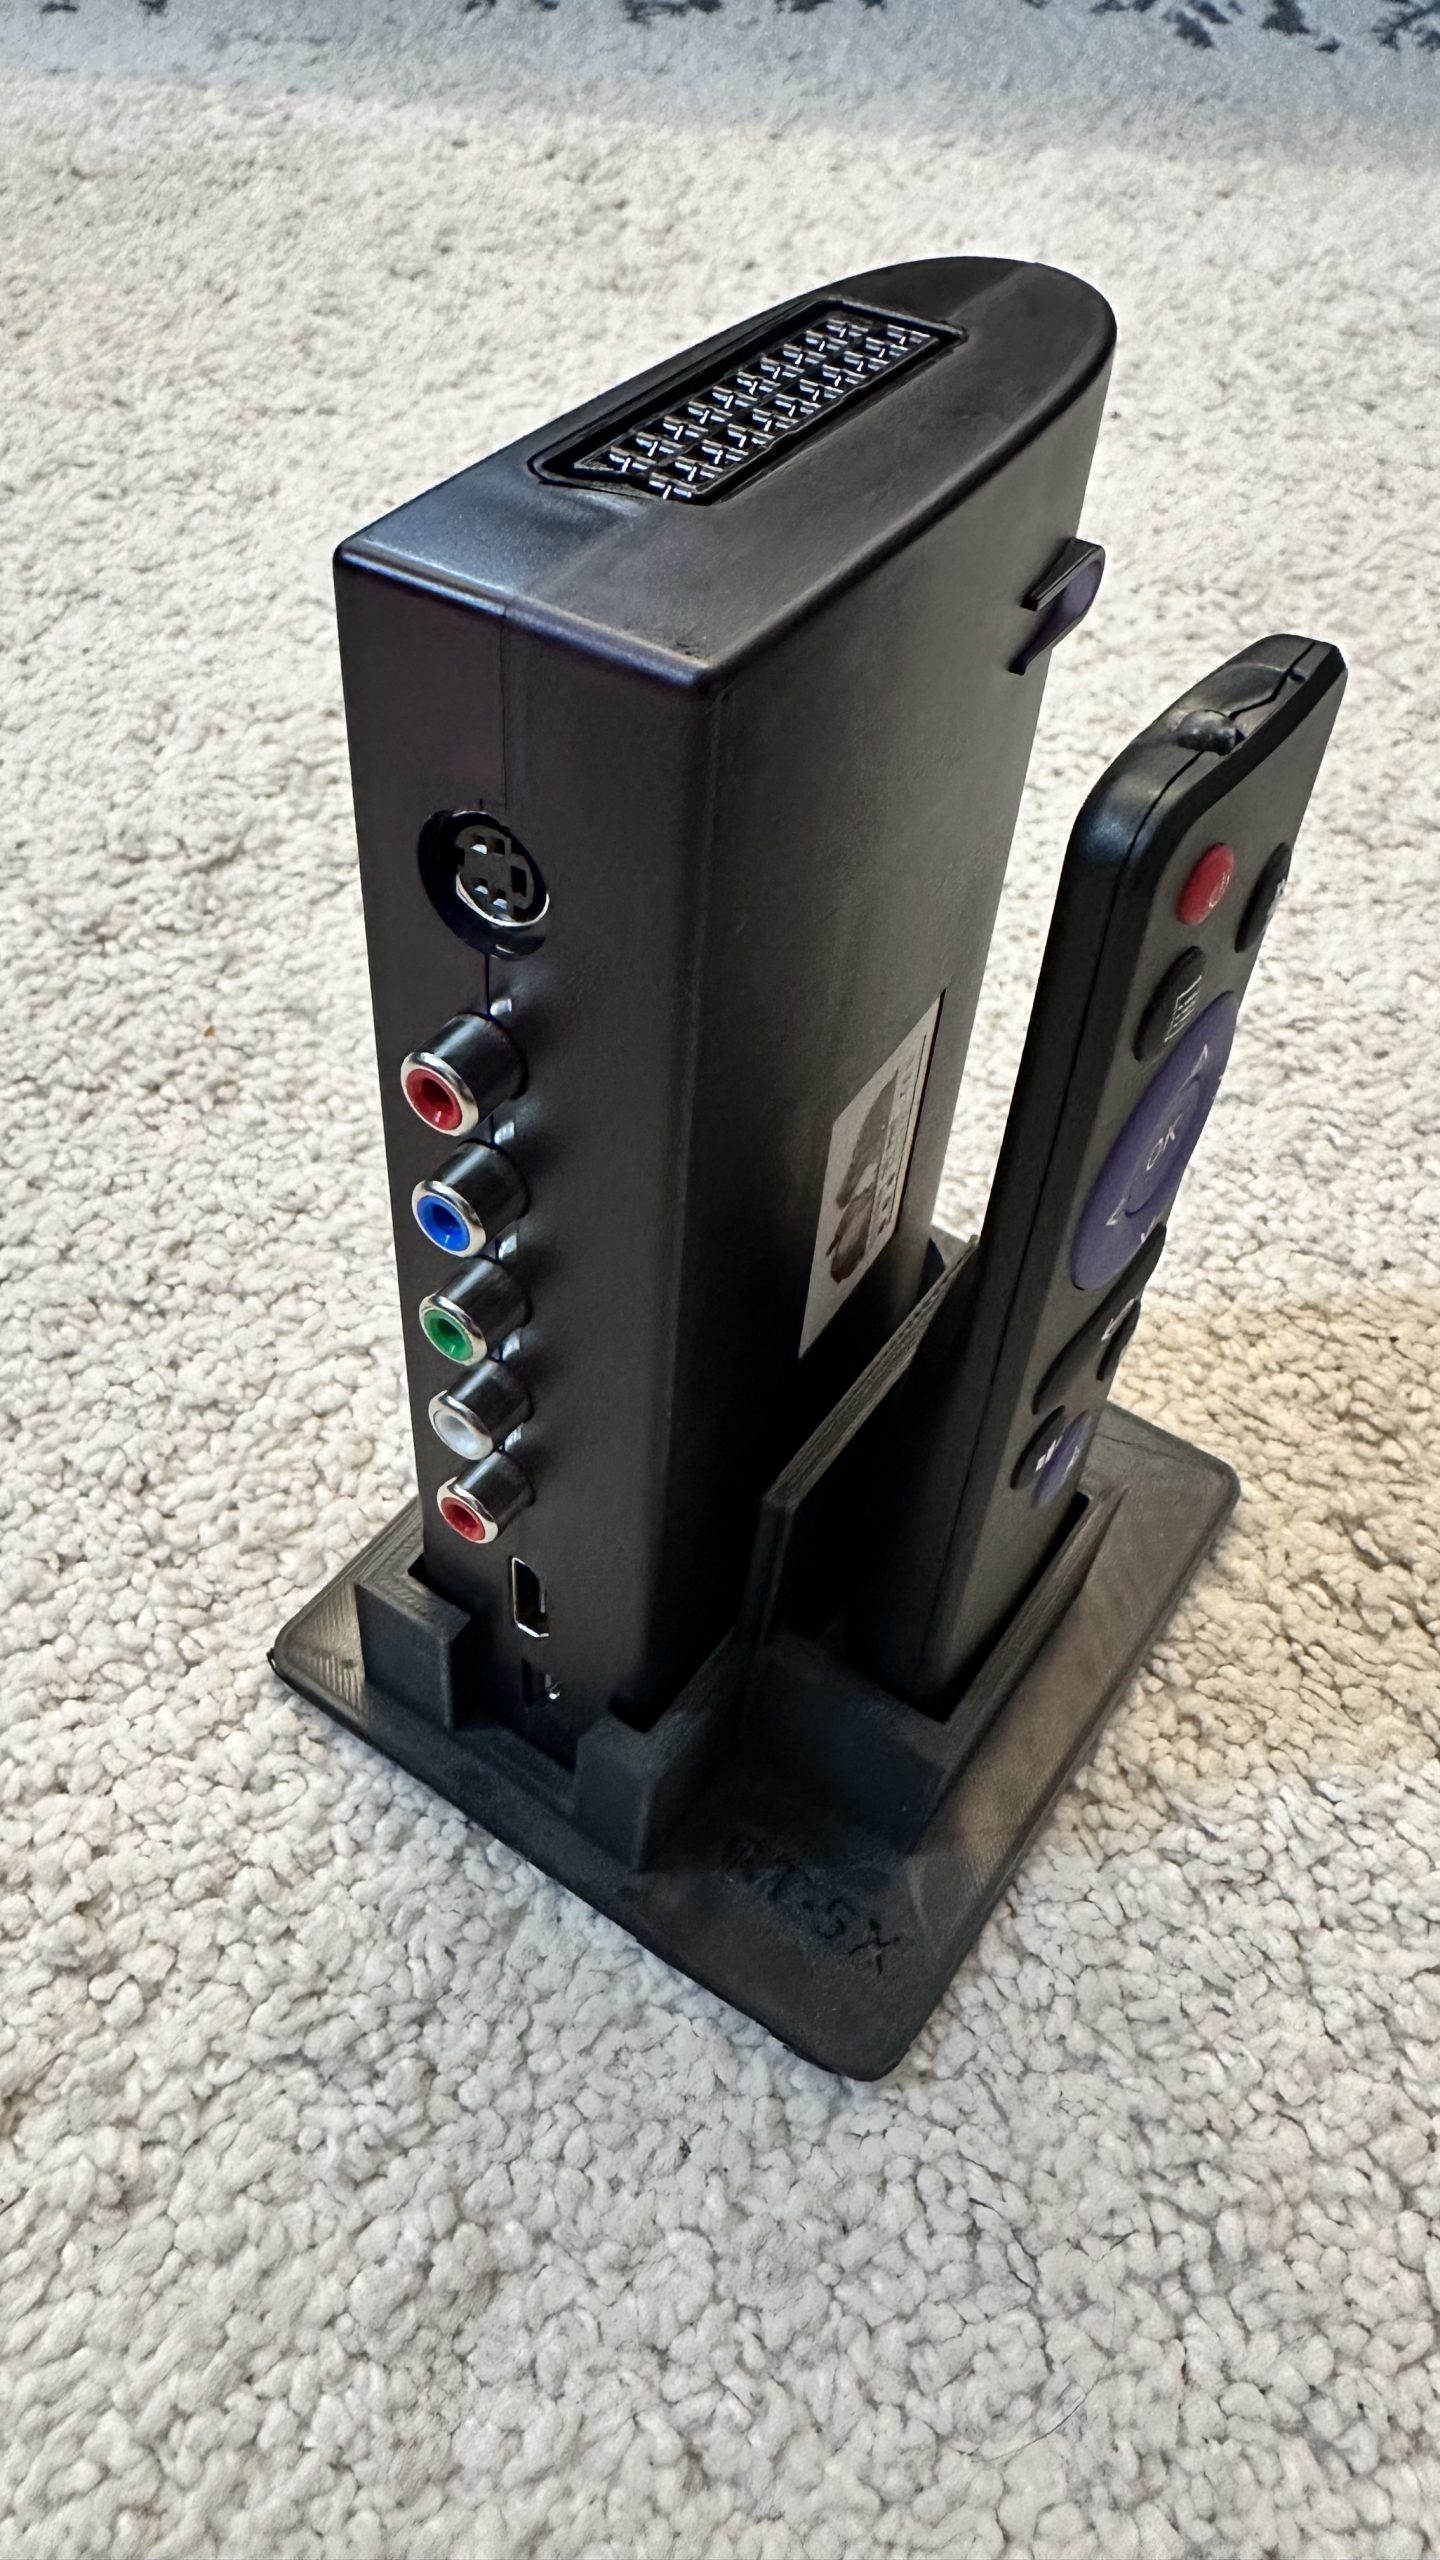
Vertical Stand
There are several vertical stands available for purchase or for print.
You can buy one hier: https://retrofrog.net/products/retrotink-5x-pro-vertical-stand?variant=40026491682999
Or print one yourself from these models:
Scart Extender
To add more SCART inputs to RetroTink5X, retrogamingvideocables produced and extender, which adds 6 more scart inputs. This extension is attached to the RetroTink5X scart connector.
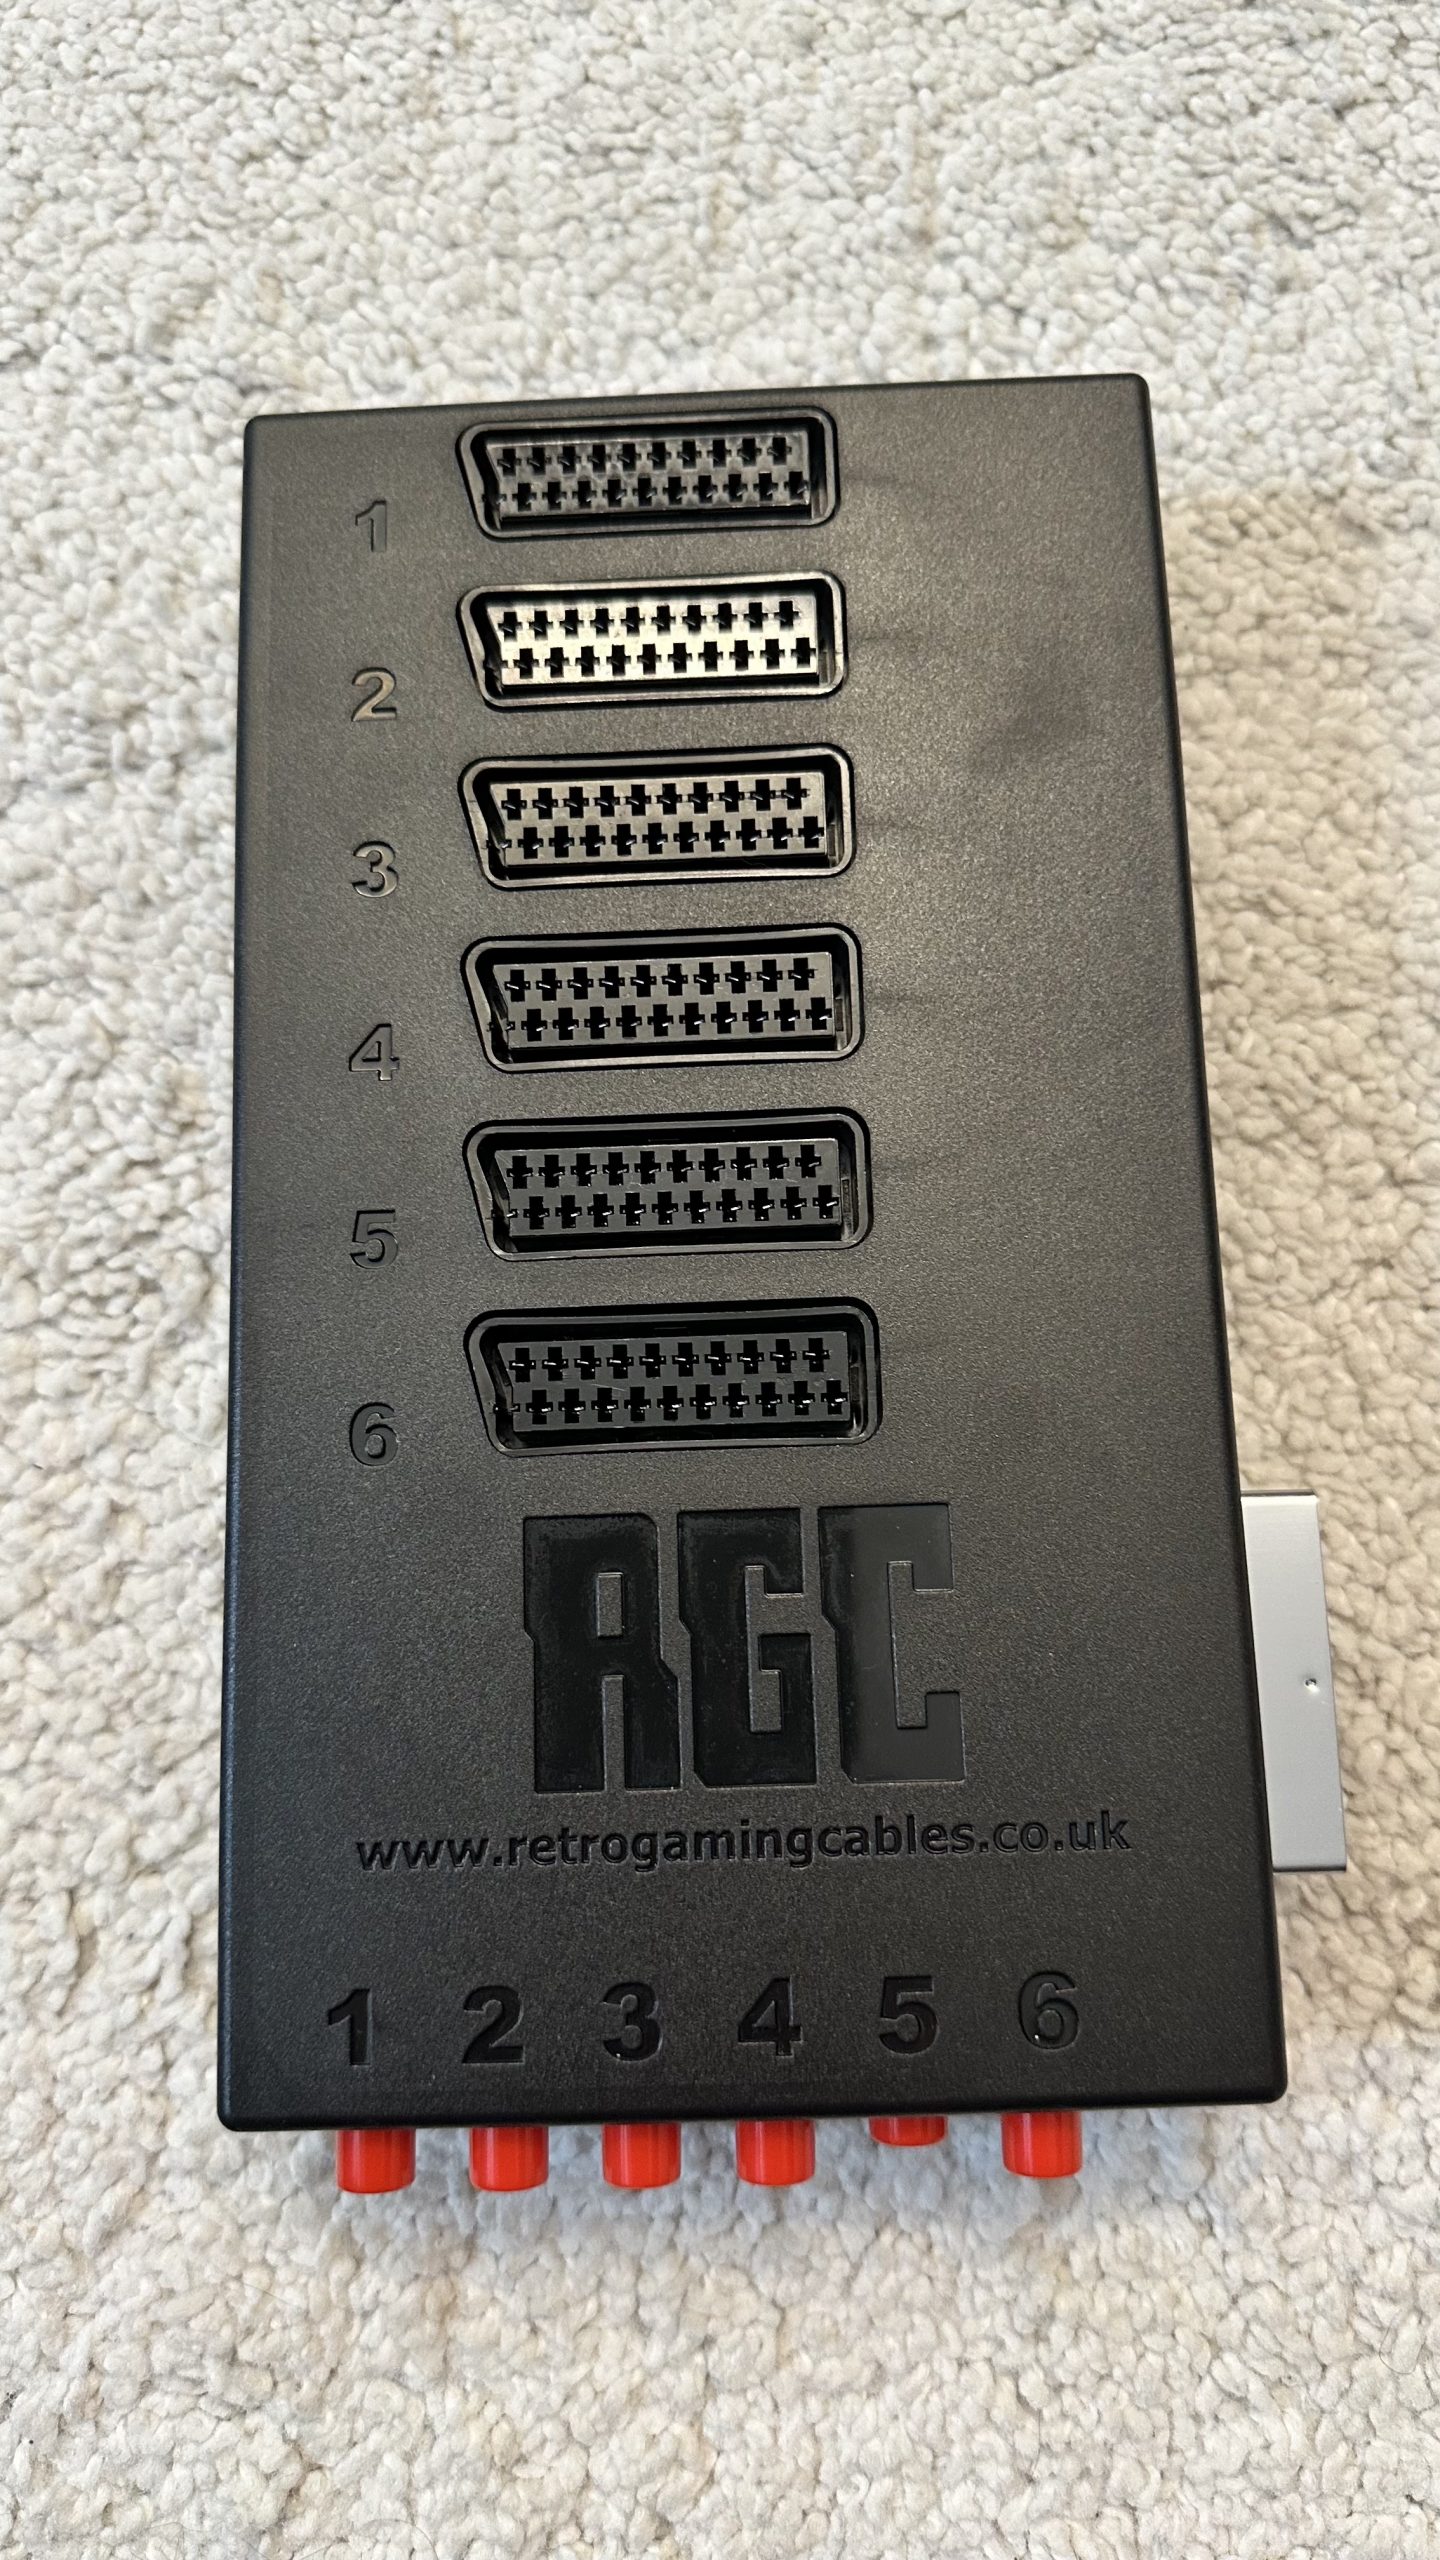
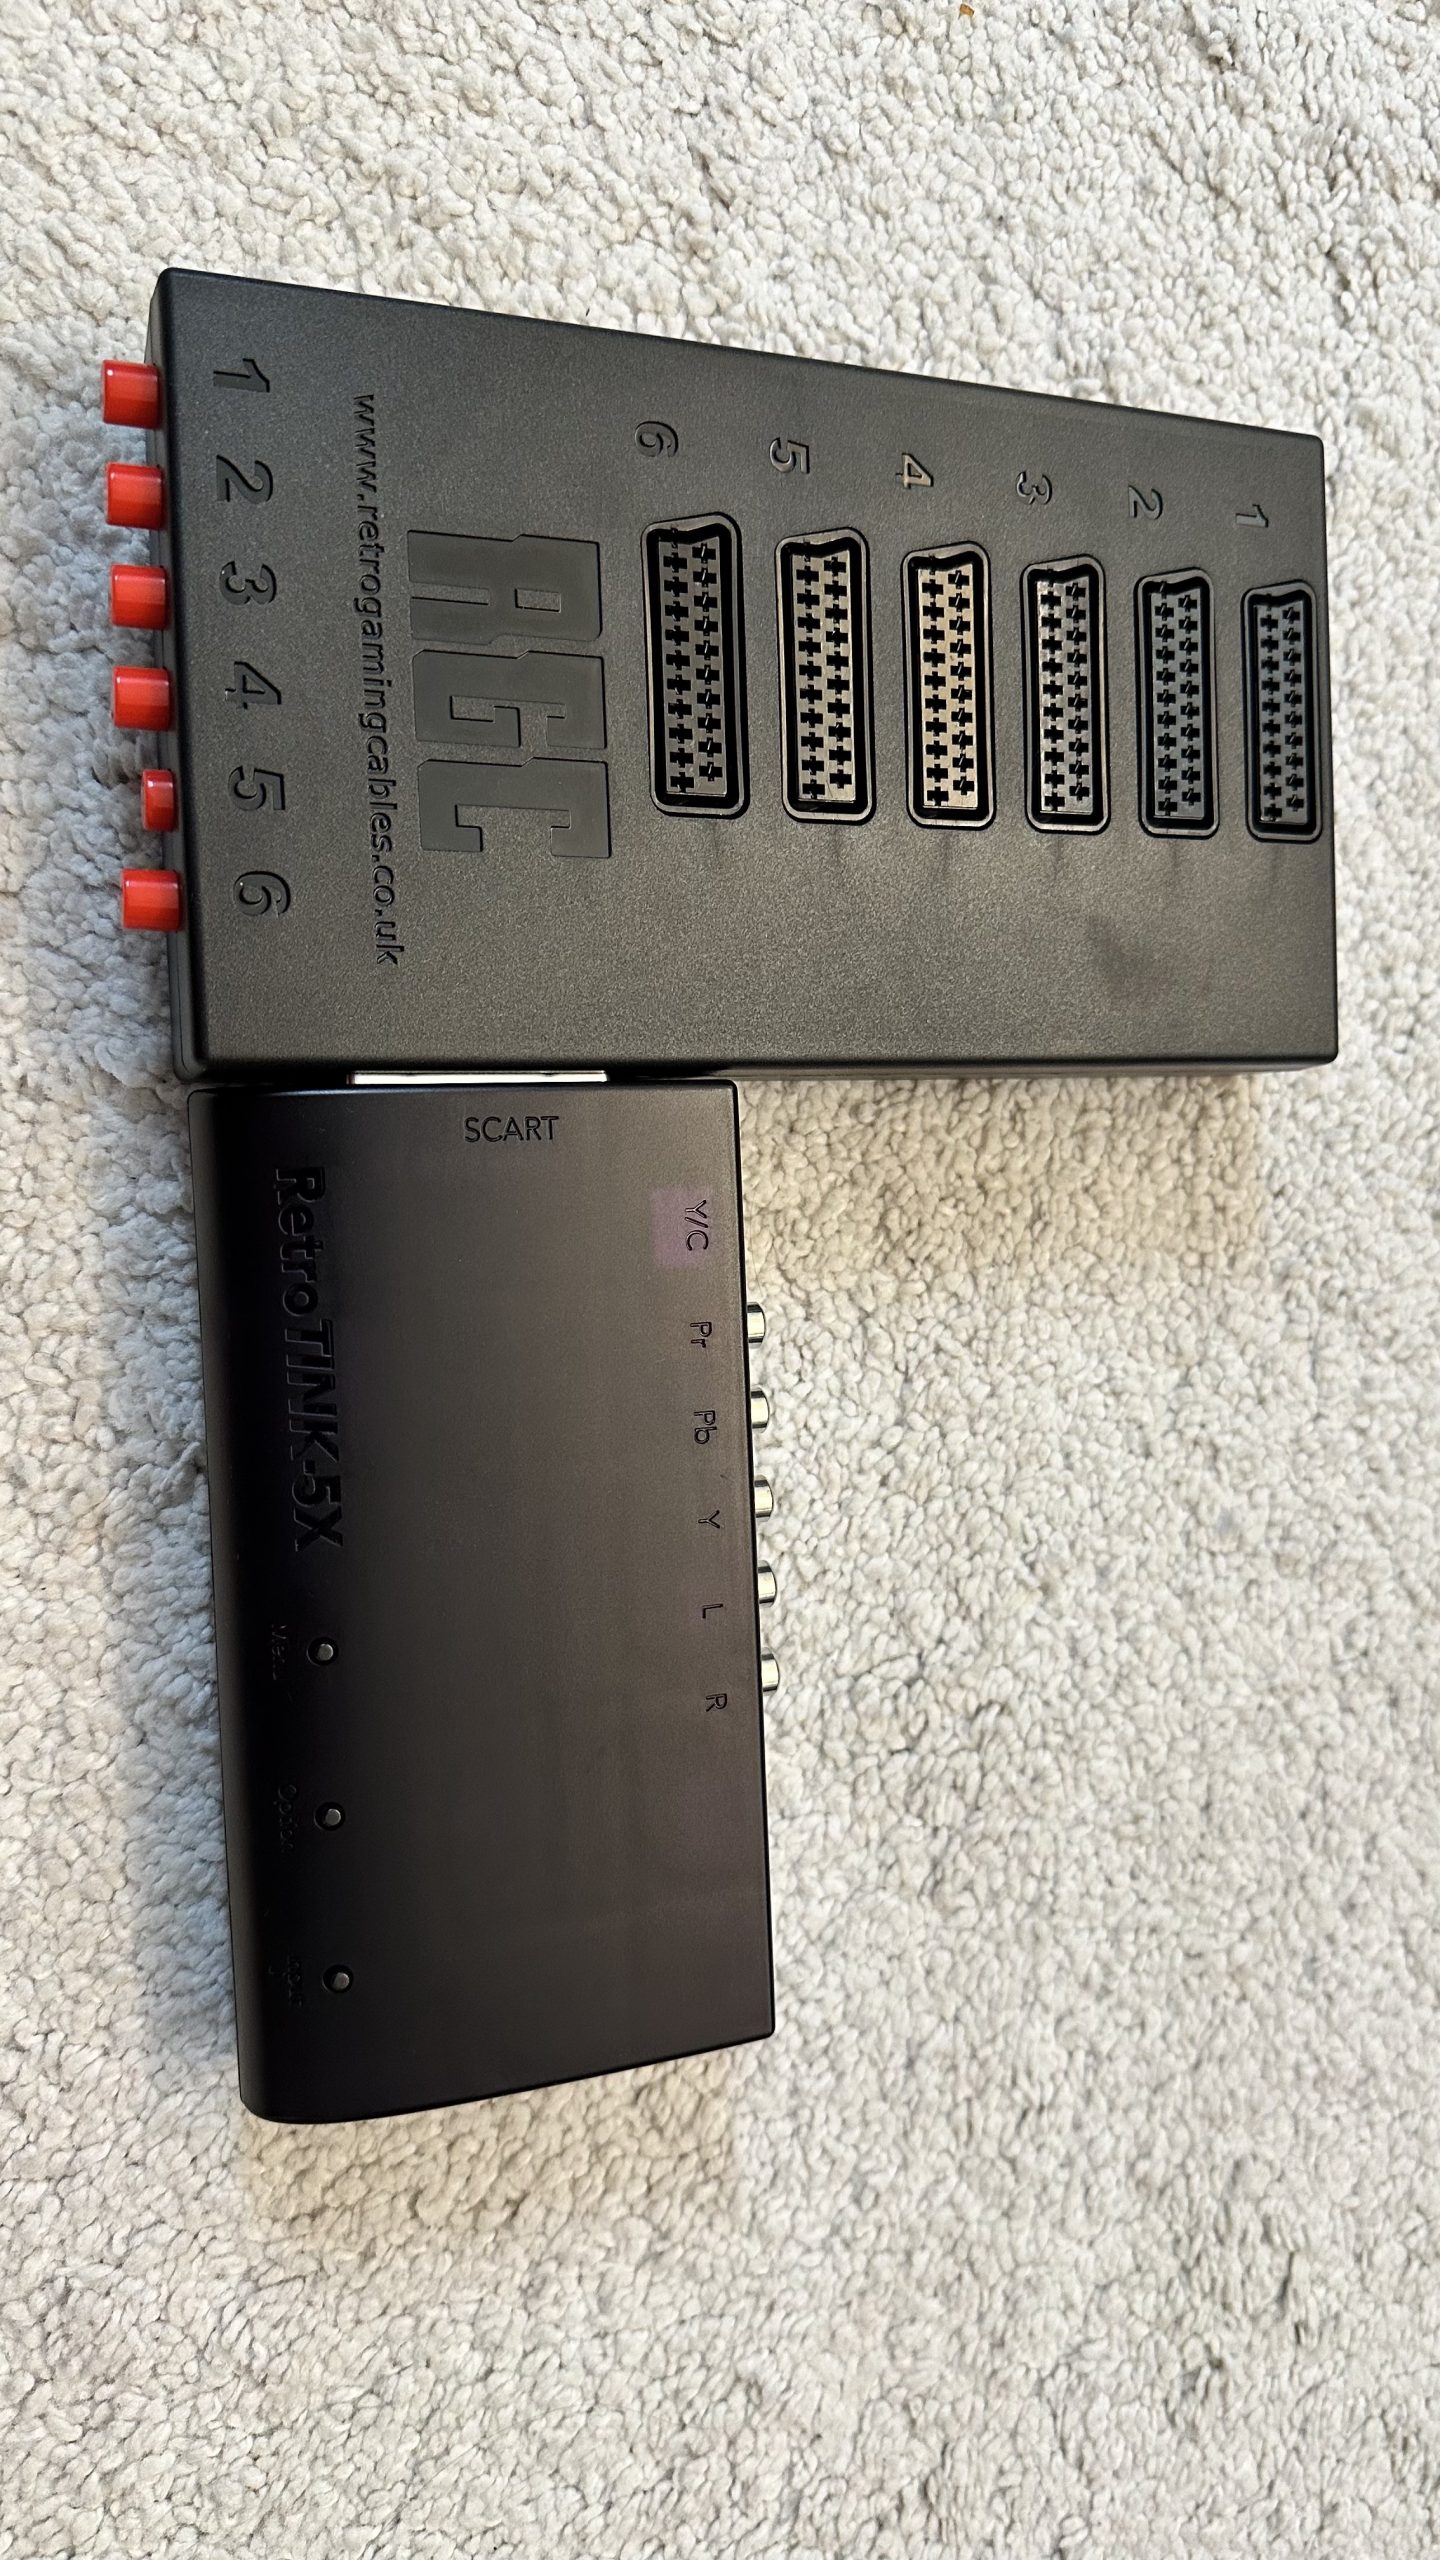
https://www.retrogamingcables.co.uk/RETROTINK-5X-PRO-SCART-SWITCH-MANUAL-SIX-INPUT
Selection of Scart inputs is mechanical and not automatical.
Scart Adapter (Rotated)
This adapter by Kytor allows you to have a rotated to top scart input.

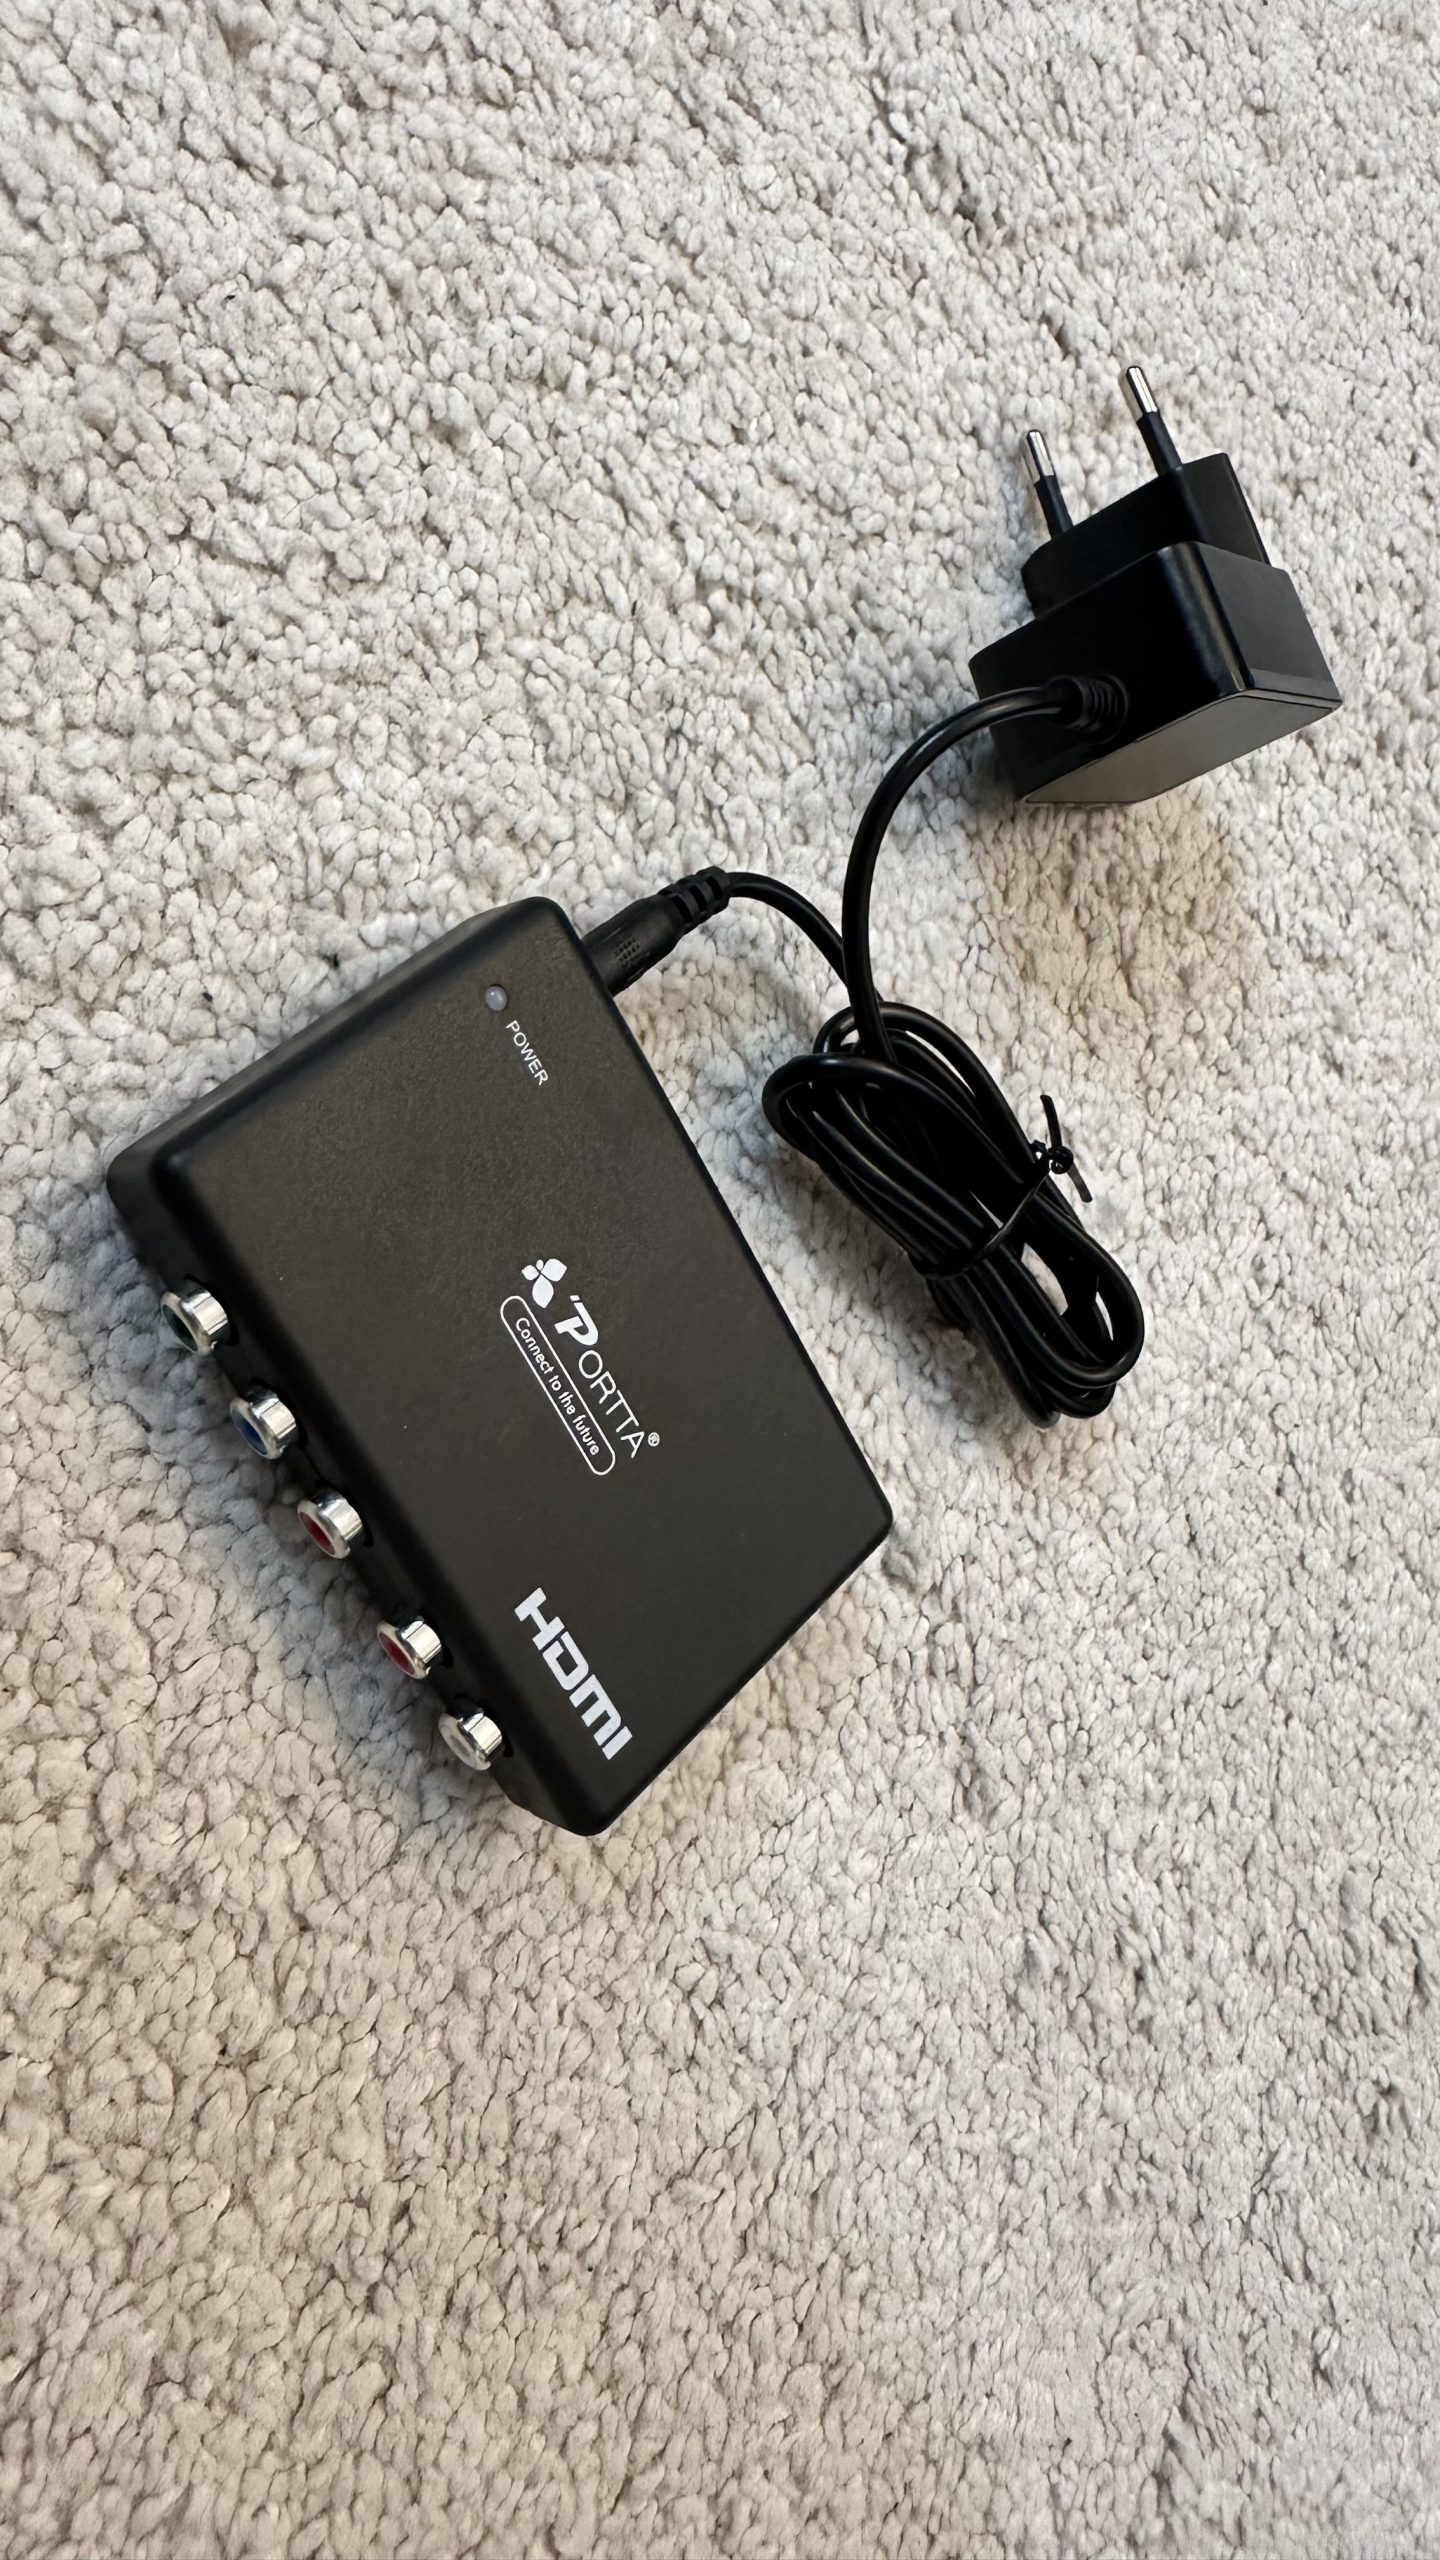
How to upscale HDMI sources
To upscale HDMI signal sources, you need to use an HDMI to Component converter and then connect component ouput of the converter to the RetroTink 5x.
Example for connector:
Here’s an example of connection of PlayStation Mini to RetroTink via RCA Male-to-male adapters.

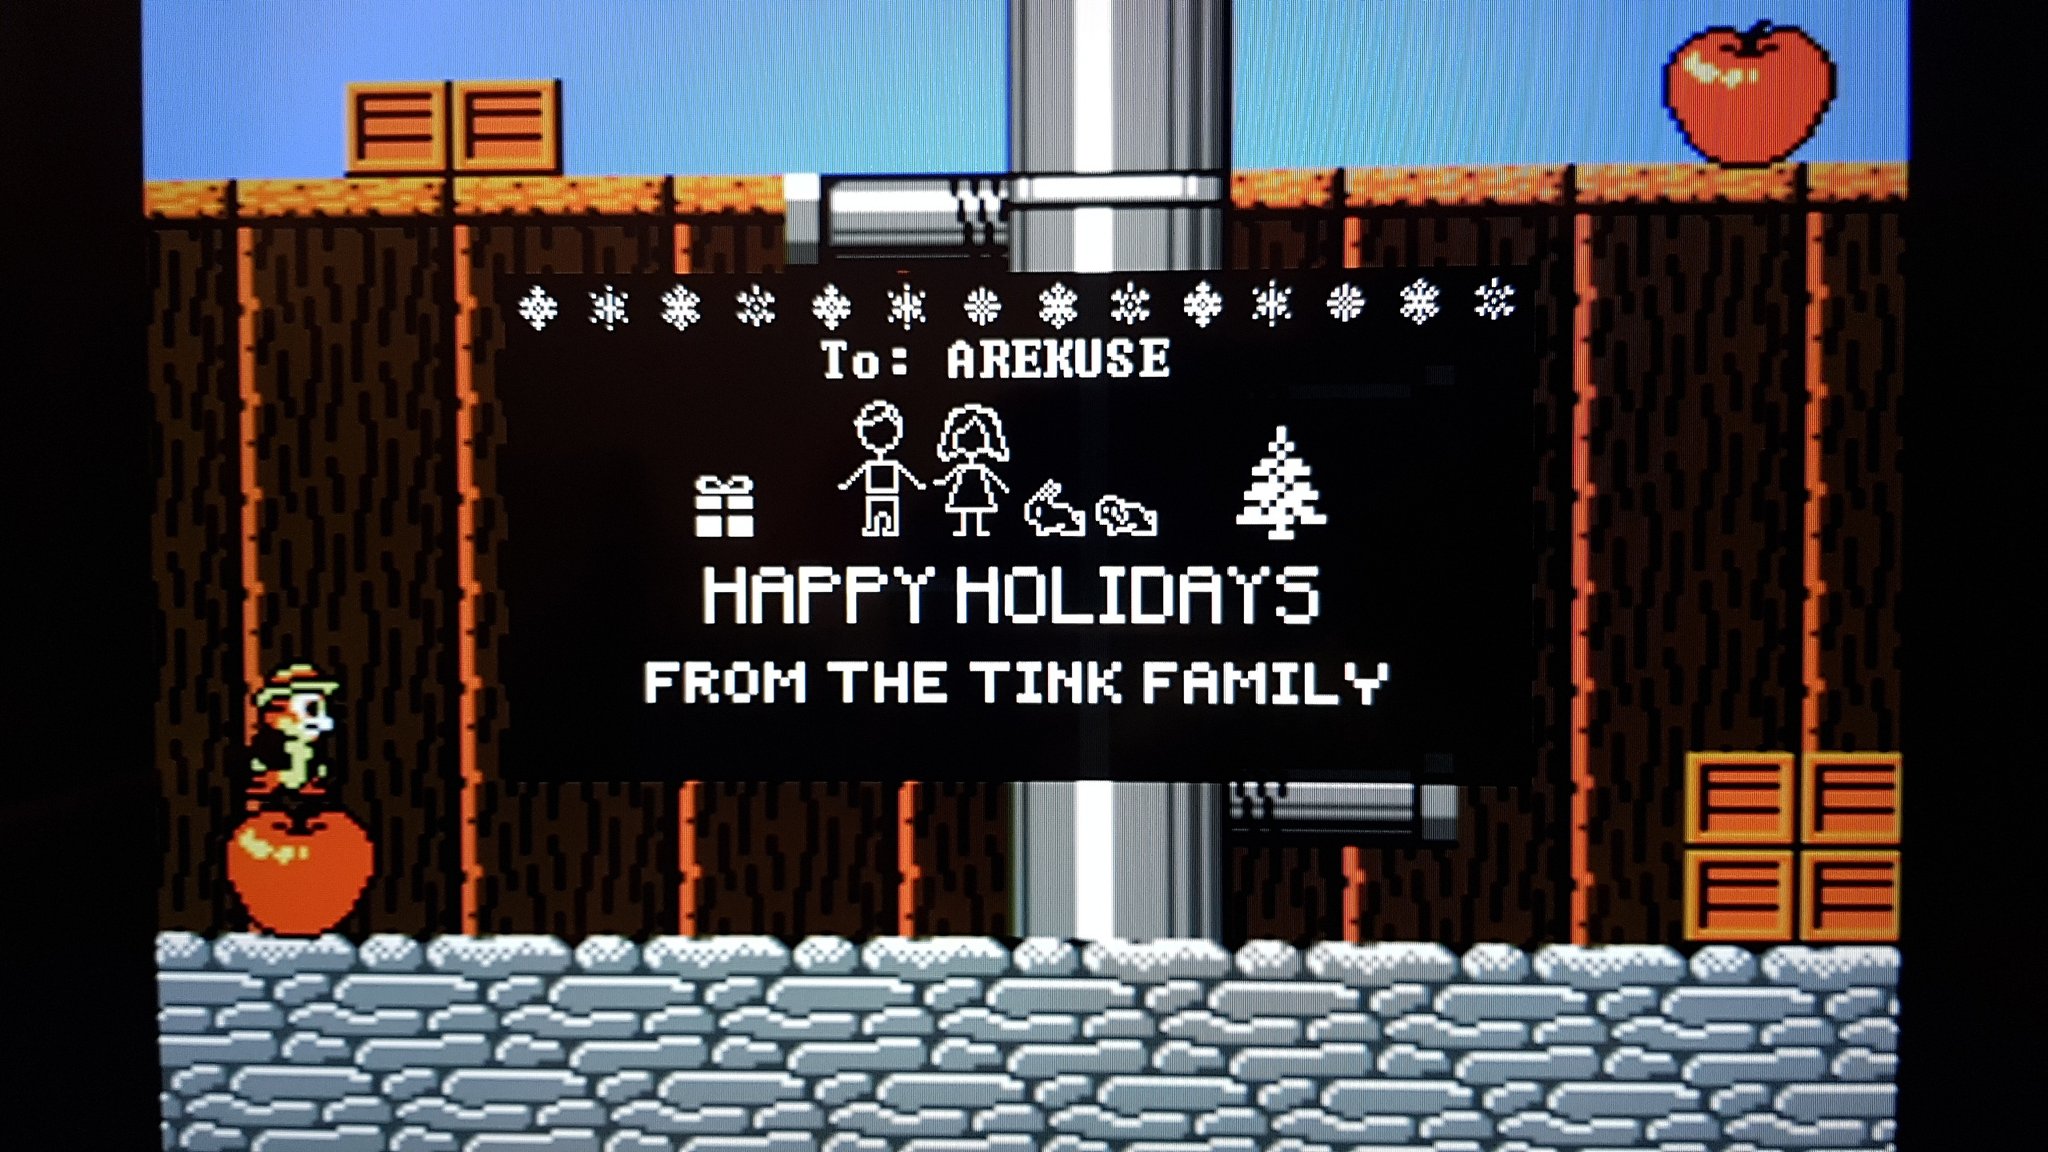
Easter Eggs
Custom Firmware Splashscreen on Christmas 2022
In 2021, during Christmas, Mike Chi distributed a firmware where he also put the names of the users (for selected users only).
I was blessed with such customized firmware.
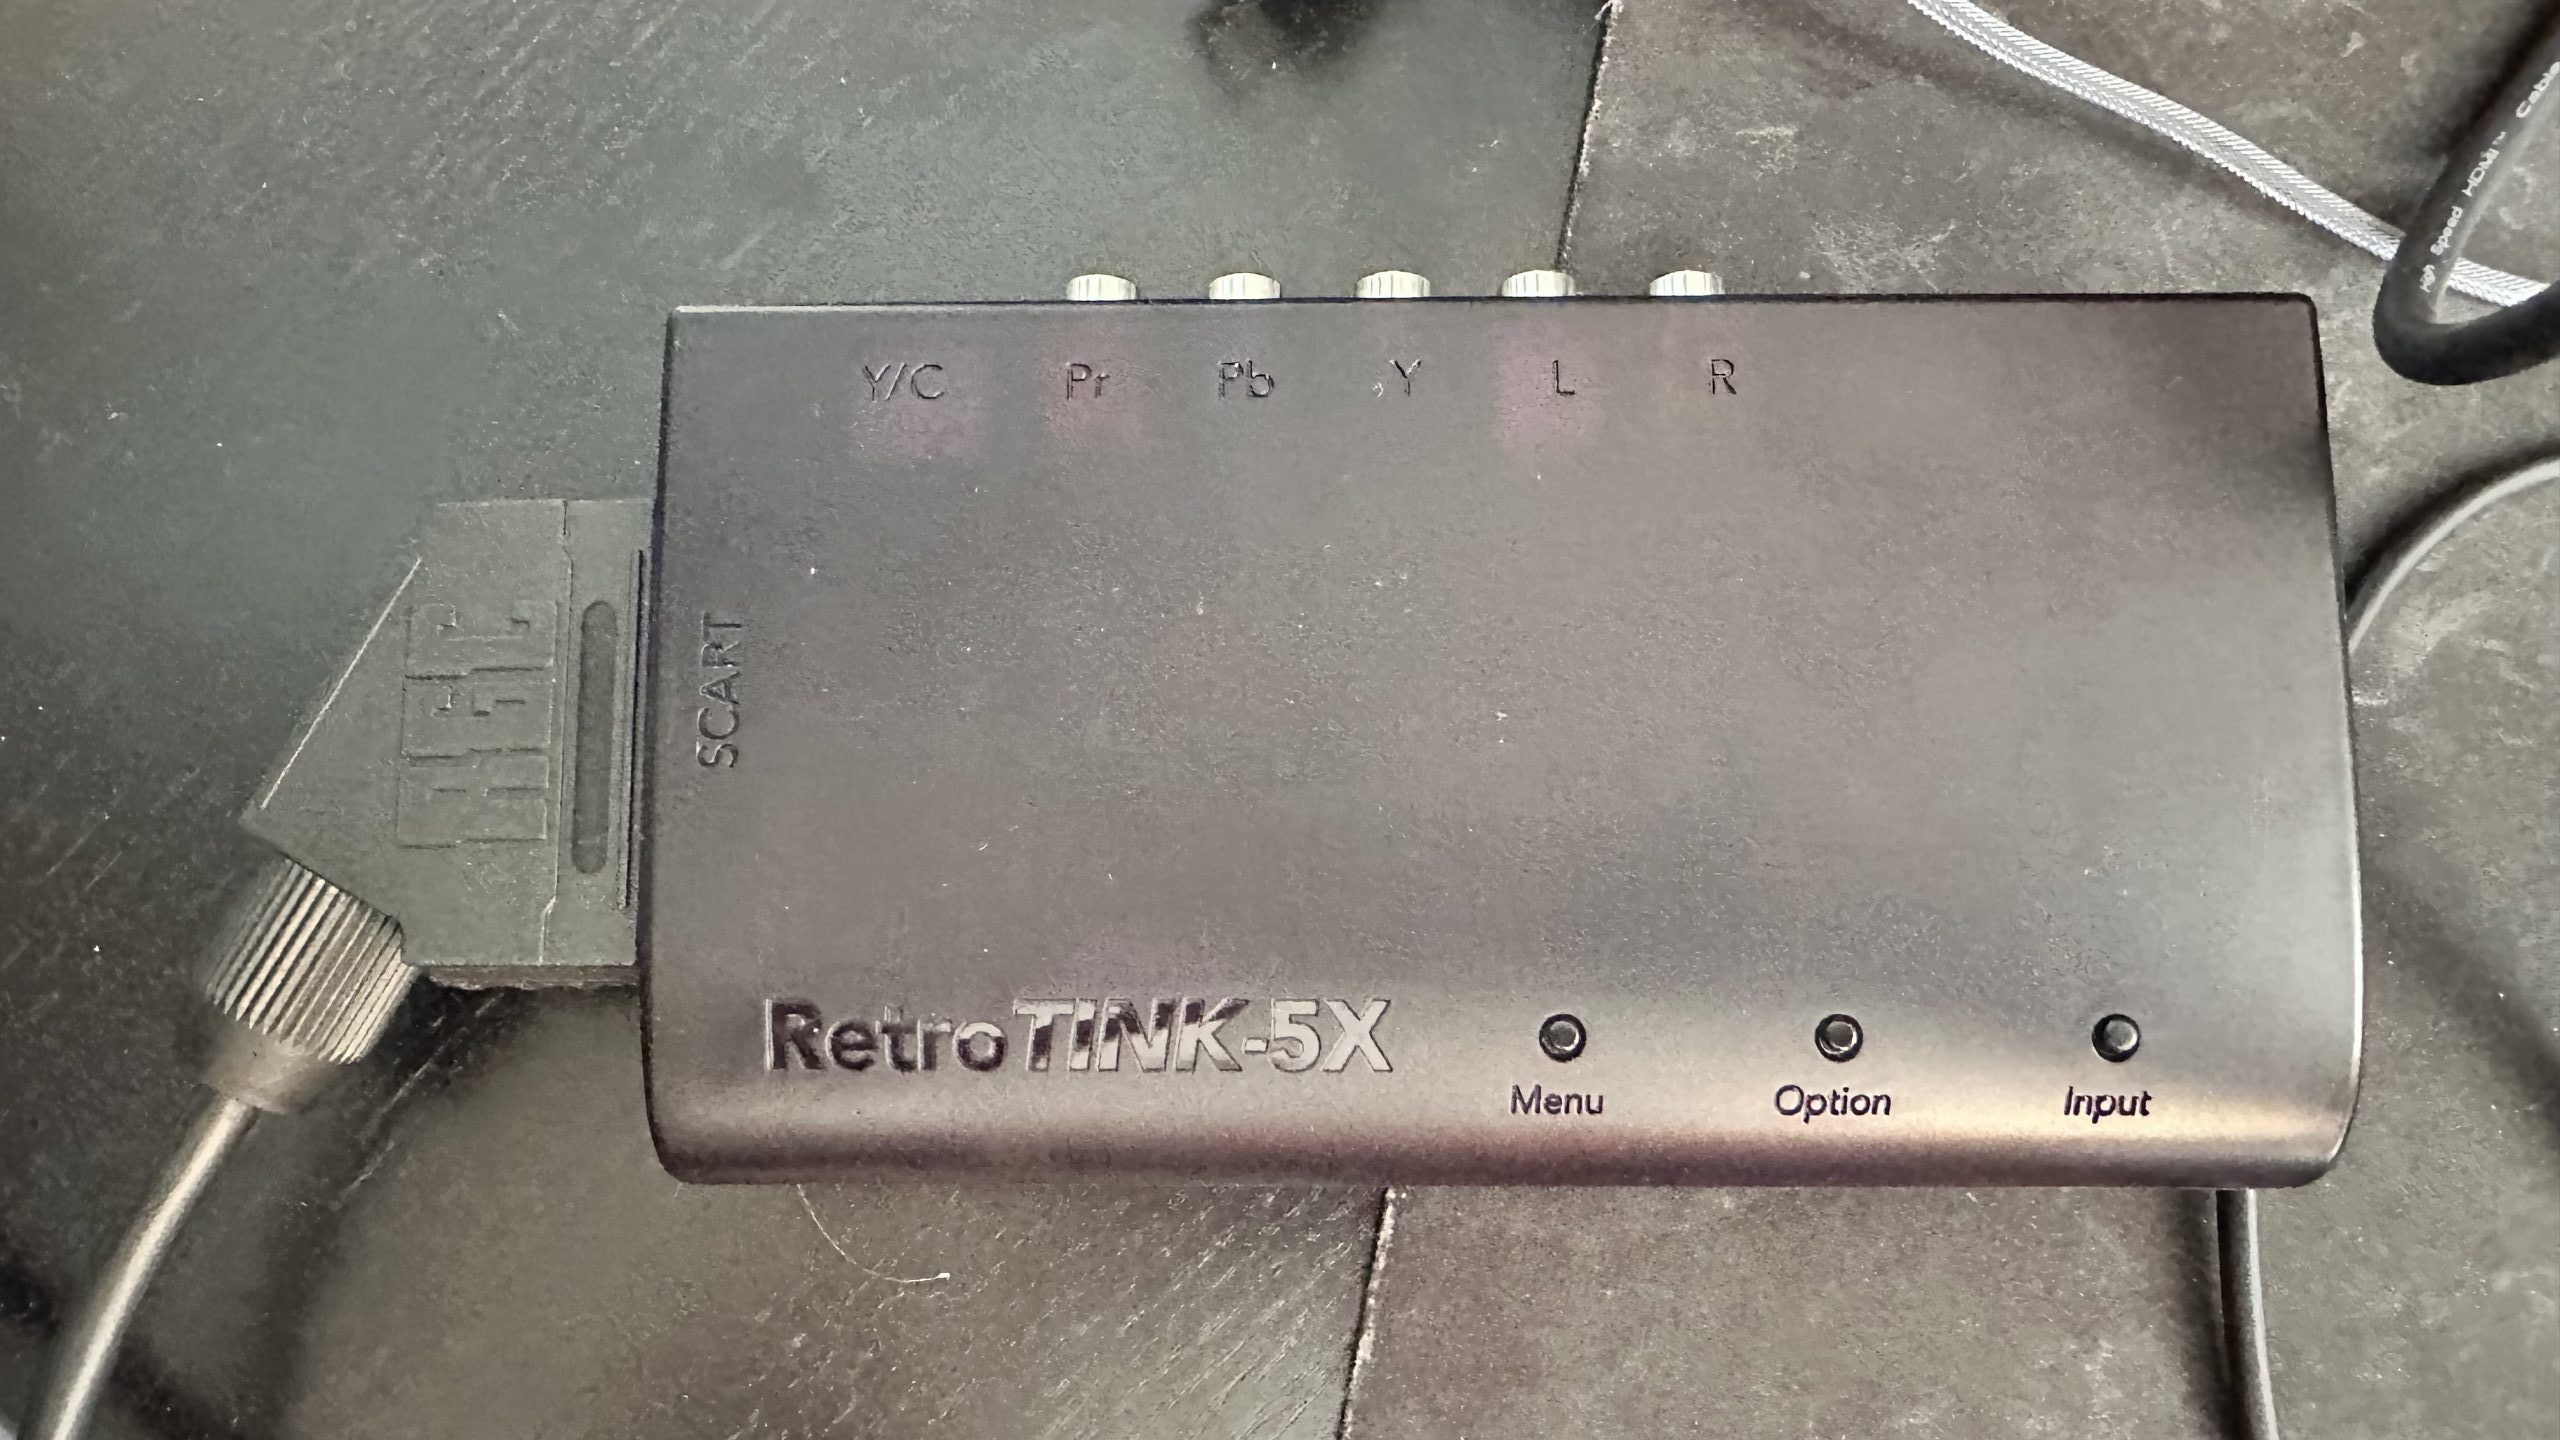
Scart Orientation and Shart
It was a long-running joke, that Mike Chi doesn’t love Scart (and mispronounced it as Shart). E.g. the SCART connector on the Retro TINK5x is placed the wrong way.
Here is Mike making fun himself on the RetroTINK $k introduction page: https://www.retrotink.com/post/introducing-the-retrotink-4k
