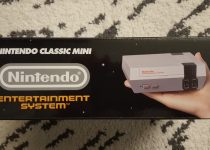
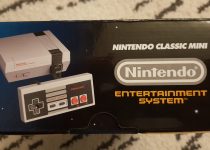
Nintendo Classic Mini
I. Was ist NES Mini?
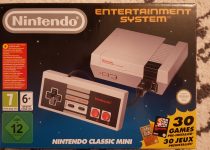
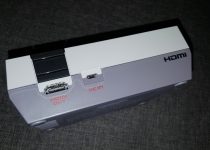
Nintendo Classic Mini is a small video gaming console, released by Nintendo in 2016. It is an emulating system and it allows you to play a selection of 30 NES (Nintendo Entertainment System) games. The console is much smaller, than the actual NES and has different inputs. Instead of RF or AV Inputs it has an HDMI port. The System is powered via a Micro USB cable. The is no possibility to use real cartridges with this syst: the console has a new menu and officially only allows to play the games which are installed on the internal memory.
Important:
- you can’t use original controllers with the NES mini
- you can’t use original catridges with the NES mini
- you can only connect NES mini via HDMI
II. Contents
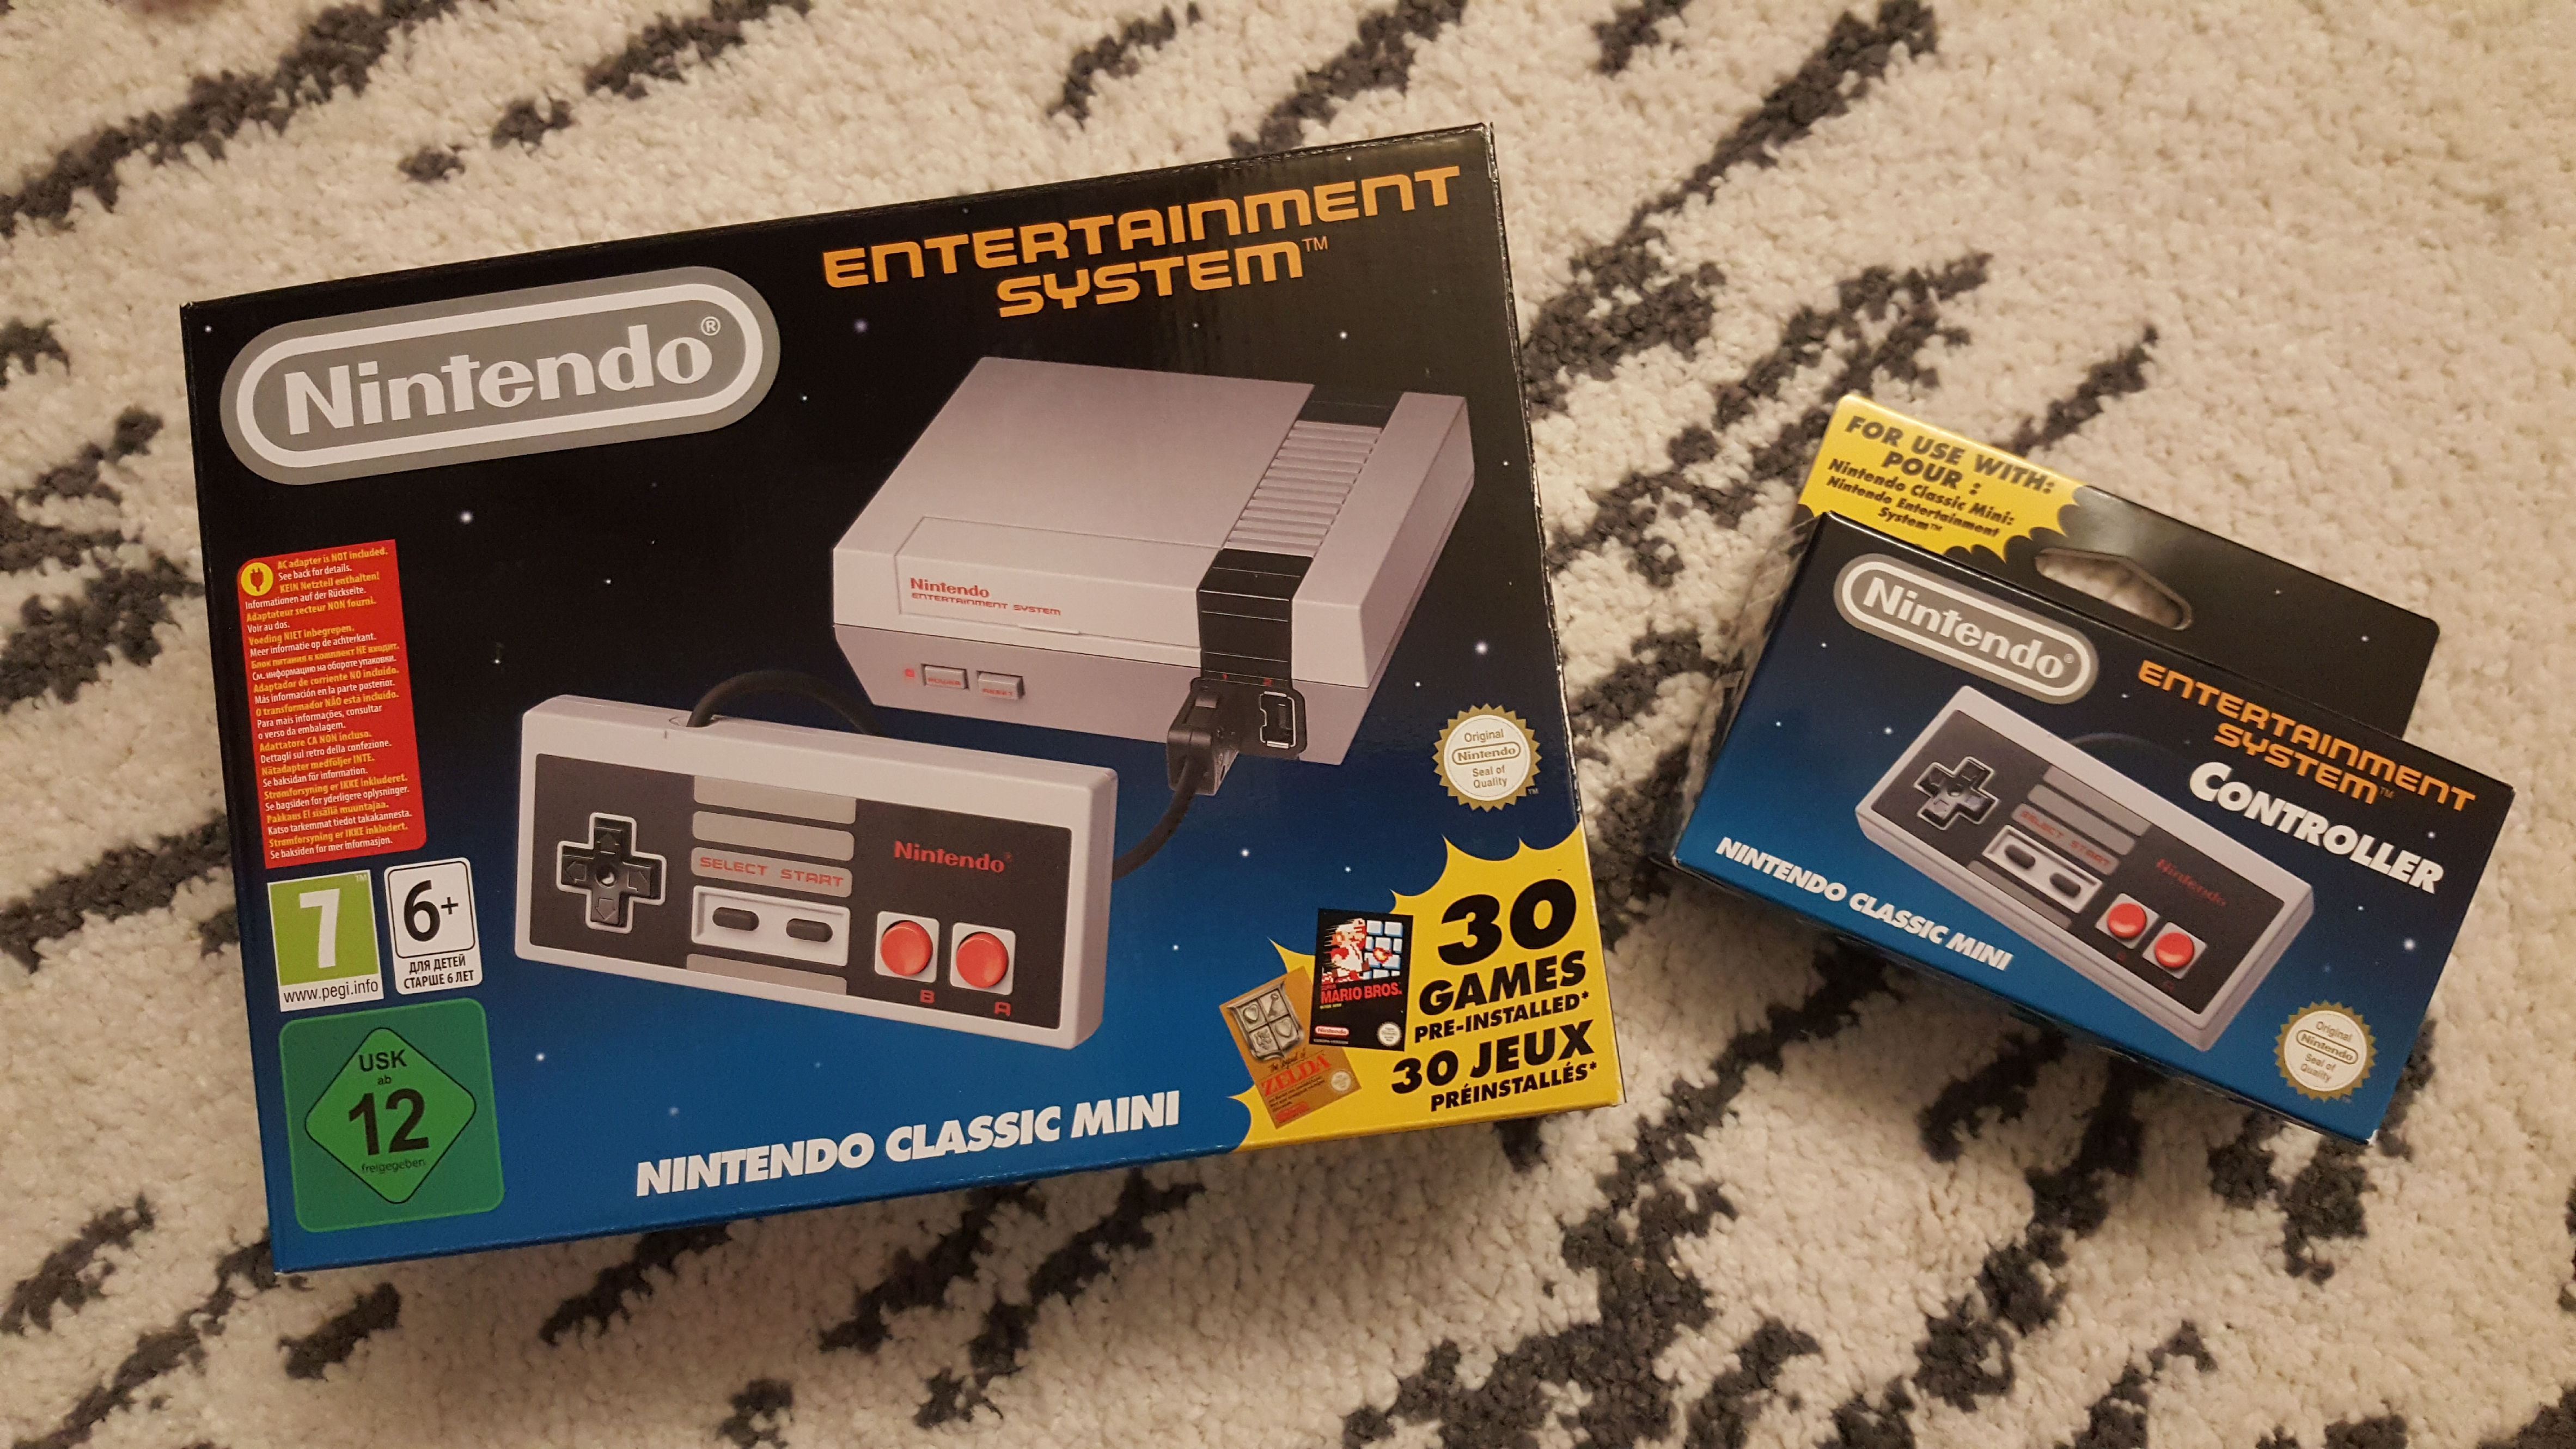
The box contains the console, a USB to Micro-USB cable, an HDMI cable, a manual and one gaming pad with a rather short cable (76 cm long).


Other nice pics can be found here.
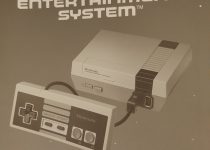
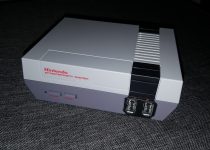
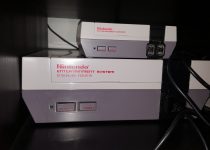
III. Console
The dimensions are: 125 mm x 100 mm x 45 mm. The console weights only about 175 g.
The design is the same (except the inputs) as the original nes.
The console has a red LED to Show its power state, and buttons POWER and RESET.
IV. Technical specs
- SoC: Allwinner R16 (CPU: Quad Code Cortex A7, VGA: Mali400MP2 GPU)
- RAM: SKHynix (256MB DDR3)
- Flash: Spansion 512MB SLC NAND flash, TSOP48
- Power controller PMU: AXP223
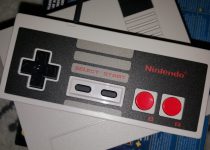
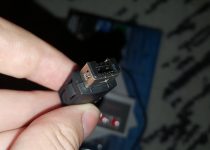
V. Controller
The gaming pad has the same connector type as Wii’s remote and you actually can use this pad with Wii (e.g. for Virtual Console games) or those classic gaming controllers from Wii with NES classic (their home button acts as RESET button of the Nes Mini). The size and the overall design of the controller it exactly the same as of the original (except the texts on the back side are different). Only the cable connector and cable length is different.
The length of the cable is 76 cm, but you can buy extensions from third party sellers.
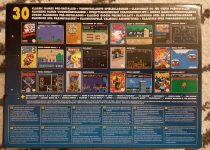
VI. List of games
The following games (US releases and all games are in English) are installed on the NES Mini. There is no official possibility to add more games.
- Balloon Fight
- Bubble Bobble
- Castlevania
- Castlevania II: Simon’s Quest
- Donkey Kong
- Donkey Kong Jr.
- Double Dragon II: The Revenge
- Dr. Mario
- Excitebike
- Final Fantasy
- Galaga
- Ghosts ‘n Goblins
- Gradius
- Ice Climber
- Kid Icarus
- Kirby’s Adventure
- Mario Bros.
- Mega Man 2
- Metroid
- Ninja Gaiden
- Pac-Man
- Punch-Out!!
- StarTropics
- Super C
- Super Mario Bros.
- Super Mario Bros. 2
- Super Mario Bros. 3
- Tecmo Bowl
- The Legend of Zelda
- Zelda II: The Adventure of Link
The following video by GameXplain shows every game from this list:
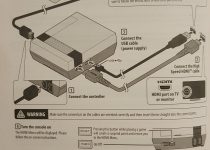
VII. Connection
This device is a plug-n-play in the very sense of this term. You only need to connect it via an HDMI cable (included) to the TV or monitor and power using the Micro USB cable (included). If your TV has a USB port, you can use it, but some TVs don’t provide enough current. Otherwise you can use any smartphone power supply or adapter, which can connect to USB. Of course, don’t forget to connect the controller. That is all.
VIII. Video Settings
The Video output is either in 480p or 720p. You can switch between three video modes:
- CRT: the aspect ratio is 4:3 and a filter is applied, so that the image looks like it’s a CRT TV
- 4:3: the Image is stretched a bit and there are still black borders and even a bit of flickering on the sprites
- Perfect Pixel: the game is displayed in original resolution and it looks very squeezed, but there are no flickering.
Sadly, there is no stretch mode (for 16:9 aspect ratio), but you can use your TV settings to adjust it.
The YouTube channel mylifeingaing provides a very professional analysis of the video output:
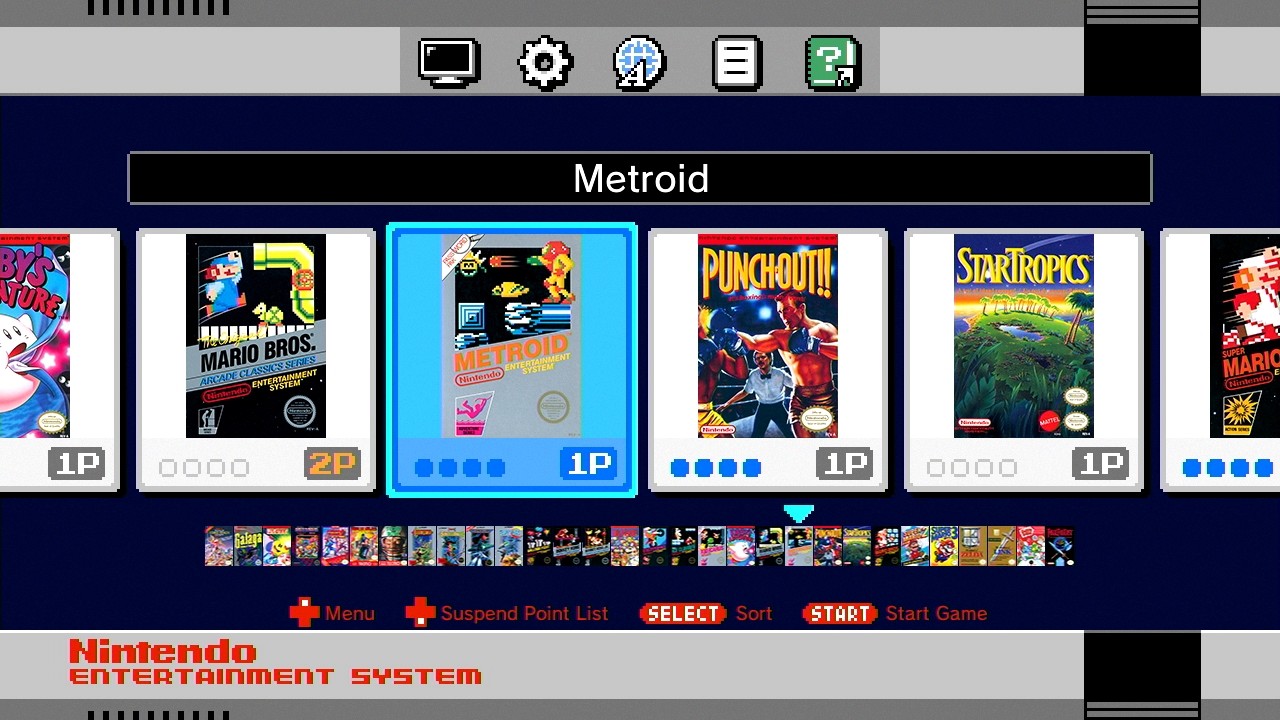
IX. Main Menu
As soon as the console starts, you will be presented by a list of 30 games. Navigate with arrows and press start, to start the chosen game. There are also video settings, main settings, language settings, legal notices and qr-codes for manuals : all in the top part of the screen (press up to navigate there). In the bottom part (if you press down) are the save states of the games. You can also sort games by title, number of players, year, publisher, etc using the select button.
Saving games
As soon as you exit a game (using the reset button), the current state of the game is shown as a small window with wings. You can press A to save it into one of four saving slots. Per game there are 4 slots to save in. To delete a save file, follow instructions on the screen (you need to hold a specific button, to remove the save file).
Loading games
Navigate to a game and press down to enter the saving slots area. Select a slot to load and press A to load it.
X. Adding more games
Russian user Cluster created a frontend and used some tools originally written by madmonkey, which allow you to add more games to the system.
In order to do it, you need to connect your console to a pc and download the hackchi2 tool from here.
The tool not only allows to add games, but also will search for arts, will add game Information and will let you sort or organize games on the console. You will also see the amount of free space. The programm is simple to use and you will find a ton of videos on YouTube with simple step by step explanations. If you need to put the console to the special debug mode, press RESET and while holding it, press POWER. The console will be recognized by the PC and the tool will be able to communicate with it.
What else is possible with hackchi2:
- Setting up a button combination for resetting
- Enabling and setting up a button combination to enable Turbo mode (i.e. a button will be constantly periodically pressed)
- Enabling other emulators (some games are not compatible with the NES classic mini emulator and you can use a different one for these). Also, you can enable emulators for other Systems (like SNES and PC-Engine).
- Change background music
- Reorganize the list of games and use folders
Here is a good Video (not mine) to start with:
After you unpack the tool and start it, you can add games via drag and drop or File->Add More Games. Or via a button in the left down corner (under the game list). Press synchronize selected games with NES mini and the tool will show you what to do next. You will need to install a driver (if it’s not installed) and then press+hold RESET and then press Power to enter the connection mode. After that the tool will be able to work with nes mini without any other interactions. On the very first run the tool will create a dump of the system core. After that it will only update the changed core.
In my situation I only need to connect the console to the pc and turn it on: hackchi sees it, without any dev mode.
In the right list the added games are listed. In the right panel you can check the information about the game or adjust options.
Following information is displayed:

- ID: this code will be automatically generated and is used by the console to adress games
- Name: the game title. You can adjust it, if it’s wrong or too long
- Max players: adjust the number of players in the game
- Release date: the release date of the game
- Publisher: the name of the publisher -> will always be capitalized!
- Command line arguments: if you know the arguments, you can adjust them for each title here
- Game Genie codes: add GG codes
- Box Art: you can add your or look for art in Internet.
Main Menu
File
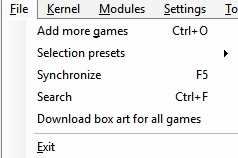
- Add more games: here you can add more games by choosing files
- Selection presets: In Selection presets also options Add preset and delete preset are available. Your presets will be shown here
- Synchronize: begin transferring games to the console
- Search
- Download box art for all games: as it says, it automatically will search for box arts for all games
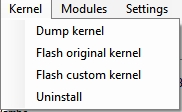
Kernel
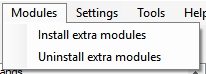
Modules
Via this options you can install other emulators or other tools or changes. These are extra plug ins, and are not necessary.
 The list of modules may look like this:

Settings
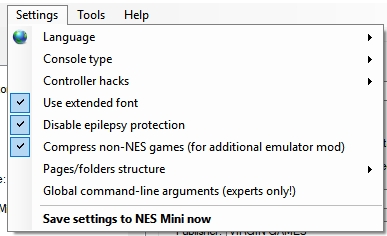
- Language: you can choose between multiple languages
- Console type: NES mini or Famicom Mini
- Controller Hacks: button combination for reset, autofire, etc.
- Use extended font: the base font is limited and if you add more games, make sure you’ve checked this option
- Disable epilepsy protection: I would enable it, since some games may look worse if it’s on
- Compress non-mini games
- Pages/folders structure: define the structure of games (e.g. sort by first name, etc.)
- Global command line arguments: this argument is applicable for all games
- Save settings to NES mini now
Tools
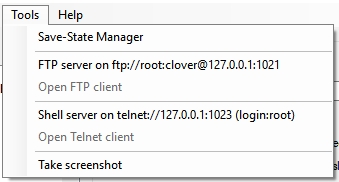 I haven’t used these and if you don’t know how to use it, just ignore it. The Save-State manager allows you to manage your save files.
Help
- Git hub page with actual releases
- FAQ
- About…
XI. What else
Saves: There may be problems with saves: try not to create all 4 saves for each game. In past, there were problems and the console couldn’t start anymore if the number of saves was too big. Update: Clusster says the problem is solved.
XII. Where do I get this console?
Unfortunately the supply situation with NES mini was very miserable. Nintendo announced the console in summer 2016 and almost immideately it was sold out everywhere. Nintendo promised to make more, but it didn’t happen or was not enough. The same situation happened (even worse!) to SNES mini.
In summer-autumn 2017 Nintendo promised to create more consoles and will ship them in 2018.
There are also a lot of new clones out there, which have almost the same design, but have more games, not always HDMI ouput and the controllers have turbo buttons.