General Information
RetroTink-2X is the successor of the now RetroTink 2x Classic – a small and affordable linedoubler supporting composite, component and s-video signals with resolutions 240p and 480i.
Linedoubler means, it can increase the resolution for 240p by doubling each line and will produce 480p, which is more acceptable by modern monitors. The issue with 240p is that modern TVs don’t even recognise it as 240p, thinking they’re getting 480i. 480i means interlaced, therefore they will first deinterlace 240p and then upscale it.
The new version has some improvements:
- it now features the full size HDMI vs. mini HDMI with the classic version
- it can detect inputs automatically
- it will turn off if no signal is recognised for a period of time
- it is powered by a micro-USB cable compatible with any TV with USB and any other adapter
- it has more filters -> now you can also enable scanlines
- it has a special comb filtering mode to make the picture more pleasant if you’re using the device with older consoles
- it can now be upgraded via the usb cable vs. difficult update process with classic where I personally had to send my devices for an upgrade to the seller
- it has a really nice looking case!
Supported formats
- 240p
- 288p
- 480i
- 576i
Supported standards
- PAL
- PAL-60
- PAL-M
- SECAM
- NTSC
- NTSC-443
Sources
You can buy RetroTink 2x from various sellers:
- Videogamesperfection is my preferred seller for EU and UK, because they are in Ireland and ship to EU/UK very quickly
- Castlemania Games or directly from the creator Mike Chi from retrotink.com, if you want to order from the USA or Canada
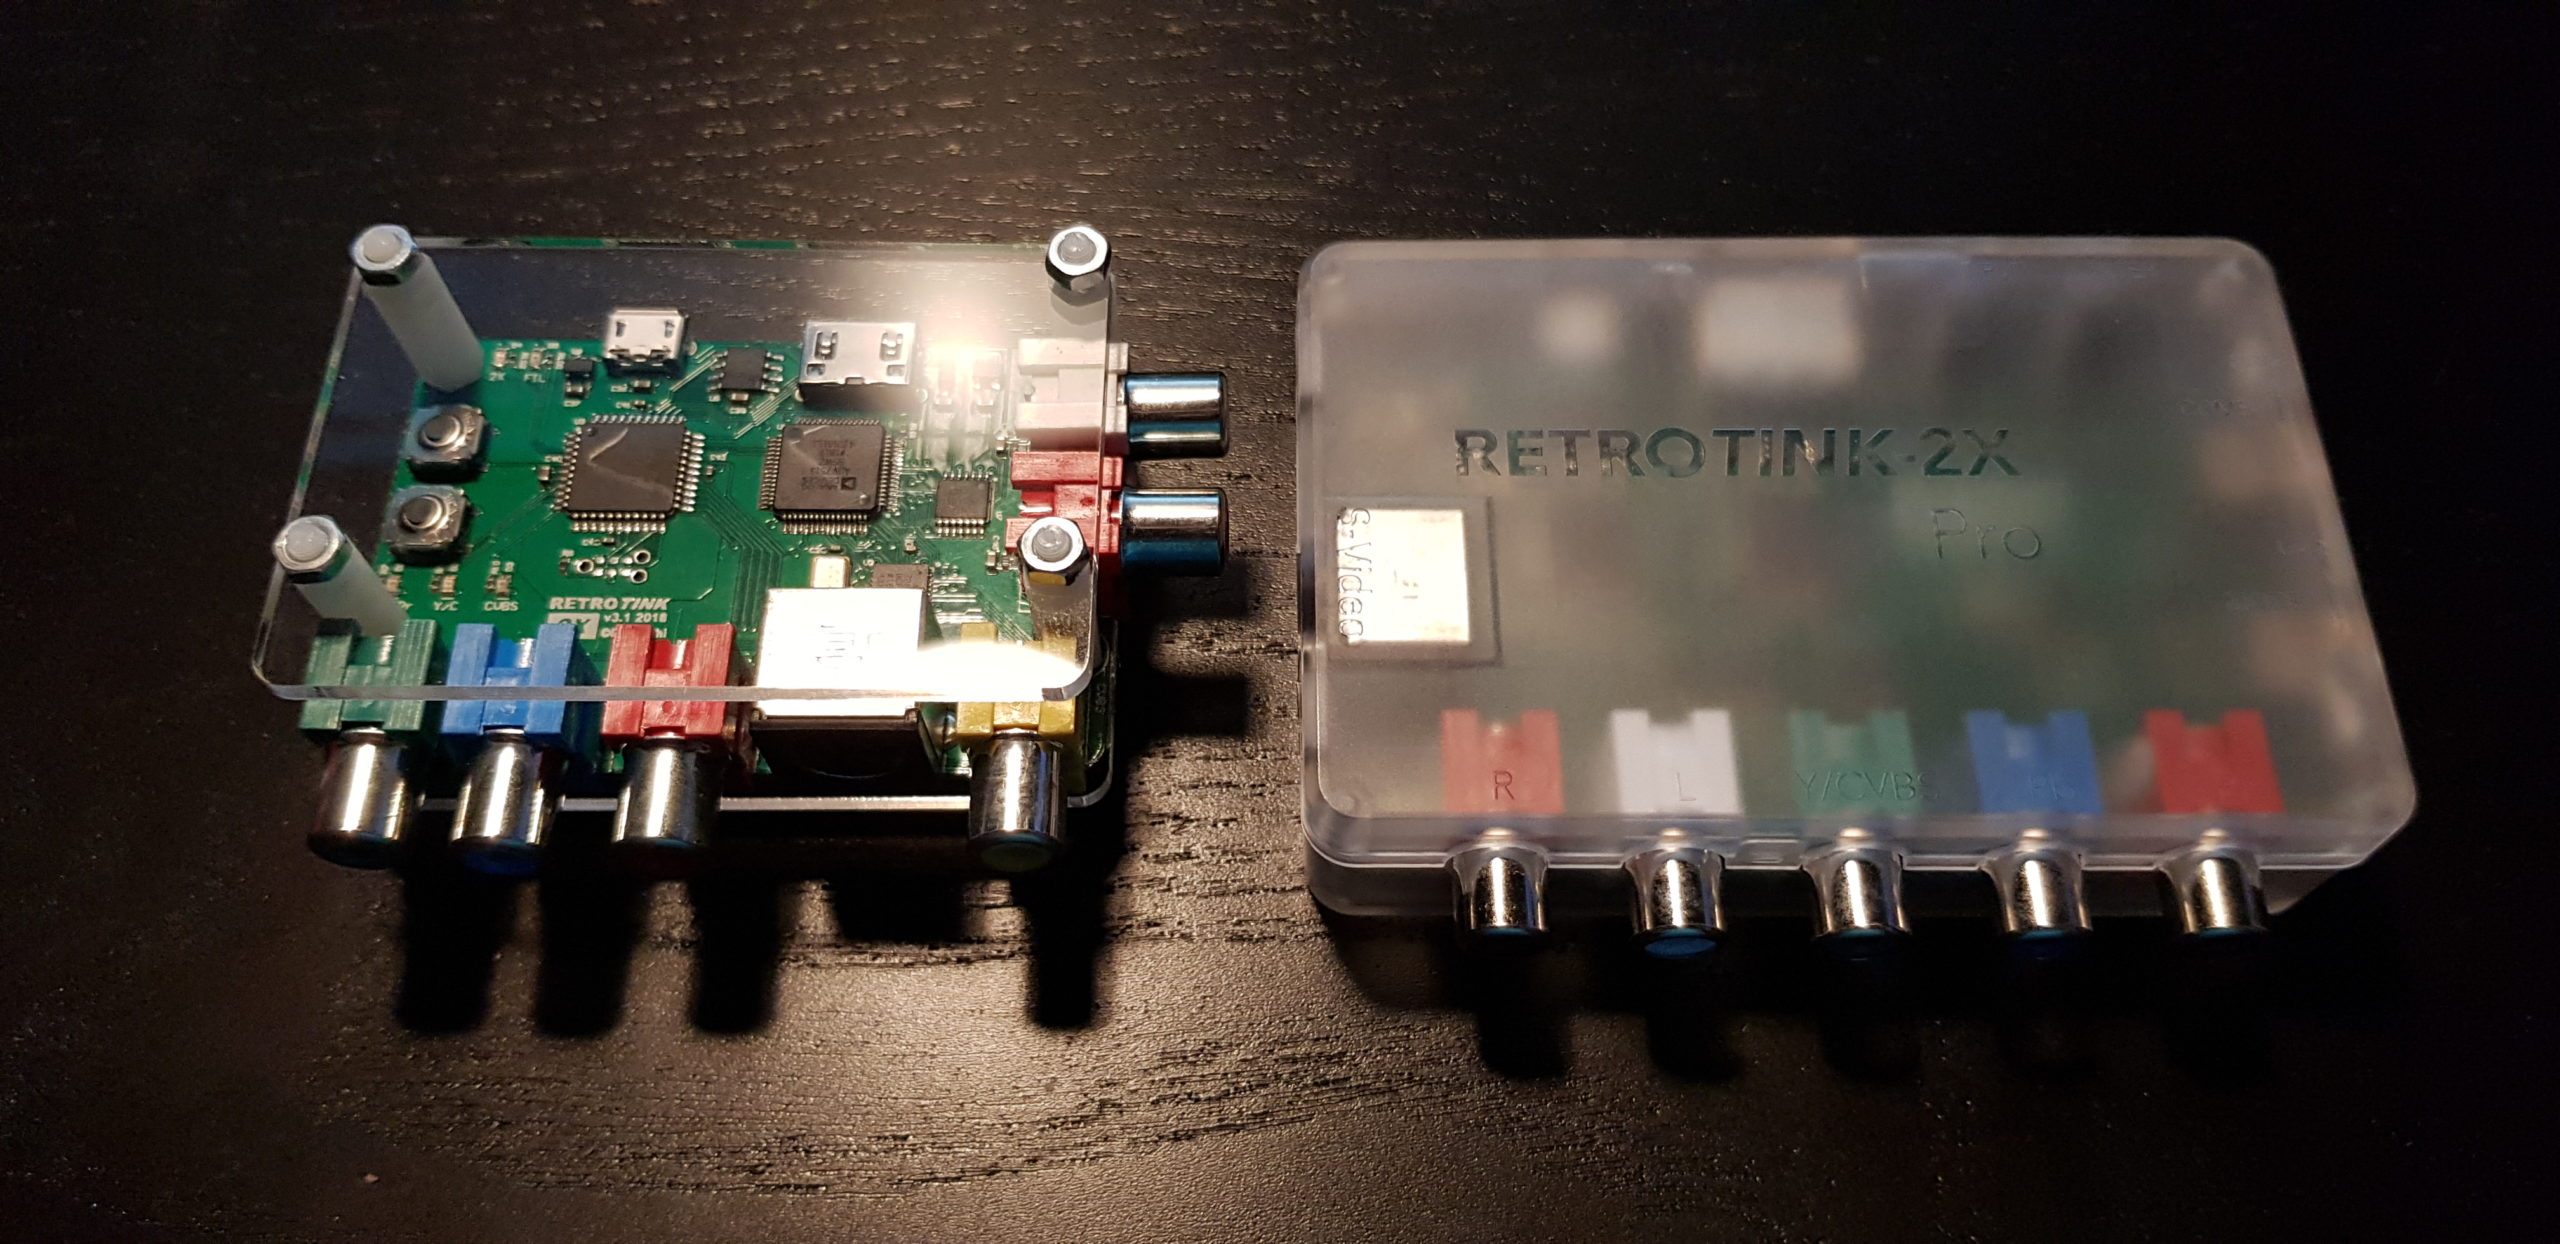
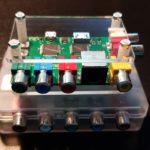
Main device overview
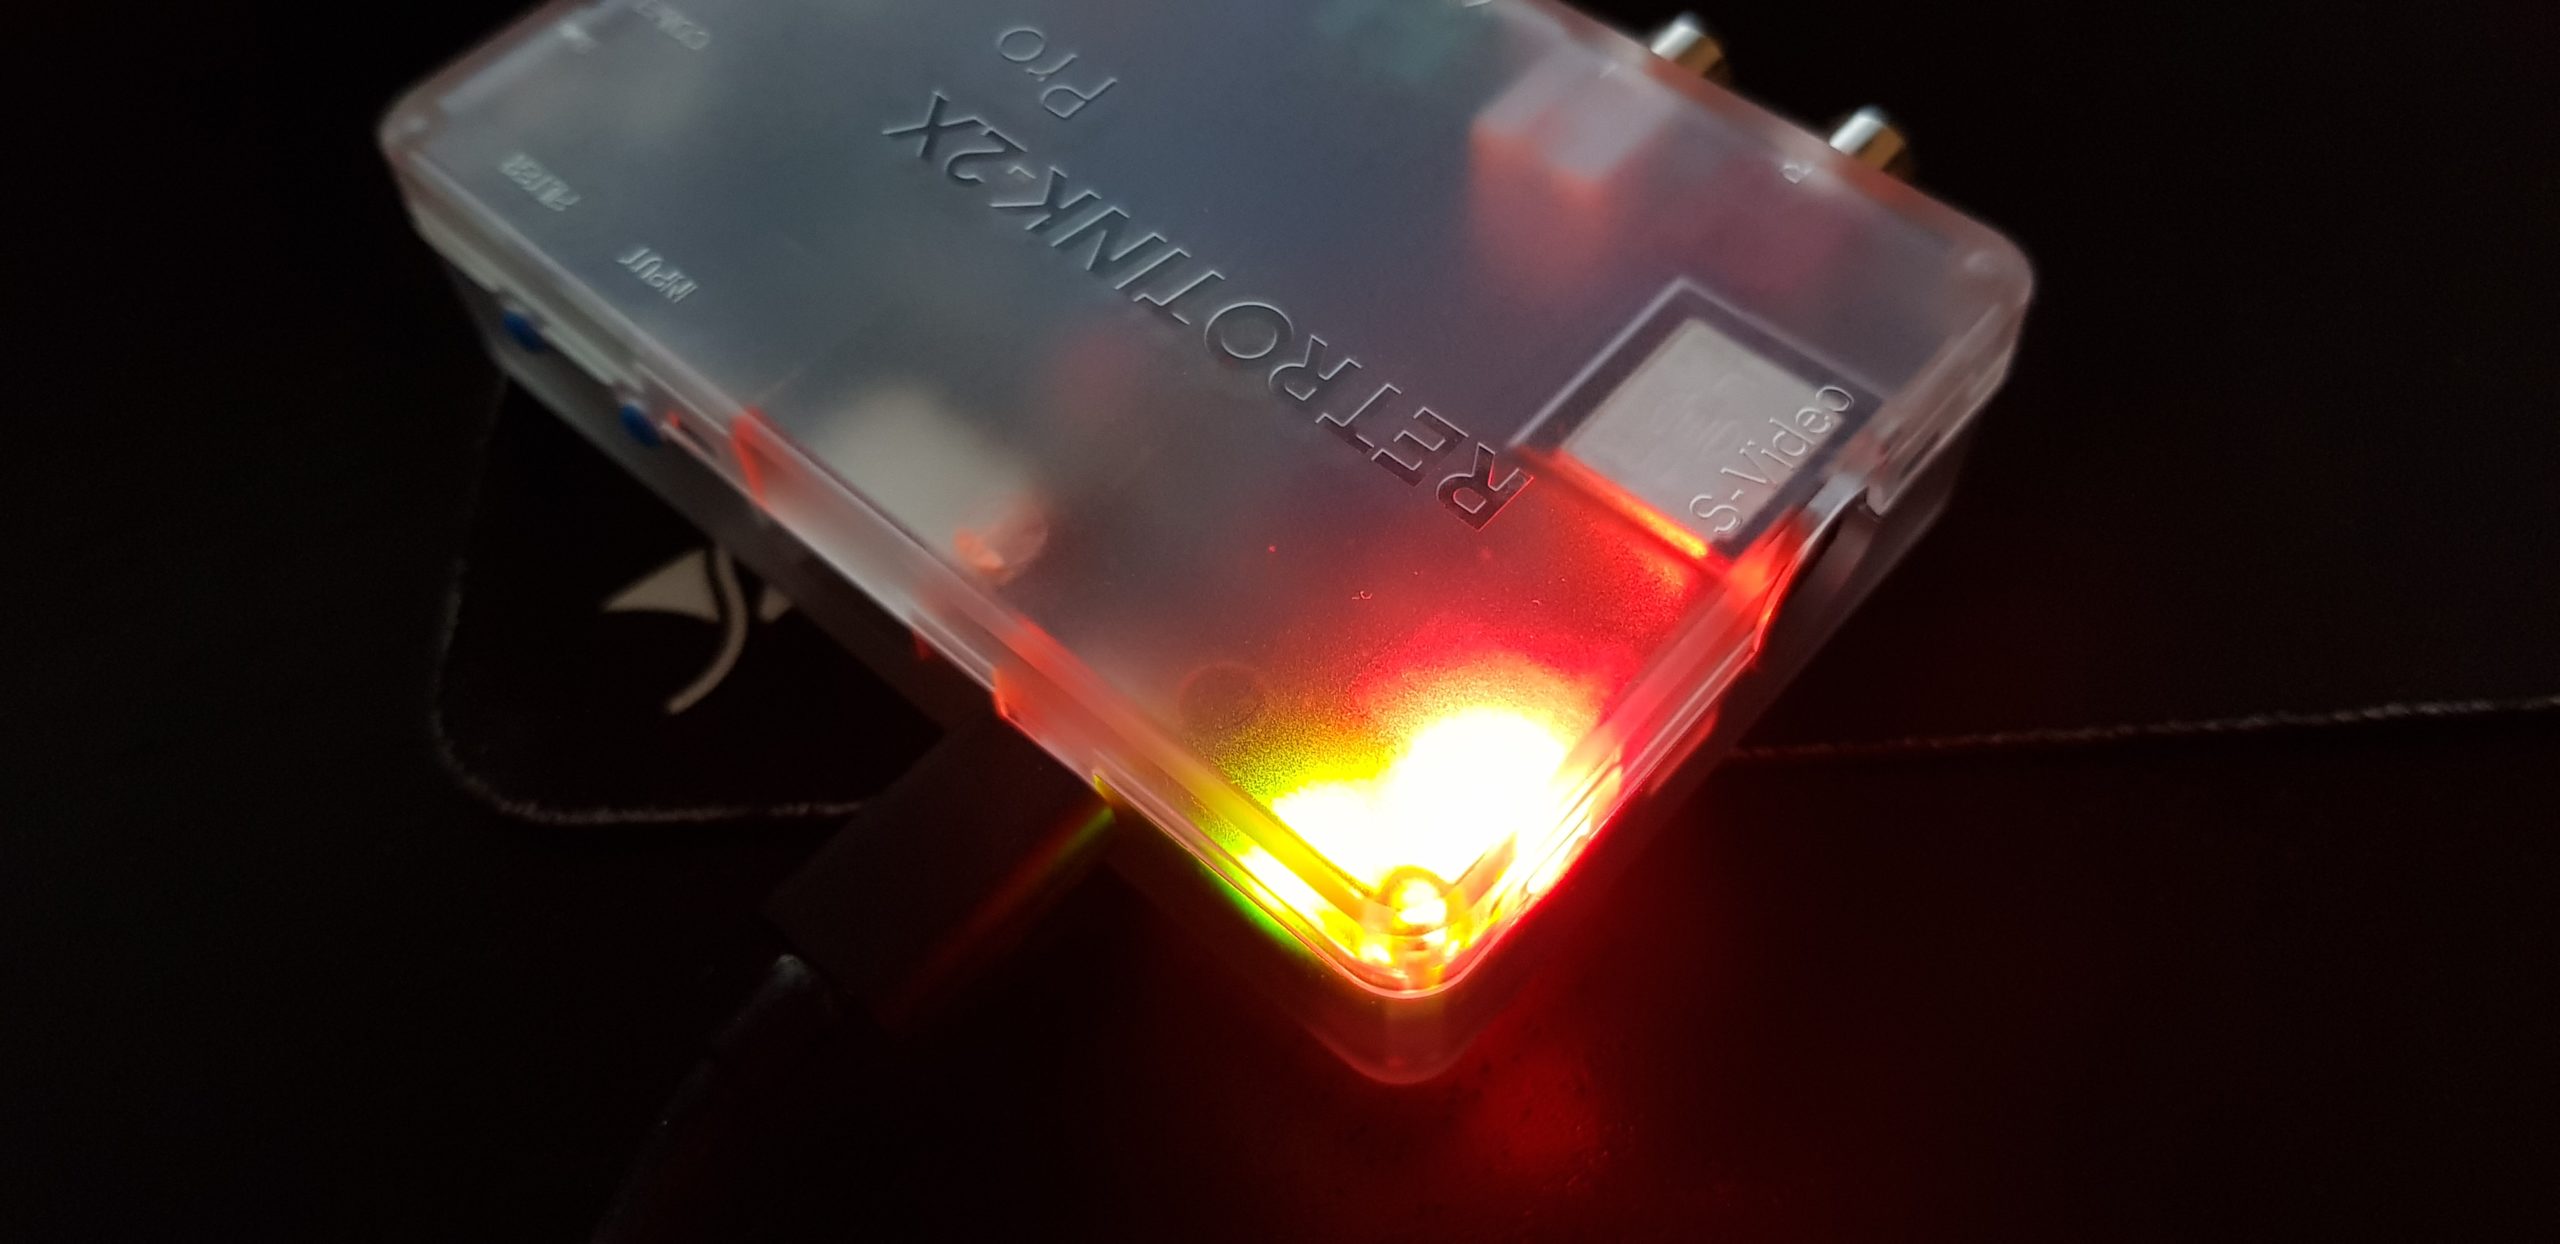
The main device is a pcb clad in a nice looking plastic case. It has inputs, switches, buttons on all sides. On the top you have the logo and on the bottom the cute rabbits.
LEDs
- Green: component
- White: S-Video
- Yellow: Composite
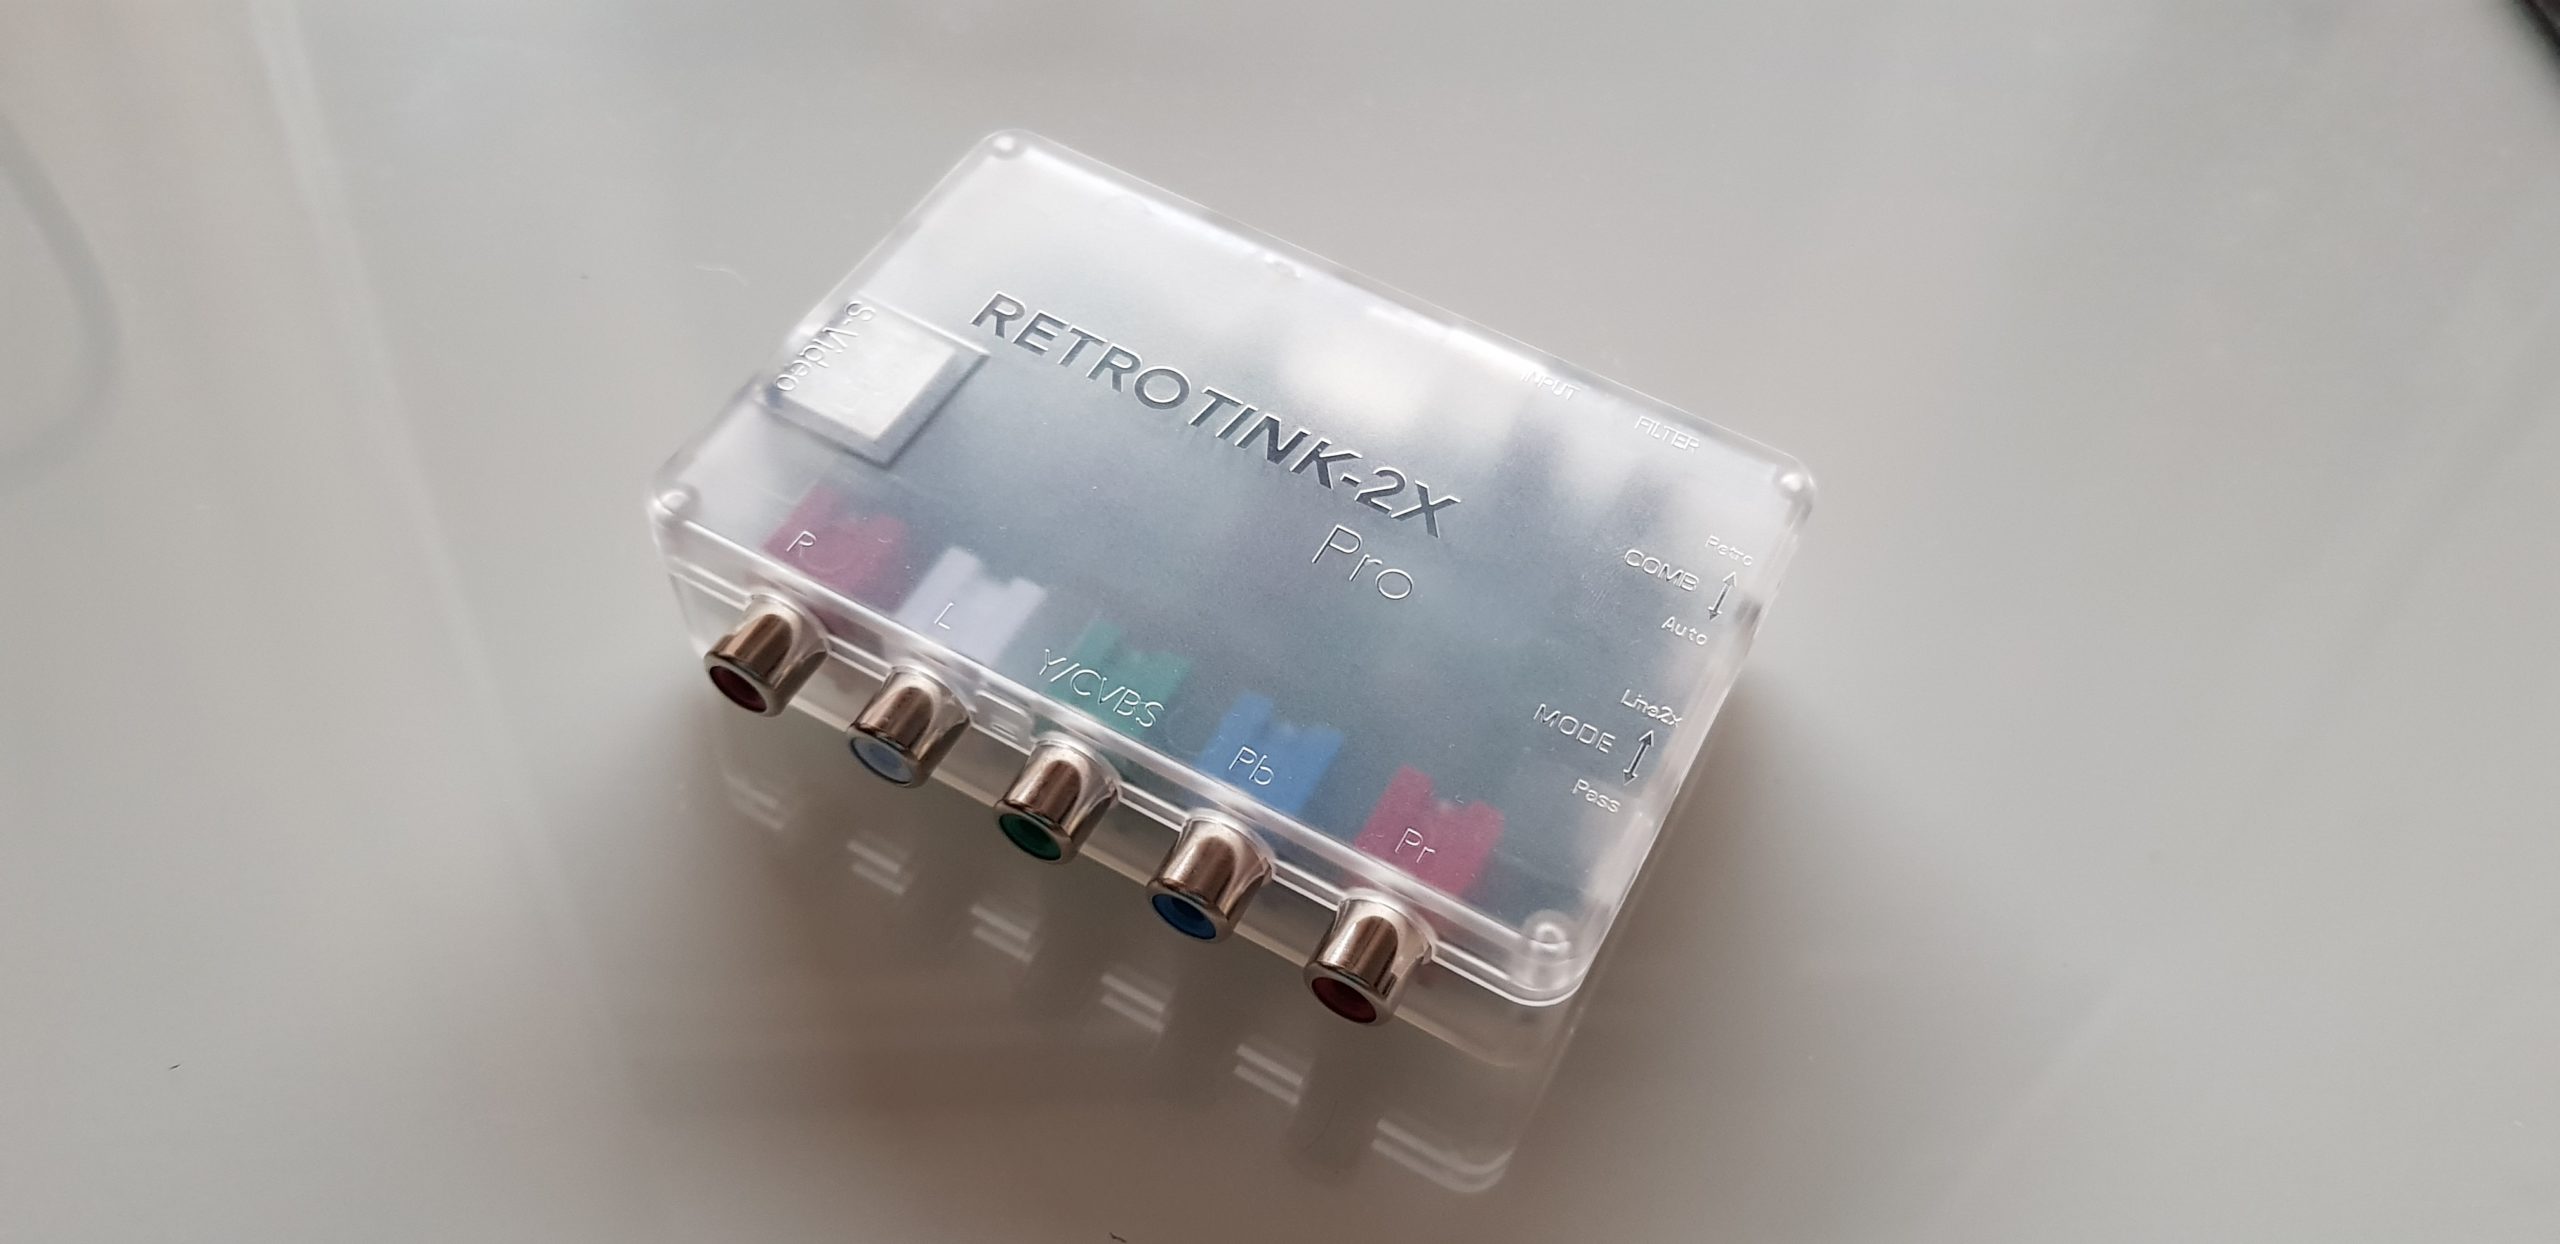
Front Inputs
On the front side we have combined composite and component inputs. Note, that only 240p/288p & 480i/576i signals are accepted, the device cannot handle 480p and higher!
The green input is used for composite video, all inputs are labeled so you won’t mix them.
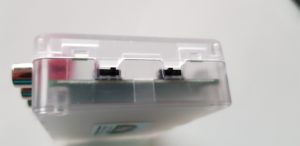
 Right Side Switches

These switches are hard to reach, but you won’t need them that often.
- Mode: defines how the signal is processed
- Passthrough: only digitised without multiplying. If your TV supports 480i natively and does a better deinterlacing, you can set the mode to passthrough
- Linedoubled: lines are duplicated, which means you get the doubled resolution
- Comb filtering: adjusts the chroma/luma separation for composite and for consoles like NES the Retro option is better
- Auto: automatic adjustment of filtering for more recent consoles
- Retro: minimises ringing, makes picture quality a bit better for composite connections from older retro consoles (like NES)
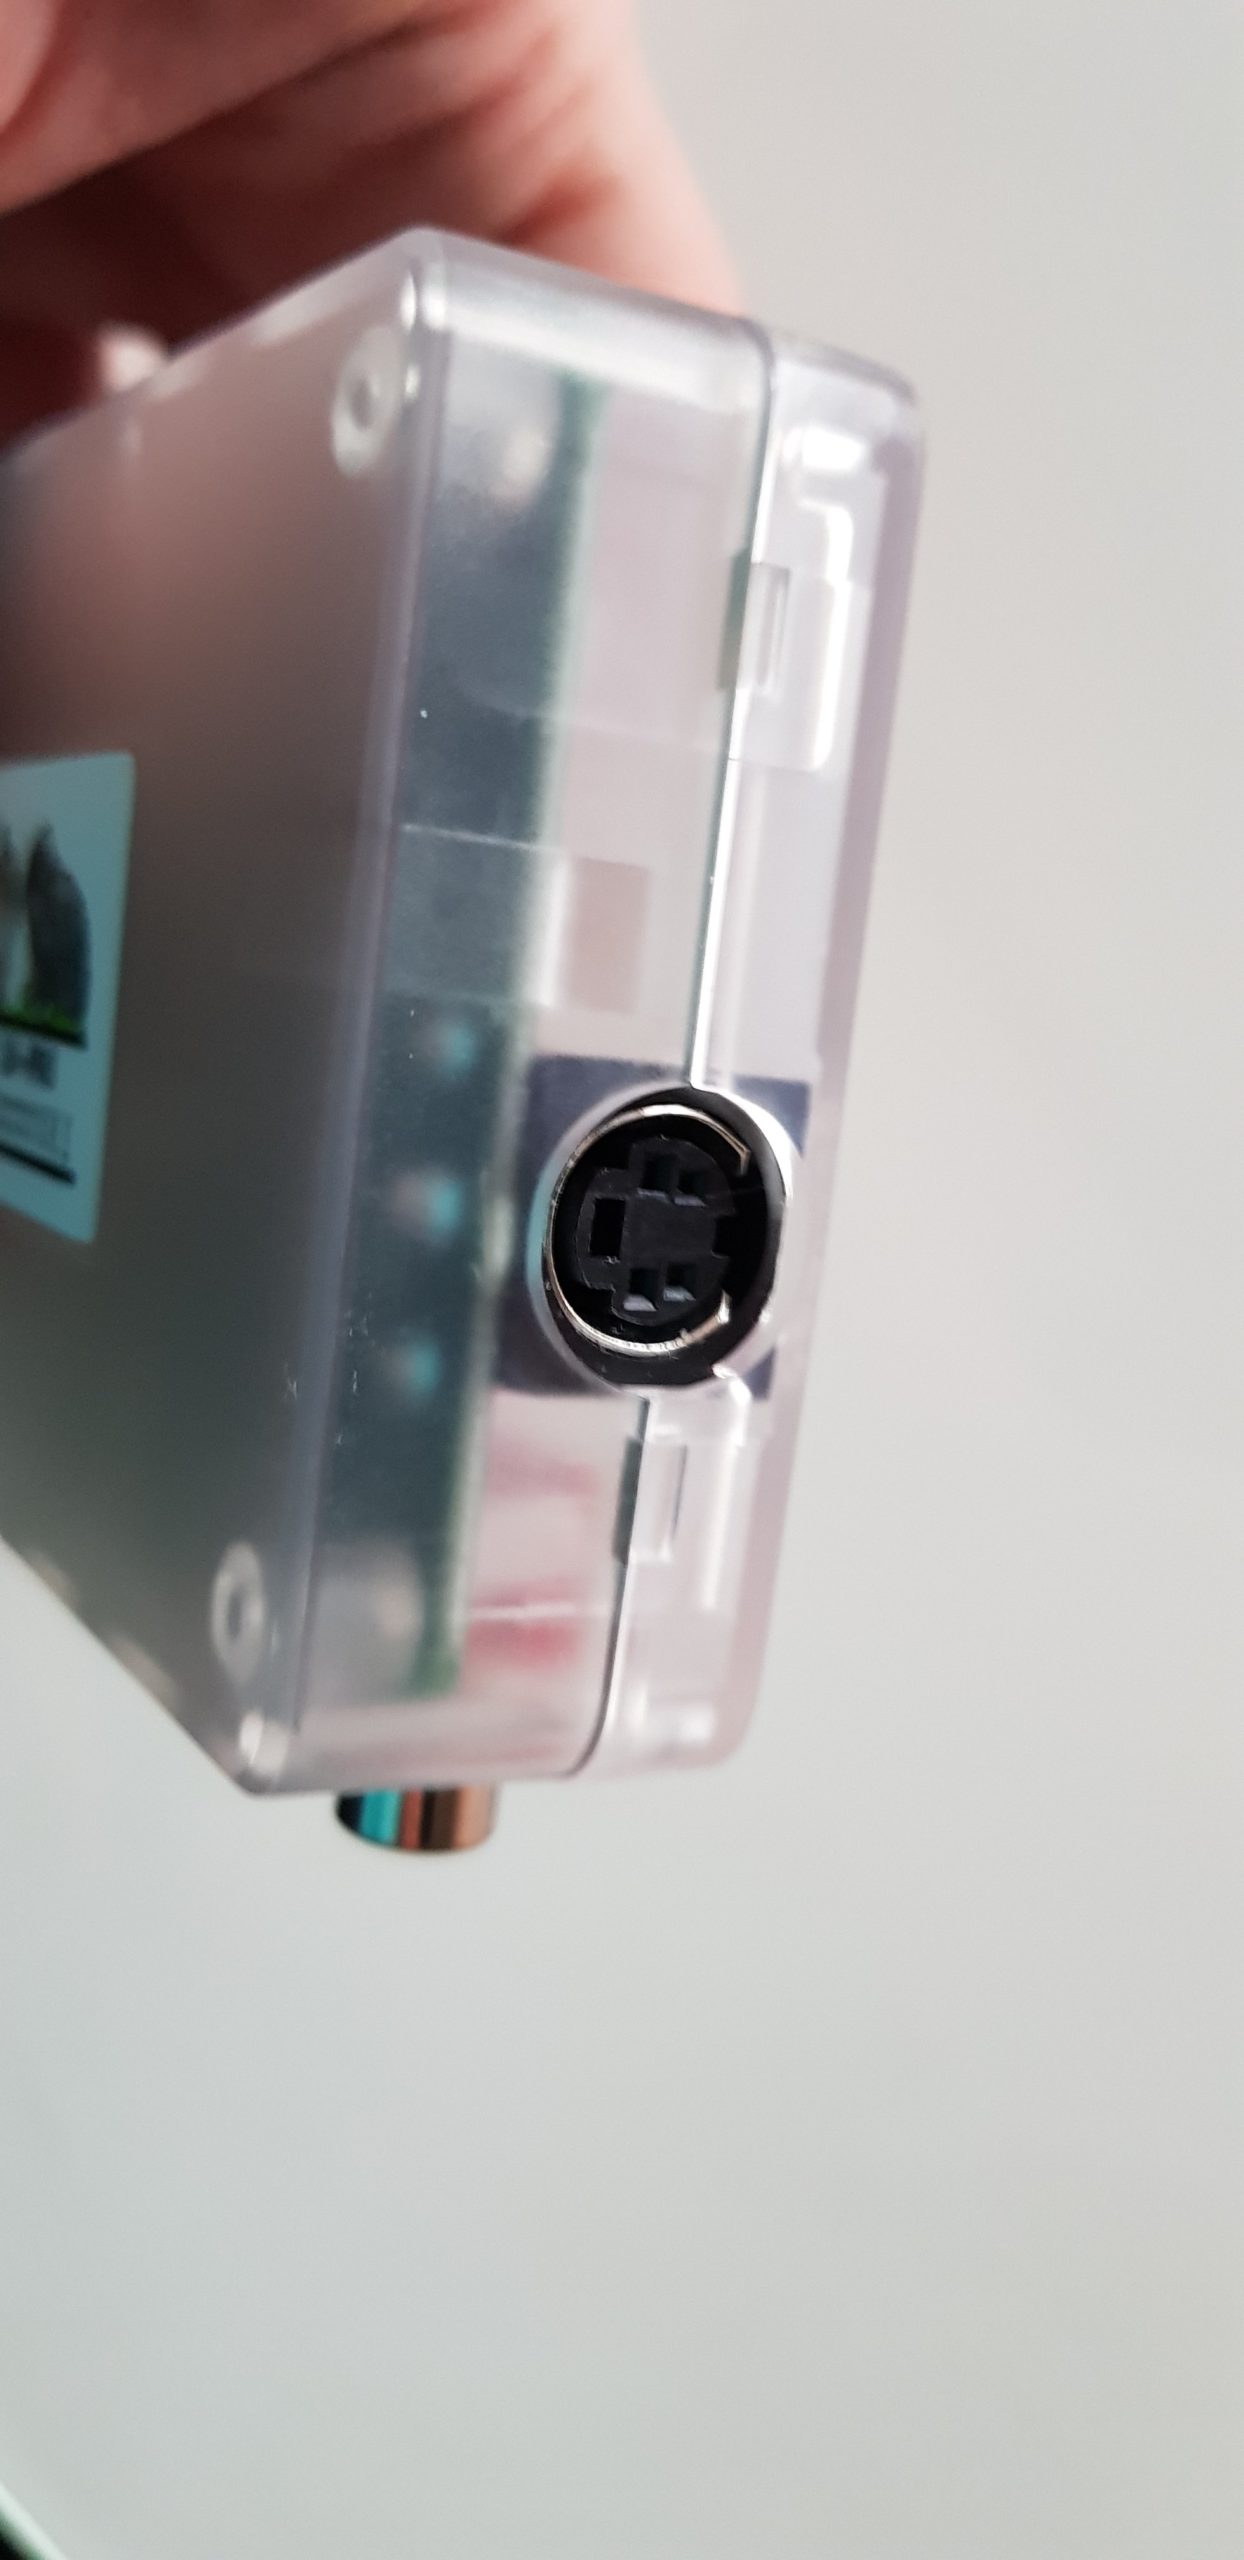
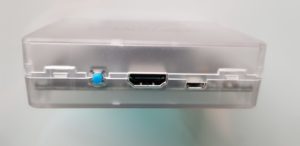
 Back side outputs, input and filter buttons

Filter button:
- Normal
- Smoothed
- Scanlines
- (for component) low-res YPbPr
- (for component) low-res YPbr smoother

normal

smoothed
scanlines
Input switch button: cycles between the input modes
- Component (green LED)
- S-Video (white LED)
- Composite (yellow LED)
Full size HDMI: connect RetroTink 2x Pro to your TV or monitor using a normal full size HDMI
Micro USB: power up the device using any power source (TV, smartphone adapter etc., featuring USB with 500mA or more)

S-Video connector: for connecting consoles which support S-Video.
S-Video is slightly better than composite and you should use it if no better connection is available. In my case I have an unmodded N64 and connect it to RetroTink 2x Pro using an S-Video cable.
Rabbits: Tinky and Melly, the RetroTink team and some information about the creator.

Consoles
First of all and again: if your console has a better output option -> use it! Use RetroTink2x with consoles, which max possible output is composite, s-video or component with 480i.
Following consoles can be use, if they are not modified:
- NES: uses composite only
- N64: uses composite or S-Video only
Any other console with component, but only 480i and below!
For european consoles with SCART connections, there is another version: RetroTink-2X Scart!
How to connect
Video cable from your console to the RetroTink.
Micro USB cable to the power source.
HDMI cable from RetroTink 2x to your TV/Monitor.
As soon as there is signal, the RetroTink2X will signalise you with a LED if it has detected a signal and will switch to it. Only connect one source at time, not multiple at the same time.
You also can adjust the filter (smoothed filter is better for early 3D games, but isn’t needed for 240 pixel/sprite based games) and comb filtering.
That’s actually all!
How to update
The new version can be updated very easily using a PC and a USB cable.
Press and hold Input button and insert the cable into USB of your PC. The device led will be RED and you are in the bootloader mode.
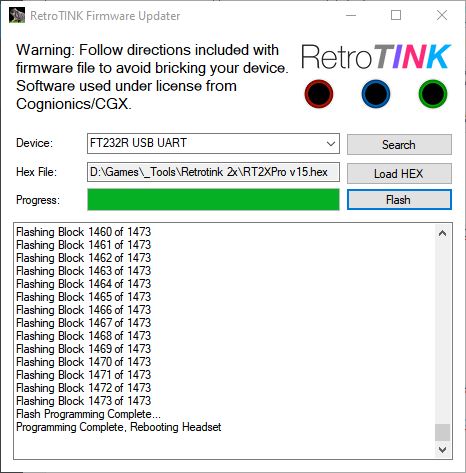
Download and start the “RetroTINK Firmware Updater”.
Press “Search” to find your device.
Download the update file with the extension HEX. Load it using the “Load Hex” button.
Press “Flash” and wait the device to be updated. The device will restart after the update is finished.
You can check for updates on this official page.
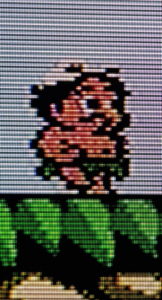
Sample images
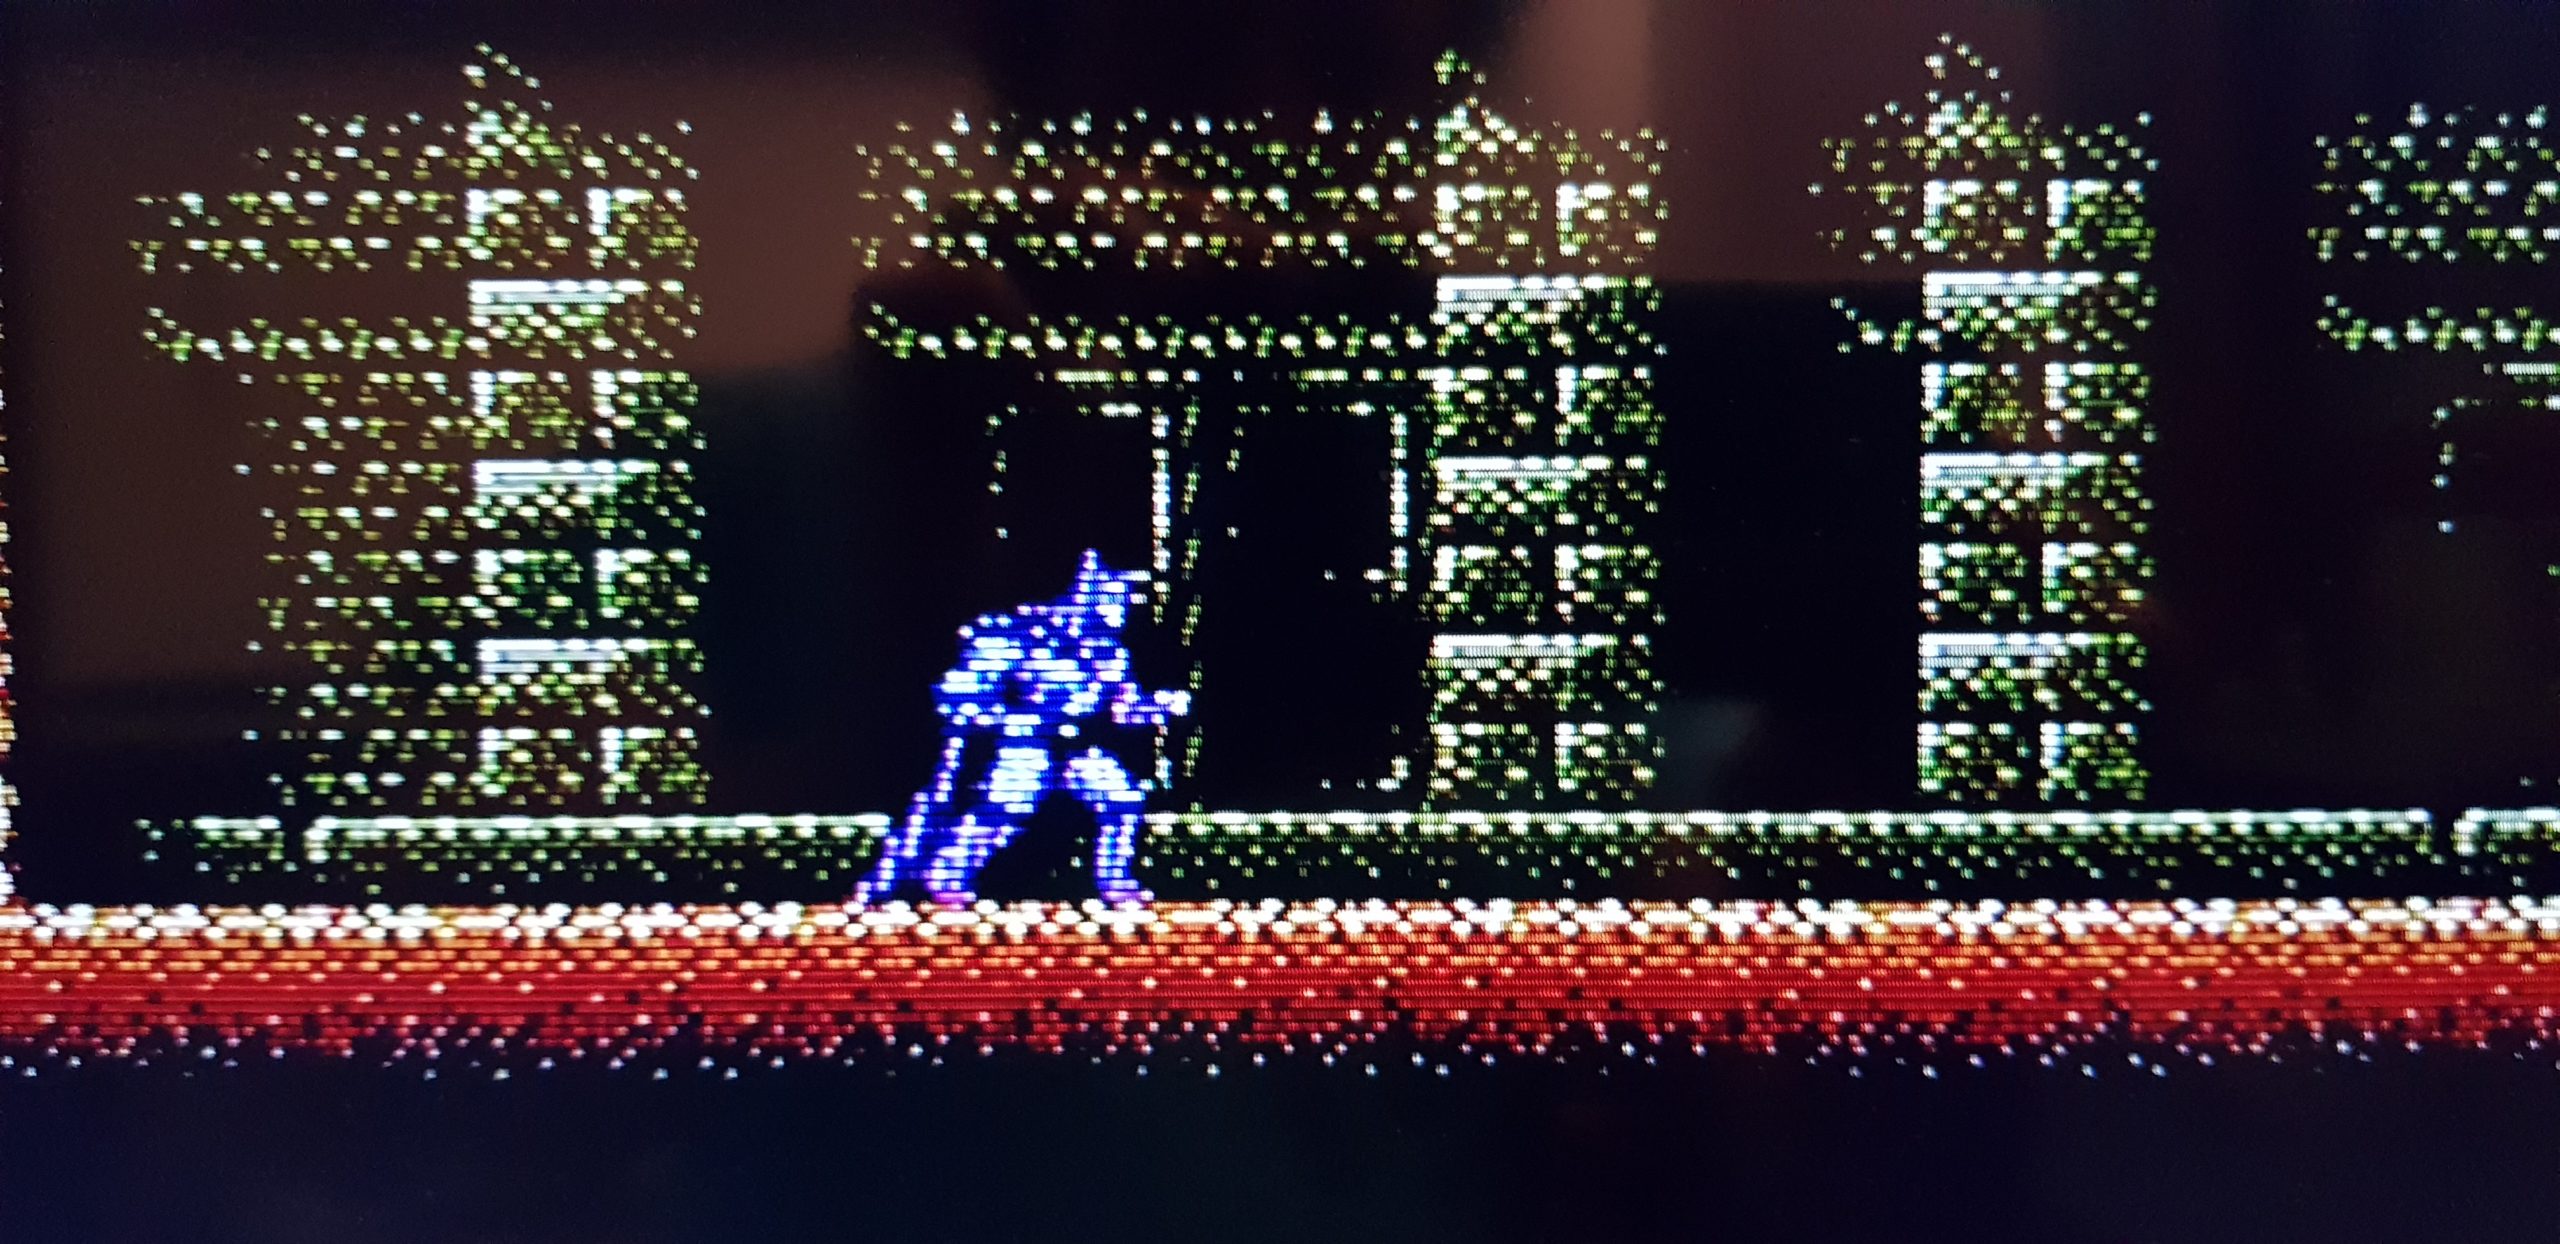
NES Composite
Batman (Normal)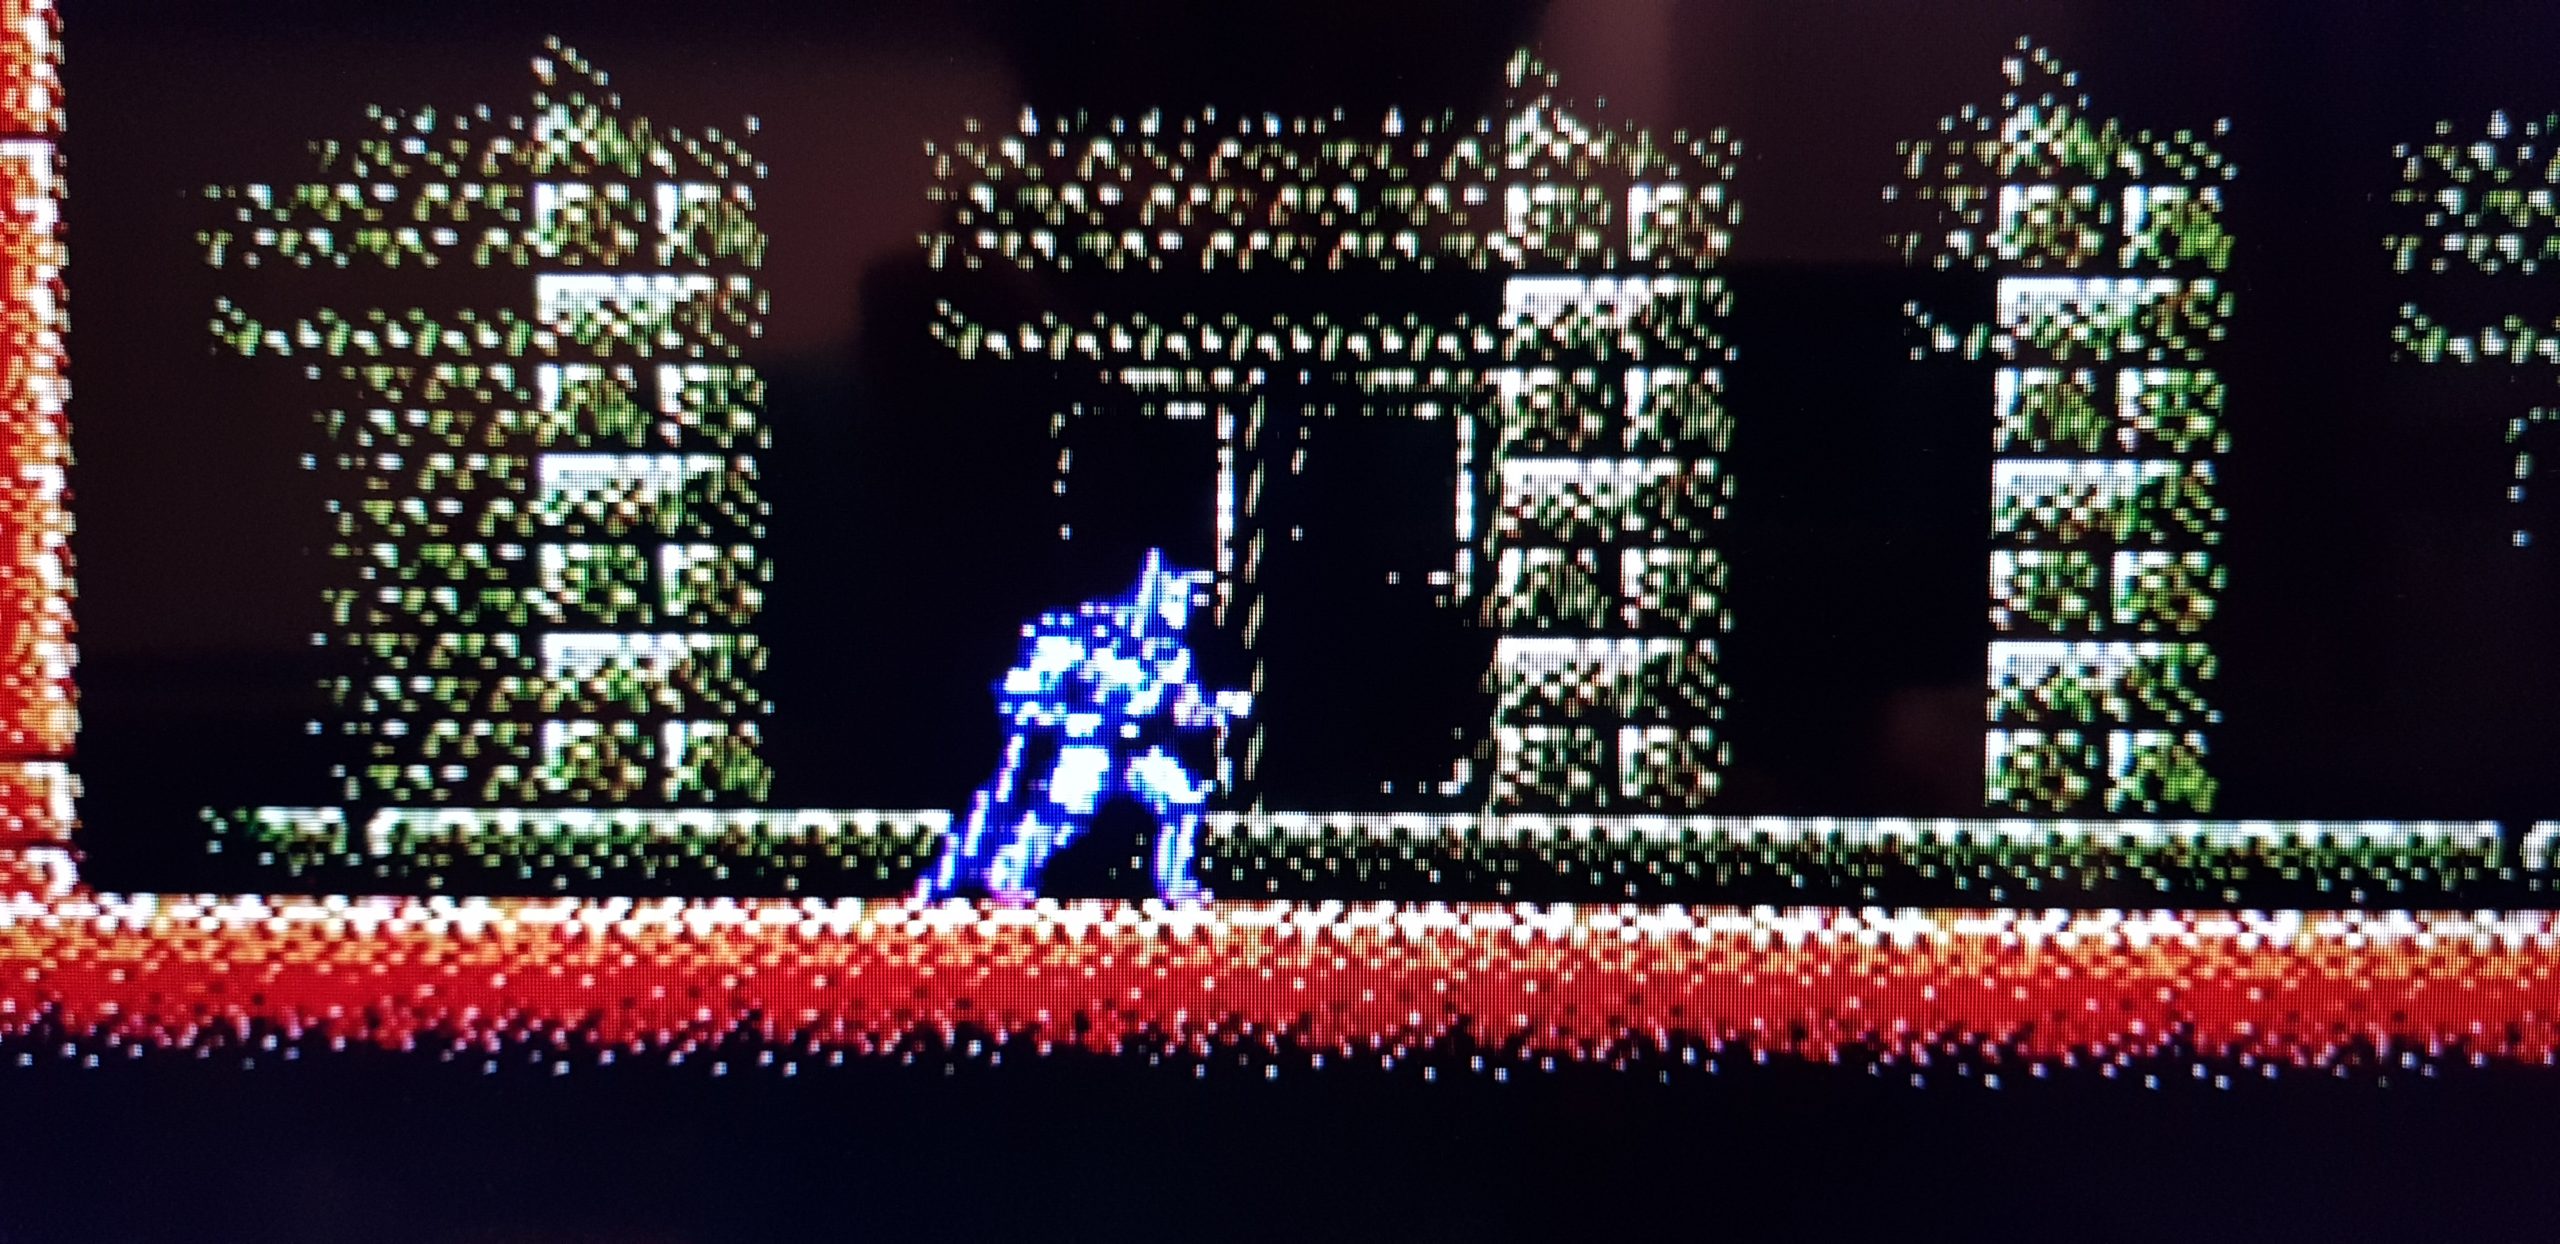 Batman (Smoothed)
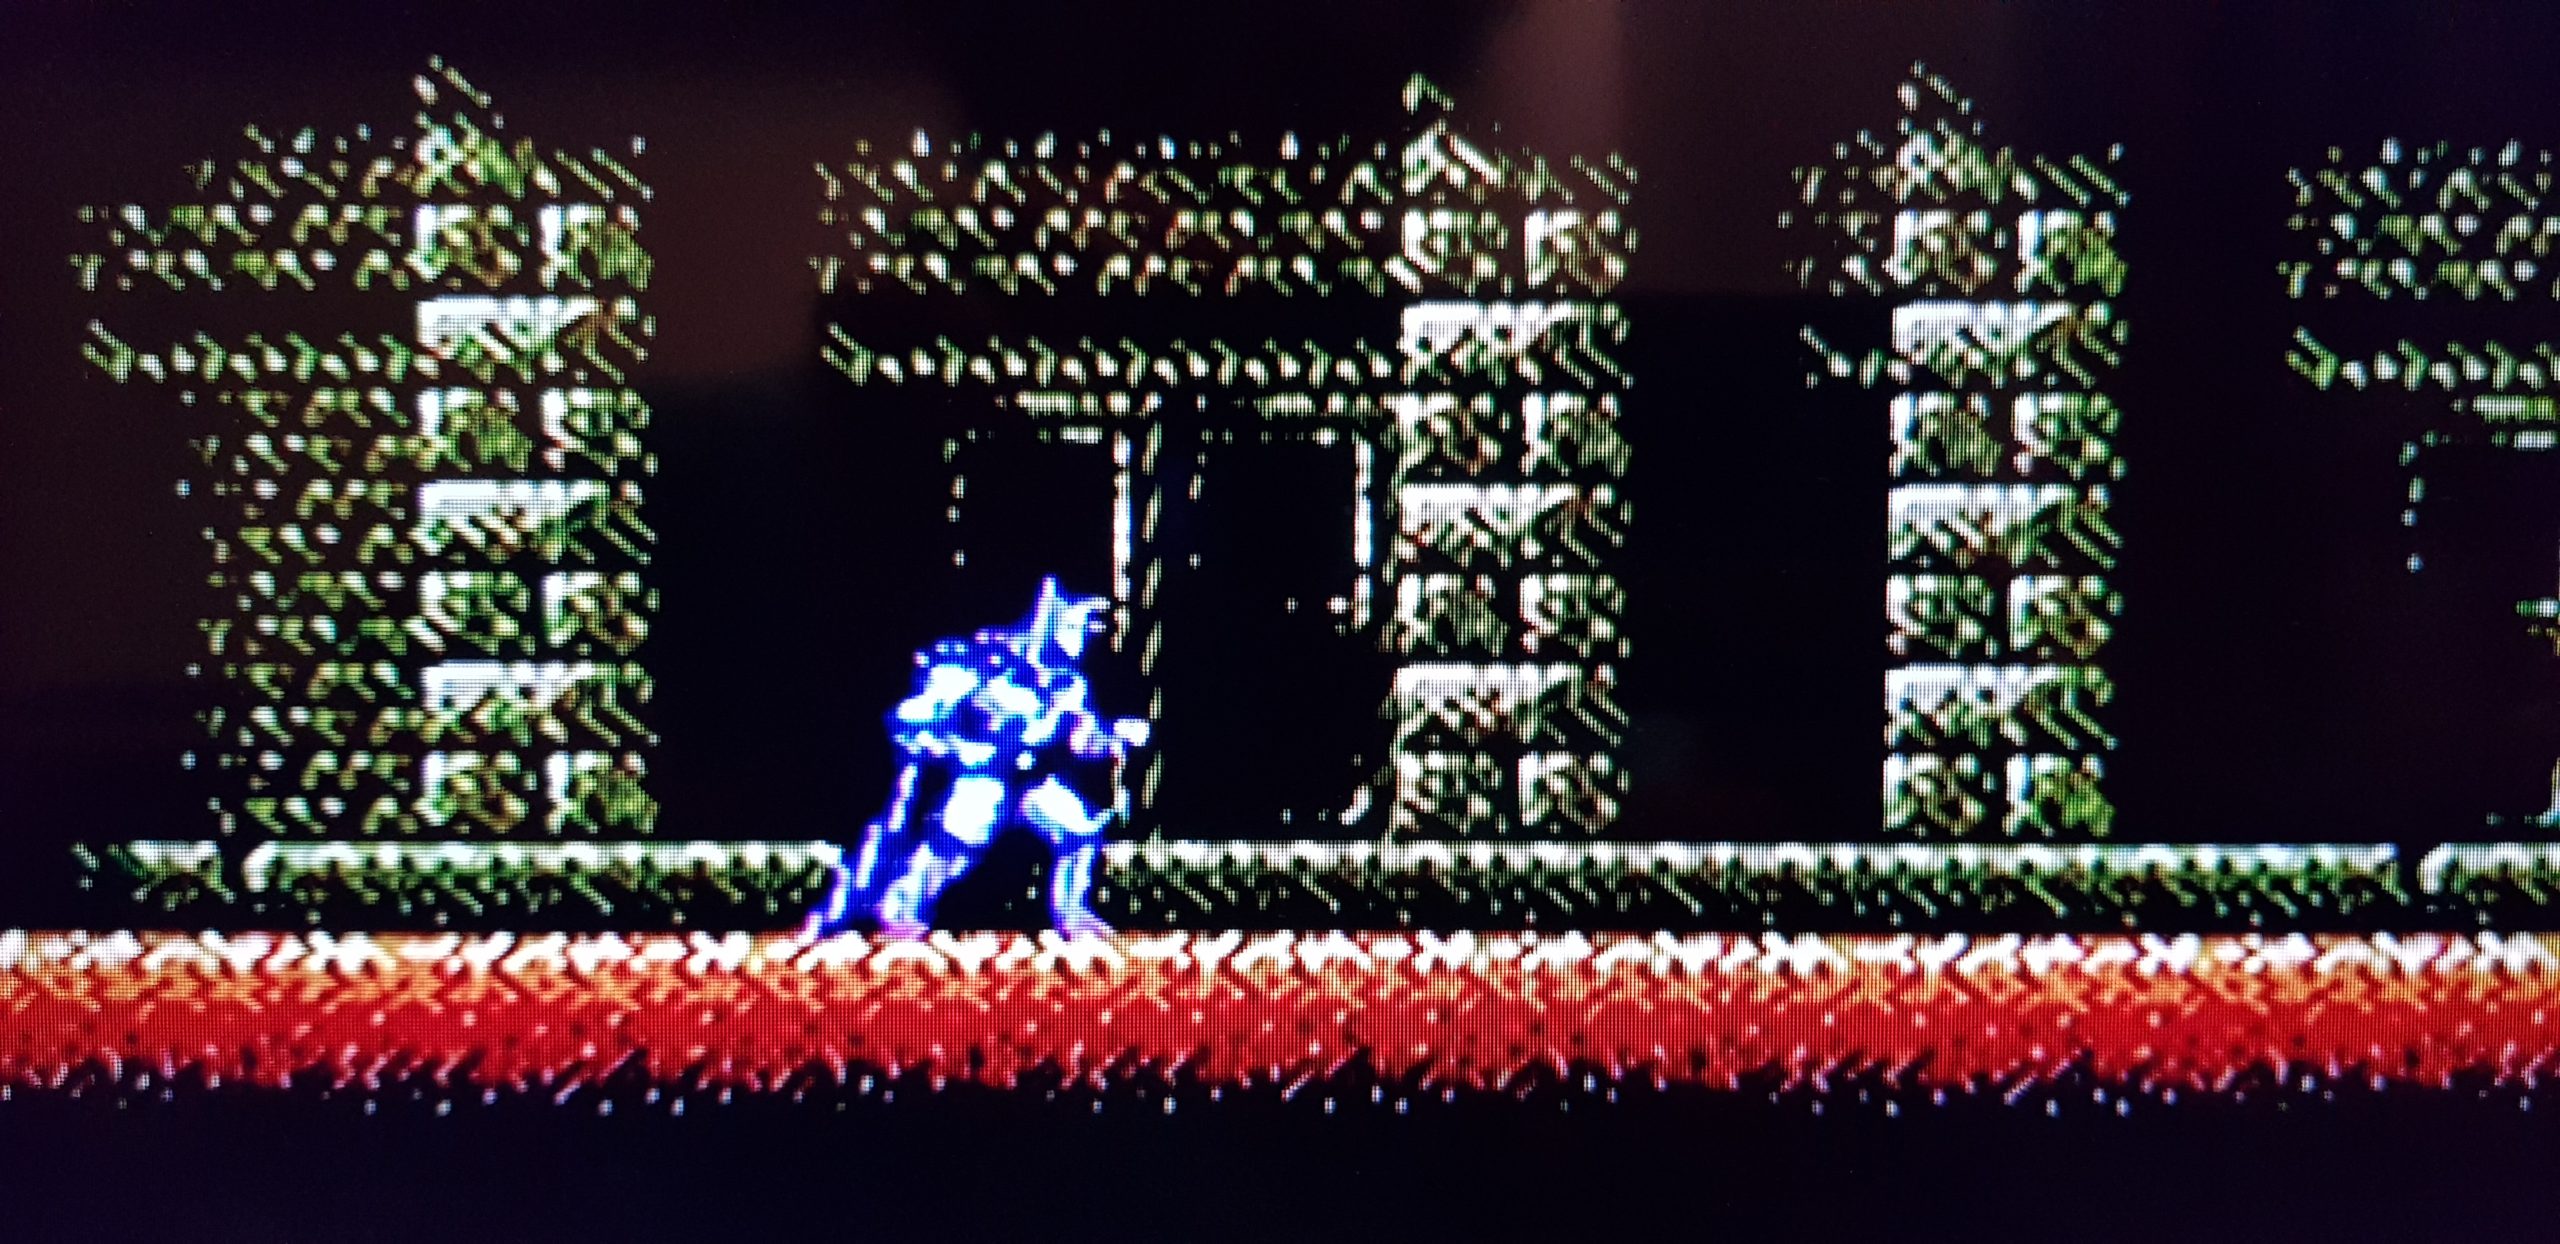 Batman (Scanlines)
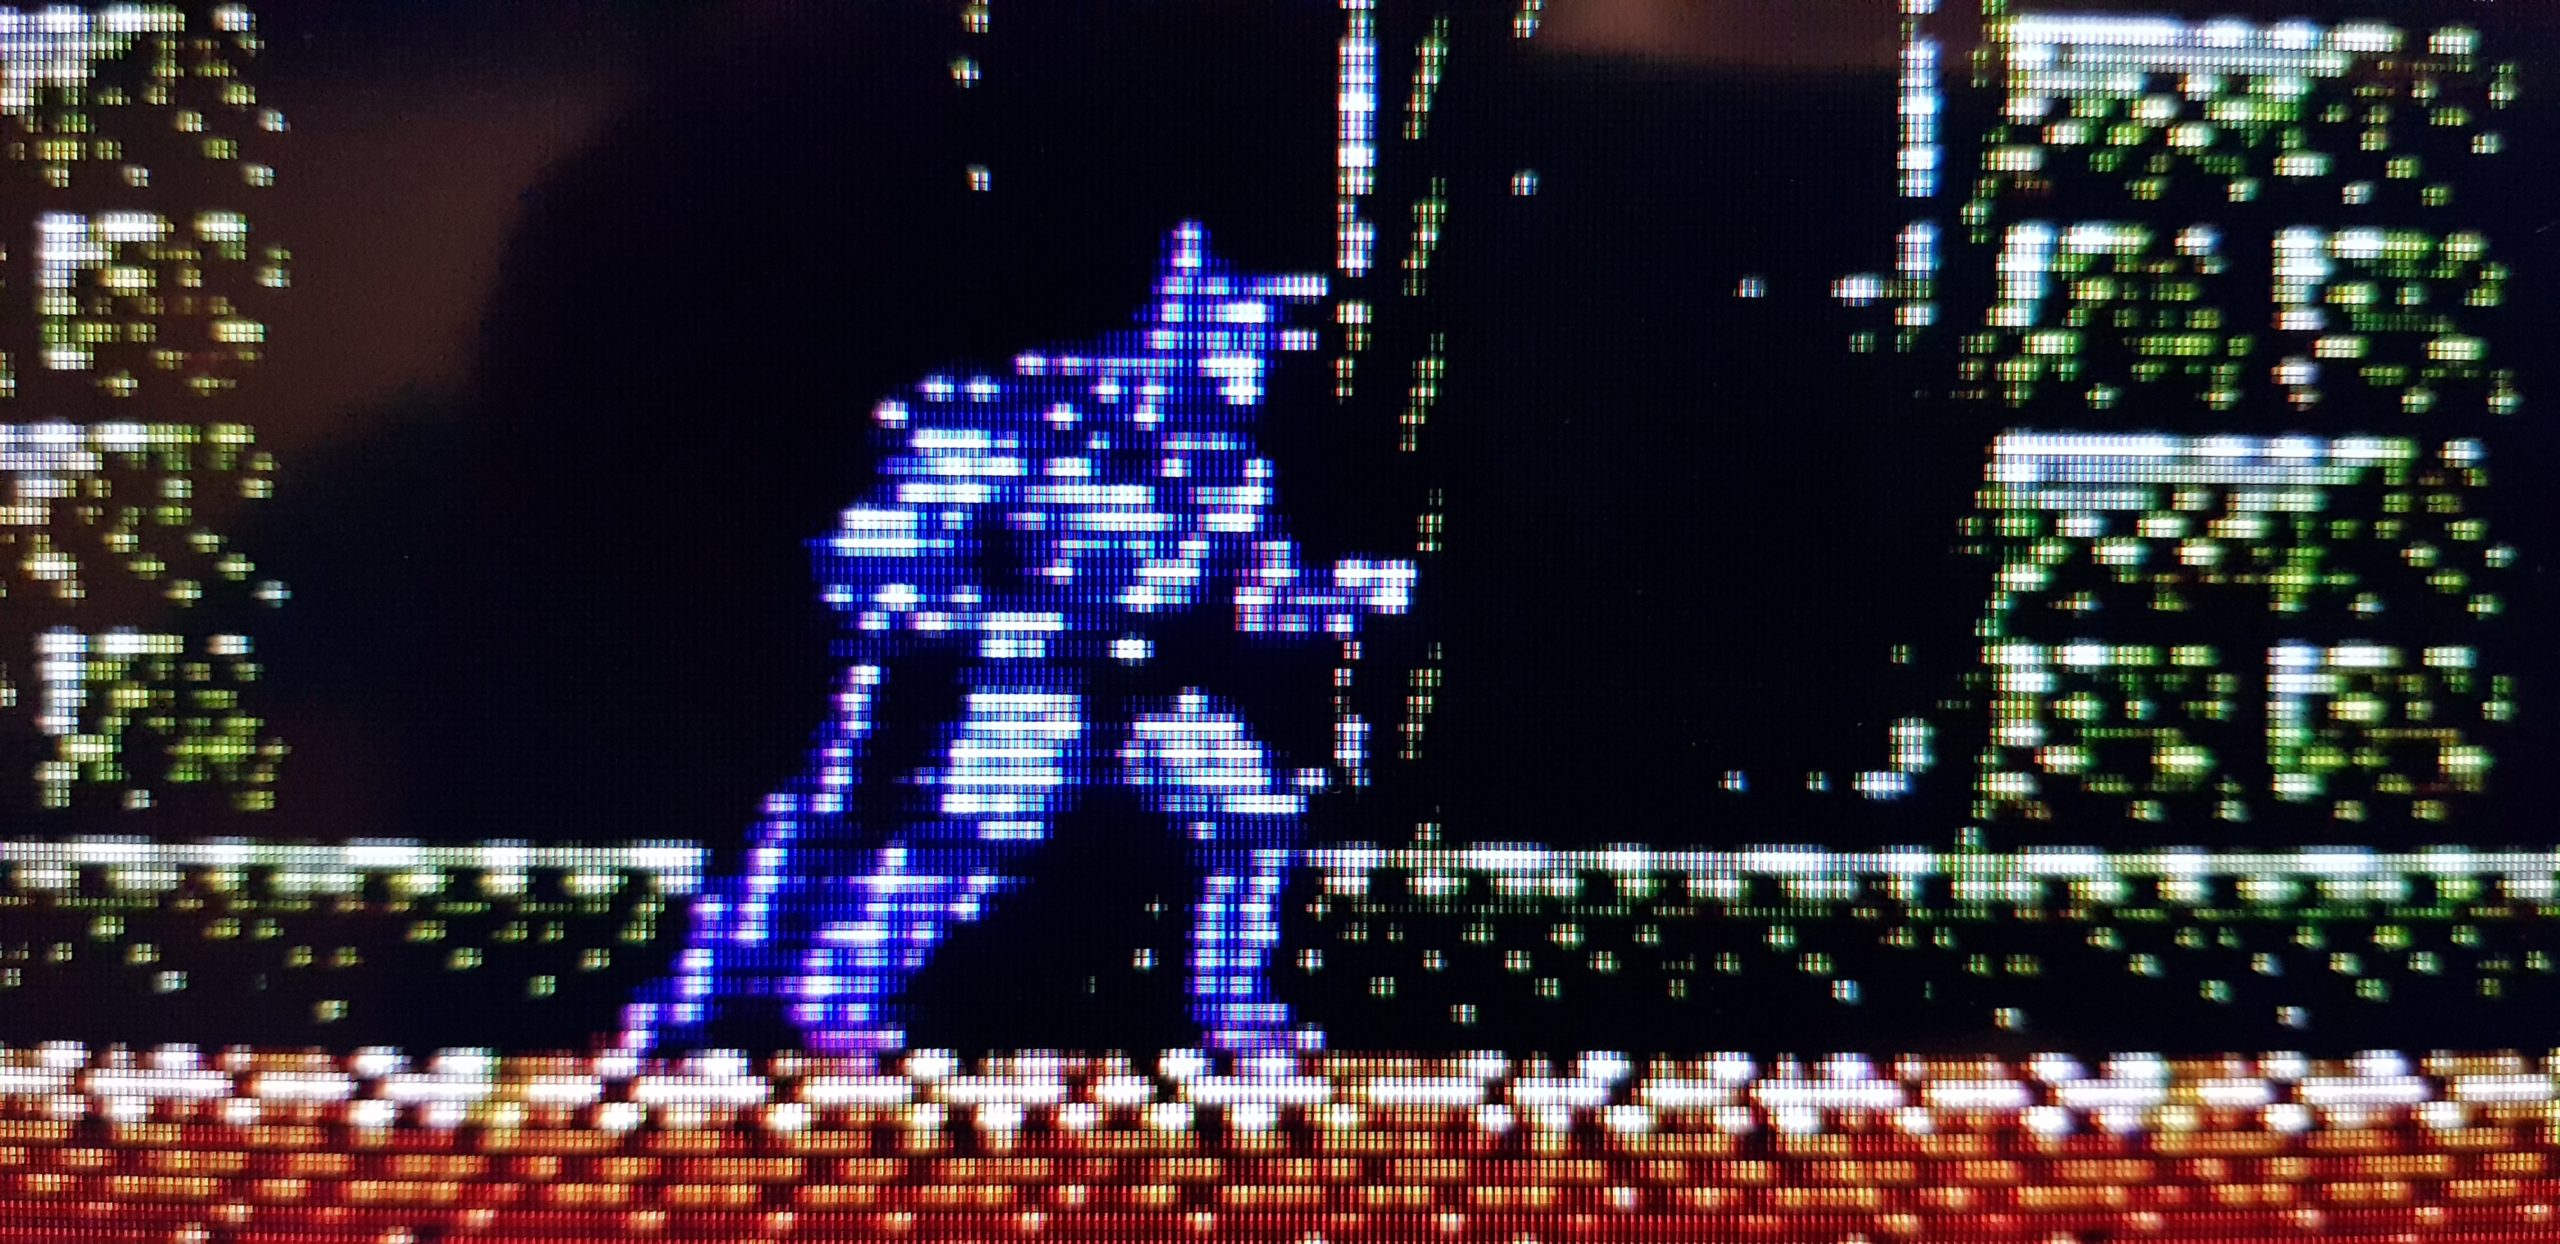
Batman Normal Batman Smoothed
 Batman Scanlines
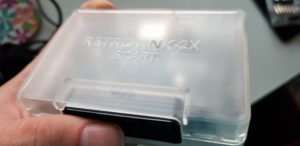
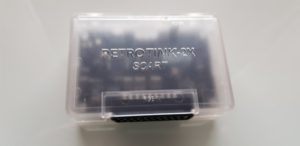
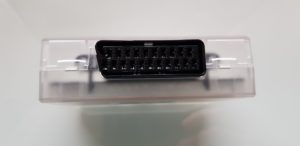
Scart Variant
There is also another variant – RetroTink 2X Scart.
Main Differences:
- Only Scart (RGB) input (no component, no S-Video, no composite)
- No mode button (always line doubled) and no comb filtering (not needed for RGB)
- There uis no input button
Update process
- Same process, but the bootloader mode is started by holding the Filter button and connecting to PC with the USB
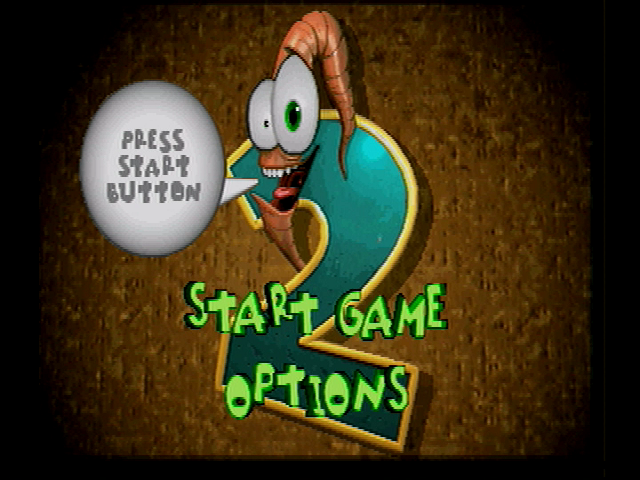
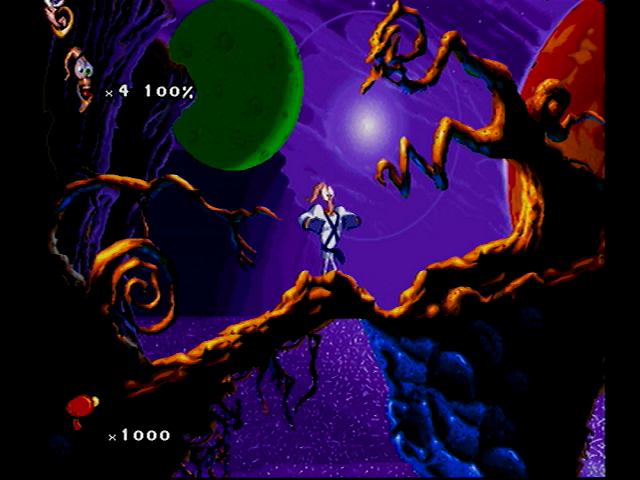
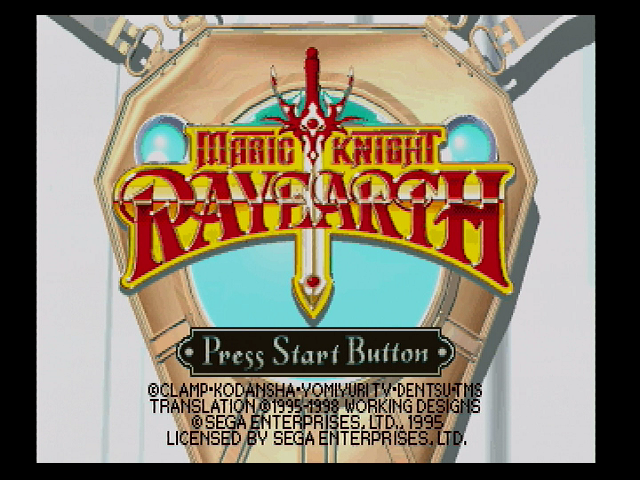
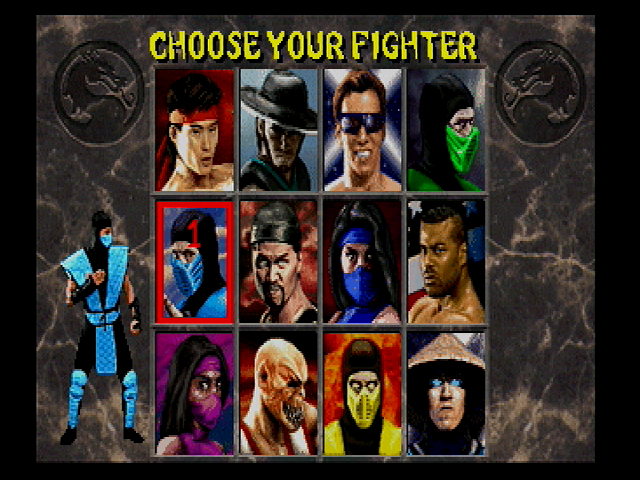
Samples
I’ve created following samples on my Sega Saturn, connected using a SCART RGB cable.