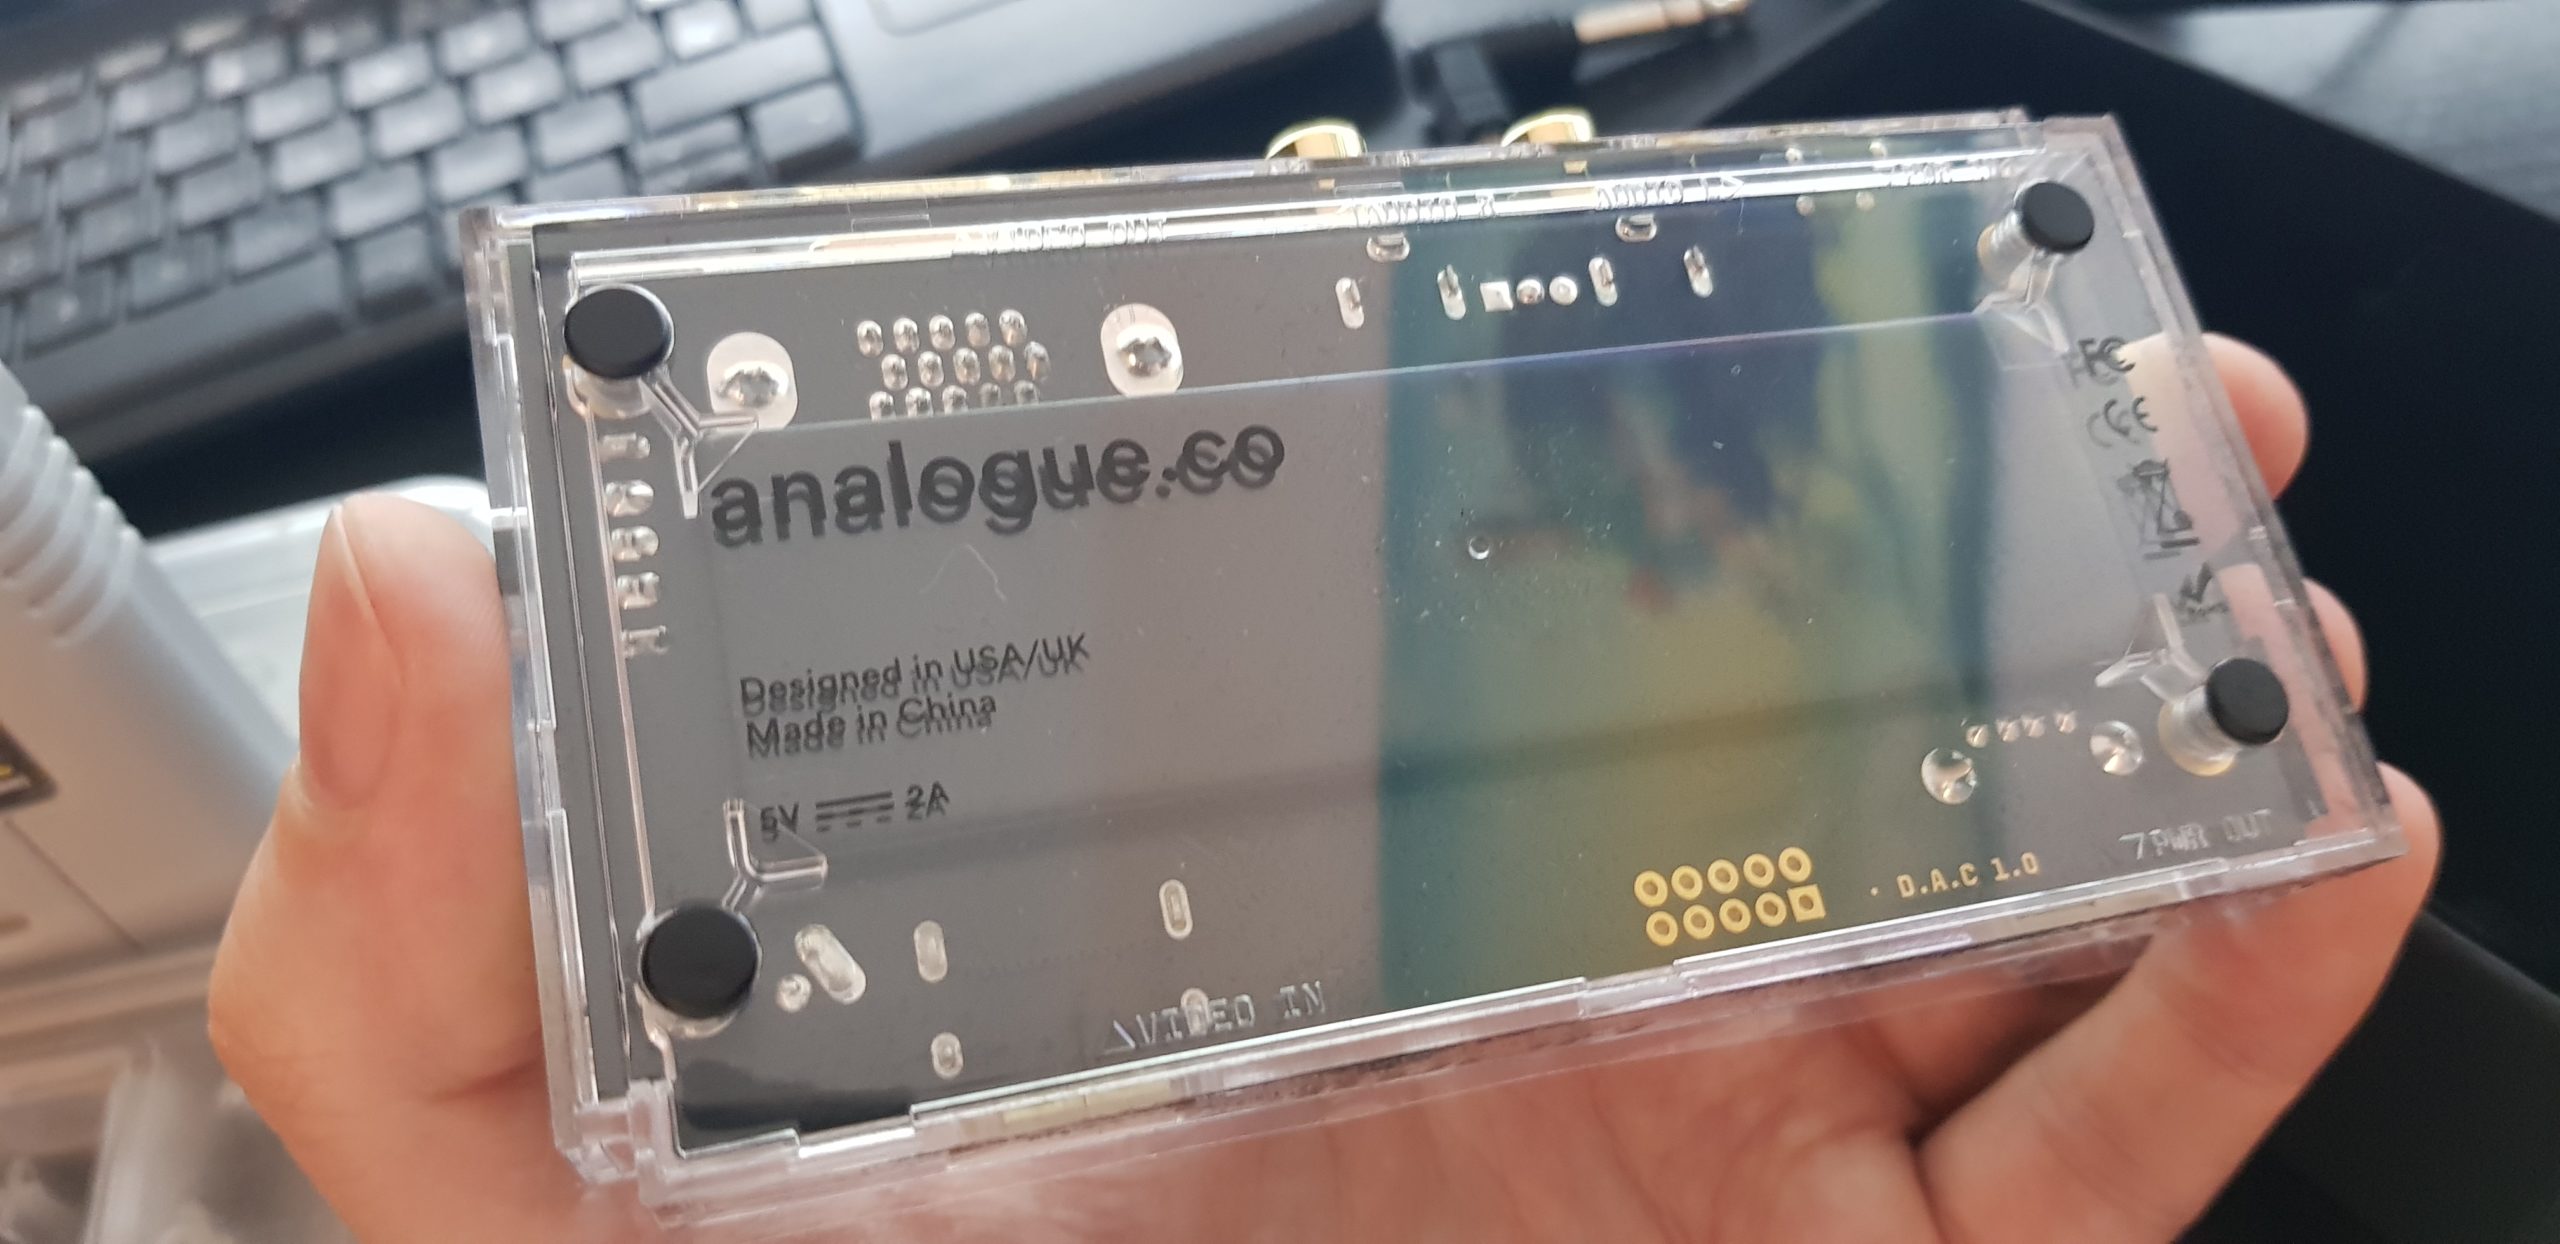
Analogue DAC – stands for Digital-Audio-Converter. What this device does is reading the digital signal from Analogue’s own consoles Super NT und Mega SG and converting it to an analogue signal.
So:
- Works only with Analogue’s hardware! It won’t work with other hardware, because only Analogue consoles generate the supported signals, which can be understood by this converter.
- Allows you to use Super NT, Mega SG and future hardware on cathode ray TVs or other monitors supporting the 15khz signal.
Contents
Inside the box you will find:
- Converter
- microUSB to USB cable
- Printed short reference

What you need
What you need else to use this device:
- Super NT or Mega SG, obviously. Also take their microUSB und HDMI cables, they will go into DAC.
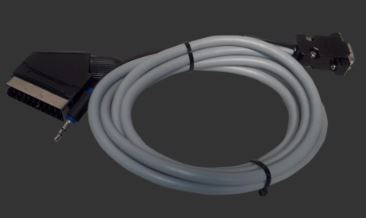
- A DIN-15 RGB cable supporting the analogue ouput 15khz. I had this one (intended for MiST, actually; now there’s also this option available). There is only one issue with this cable, you cannot use its audio cable.
- Therefore you will need a separate audio cable
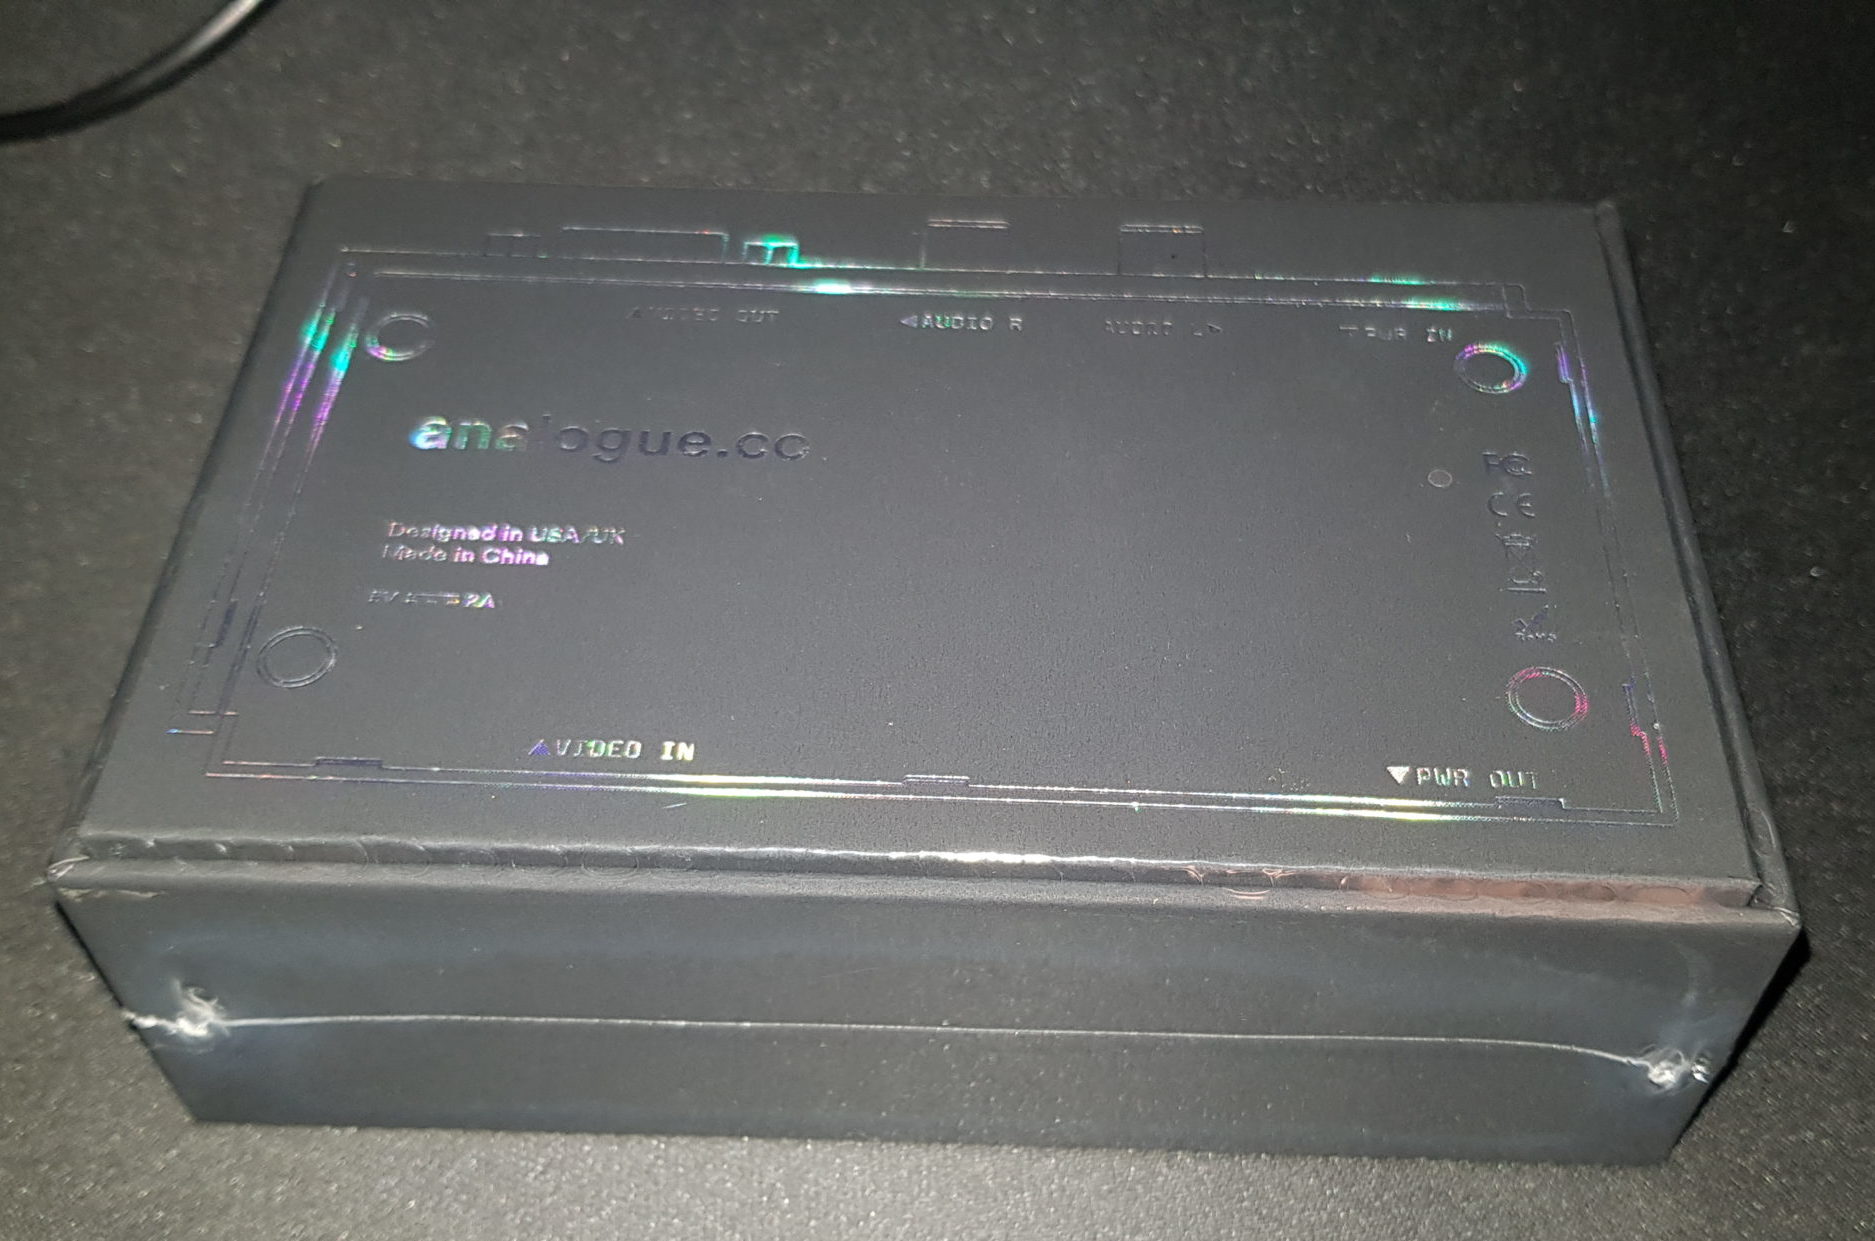
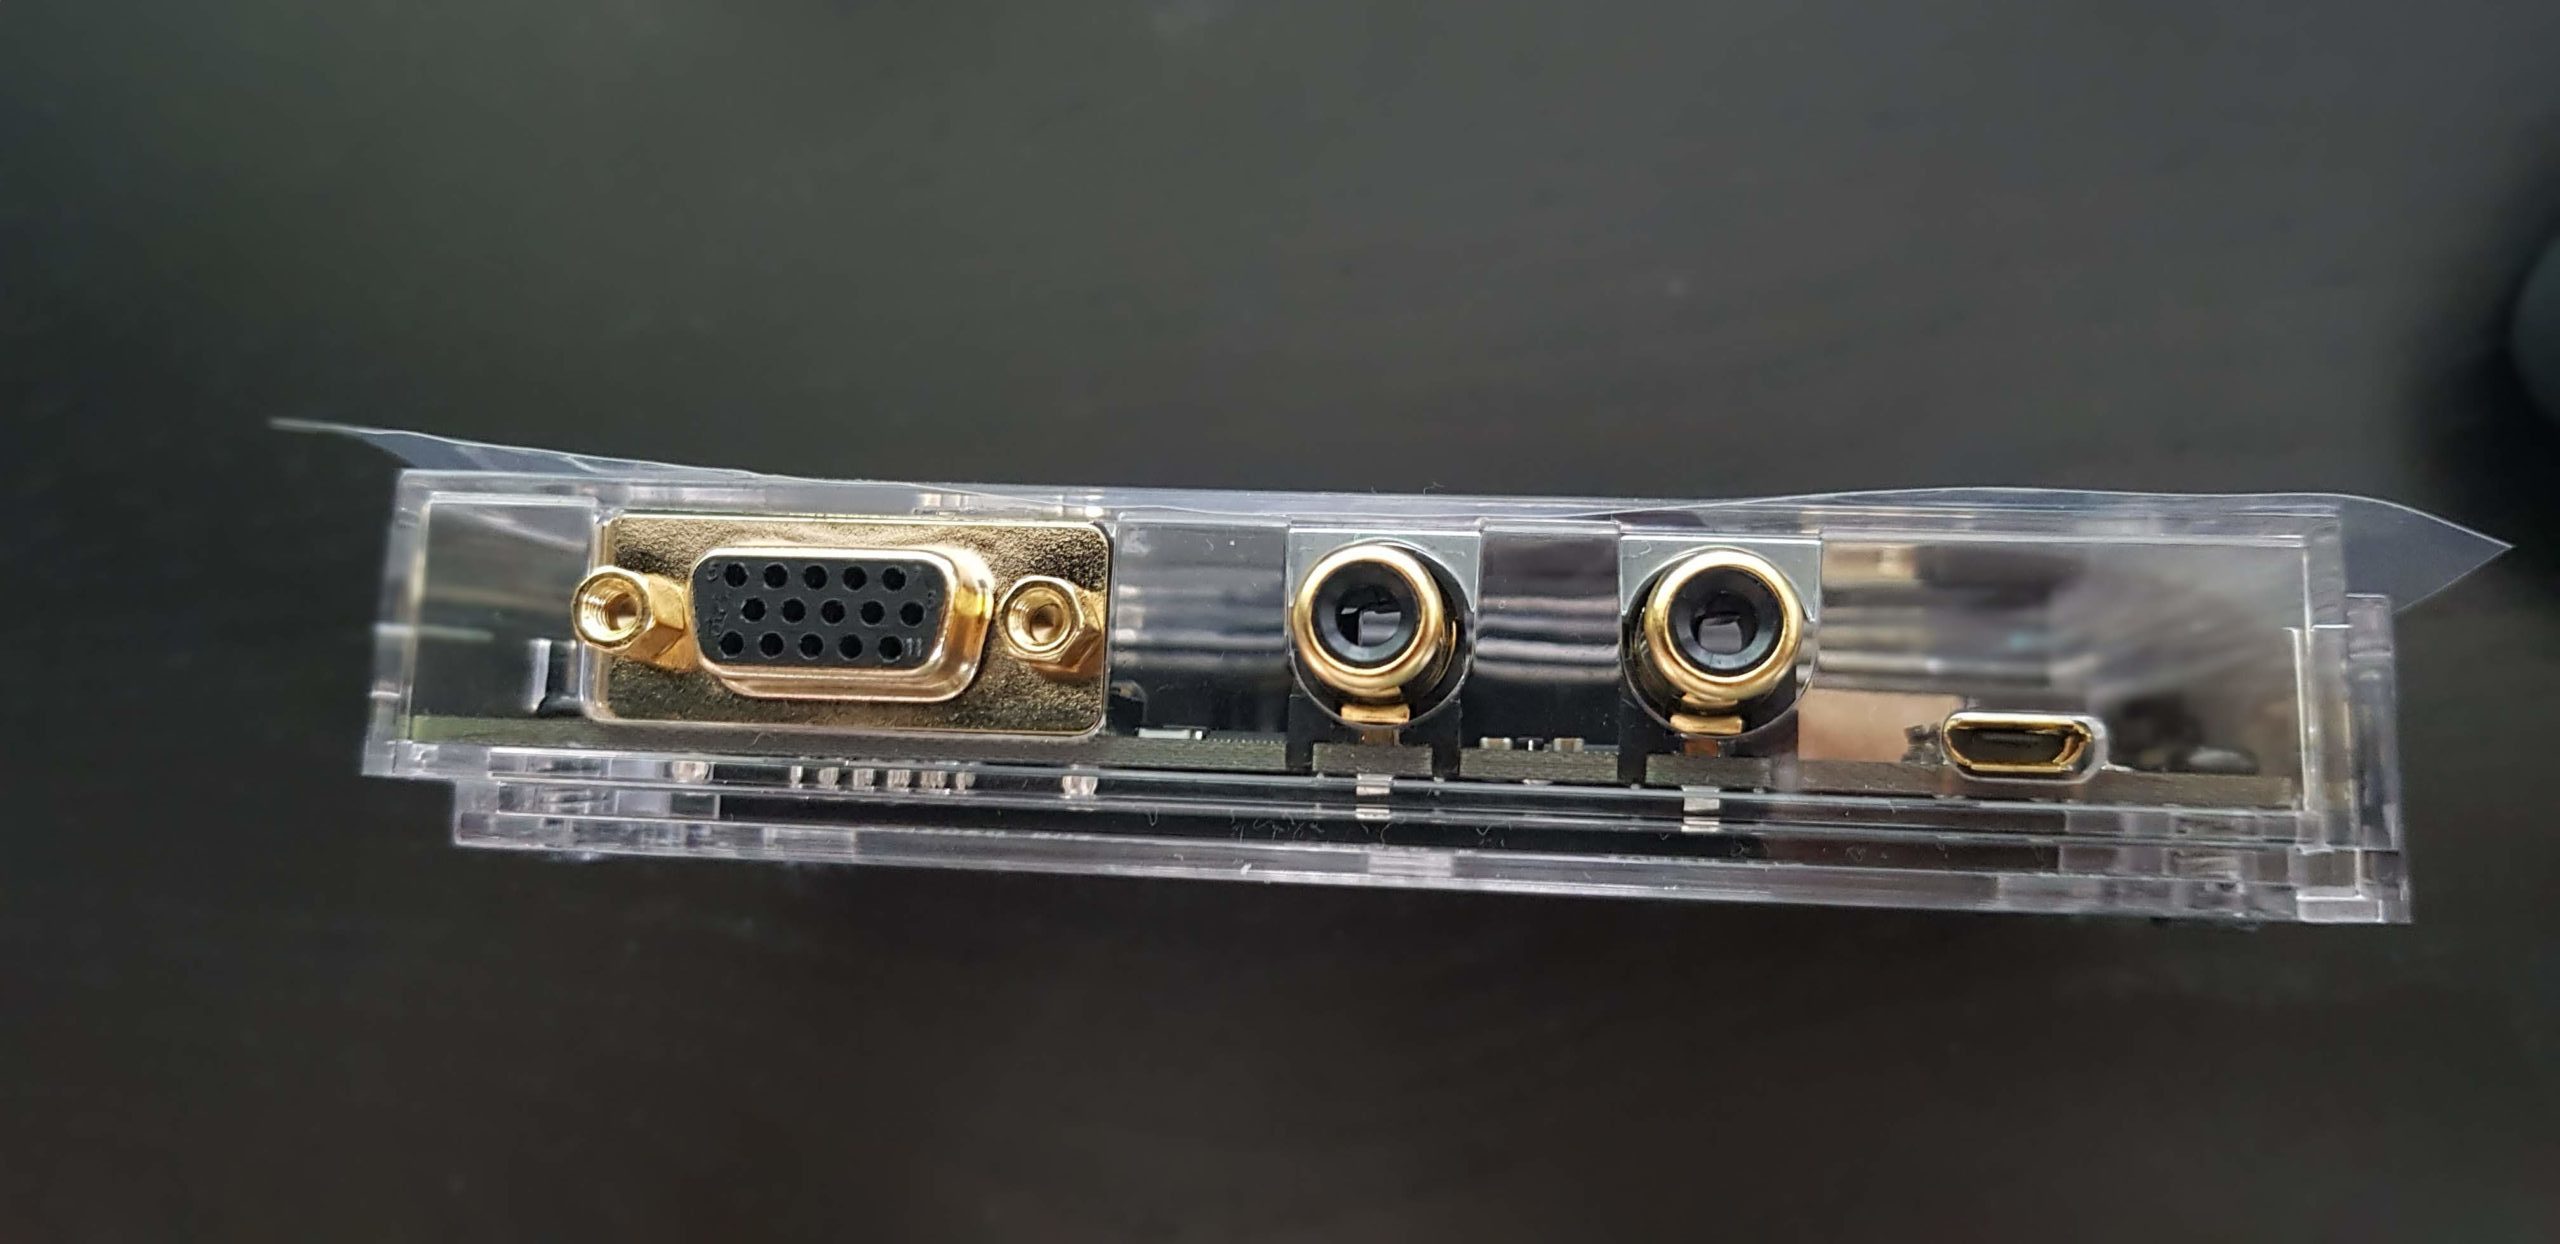
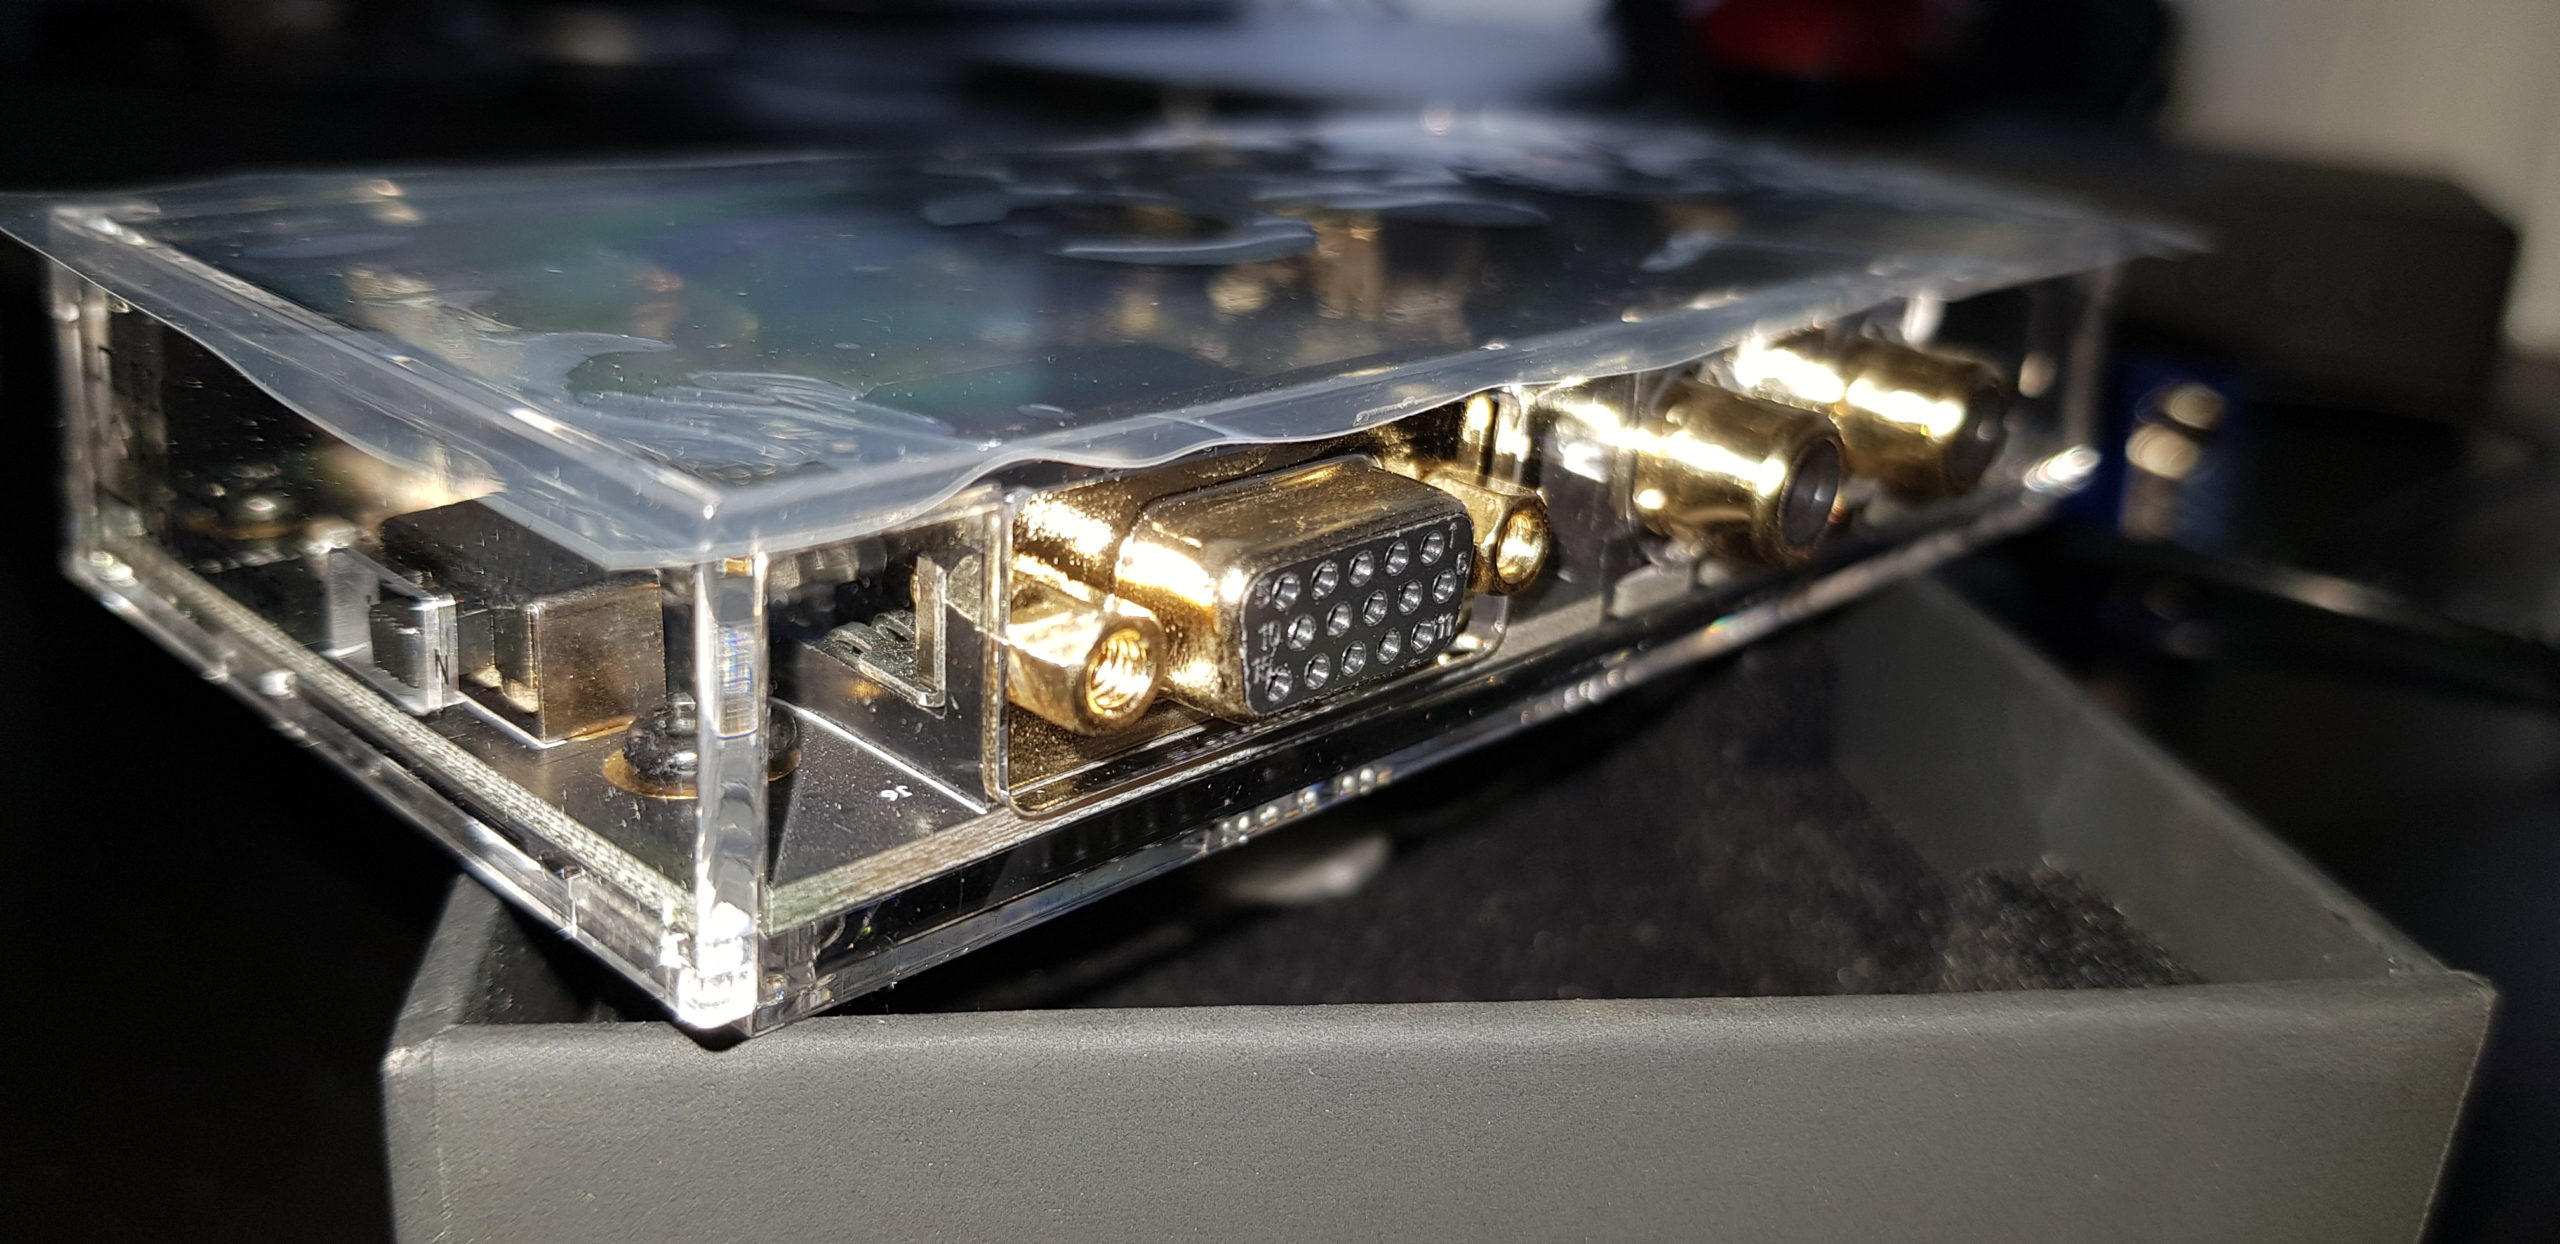
Connectors
- On the output side: VGA-style (HD-15 pin) connector can ouput RGB, Component, S-Video and Composite signals depending on the cable
- On the output side: RCA audio connectors are for audio ouput
- On the input side: full size USB to connect your console
- On the input side: full size HDMI input, to connect your console
- On the right side of the device there is a physical NTSC/PAL switch, which switches between 60 and 50 Hz refresh rates. This switch will even overrule the console menu settings.
Technical specifications
- Support for light guns (Mega Drive/Genesis, Master System, SNES)
- Sega 3-D Glasses (Sega Master System). You will need the power base, but it should be used without its shell or use a low-profile right angle HDMI cable, otherwise it won’t fit.
- Supports Sega 32x (of course you will need the 32x cables)
- Supports PAL&NTSC
- Supports three RGB synch types: composite, separate and on synch on green
- no lag
Connection steps
Connection goes this way:
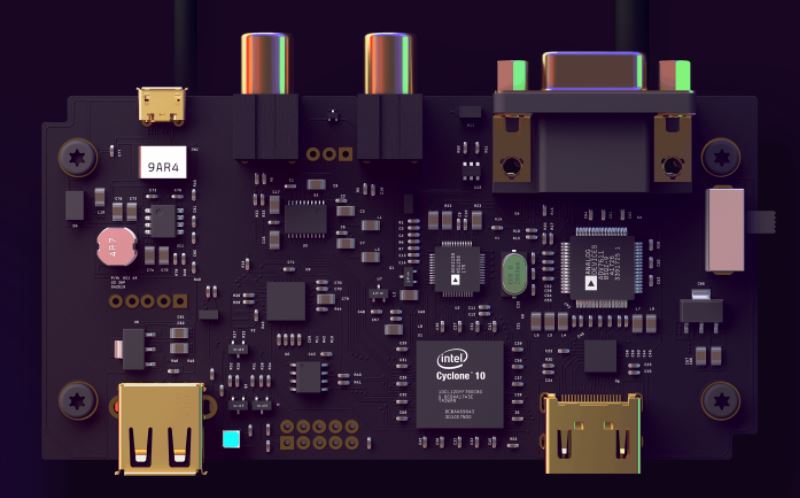
- HDMI output from the console (Mega SG or Super NT) goes to the HDMI input of the DAC (down right corner on the screenshot above)
- Video ouput from the DAC (upper right corner on the screenshot) goes into your TV/monitor supporting 15khZ signals (like PVM, BVM or other CRTs)
- Connect audio output to a system of your choice (PVM audio input, headphones, stereo amplifier, etc.)
- Connect the consoles power output with the full size USB (Type A) of the DC (lower left corner of the screenshot)
- Connect the DAC with the power source using a micro USB cable (upper left corner)
Turn on the console… And that is actually all… Except, there are now new options available.
DAC specific options
The normal Video Settings are not available, if you’re using the DAC and is replaced with the DAC setting.
DAC Settings
You can change following settings:
- Limit Browser Width: switch between 60 vs. 30 columns of text. Long names will automatically scroll. 60 columns is just to small and is hard to read, expecially via composite output.
- DAC LED Brigthnes: brightness of the DAC’s led
- Link DAC LED to power LED: DAC’s led uses the same colour as the power button LED of the connected console
Advanced settings
Here you can choose between three different options for synchronisaion of the RGB signal:
- Composite Synch
- Separate Synch
- Synch on Green
- Invert RGB: synch allows you to toggle the polarity of the synch signal. It only makes sense if your display cannot synchronise.
No chroma filter
Only for composite ouput for Mega SG. It adjusts the colour fringing.
7.5 IRE Black Level
Sets the black level to the US NTSC standard. Only have an effect for composite and S-Video. Otherwise the default 0.0 IRE black level setting will be used (japanese NTSC and PAL).
700mv RGB Level
Colour signal in RGB uses 1v. Some monitors prefer 700mv. Only for RGB connection.
Extra Features: although the menu exists, not all options are available or are working.
- Super NT: all options will work
- Mega SG: only Enable CRAM dots and Original TMS9918A Palette will work
Updating firmware
Connect the DAC to the PC using the USB cable. On your PC a new mass storage device will appear (called DAC V0-#). Copy the firmware file to this device and it will upgrade itself. Wait until the LED has finished blinking.
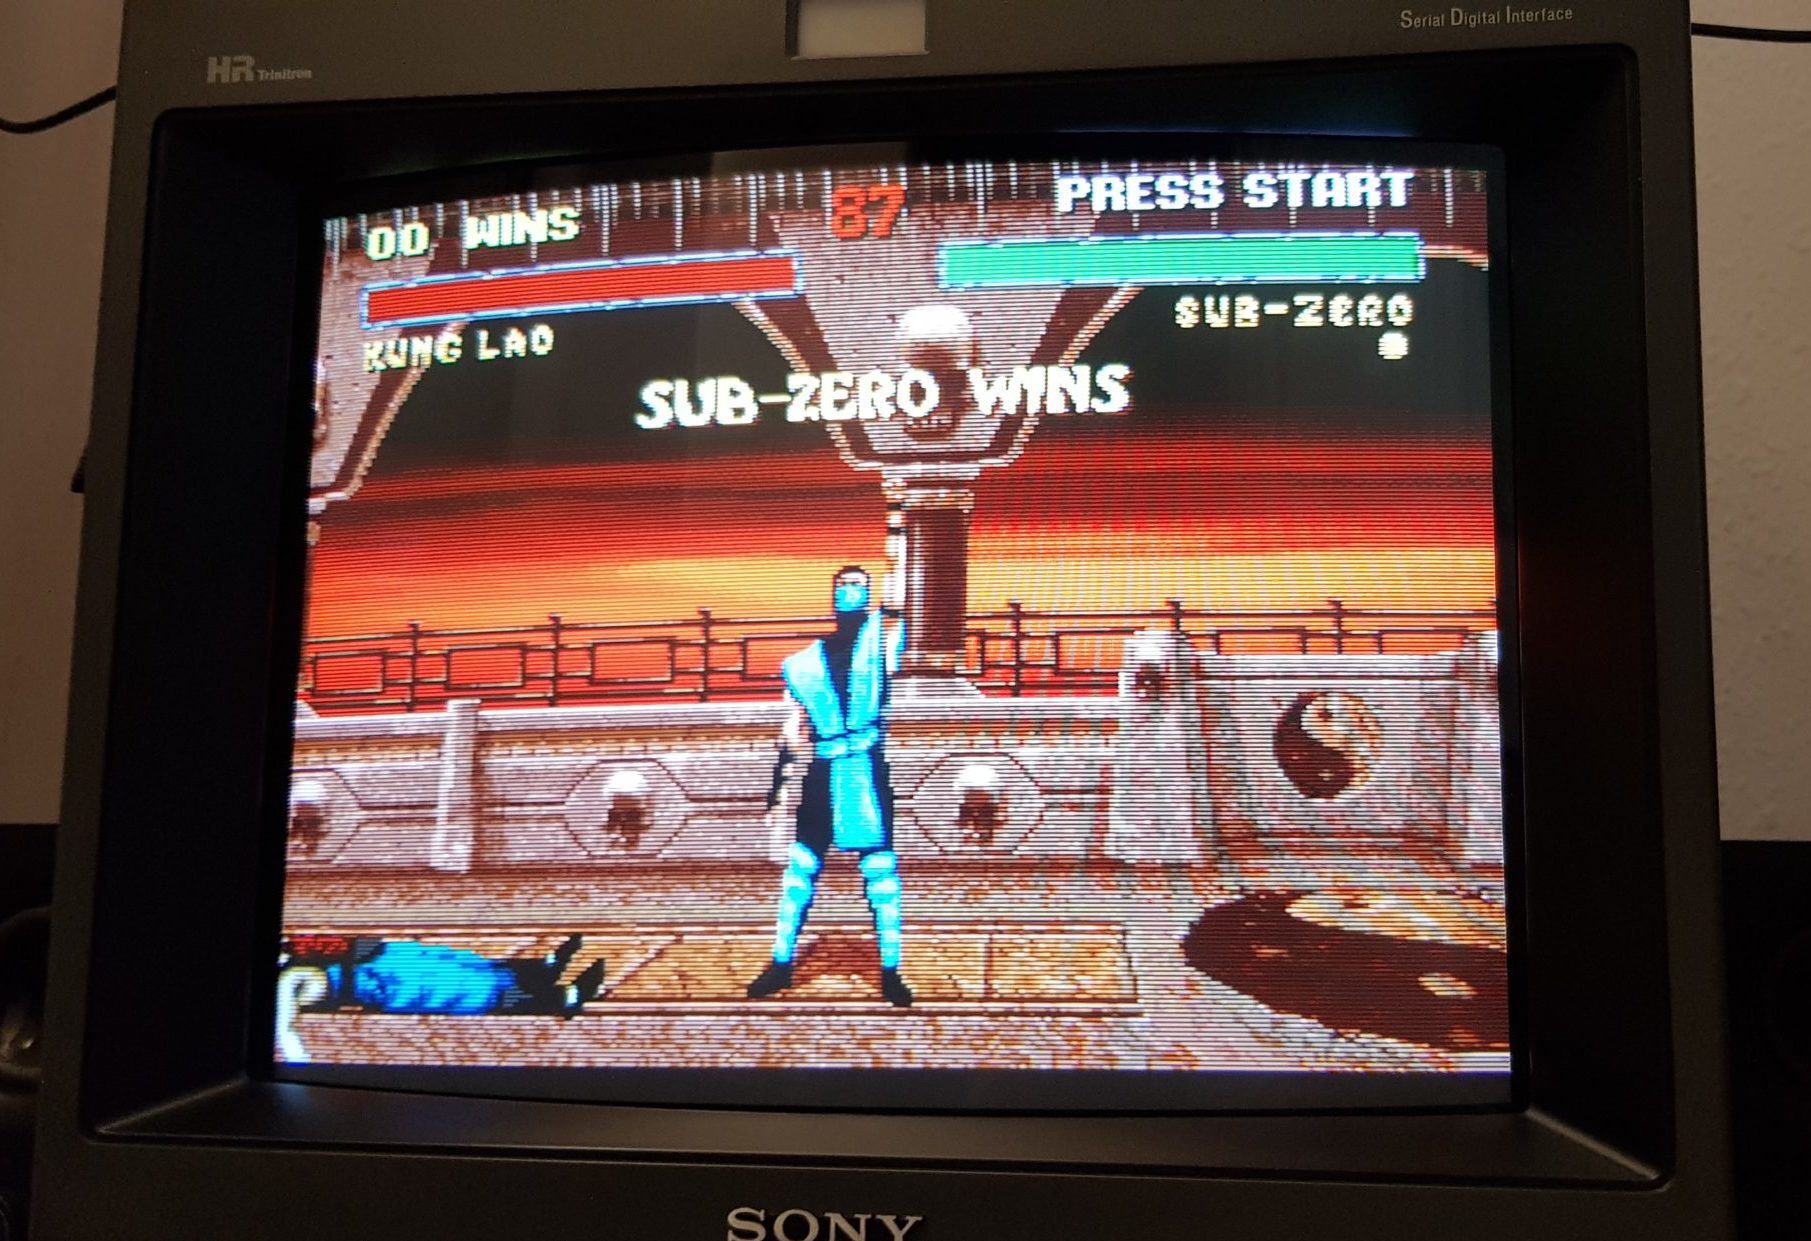
Some pictures