Introduction
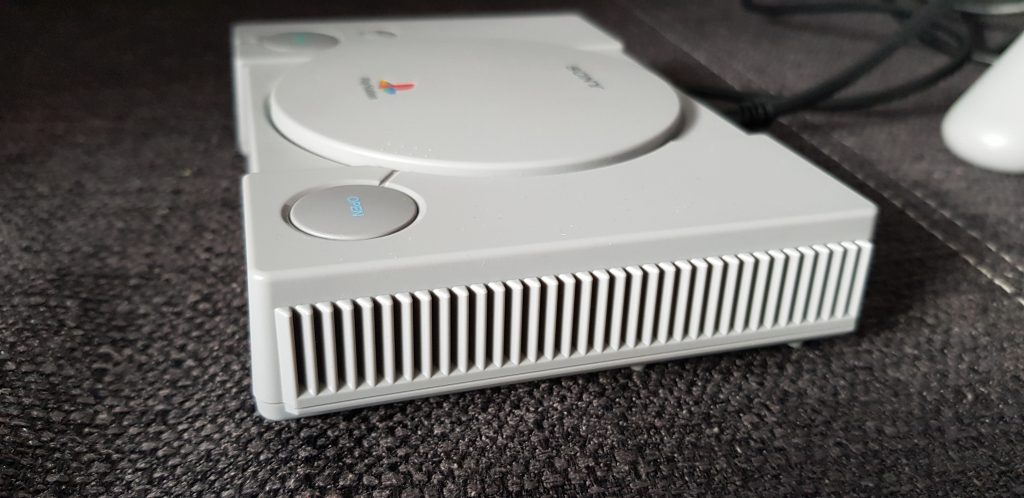
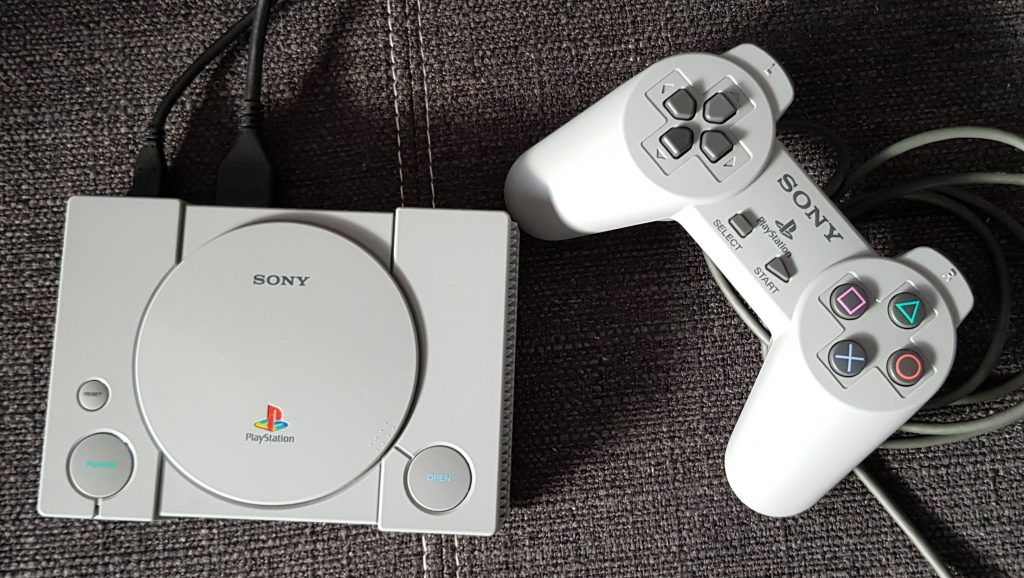
And another one mini console, after successful NES and SNES mini, this time from Sony. The console is a miniature copy of the very first PlayStation (also known as PSX and PlayStation 1), but doesn’t use original controllers, CDs or other accessories. Like NES or SNES mini, this is only a linux-based emulation using custom hardware not compatible with the original.
The console release was met with a lot of criticism because of chosen games and used emulation software. Many games are run in PAL mode, which is somewhat slower than NTSC.


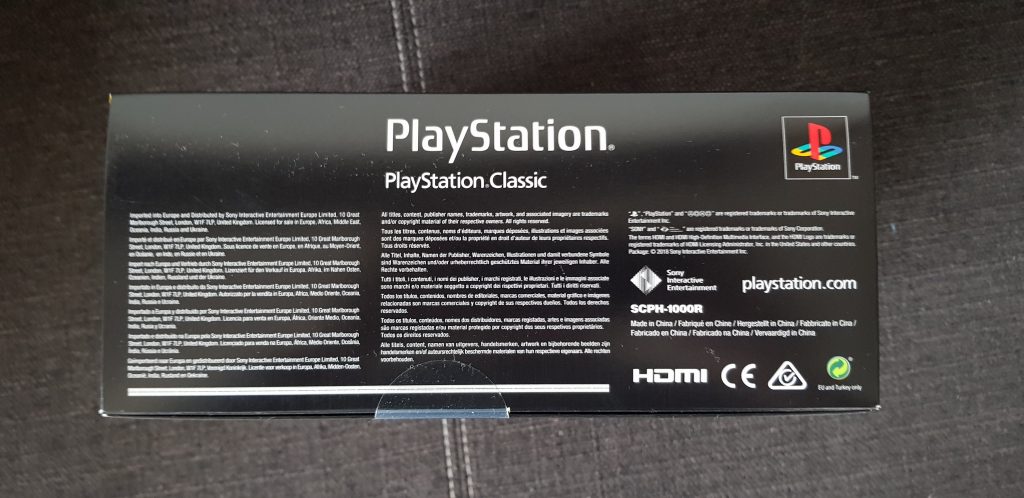
Box contents
Inside the box:
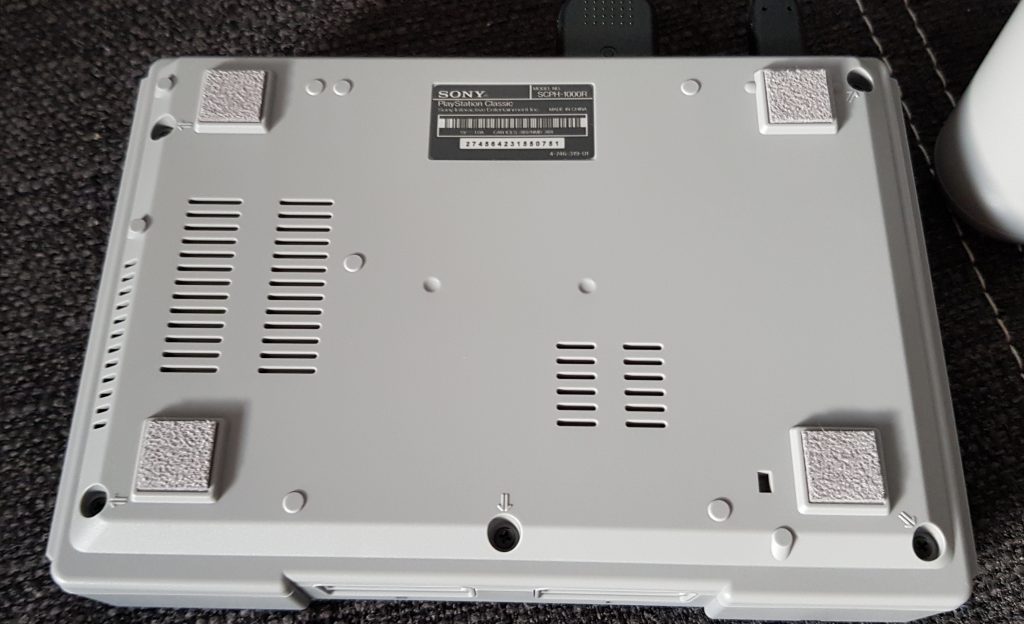
– console
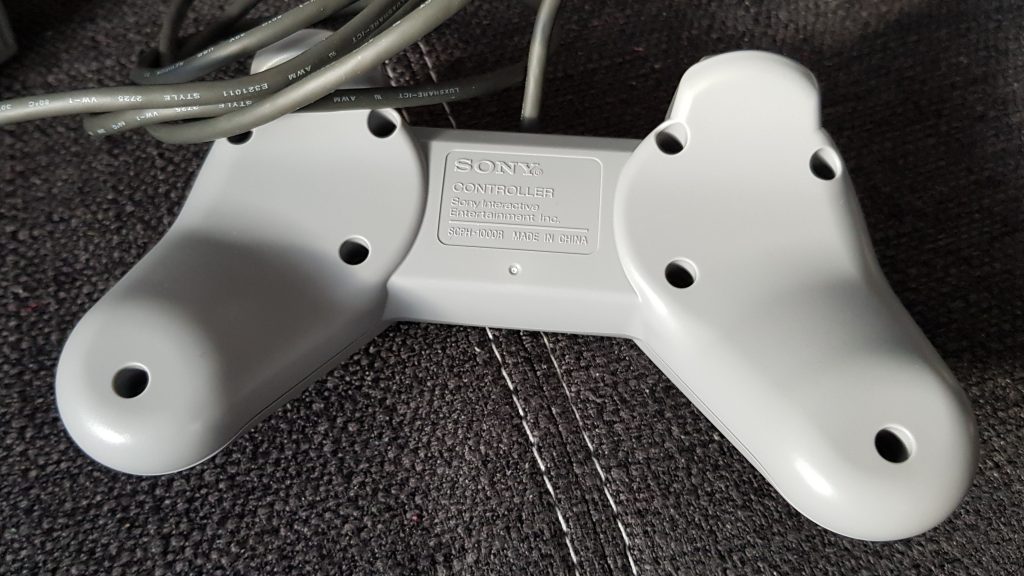
– two controllers (USB)
– HDMI cable
– micro USB to USB cable
– paper manuals


Connection
Connection is simple as usual:
1)HDMI to TV and the console
2)Micro USB to the console and to power source. Actually you could connect to the TV directly, but in my case it didn’t work and I had to use a separate USB-Adapter and connecto to wall socket.
3)Connect controller
That’s all about connection.
First start
Press POWER (the left green button) and you will be greeted with a familiar splash screen (used in PSX games).
On the very first start you can also choose your language. The language is only applied to the main menu. All games are (US) english versions.

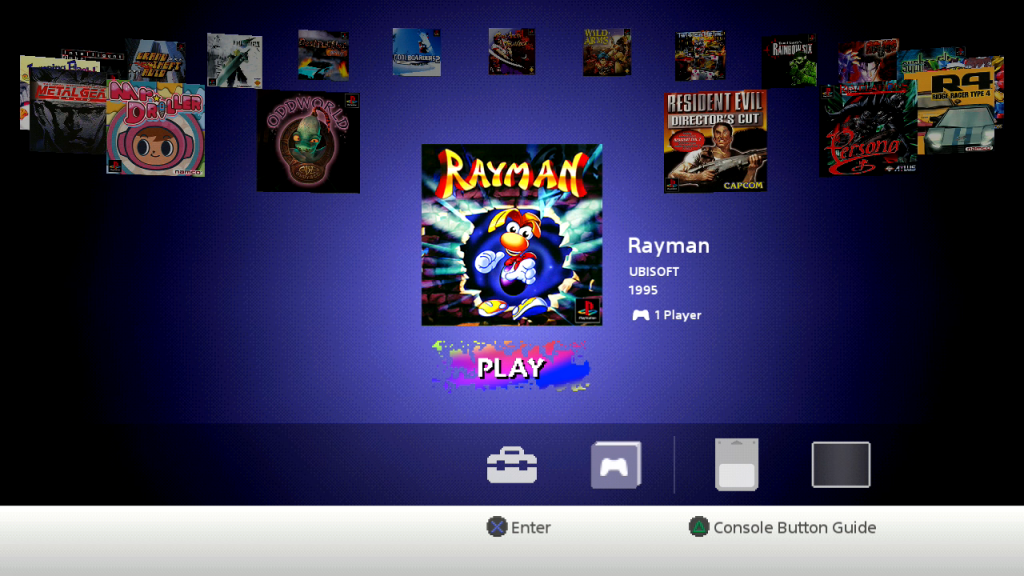
Main Menu
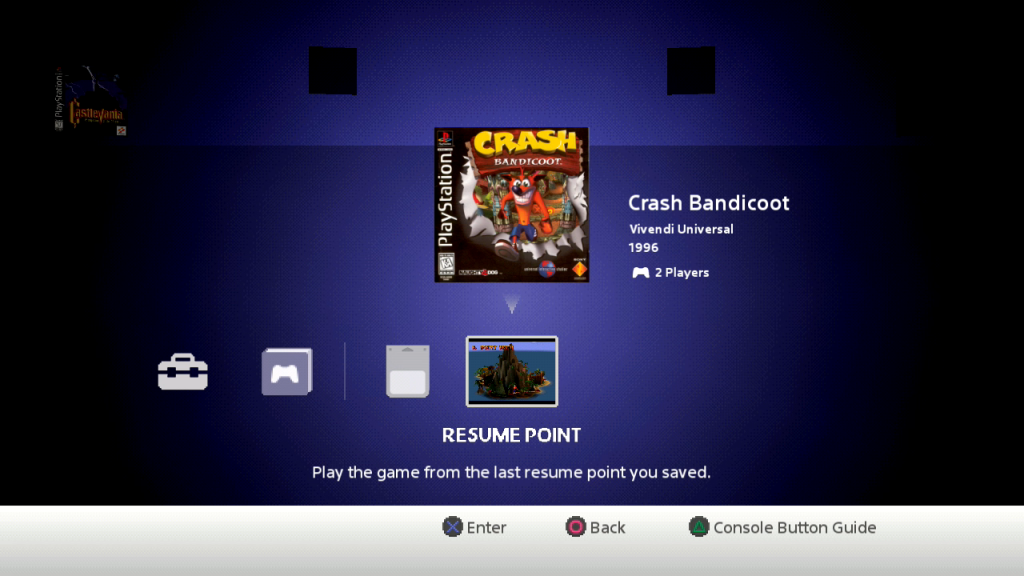
Right after the splash screen and a warning you are in the main menu. Here you have access to 20 pre-installed games. Each game is represented by its cover. You can also adjust settings, see the games manual (or rather, get a QR-code for it), manage saved data or resume the games from the resume point (last saved position).
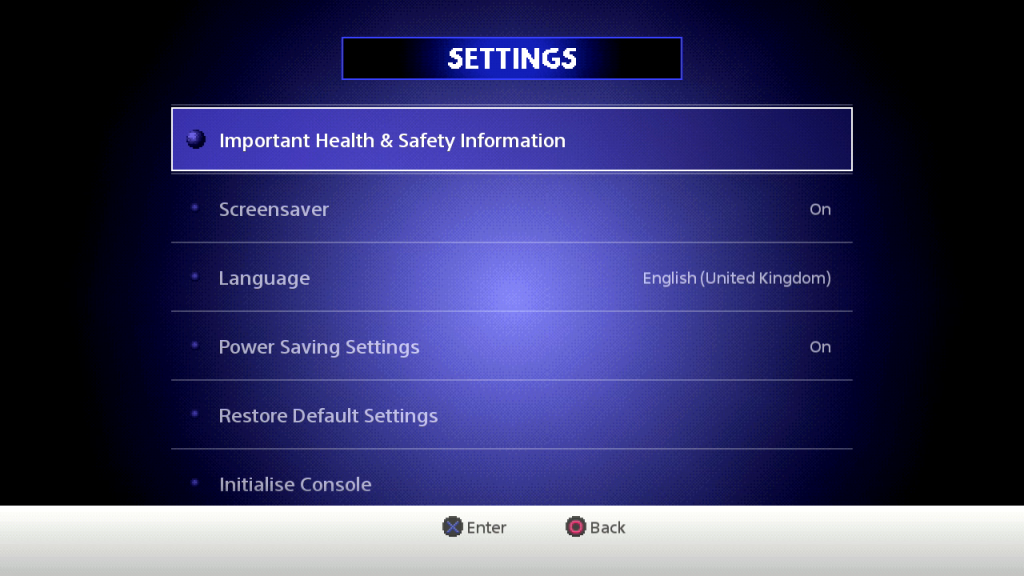
Settings
Settings are pretty useless. You can read about health and safety, turn on or off the automatic screensaver, change the language, enable / disable the power saving settings, restore default settings, initialise console or read legal notices.
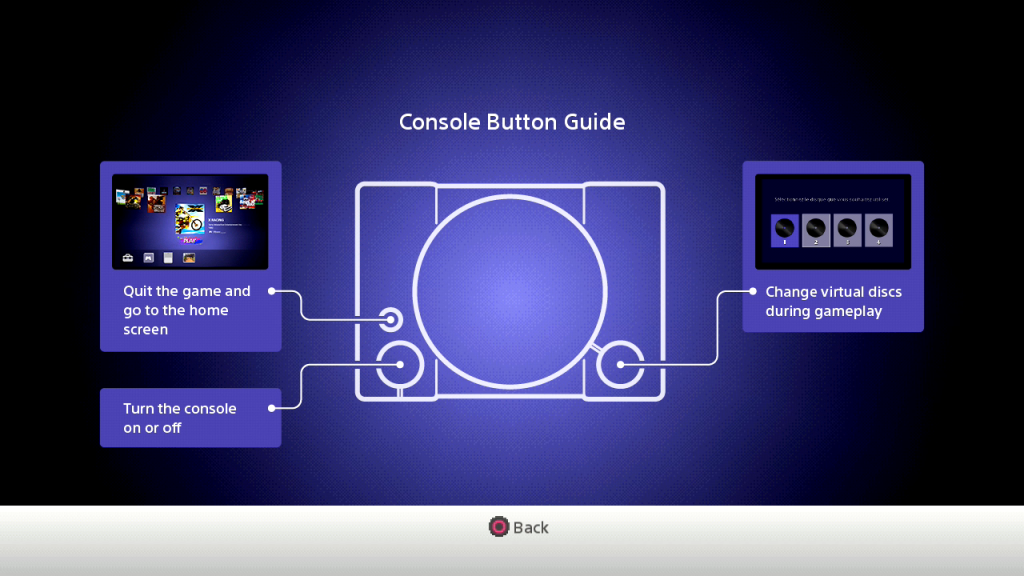
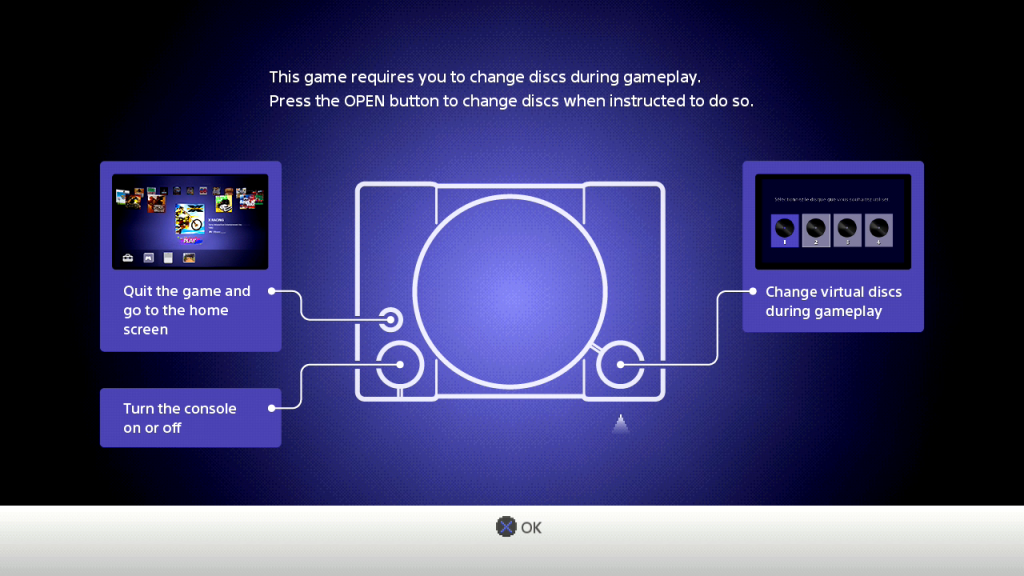
Using buttons (also explained in the options)
- POWER: turn on or off the console. While on the led is green and while off (but connected to power supply) the led is orange.
- Pressing RESET calls the main menu and also the actual resume point is created.
- The button OPEN is used to switch between CDs in multi CD games.
Multi CD games
Managing saved data
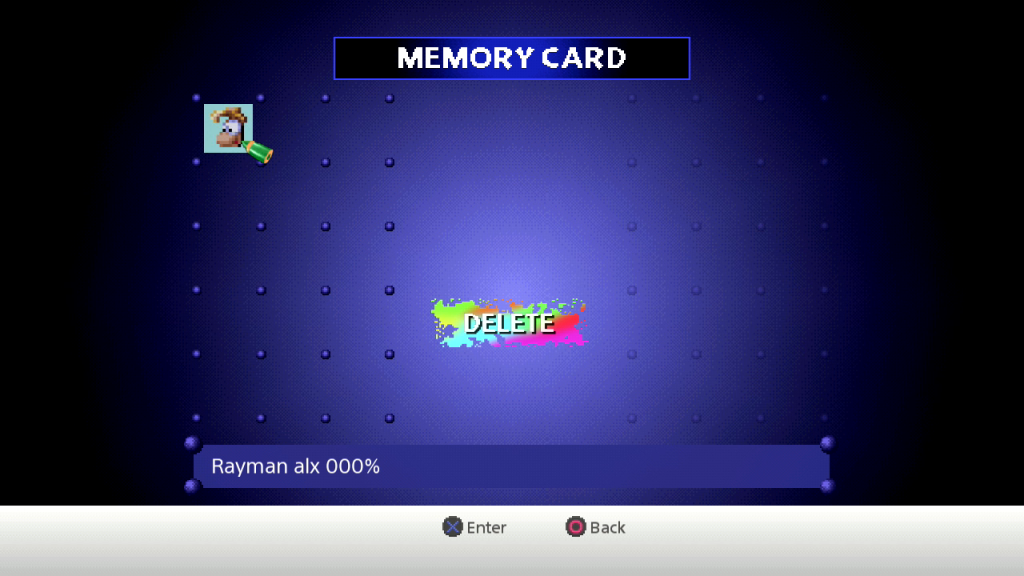
In order to manage the saved data choose the game, then press DOWN and choose MEMORY CARD, then press X.
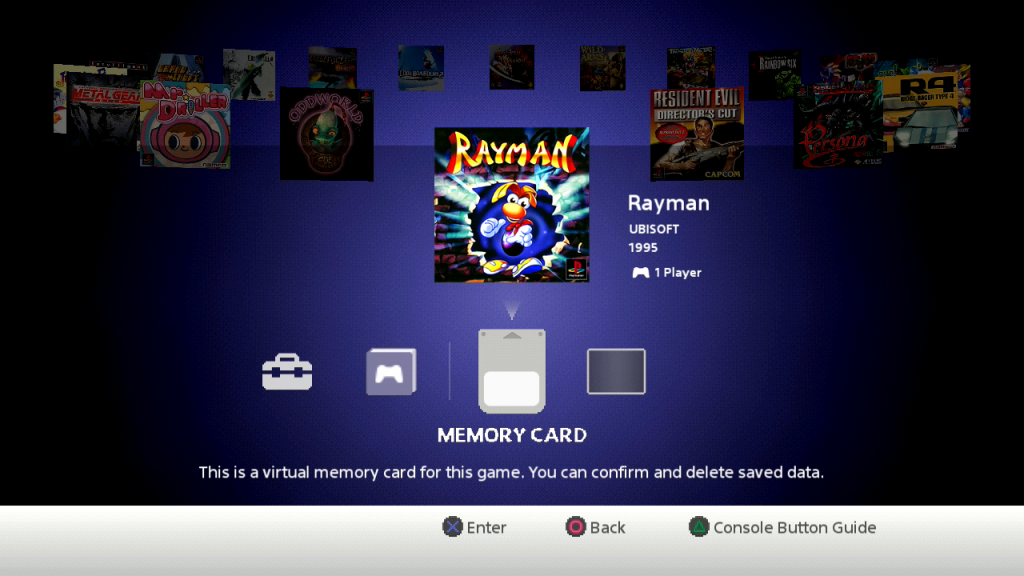
Saved data are shown in a menu similar to the original menu. You can edit save data from here (this are normal saves, not to be confused with the resume point!).
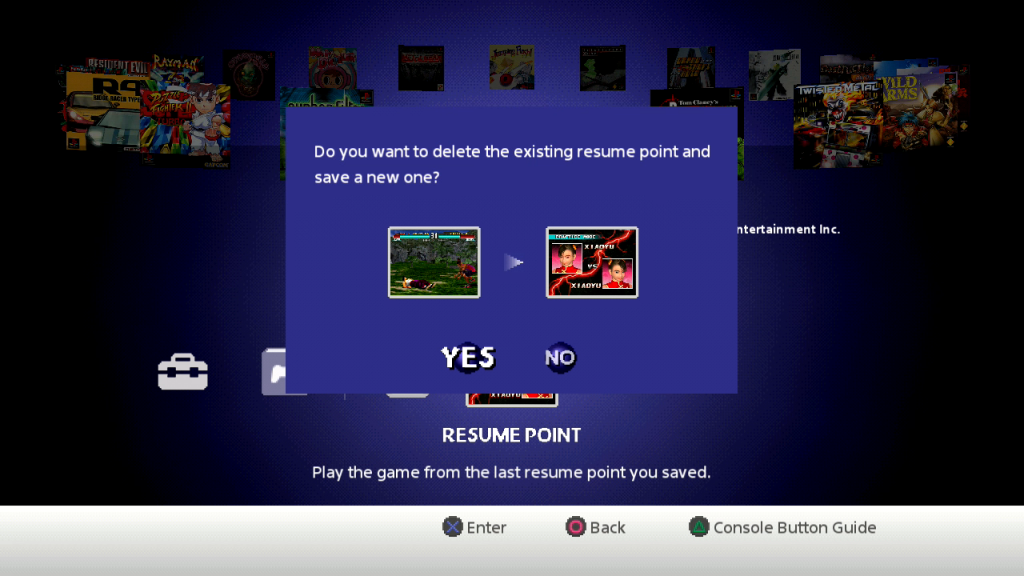
Continue from resume points
Every time you leave a running game with the RESET button, a resume point is created. You can start a game from the start or you can continue from the resume point.

In case an already existing resume point is about to be overwritten, a message will appear with the question, whether you want to overwrite or not.
Games
Game list is different for different regions. Here is the list of the games for the european version. Games marked with an * are run in PAL mode.
- Battle Arena Toshinden*
- Cool Boarders*
- Destruction Derby*
- Grand Theft Auto*
- Intelligent Cube
- Jumping Flash*
- Metal Gear Solid
- Mr. Driller
- Oddworld: Abe’s Oddysee*
- Rayman
- R4: Ridge Racer Type 4
- Resident Evil: Director’s Cut*
- Revelations: Persona
- Syphon Filter
- Super Puzzle Fighter II Turbo
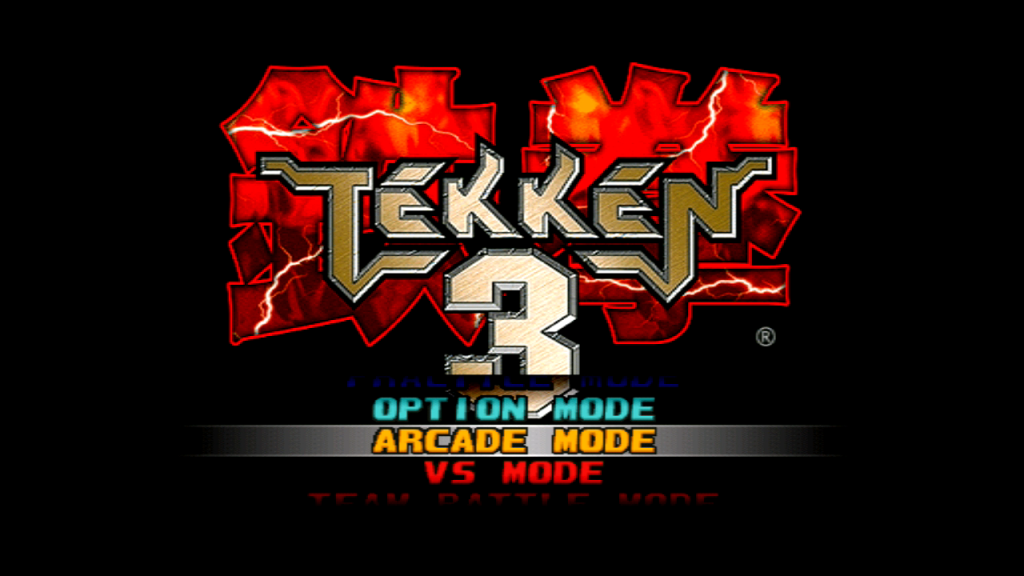
- Tekken 3*
- Tom Clancy’s Rainbow Six*
- Twisted Metal
- Wild Arms
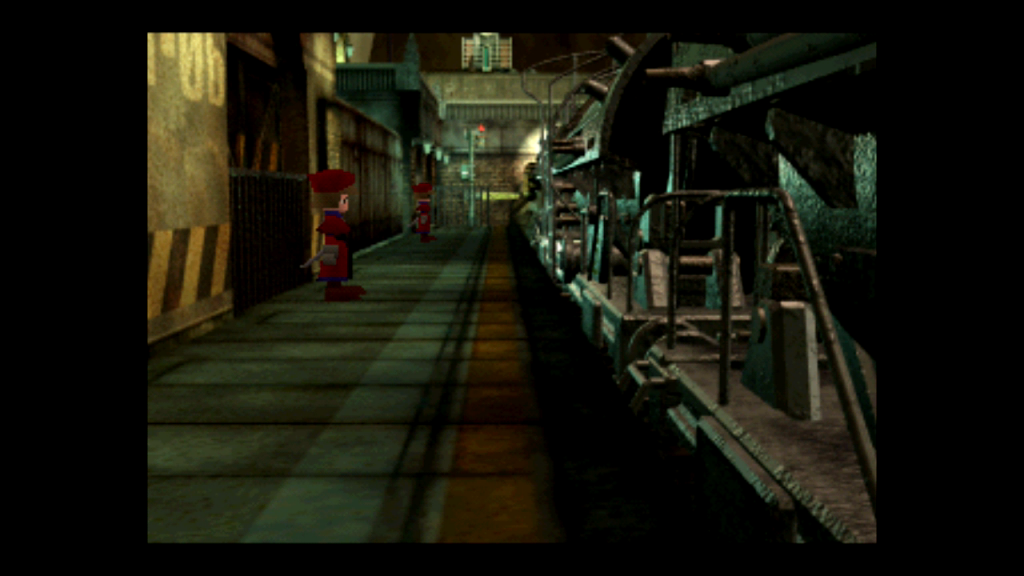
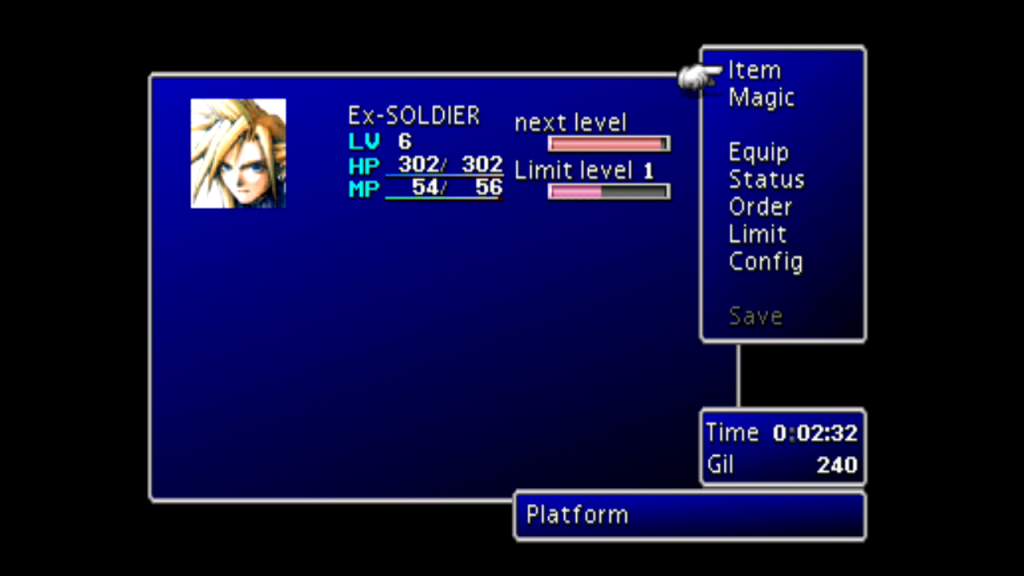
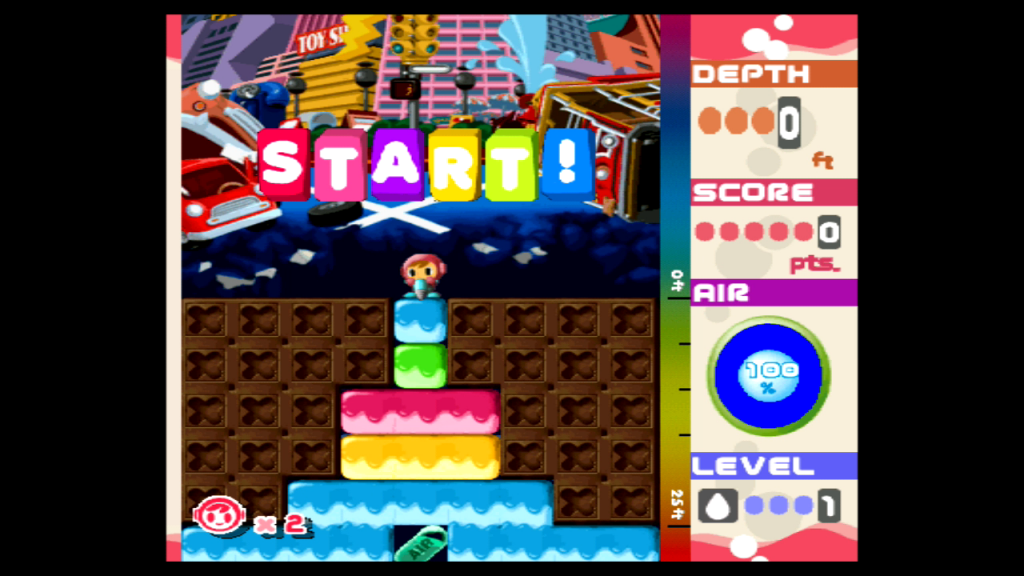
Screenshots

Loading custom games
In case you don’t like the pre-installed games or want to play your own games, there is an unofficial way to do it.
All you need, are:
1)USB thumb drive, formatted in FAT32
2)Application and dummy-Data from https://github.com/pathartl/BleemSync
If needed, format the USB drive and call the device SONY.
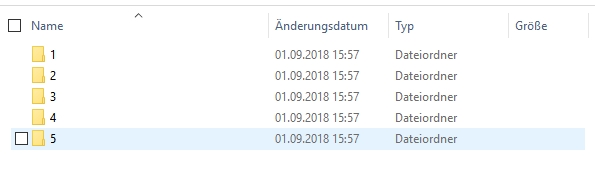
First, unpack the folders into the root folder of the USB driver so that it looks like this:
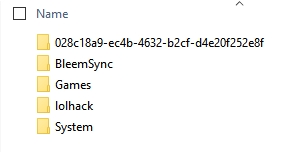
Inside the foger Games there are numbered folders. Each folder is for a separate game. Inside these folders there is a GameData folder.
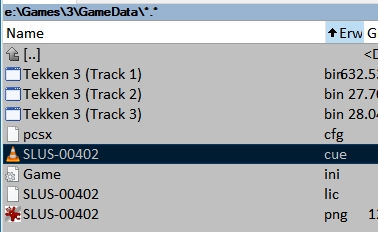
Inside the GameData folder there are a couple of files. You will need following:
1)bin-File (this is the ripped rom of the game CD)
2)cue-File (this is a description file for the rom or roms, it contains descriptions of all tracks of the game CD)
3)cfg-File: don’t need to change it, it contains configurations for the emulation software
4)lic-File: won’t be needed
5)png-File: this is the cover, should be 266×266 png file
6)last but not lease and very importand, ini-File.
This is the contents of the Game.ini file:
[Game]Discs=SLUS-00402
Title=Tekken 3
Publisher=Namco
Players=2
Year=1998
First, write in Discs= the name of the cue-File. Note, that cover file should have the same name as cue-file. For multi CD games, write names of the cue files in one line, separated by a comma.
This is how the cue-file looks like. It lists all tracks (bin-files).
FILE "Tekken 3 (Track 1).bin" BINARY

  TRACK 01 MODE2/2352

    INDEX 01 00:00:00

FILE "Tekken 3 (Track 2).bin" BINARY

  TRACK 02 AUDIO

    INDEX 00 00:00:00

    INDEX 01 00:02:00

FILE "Tekken 3 (Track 3).bin" BINARY

  TRACK 03 AUDIO

    INDEX 00 00:00:00

    INDEX 01 00:02:00
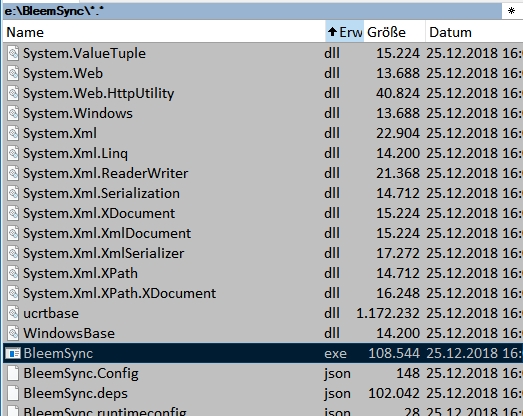
After all games are prepared, you need to rebuild the database. Go to the folder “BleemSync” and run the application BleemSync.exe. A command line window will appear and close. That’s all.
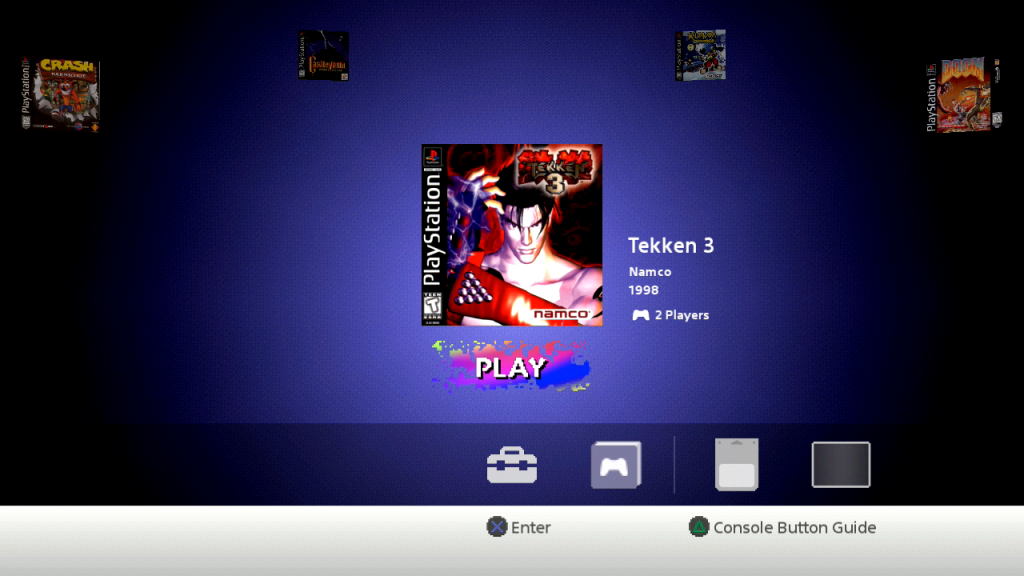
Now insert the USB drive into console’s second controller port and turn it on. You now can play games installed on the USB drive. This method doesn’t affect the main console and if you want to play original pre-installed games, just eject the USB drive and repower the console.
Already available options (like resume point or save data management) are also available.
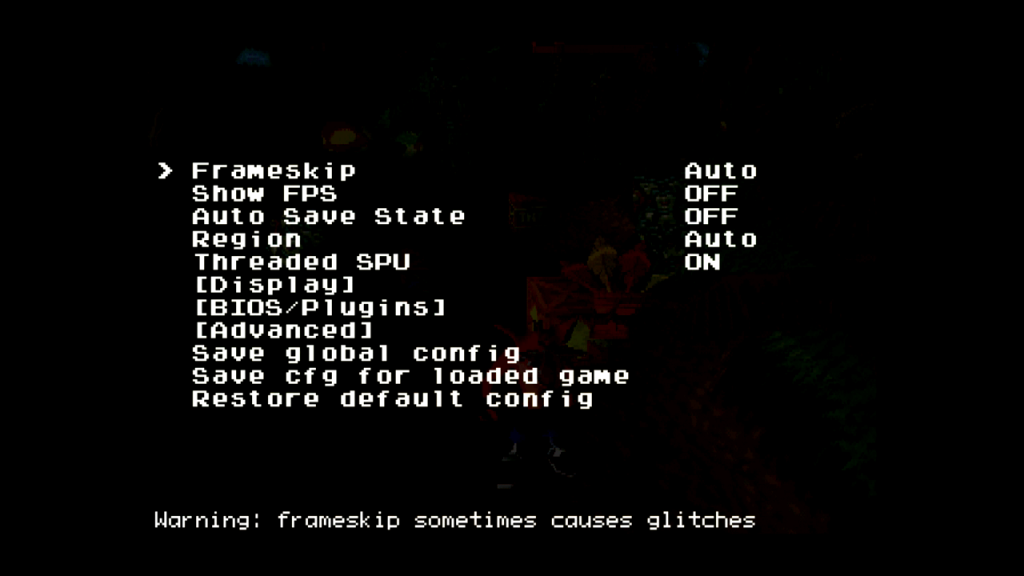
Additionaly you can also start the emulators menu by pressing triangle + select. You now can access the PCSX (this is the name of the emulation software) menu (PCSX Menu).
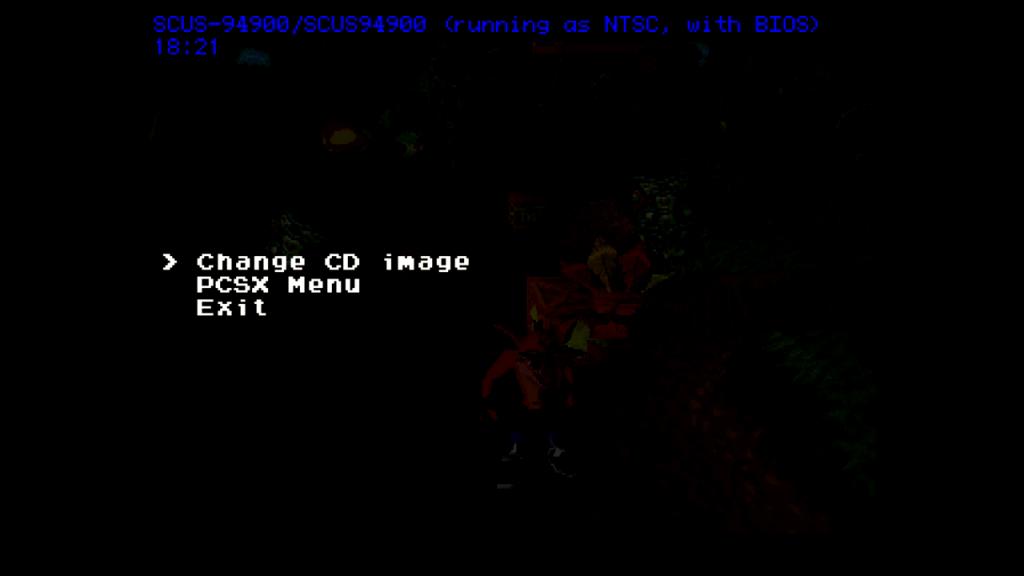
Here you can change some settings, but you won’t need them.
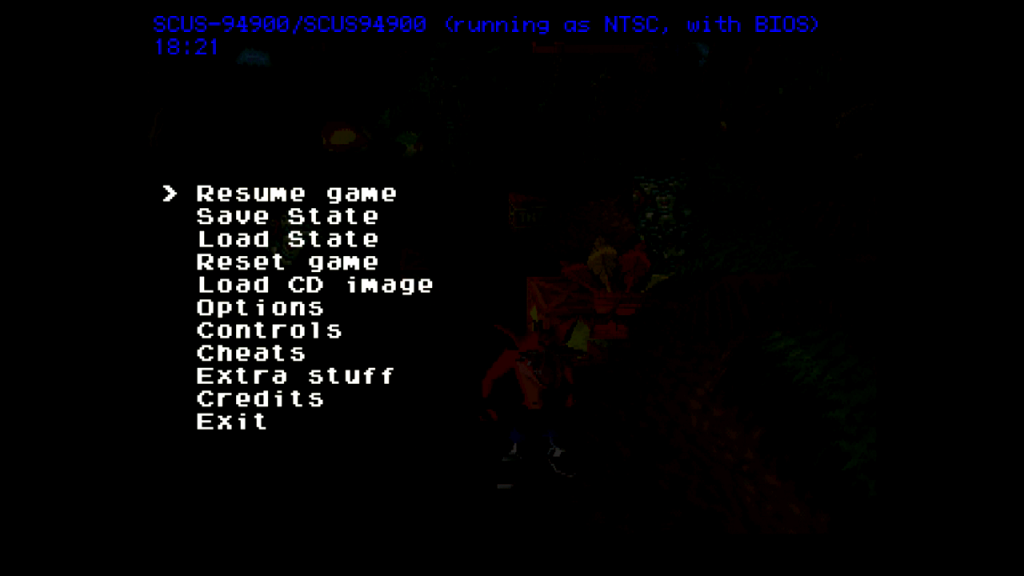
The only interesting menu is the Options menu, where you can enable FPS, change Region etc.