General Information
Koryuu is an interesting device and you need to read about it first to understand whether you need it.
In short: Koryuu converts S-Video and Composite to Component.
One of the usages is to combine it with another upscaler/linedoubler, which doesn’t support composite and S-Video, but supports component and can upscale it etc. That would be of course OSSC. But you can also use it without the OSSC, just make sure you have a TV or a monitor with component inputs AND check if they understand 240p, if your console only ouputs this resolution.
The Koryuu doesn’t linedouble or upscale the signal, it is only converting it. It also cannot deinterlace, but supports both PAL and NTSC formats.
The Framemeister already supports S-Video and Composite, so this combination is not very insteresting.
Connectors
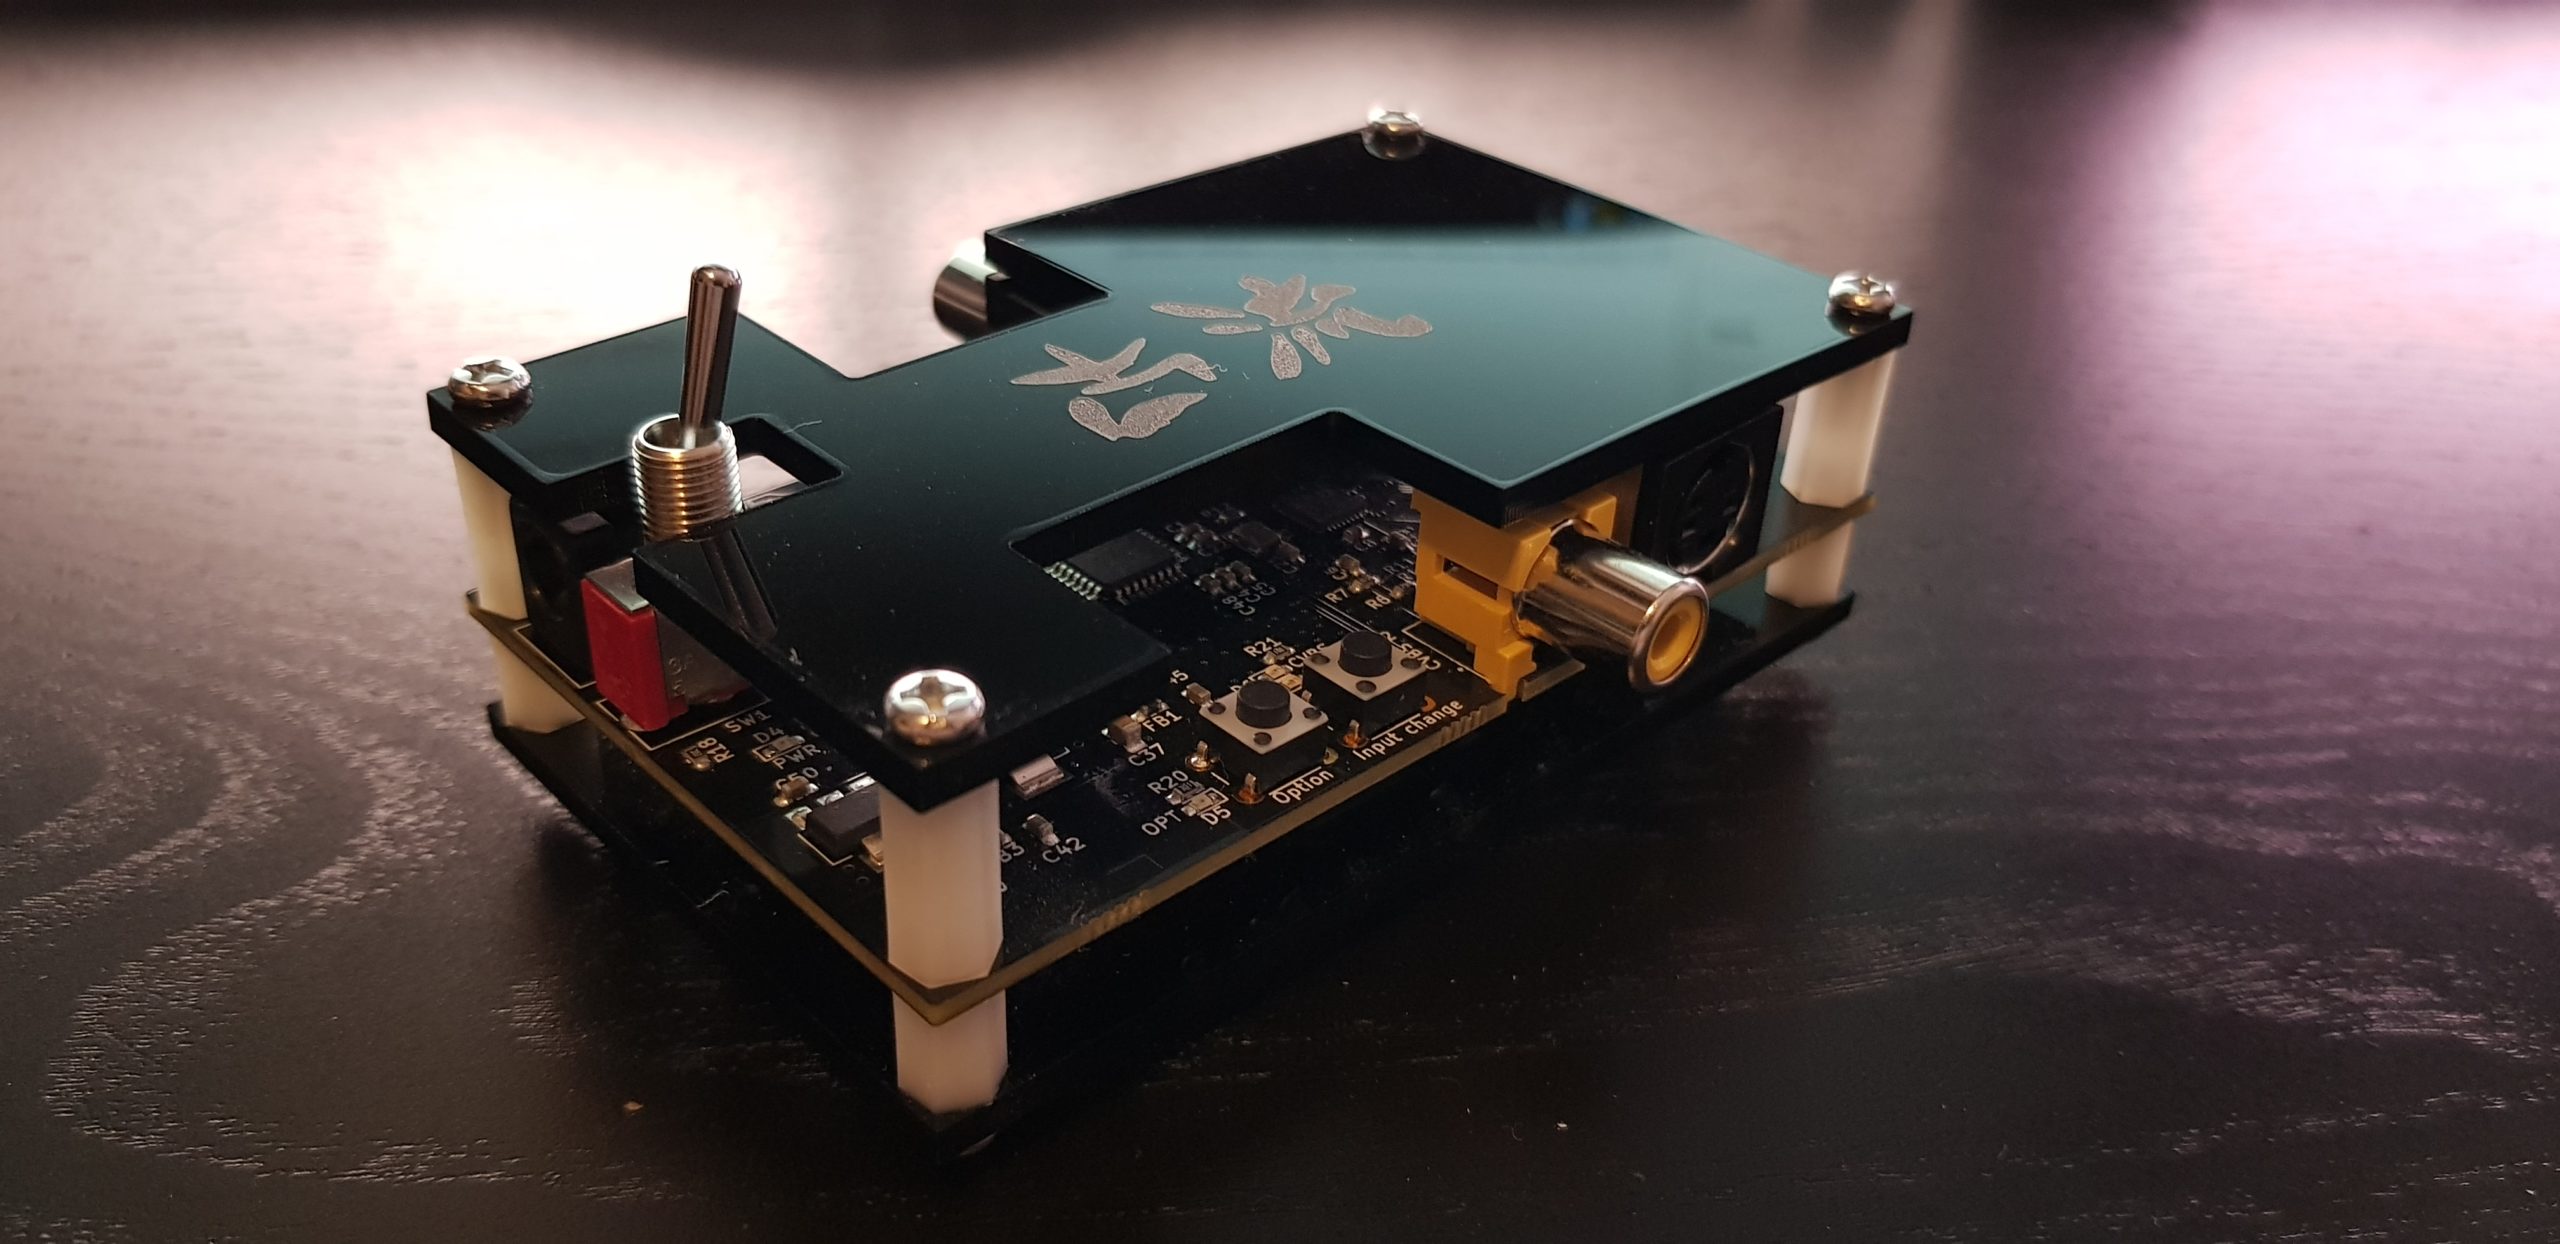
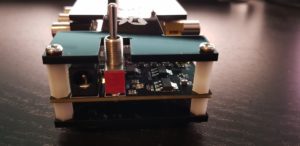
On the front side there is a composite and S-Video inputs.
There are two buttons on the front panel. The right button is used to switch between inputs. The first mode (composite) is the default one and is selected after the device is turned on.
The 7.5 IRE mode can improve image, if it’s too bright.
It cycles in the following order:
- Composite (CVBS) -> Composite + Pedestal (7.5 IRE mode) -> S-Video -> S-Video + Pedestal (7.5 IRE mode)
The left button is to enable options or filters (at the moment it enables the smoothing of the image).
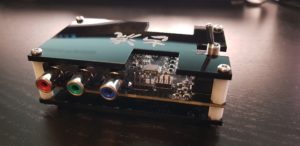
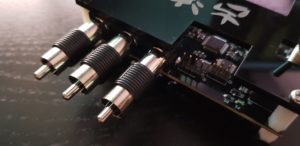
On the back side there is a component output (video only!)
Connecting
Using the device is very simple and don’t need other steps beside connecting cables and switching the video sources with the right button.
But here are possible connecting procedures:
- Connect the composite cable output from you console to the composite input of the Koryuu
OR
- Connect the S-Video ouput from your console to the S-Video input of the Koryuu
- Connect Koryuu with the TV using the component cable
OR
- Connect Koryy to the OSSC using the component cable. Then connect the OSSC to the monitor / TV with an HDMI cable, connect the power adapter of the OSSC.
- Connect the power supply to the Koryuu
- Turn on the console and then turn on the Koryuu. If you’re using the OSSC, turn it on.
- Switch to the desired source using the right button. If you’re using the OSSC, switch to the corresponding input source (component).
You now should have the image on the screen.
For the Koryuu there are no other specific options, but you can switch to the alternative ouput with the pedestal option if the image is too bright.
On the OSSC you can adjust additional options, e.g. increase the linedoubling to a higher number.
LEDs
- The LED to the right of the main switch is the power status LED. While Koryuu is turned off but connected to the power source, it’s red. When the device is powered on, the LED will become green.
- The LED above the right button (input) signalises the chosen input. It is red, if you choose composite connection and it is green if you switch to the S-Video connections.
- The LED near the left button (option) is lit whenever you enable an option.
Consoles which can be used
Here is a list of consoles you can use without modifying them:
- NES: unmodified NES can only output composite signal
- N64: unmodified N64 can only ouput composite or S-Video
- C64: unmodified C64 can ouput via S-Video
You can also use any other console, which support composite or S-Video, but I strongly recomment using the best possible solution available for the console and not using the inferiour composite / S-Video if better options are available.
Connecting to the OSSC
You can connect the Koryuu to the OSSC using a set of component cables. Please not, that the Koryuu doesn’t process audio! So you need to forward audio directly to the OSSC.
You can also connect the Koryuu directly to the OSSC using such adapters:
But you will lose access to the SCART connector on the OSSC.
Firmware Upgrade
Sadly, there is no easy option to upgrade the unit. In order to upgrade ist you will need to use external USB ASP programmers. More information about this process can be found on this page.
Coming soon…
Images:
- NES
- N64 (S-Video)
- Mega Drive 2
