I. What is Nintendo Classic Mini: Super Nintendo Entertainment System
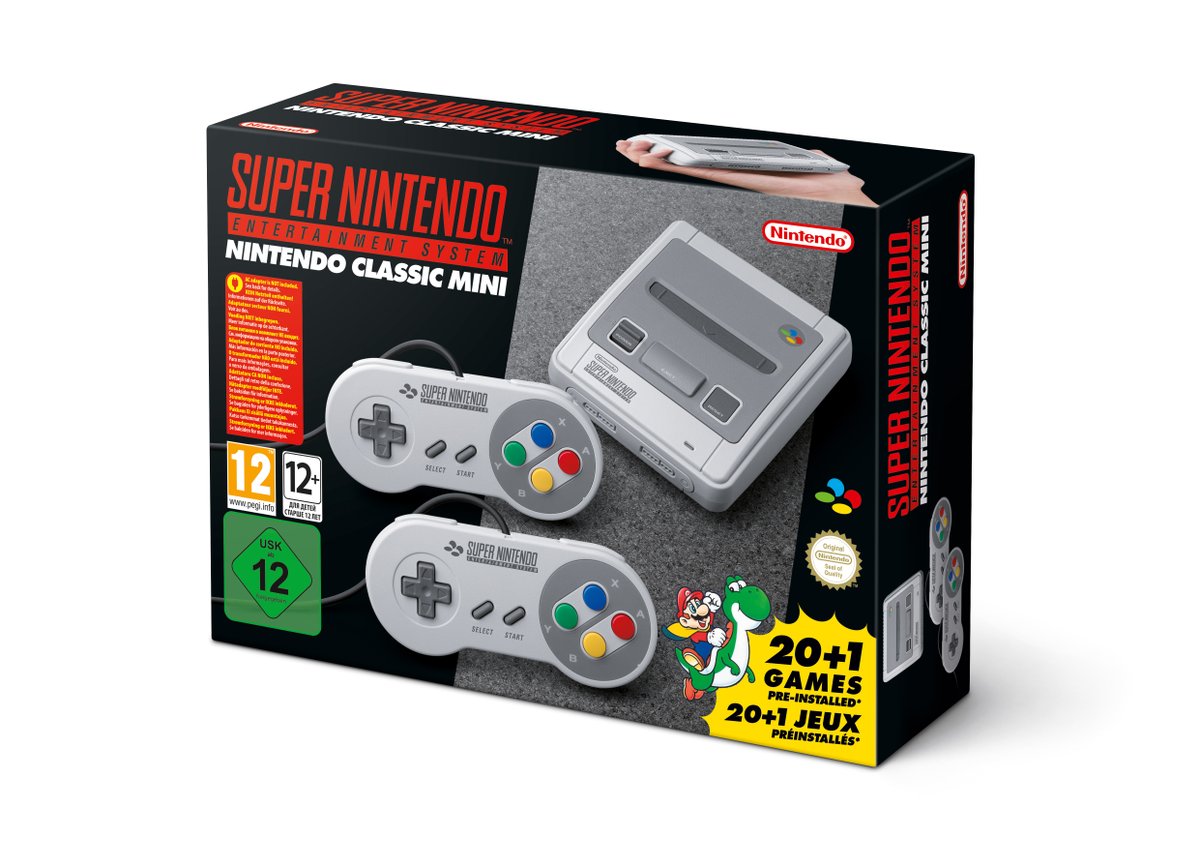
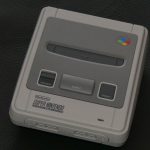
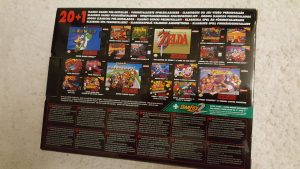
SNES mini is a miniature replica of the european Super Nintendo, a gaming console released in 90s by Nintendo. It’s a Linux based mini console with an official emulator, which can play 21 SNES games. The console does not support game cartridges, comes with two controllers, powered via Micro-USB and connected via HDMI to your TV or monitor.
Other regions have similar products, but have another designs (both hardware and menu).
Useful links: official manuals
II. Contents
Inside the package there are:
- the console itself
- two SNES reals size controllers, albeit with the Wii-type connectors
- a USB to Micro-USB cable
- an HDMI cable
- paper manuals
III. Technical Specs
The innards of the console are the same as in the previously released NES, only the software is different.
- SoC: Allwinner R16 (CPU: Quad Code Cortex A7, VGA: Mali400MP2 GPU)
- RAM: SKHynix (256MB DDR3)
- Flash: Spansion 512MB SLC NAND flash, TSOP48
- Power controller PMU: AXP223
IV. Console
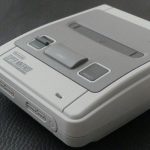
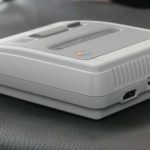
The console is an almost identical small scaled version of the original SNES. The cartridge slot is sealed and you cannot your original cartridges. The front side features two hidden wii-type connector inputs, which can be opened by pulling the front panel. The panel itself shows the original controller inputs, which are not operable.
On the back side there is a Micro-USB and an HDMI input, instead of the power supply, RF and multi-video inputs of the original. The console also features a red LED to show it’s power status.
V. Controllers
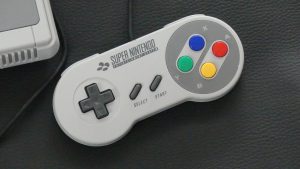
This time Nintendo is putting two controllers into the package. Both are identical copies of the original controllers, only the internal parts and inscriptions on the back side are different. The cable is shorter (ca. 150 cm) than original (ca. 233 cm), but longer than of the NES mini (ca. 90 cm).
VI. How to use
Connection
- Connect the controller (or controllers).
- Connecting the console is very easy. Connect the Micro-USB to the console and the normal USB to the USB port of your TV/PC etc. or via an adapter (like from a smartphone) to the power outlet.
- Connect the console to your TV or monitor using the HDMI cable. Switch to the corresponding HDMI-input and turn the console on.
Start
Basic controls:
- A: accept
- B: back
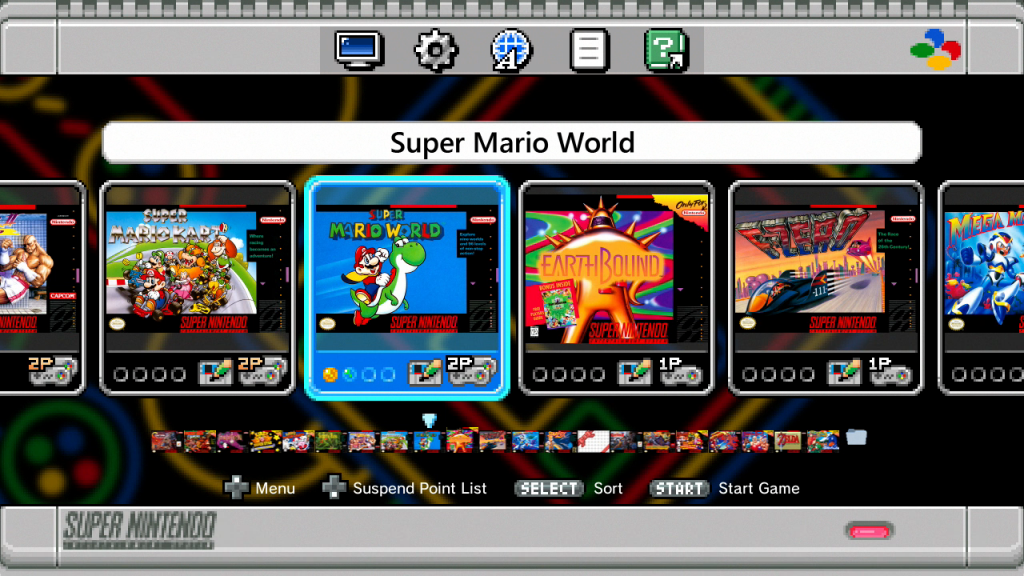
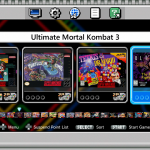
On the first start choose the language. Otherwise the list of games is shown. You can scroll this list and start games with the START or A button. The main screen is a bit different designwise for each region and Japanese version has a different game list.
These are the icons, which are show below the game cover.
- 1P and Controller: game for one player
- 2P and 2 Controllers: game for two players alternating
- 2P (golden) and two controllers: game for two players simultaneously
- Cartridge with a pencil: this game supports internal saving
- Black (empty) orb: empty slot
- Blue orb: slot with saved game
- Orange orb: slot with locked saved game
Turning off
You can turn the console off with the hardware button POWER (the left one).
Resetting
You can reset using the hardware button RESET (the right one). If you’re using the Wii Classic Controller, you can press the home button.
Resetting the game (Software Reset)
You can reset the game by pressing L+R+select+start. You don’t go to the menu, you are just resetting the game.
Saving
Reset the console (go to the main menu) and then press down to navigate to the save slots manager (Suspend Point List). Choose the slot with LEFT/RIGHT and press Y to save the game. To overwrite an existing suspend point, place the current save above and hold the Y button. You can lock a saved game by pressing Down on it, then a small yellow lock will appear on the screenshot of the save.
Loading
Press down to navigate to the save slots manager (Suspend Point List) and press START / A to load the game from the saved position.
Save slot management
Press select and then move the save to right or left and confirm with A, or move to the trash bin to delete it.
Rewind
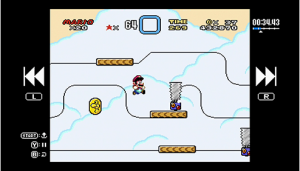
This is a new feature and it allows you to rewind in your saved game. This is helpful if you saved in a bad place (like over a gap, or right before death). To start the Rewind feature, press X and then use L and R to rewind back and forth. You can pause with Y. Press START to start the game or B to go back.
Notice: in RPGs you can rewind up to 4-5 minutes. In other games: 40-50 seconds.
Sorting games
Press select to sort games: By title, By 2-Player Games, By recently played, By times played, By release date, By publisher.
VII. List of Games
Following games are installed on the SNES mini (in alphabetical order):
- Contra III: The Alien Wars (1994)
- Donkey Kong Country (1994)
- EarthBound (1995)
- F-Zero (1991)
- Final Fantasy III (1994)
- Kirby Super Star (1996)
- Kirby’s Dream Course (1995)
- The Legend of Zelda: A Link to the Past (1992)
- Mega Man X (1994)
- Secret of Mana (1993)
- Star Fox (1993)
- Star Fox 2 (2017) – this game is unlocked after finishing the first level of the original Star Fox
- Street Fighter II Turbo: Hyper Fighting (1993)
- Super Castlevania IV (1991)
- Super Ghost ‘n Ghouls (1991)
- Super Mario Kart (1992)
- Super Mario RPG: Legend of the Seven Stars (1996)
- Super Mario World (1991)
- Super Mario World 2: Yoshi’s Island (1995)
- Super Metroid (1994)
- Super Punch-Out!! (1994)
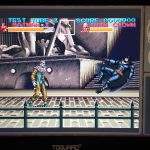
Here’s a short video of the game:
All games are US releases (NTSC) and are in English language! The ROMs used here have the same format as VC games (if released).
VIII. Options
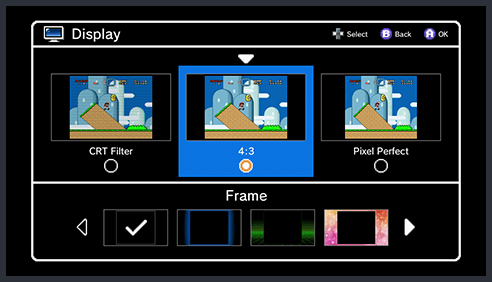
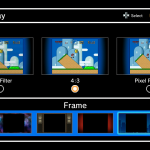
Aspect Ratio
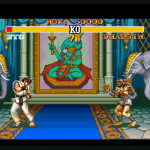
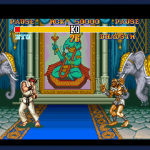
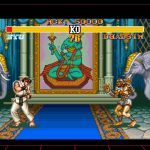
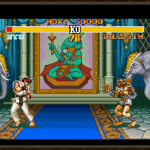
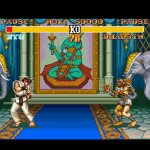
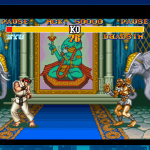
- CRT Filter: the screen is blurred and scanlines are added to achieve a CRT-type image
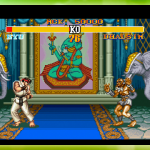
- 4:3: the image is stretched, so that it looks like it’s the original aspect ratio
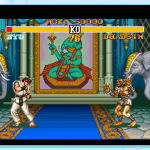
- Pixel perfect: show square pixels
Please click on the screenshots to see the examples:
Frames
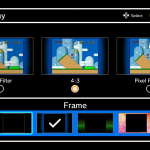
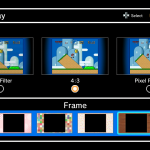
In the Display menu you can select between 12 frames (first frame is just black). To choose frames, go to Display menu and press DOWN. Then press LEFT/RIGHT to choose frames and go back to the main menu with B.
Some of them can adapt their colours to the game (the adaptation takes a couple of seconds). Click on the next screenshots to see the frames.
Options
- My Game Play Demo: during this demo your most recent saved game is shown
- Classic demo: show standard demo
- Screen Burn-In Reduction: enable screen saver after an hour to reduce burn in
Both demo modes start after one minute without input.
Language
You can choose the menu language here. All games are in English (US). Only NTSC US games are used in this console. Following languages are available:
English, French, German, Spanish, Italian, Dutch, Portuguese, Russian
Legal Notices
Legal information.
Manuals
You can scan a QR-code which will navigate you to the manual of the game.
Or press here.
IX. Adding more games
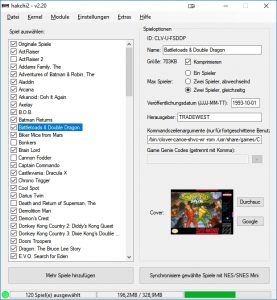
To add more games and enable some useful features (like resetting a button combination) you need to use the hackchi tool, created by a used cluster (this tool uses other tools written by another user named madmonkey).
Useful links:
This tools is used in the same manner as with the NES classic mini.
- Connect the console to the PC
- Run the software (hackchi)
- (Create dump of your original console, this step will be done automatically before first synchronization)
- Add games (roms)/change options and start synchronizing. The tool will tell what to do next:
- install driver
- put the console into EFL mode by holding RESET and then turning on
- After the driver is installed and you’ve created the dump of the original kernel you can upload the changed kernel with new games.
After that if you want to make changes, all you need is to connect the console, just turn it on and use the tool (add games, change settings and press synchronize, no need of ELF mode, the console will be restarted automatically).
You can download this tool from here https://github.com/ClusterM/hakchi2/releases
You can find more information about the tool in my NES Classic Mini Guide, Chapter X.
This YouTube used did a great tutorial, which I recommend:
There is a number of games which are not compatible with the internal official emulator. You can find these in this incomplete list (and it’s not 100% accurate): Compatibility list
Concerning PAL games: most of them will work with SNES mini, but they will have audio issues and they will not fit into frames, because their resolution is slightly higher.
SNES mini uses another ROM format and has a special header. Cluster and users found out, that the rom part itself is the same as in roms found in the internet, but the header is different and uses the format of Virtual Console. You don’t need to convert roms to this format, the tool will do it automatically for you.
To use incompatible games, you can also install the retroarch mod and any available snes core (see this page for instructions and download). Then add to the command line (in the hackchi tool in the game information part) the argument –retroarch (just add after the existing code and don’t forget to separate from it with a space character) and they will be started with this emulator instead of the original one.
Of course you can also install other mods like emulators for other systems or remove the thumbnails.
Following retroarch cores are available:
- NES (fceumm, nestopia)
- SNES/Super Famicom (snes9x2010)
- Game Boy, Game Boy Color (gambatte_libretro)
- Game Boy Advance (mgba)
- Sega Master System, Mega Drive, Genesis, Game Gear (genesis_plus_gx)
- Sega Master System, Mega Drive, Genesis, Game Gear, Sega 32X (picodrive)
- Atari 2600 (stella)
- PC Engine/TurboGrafx 16 (mednafen_pce_fast)
- Arcade machines (fb_alpha and fb_alpha_cps2)
How may games can fit?
I could add 104 SNES games into console (and have total 125 games), but that depends on their sizes.
Can I use wireless controllers?
I recommend the 8bitdo Retro Receiver NES Classic Edition and any 8bitdo wireless controller. Also mod your console and enable the reset combination, that is perfect!
How to stream from SNES Mini?
Using any Elgato Capture HD!
Can I use SNES mini on CRT TV?
Using an HDMI->AV or Scart adapter. I do not recommend it though.
