What is AVS?
The RetroUSB AVS is multiconsole and clone of Famicom/NES and was designed by us-american user bunnyboy, who among other things also created the flashdrive PowerPak and is producing various homebrew games NES. This console is based on an FPGA system, which means its core can be enhanced and updated. The video is output via HDMI and resolution is upscaled to 720p. Not only you can change the width of pixels, but you can also enable scanlines and enable borders to mask off unwanted areas of the screen. The console supports original famicom and NES cartridges, and also flash-cartridges PowerPak and Everdrive. You can attach up to 4 original NES controllers, some accessories via the extension port, and use the simple USB cord to power it.
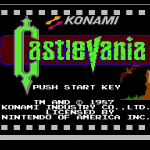
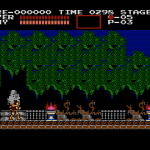
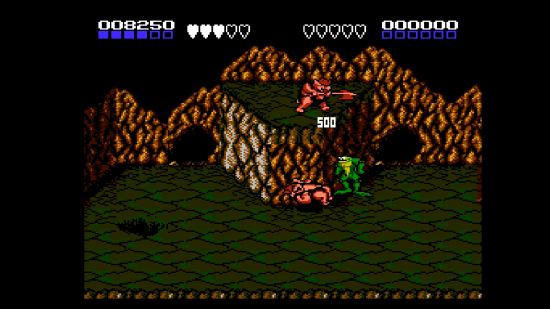
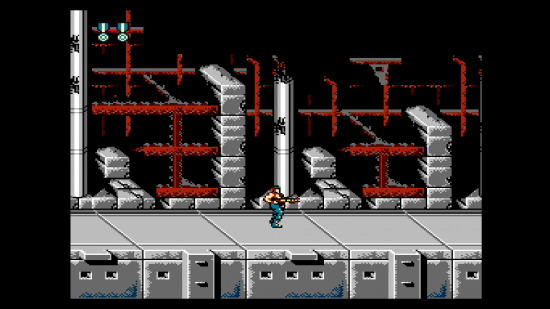
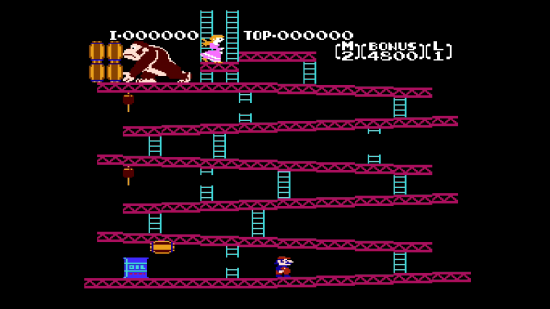
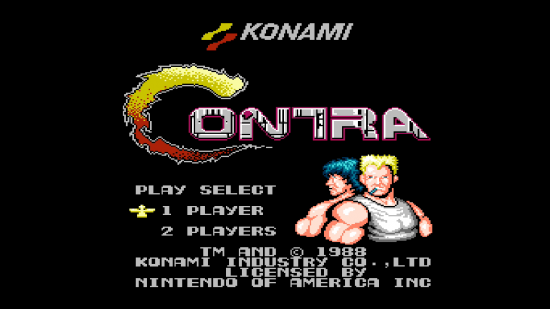
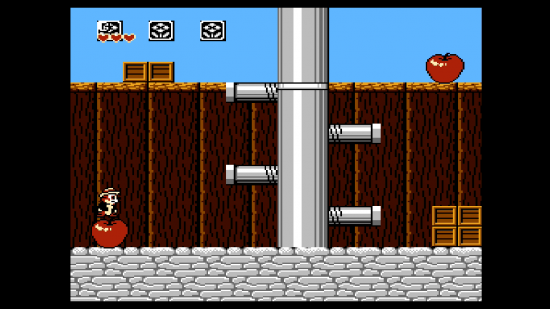
Here’s what you have on your original NES on a modern TV:
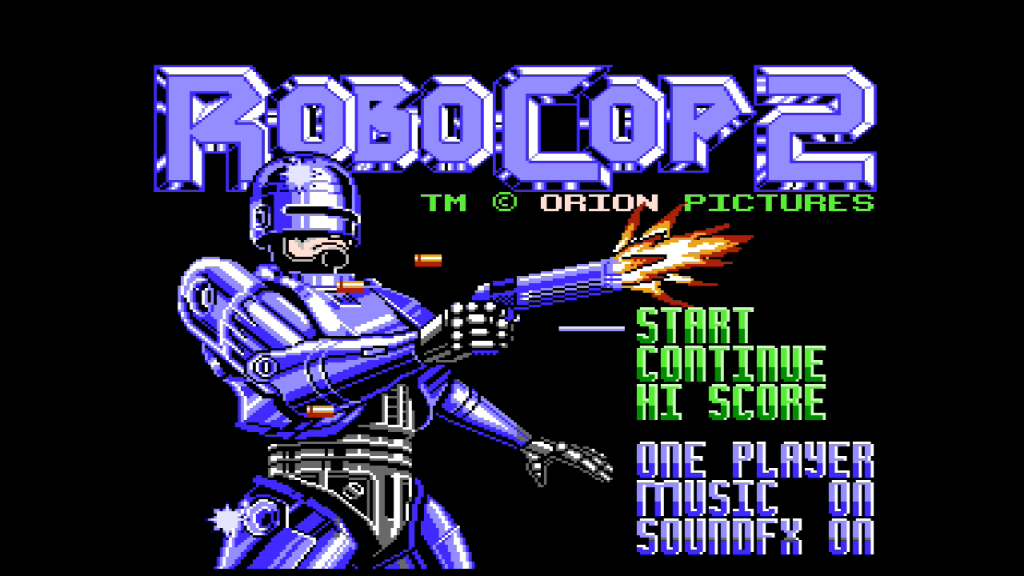
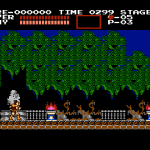
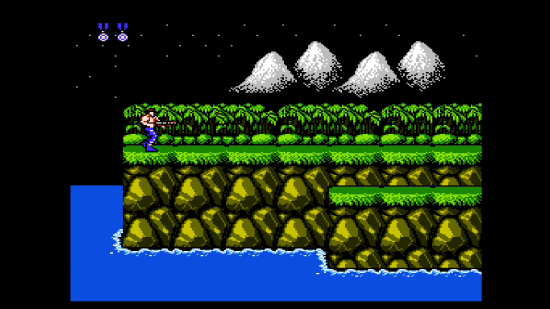
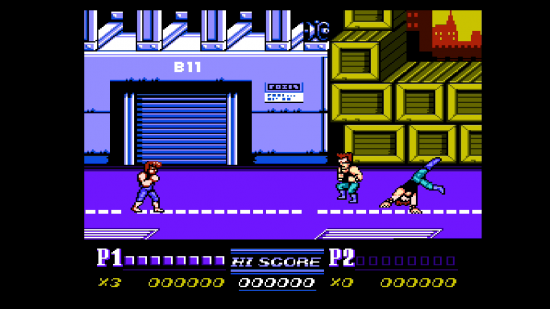
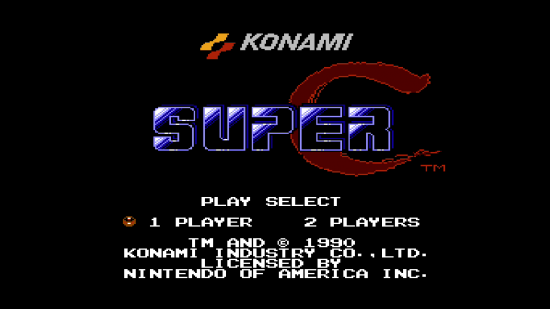
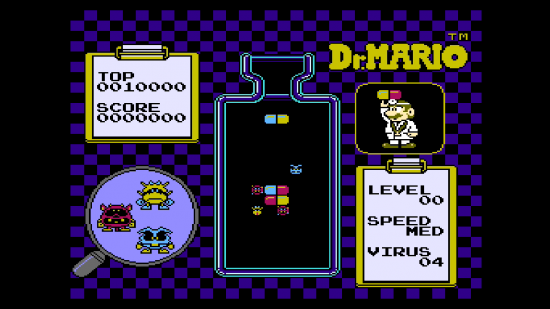
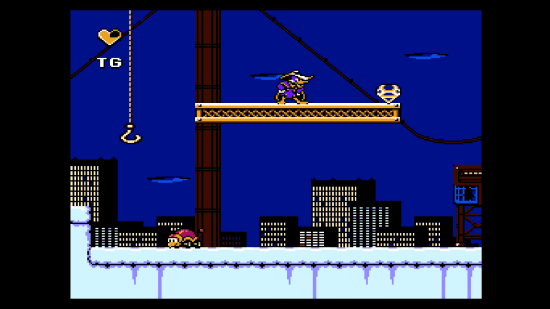
Here’s an example of the image quality (you can compare it to other from other guides) you get with AVS:
Package
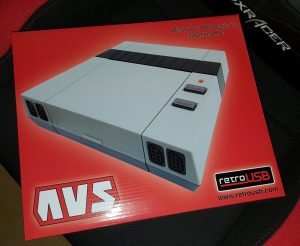
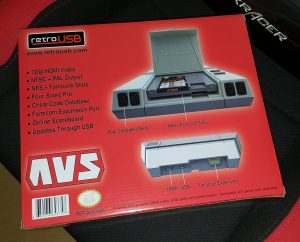
On the front of the package we see the console from top and front. On the back side we can read about the specs:
- Video output with resolution 720p via HDMI
- Support of all regions (PAL and NTSC, 50 and 60 Hz)
- Cartridge slots for NES and Famicom
- Built-in 4 controller adapter
- Built-in cheats support
- Expansion input for Famicom accessories (the same as Famicom had on its front)
- Support for high scores and online scoreboard
- Updates via USB
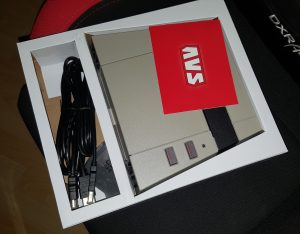
Inside the package are:
- console
- USB cable (mini to normal)
- HDMI cable
- manual
Connection
Connection is very simple: connect USB to you TV or PC (or use any USB-Adapter). The included USB-Adapter is only for US sockets. Then connect the console with the TV using the HDMI cable. Attach a controller and insert a game.
Controllers
Note: If you read carefully, you may have noticed, that there are no controllers included! You can use any controller, which is compatible with the original NES. This is what I recommend, because it’s of the best quality and only rare third-party controllers can top it.
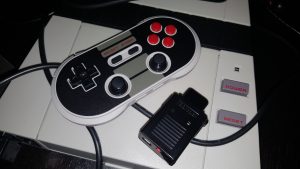
I am using an original controller, but I can also recommend the 8bitdo controller (any of them). Since it uses USB or bluetooth and the console doesn’t have neither, you will need to buy a special adapter-receiver. You insert it into the controller port and synchronize it with the controller. Once connected, you can play wireless!
You can also use the Famicom Disk System and flash cartridges.
Main Menu
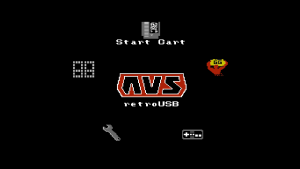
Let’s check the main menu:
There are several options in the main menu.
Start Cart: start the inserted cartridge. Press A and the game is loaded.
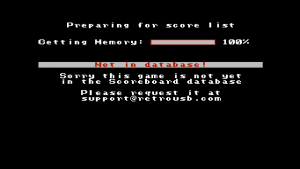
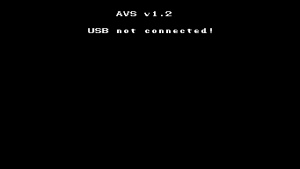
Scoreboard: in order to use this option, you need to install a special tool and connect the console to the PC. This tool will check your game (e.g. no cheats) and then will let you upload your high score to the website. If the console is not connected, you will see the following screen.
The scoreboard software (for PC and MAC) also allows you to update new firmware.
You can find all information about how to submit your score on this page.
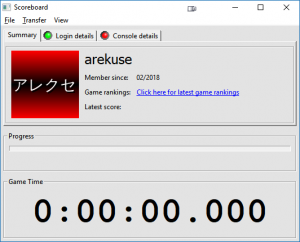
Below is a screenshot from the tool. If the console is not connected, you will get a message “USB not connected!”
 Otherwise the following window will appear:
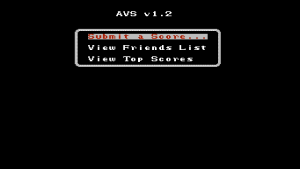
Following options are available after you connect your console to the PC:
- Play a Game First: it’s actually not an option, just a tip, that you need to play your game first
- View Friends List: show latest scores of your friends (you can manage them on the forum)
- View Top Scores: show all top scores for the current game
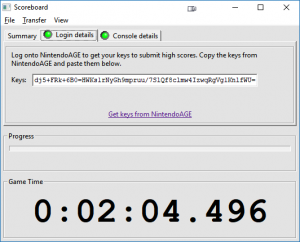
In the PC software there are three tabs. Download progress and your current game time are shown every time:
- Summary: this page shows your nintendoage profile name, membership length, links to game rankings and latest scores.
- Login details: on this page your personal AVS key is shown. If you do not have any, press on the link Get keys from NintendoAGE to create one.
- Console details: your console firmware version is shown here.
How to use the scoreboard (also see this page)
1. You need to create an account on nintendoage.com. This may take a while, because every registration is manually approved by admins.
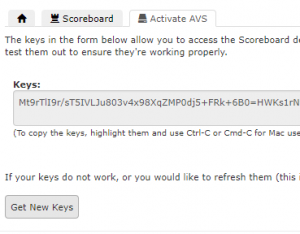
2. You will need to generate a special key to connect your account with your AVS. Go to your Profile->Home. Then press on Activate keys in your profile window (bottom part).
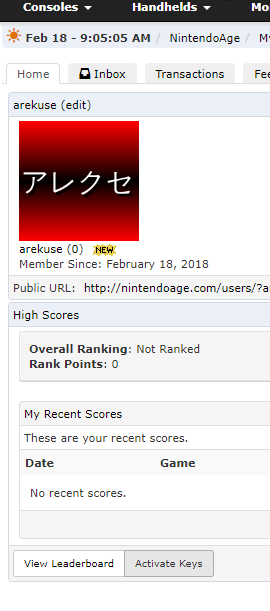 You are now on the page called Activate AVS. Press Get New Keys to generate your personal AVS key.
Once the key is created, insert it into the tool (page Login details). The tool will automatically check it, you don’t have to press any button.
If everything is correct, on the Summary page you will see your nickname.
Start your game, then go to the main menu and into Scoreboard. Go to View Top Scores first, to make sure your game is supported at all. If it is, then you can return to game, play to get high score etc., and when you’re done (best places to stop are listed on this page), go back to the menu and Scoreboard and choose Submit a score….
Your score, your best score and your rank will be shown.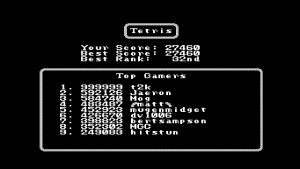
If your game is not supported, the window will show Not in database!. The problem is, that not that many games are supported. My PAL games are not in database yet. Also games run via Everdrive most likely will not be recognised. Also your game should be as clean as possible. No cheats, no bootleg version, no translation. It should be the original cartridge without any modifications.
If your high score is submitted, you can check it in your nintendoage profile or in the scoreboard.
Or in your profile:
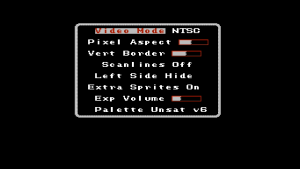
Video Options: here you can adjust the image options. Let’s see:
- Video Mode: you can set the region of the console (PAL or NTSC). This is important, so that the console play games with correct speed and is compatible with them.
- Pixel Aspect: you can squeeze or stretch the image to adjust the aspect ratio. Too narrow or too wide doesn’t look good. I am choosing the approximate 4:3, which is 3 positions from the start.
- Vert Border: vertical border from above and below. Some games show pixel garbage in the top or bottom areas (these were not shown on CRT-TVs) and you can use this option to hide them. One prominent example is Bionic Commando.
- Scanlines: here you can enable and adjust the scanlines, so that the picture looks like you’re playing on an CRT TV.
- Left Side: some games (like Super Mario Bros. 3) show pixel garbage on the left side and you can hide this side with this option.
- Extra sprites: original NES has limitation on the number of sprites per line and this leads to visible flickering and missing sprites. Using this option you can increase the number of sprites and the image will be more stable.
- Exp Volume: this is the volume of the external sound modules, used in couple of games, mostly made by Konami (like in Castlevania 3). Best result is 3-4 positions from the left.
- Palette: if you install the recent firmware you can choose the colour palette if the default one doesn’t suit you. I like the palette named Unsat 6.
You can go back into the main menu by pressing the button B:
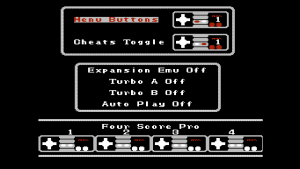
Input Options
- Menu Buttons: here you can set the button combination for return to the main menu (from game), or soft reset
- Cheats Toggle: button combination for enabling/disabling cheats
- Expansion Emu: enable emulation of japanese add-ons via the controller ports
- Turbo A, Turbo B: enable the turbo function
- Auto Play: if you enable this option, the console will automatically start the game, ignoring the main menu
- Four Score Pro: you can test all controllers
RESET SETTINGS: connect the controller to the second port, press and hold UP-A-B-Select-Start and then turn on and all settings will be reset.
Cheat codes: in this menu you can edit the cheat codes. If the console recognize the inserted game, also the built-in cheats will be shown. If the game is not recognized or not started yet, this screen is shown.
Games
The console reads all cartridges and should definitely work with all original games, including those which can save. It had problems with multicart from Cluster though, maybe due to unusual mappers. Same games had glitches and were unplayable. Make sure you set the region of the console according to the region of the cartridge.
Even the external sound module of the Castlevania 3 is correctly emulated. The image is clean, the colours are correct. No problems with sound or controls.
Since the console outputs 720p HDMI only, the light gun games are not supported.
The input lag is ver low: it’s not zero, like when using the original console with a CRT TV, but considerable lower that with any other clone, attached via composite to a modern tv or with emulators.
Here a couple of videos.

