In this guide I’ll explain you, how to edit and translate NES roms using four tools. You’ll also need a rom dump (you can dump it yourself, if you want).
Tools needed:
- FCEUX (Emulator for tests and for PPU viewer): http://www.fceux.com/web/download.html
- Translhextion (Edit ROMs): https://www.romhacking.net/utilities/219/
- Tile Layer Pro (Redraw tiles): https://www.romhacking.net/utilities/108/
- Thingy Tables Converter (tbl_conv) (translation to codes): arekuse.net/apps/tbl_conv.zip
Step 1: Creating Tile-Letter tables
First, we need to know, which tiles represent letters and what codes these tiles have, so that we can find them in the ROM using a HEX editor. For this we will also create a file, the so called “Thingy Table” file. The file itself is really simple and consists of tile codes and corresponding letters etc.
XX=Letter
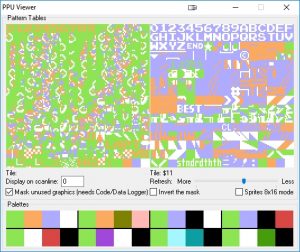
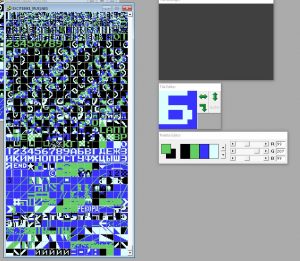
First of all, let’s see the tileset of the game. Open ROM in FCEUX and start the game.
Go to Debug -> PPU Viewer to view all available tiles.
Write down all needed tile codes for all tiles you want to edit, translate etc.. Navigate to the tile you need and see the code below the image (e.g. $11 in the screenshot above)
Create a list like this:
00=0
01=1
02=2
03=3
04=4
05=5
06=6
07=7
08=8
09=9
0A=A
0B=B
0C=C
etc. (see here)
(FC is for empty tile, e.g. space character)
Save the list as “<filename>.tbl” file. This file will be used to see letters in the HEX editor (tile code will be represented with a value from the table).
Step 2: Finding and editing of texts
Now we need to load the rom and see its contents.
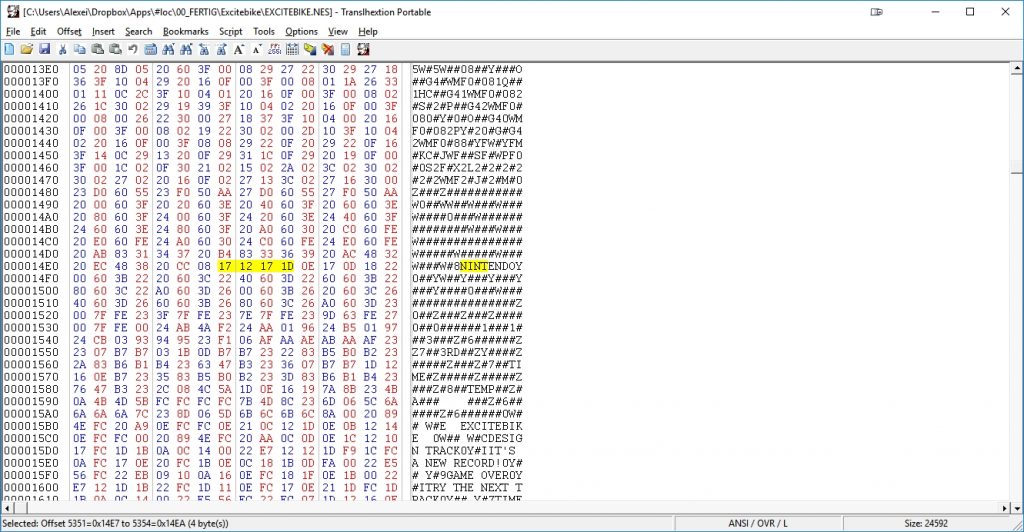
Open ROM in Translhextion.
File -> Open (choose the rom)
Load the thingy table:
Script -> Open Thingy Table (choose the tbl file)
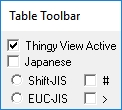
Activate the table by clicking on “Thingy View Active”
Now all unknown positions will be presented as # and all known (from the thingy table) will be replaced with the corresponding characters we defined in the table.
Search for the word (e.g. “NINT”)
Search -> Search relative
Input “NINT”.
You will be navigated to the first adress, where this sequence will be found.
You now can see and edit the texts by placing other codes (by checking the thingy table).
Step 3: Translation
Let’s translate our rom into another language, say, Russian.
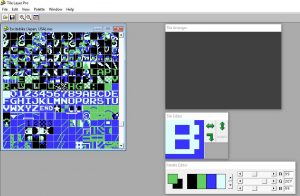
First step is to redraw the tiles in the rom using the Tile Layer Pro tool. We want to replace latin characters with cyrillic.
Start Tile Layer Pro and load the rom. Scrool to a tile you want to edit and click on it. In the Tile Editor window you can redraw the tile. Stick to the original palette.
Redraw all letters and also create a copy of the tbl file with russian letters, so that you know, which tile is for which letter.
You may run out of letters, therefore you can either drop all letters that won’t appear anyway, or redraw numbers to represent letters (e.g. you can redraw 4 to use it as the number and as russian letter “Ч”, or use 0 (zero) for number and for letter O, etc.). Do not redraw other tiles, because they’re used for other graphics.
The copy of the thingy table will look like this:
…
0A=А
0B=Б
0C=В
0D=Г
0E=Д
0F=Е
10=Ж
11=З
12=И
13=К
…
etc. (see here)
Now you need to edit english texts and replace codes for english letters with the codes for russian.
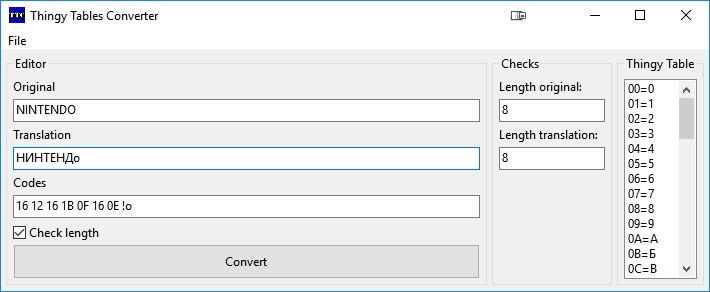
You’ll find this tool useful: Thingy Tables Converter (tbl_conv). You can use this tool to translate strings using Thingy Tables.
Of course you can use it for general conversion.
If we have the word NINTENDO and want to translate it to НИНТЕНДО, start the application, then File -> Load and load the table file with russian letters.
The original edit box is needed if you want to check the length of your translation. Normally you just need to input you translation and press “Convert”.
E.g. type “НИНТЕНДО” into the Translation field and press “Convert“. The russian word will be translated into the corresponding code.
Keep in mind, that letter case is important. Not found characters will be marked with !.
You can also check the length of both original and translation in the right section.
There is also a checkbox (“Check length”) which will enable automatic length check. If your translation is longer than the original, the font will become red.
The generated code need to be placed into the ROM using Translhextion instead of the english text. Place the cursor at the position of the word and input new codes by typing them.
You’ll notice that the new preview will look like this:
We now have MIMRFMEN instead of NINTENDO because the codes do not match english letters from the used thingy table. (You’ll need to find a good HEX editor, which will support UTF-8 and Thingy Tables, but unfortunately, in order to show russian letters too much work need to be done, so that we’ll skip this.)
Now, just go to the next word and translate it using the tbl_conv tool, and so on.
After everything is translated, save the new ROM and test it with the emulator (FCEUX, e.g.).
Troubleshootings
- Some words may appear in the reversed order (e.g. in Excitebike this would apply for words HEAT and OVER).
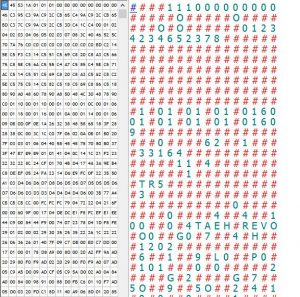
- The tiles may come from another part of the tileset (the left part, if you check the rom in FEUCX PPU Viewer). You’ll need to create a new thingy table for those tiles!
Results
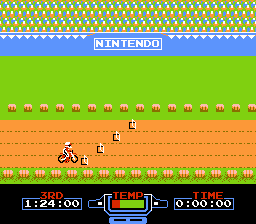
Before:
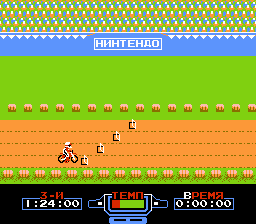
After:
My tbl files are here.
