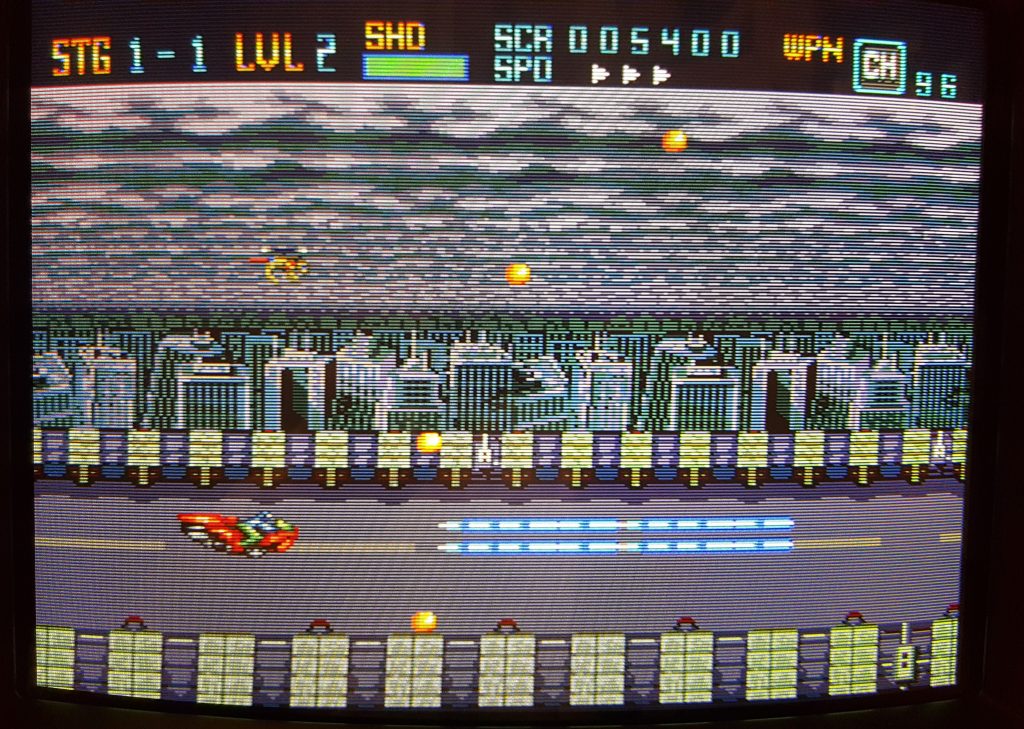
What is it?
BVMs and PVMs are professional monitors, which were used in video studios, medical centres or for surveillance purposes back in 80s and 90s. They used to cost thousand of dollars but are very popular nowadays among retro gamers because they support a lot of formats and provide an exceptional build and video quality.
So what the acronyms mean anyway?
- BVM: Broadcasting Video Monitor
- PVM: Professional Video Monitor
BVMs are considered to be better models. PVMs sometimes have less inputs, settings, or don’t output audio.
Benefits
Since these monitors were intended to be used in professional studios, they have a very good picture quality. They offer much more picture settings, have bigger horizontal resolution (up to 1000 lines), better luminofore and overall better build quality.
Why such monitors are so popular among non-european gamers: they support RGB! European gamers could use SCART cables with their usual TVs (which support RGB), but in the USA they weren’t common and mostly composite or S-Video connections were in use. RGB, in a few words, is a video format, where all three basic colours (RED, GREEN, BLUE) are transferred via separate colour channels. This gives you a very sharp and clean picture. Actually, RGB is the best way to connect your older consoles and offers the maximal quality.
Many older consoles support RGB natively. You just need a SCART cable to use it. Some consoles can be easily modded.
Post-Dreamcast consoles also support component cables (which are also RGB-compatible): like PS2, Wii, PSP or GameCube.
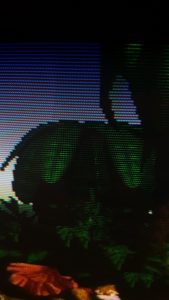
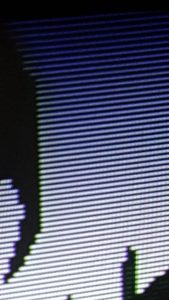
For those, who like scanlines: due to their horizontal resolution, such monitors have very visible scanlines.
But in some areas they are not that very good: most of such devices output in mono only and their sizes and designs are limited.
Sample BVM in this guide
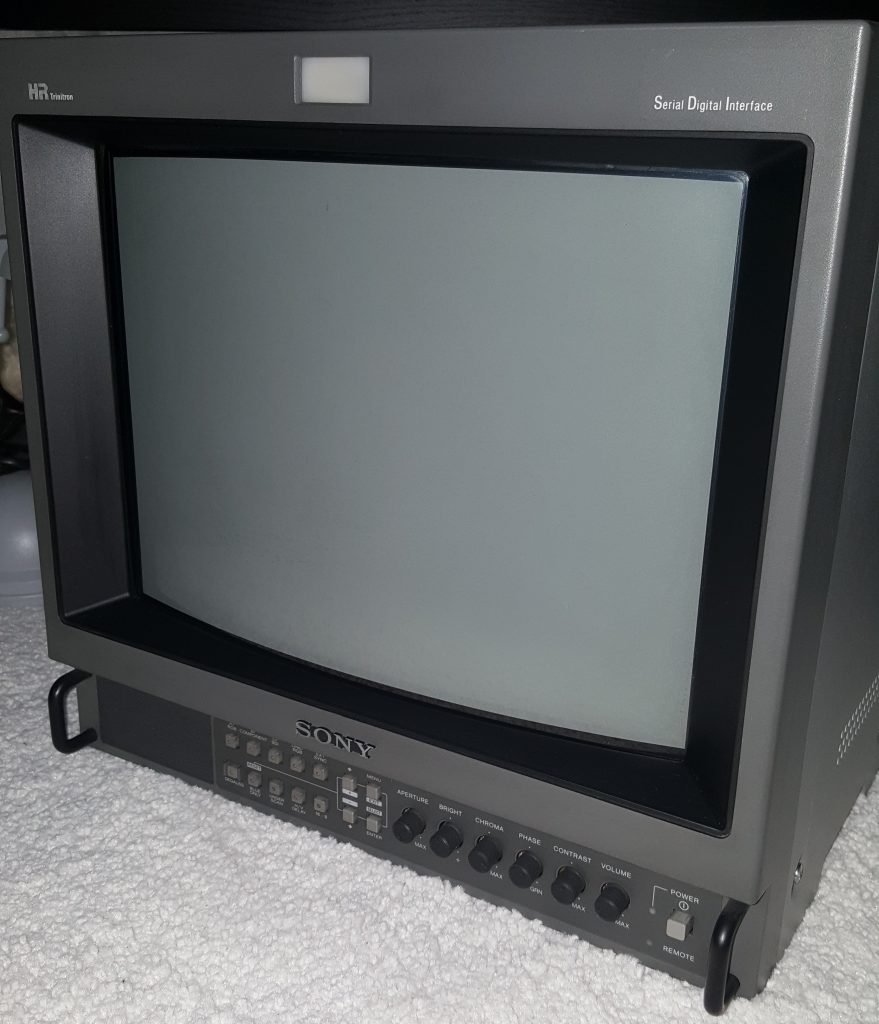
In this guide I will be referring to my BVM-1454D (which is similar to PVM-14M4E).
- 14-inch colour video monitor
- 4:3 or 16:9 compatible
-
PAL/NTSC/SECAM/NTSC4.43
-
EBU luminophore
- HR Trinitron CRT with 800 horizontal lines
- Beam current feedback for stable colour temperature
- SDI input
- Analogue inputs (Y, R-Y, B-Y (Component) or RGB), Y/C (S-Video) and Composite (FBAS)
- On-screen menu in 5 languages
- Colour temperature: D65/D93/User preset
- Weight: 17.7 kg (39 lb)
- Power consumption: 99 W
- Dimensions: 346 (W) x 340 (H) x 431.5 (D) mm (13.625 x 13.5 x 17 inches)
How to connect
Since your consoles do not use BNC connectors, you will need a number of adapters.
First: BNC-to-RCA adapter. You will need up to 5 of them (2 for composite inputs and 3 for component inputs).
They have a male BNC connector on one side…
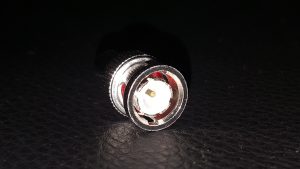
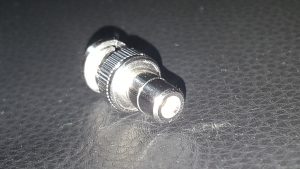
and female RCA input on the other.
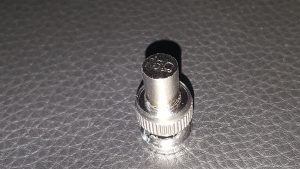
Optionally you will need up to 7 75 Ohm terminals. You can insert them into OUT labeled inputs to minimize any noise. But this is purely optional.
To connect a SCART cable, you will need a special SCART-to-BNC breakup cable like this:

Inputs and connectors
Make yourself familiar with following types of inputs and connectors:
- BNC: has a locking mechanism
- RCA: just normal RCA cable you may know from any composite or component cable or audio cables
- S-Video: 4-pin video connector. Offers slightly better video quality than composite.
All audio inputs on this monitors use RCA inputs. If you want to connect a stereo device, you will either need to connect only one of the cables or use an adapter, like this:

which will combine stereo cables into one mono. Check if your game allows you to switch from stereo to mono, because otherwise you will be losing a whole audio channel.
Composite
You need BNC-to-RCA adapters.
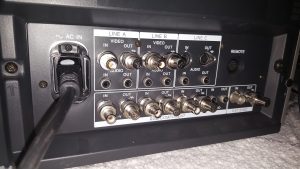
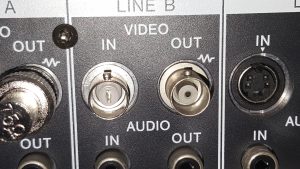
See the areas on the monitor labeled LINE A and LINE B.
Insert BCN-to-RCA adapters into LINE A or LINE B IN labeled inputs. Insert RCA from composite into these adapters. Connect audio cable (normal RCA) to AUDIO IN input below video input.
Turn on the monitor and switch to A/RGB or B/Component and disable EXT Sync and LINE/RGB.
Scart
In order to connect a scart cable you need a break-up cable (Scart-to-BNC). This cable has scart male or female input on one side and up to six BNC connectors on the other.
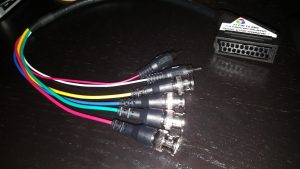
See the bottom part of the back of the monitor, the area labeled as RGB/Component.
- Connect red BNC connector to R-RY IN input
- Connect green BNC connector to G-Y IN input
- Connect blue BNC connector to B-BY IN input
- Connect yellow BNC connector to EXT SYNC IN input
- Connect audio cable to AUDIO IN (to the right from B/BY), it’s a normal RCA input.
To minimize any other noise you can close all OUT outputs with 75 Ohm terminals.
Turn on the monitor. Press A/RGB, then EXT Sync.
Component
To connect a component cable, you need to insert BNC-to-RCA adapters first.
See the area labeled as RGB/Component.
- Connect red cable to R-RY IN input
- Connect green cable to G-Y IN input
- Connect blue cable to B-BY IN input
- Connect audio cable to AUDIO IN (to the right from B/BY), it’s a normal RCA input.
To minimize any other noise you can close all OUT outputs with 75 Ohm terminals.
Turn on the monitor. Press B/Component, then turn off EXT Sync and enable LINE/RGB (i.e. activate RGB).
S-Video
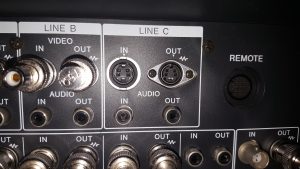
S-Video cable can be connected directly into the LINE C, IN input. Connect audio to IN (RCA).
Turn on the monitor. Press C/SDI and disable LINE/RGB and EXT Sync.
Tuning
For setting up you have many buttons and regulators (knobs) on the front of the device.
This is the overall look: (from left to right) mono-speaker, modes and menu buttons, picture settings regulators, on/off button.
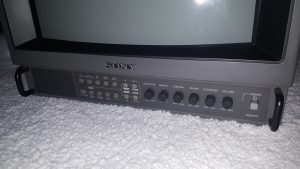
Let’s see the knobs’ area:
- Aperture: sharpness
- Bright: brightness
- Chroma: colour (saturation)
- Phase: phase settings
- Contrast: contrast
- Volume: sound volume
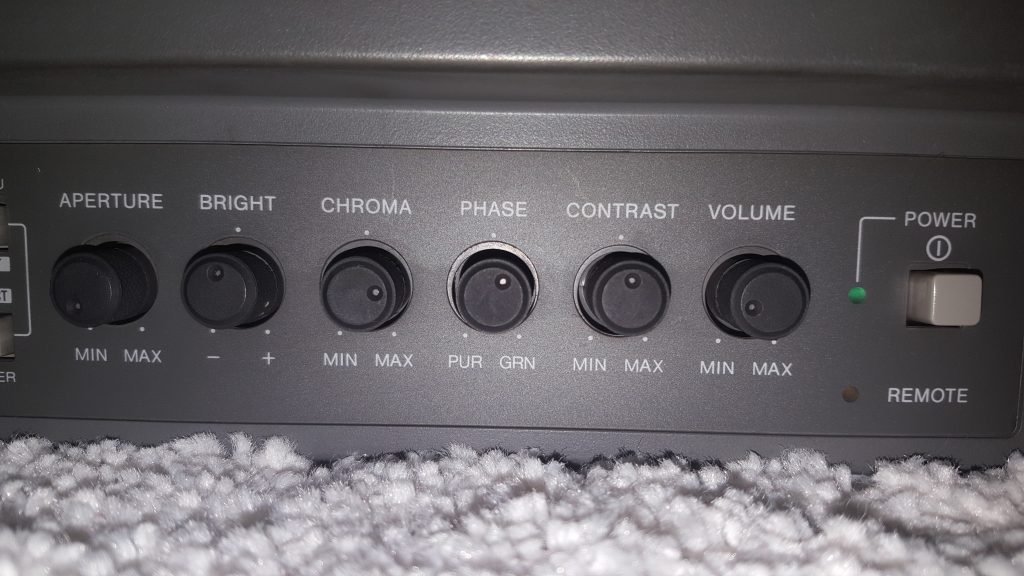
Picture settings knobs Next, modes’ panel and menu buttons.
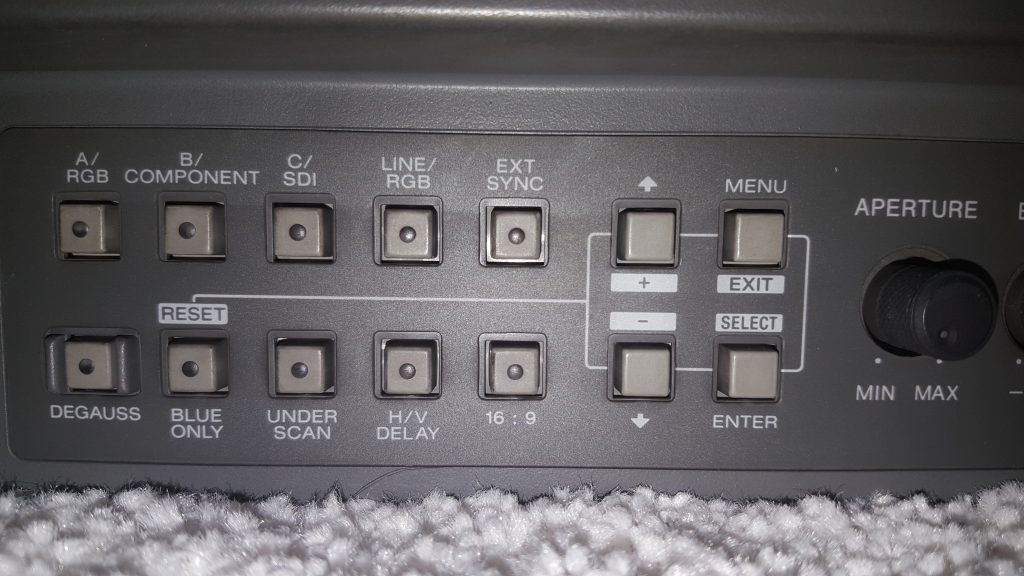
Following modes are available:
- A/RGB: composite input A or RGB input
- B/Component: composite input B or component input
- C/SDI: input C (S-Video) or SDI input
- Line/RGB: normal or RGB mode
- Ext Sync: enable or disable external sync (for SCART connection)
- Degauss: degauss the tube
- Blue only: the screen will become monochrome so that you can set up it
- Underscan: zoom out in order to show non visible areas
- H/V Delay: enable H/V delay settings, if you set them manually
- 16:9: switch from 4:3 to 16:9 to avoid screen distortions when watching wide format
- -: decrease value, return to the previous position
- +: increase value, go to the next menu position
- Menu: go to the main menu
- Enter: select the menu element
Main menu
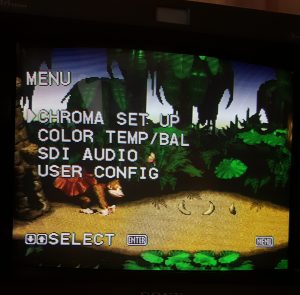
Press menu, to open the main menu. Press + and – to navigate, Enter to select and Menu to go back.
There aren’t many options in the main menu.
Service Menu
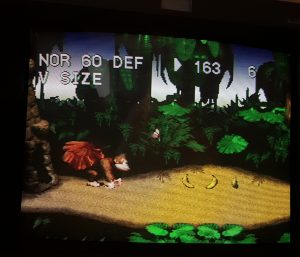
press MENU, then press DEGAUSS+ENTER. You are now in a service menu, where you can adjust geometry and OSD settings. There are more than 100 settings. Some apply only to specific picture modes (e.g. U/S means underscan, 60 means while showing 60 Hz).
After you’re done press DEGAUSS+ENTER again, to exit the service menu.
Calibrating
First of all, I recommend you to write down all settings of your monitor, just in case. It’s easy to screw up settings if you are not familiar with how monitors are calibrated. Write all values down.
To adjust the picture, use knobs on the front panel.
To adjust other settings, use the main menu or the service menu.
To adjust geometry: go to the service menu, load any calibration software (like 240p suite, or show the calibration picture) and gradually adjust all needed settings like vertical, horizontal size, phase, corners, etc.
For colors: see this Calibration guide.
For geometry and colors: you can use a test application 240p Suite, where you can either load a number of test patterns.
If you have any geometry problems which cannot be solved with the service menu, than there’s nothing you can do except calling for help from a tv technician. He will open the monitor and will check all magnets etc. I do not recommend to do it if you don’t have any knowledge, it’s just dangerous.
Picture quality
Worst quality is composite. It’s blurry and dark, there’s a lot of noise. Still better than on your LCD TV!
Next, S-Video. Only a bit sharper, otherwise still there’s blur, the image is dark and there are sharp patters.
Next comes RGB (Scart/Component): the best option is to connect using a SCART or component cable. Scart may be slightly better, because it has a separate Sync channel, the image is sharper.
Samples
Super Nintendo
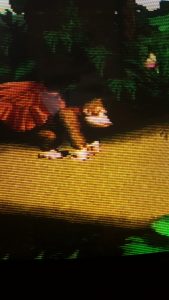
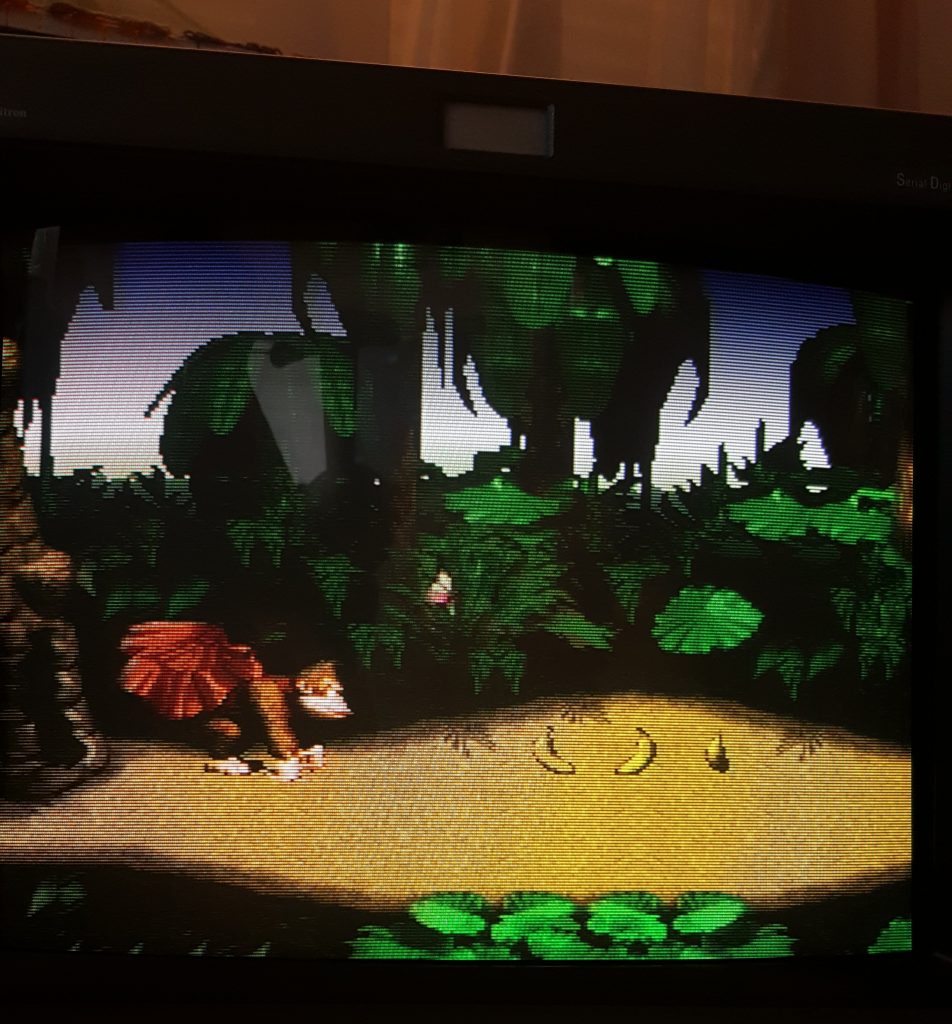
This is Donkey Kong via S-Video.
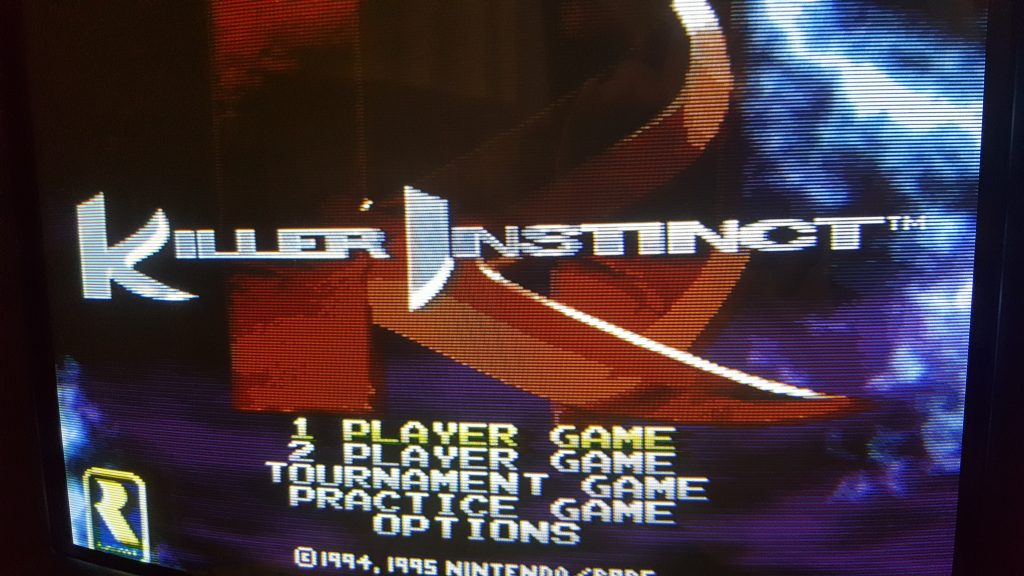
Killer Instinct via composite
PlayStation
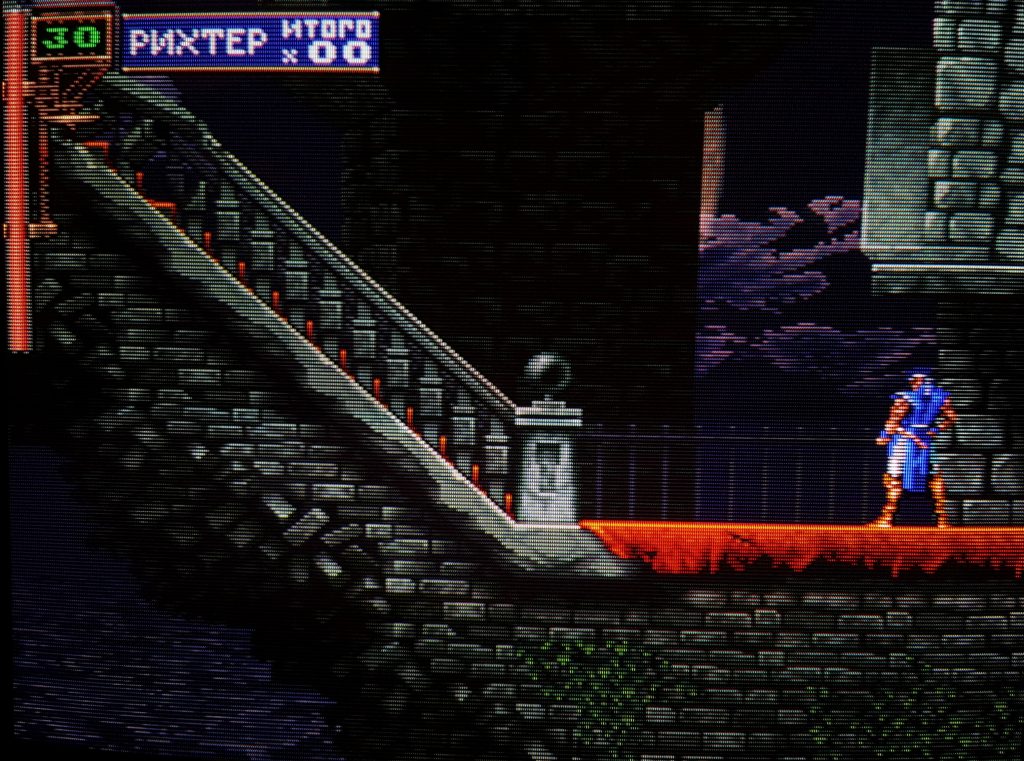
Castlevania: SOTN
Genesis
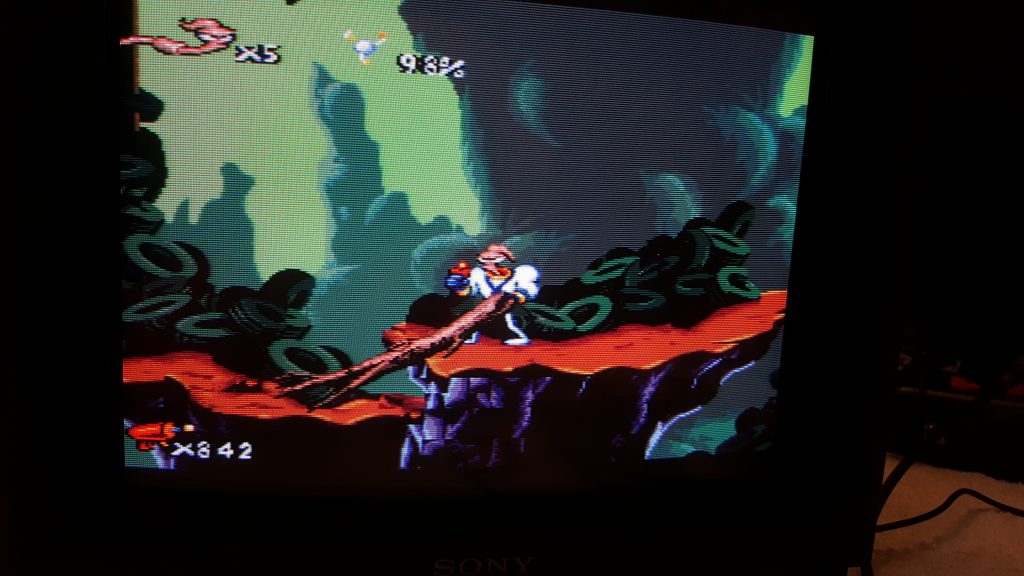
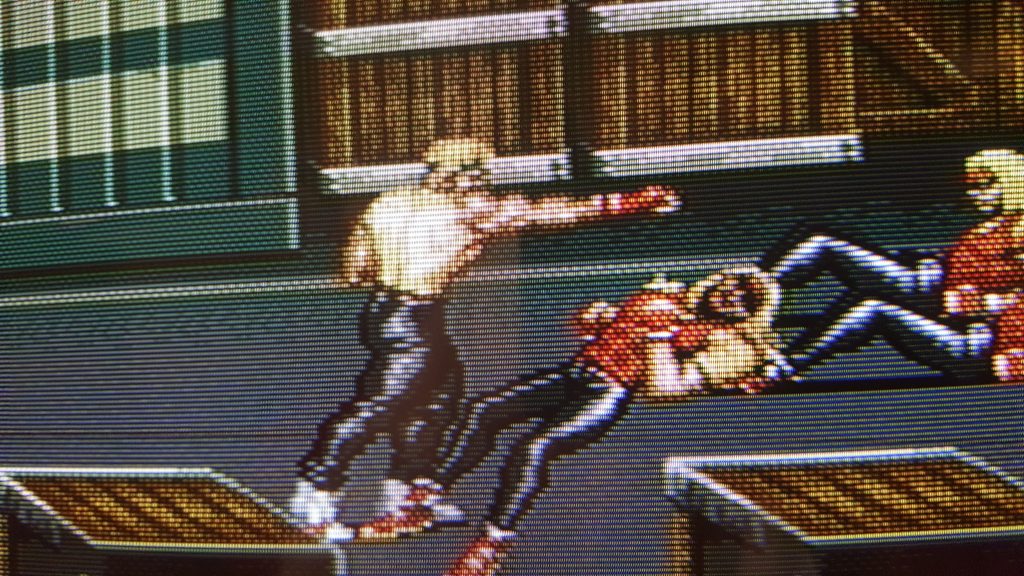
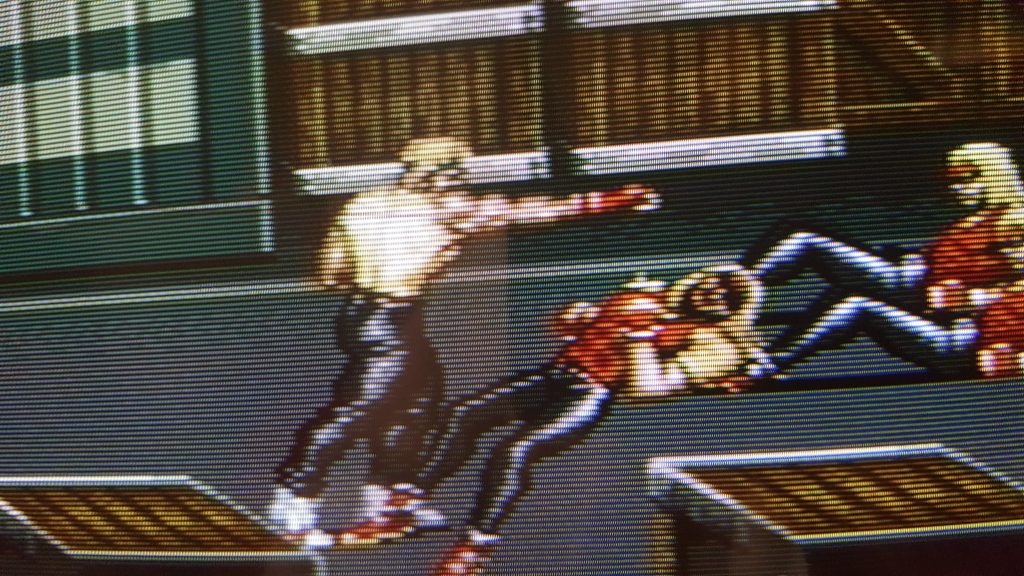
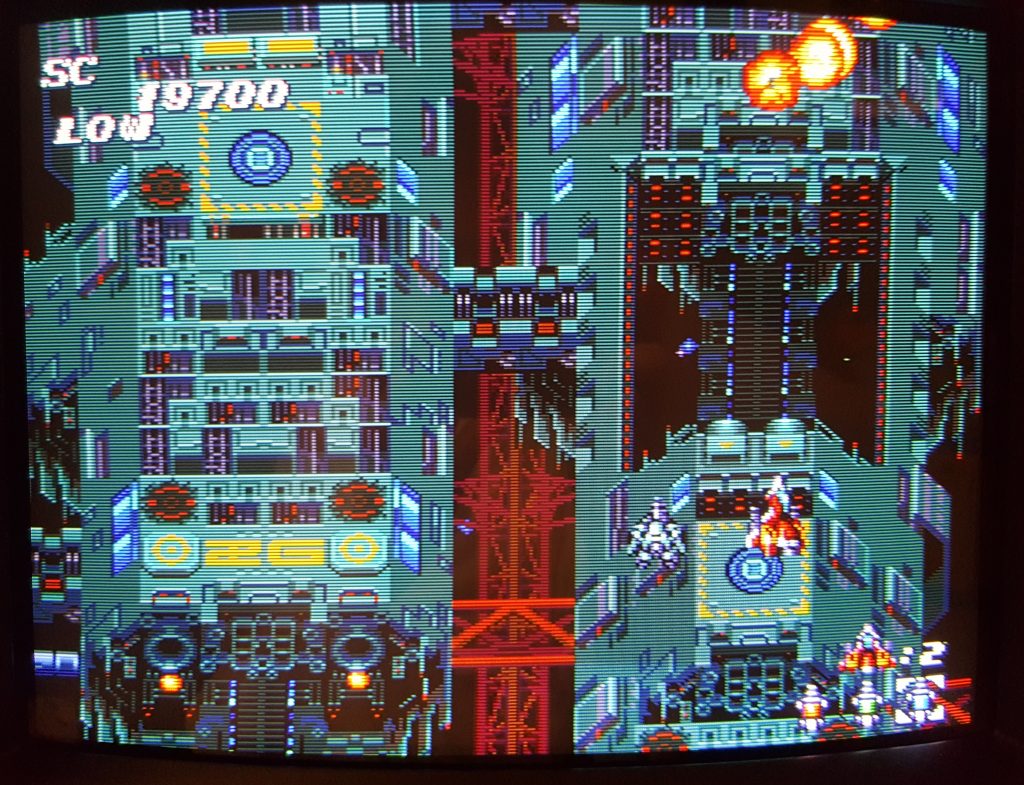
PC-Engine via RGB Scart
Soldier Blade
Download
Where to buy and costs?
PVMs/BVMs cost more in the USA. In Europe you can find them less than for 100 Euro (dragonxbox sells them for 50-80 Euros), but usually they cost about 200. If you buy on Ebay, you will need to pick up it yourself because of weight.
Where to buy: Ebay (search for Sony, PVM, BVM), for west european customers such devices sometimes appear at dragonbox.de
Where to buy cables: http://retrogamingcables.co.uk/
Other links
