What is it?
OSSC is a small device, which can help you connecting many retro gaming consoles to modern TVs and monitors and will keep and improve the image quality. A lot of modern TVs cannot correctly recognise and process older video formats, so that the image on the screen is very bad and you have a long delay between button presses and actions. The OSSC will accept such formats and will linedouble (make 240×2=480 lines, etc.) them, so that you will get more compatible formats like 480, 720 and even 1080. It also can act as a deinterlacer and can add scanlines. And of course it is a universal analogue-digital converter (from SCART, Component and VGA to HDMI).

It is however not an upscaler like Framemeister, because it maintains the original frequencies and just increases the number of the lines and doesn’t have framebuffer to upscale, apply advanced deinterlacing or digitally process images. It’s menu is simple, but has all needed options.
So, what’s about OSSC, why do I need it if I can connect my console to my TV via a cheaper adapter?
Here is what you get if you connect your console directly to a modern tv or using some generic adapter:
What’s wrong here?
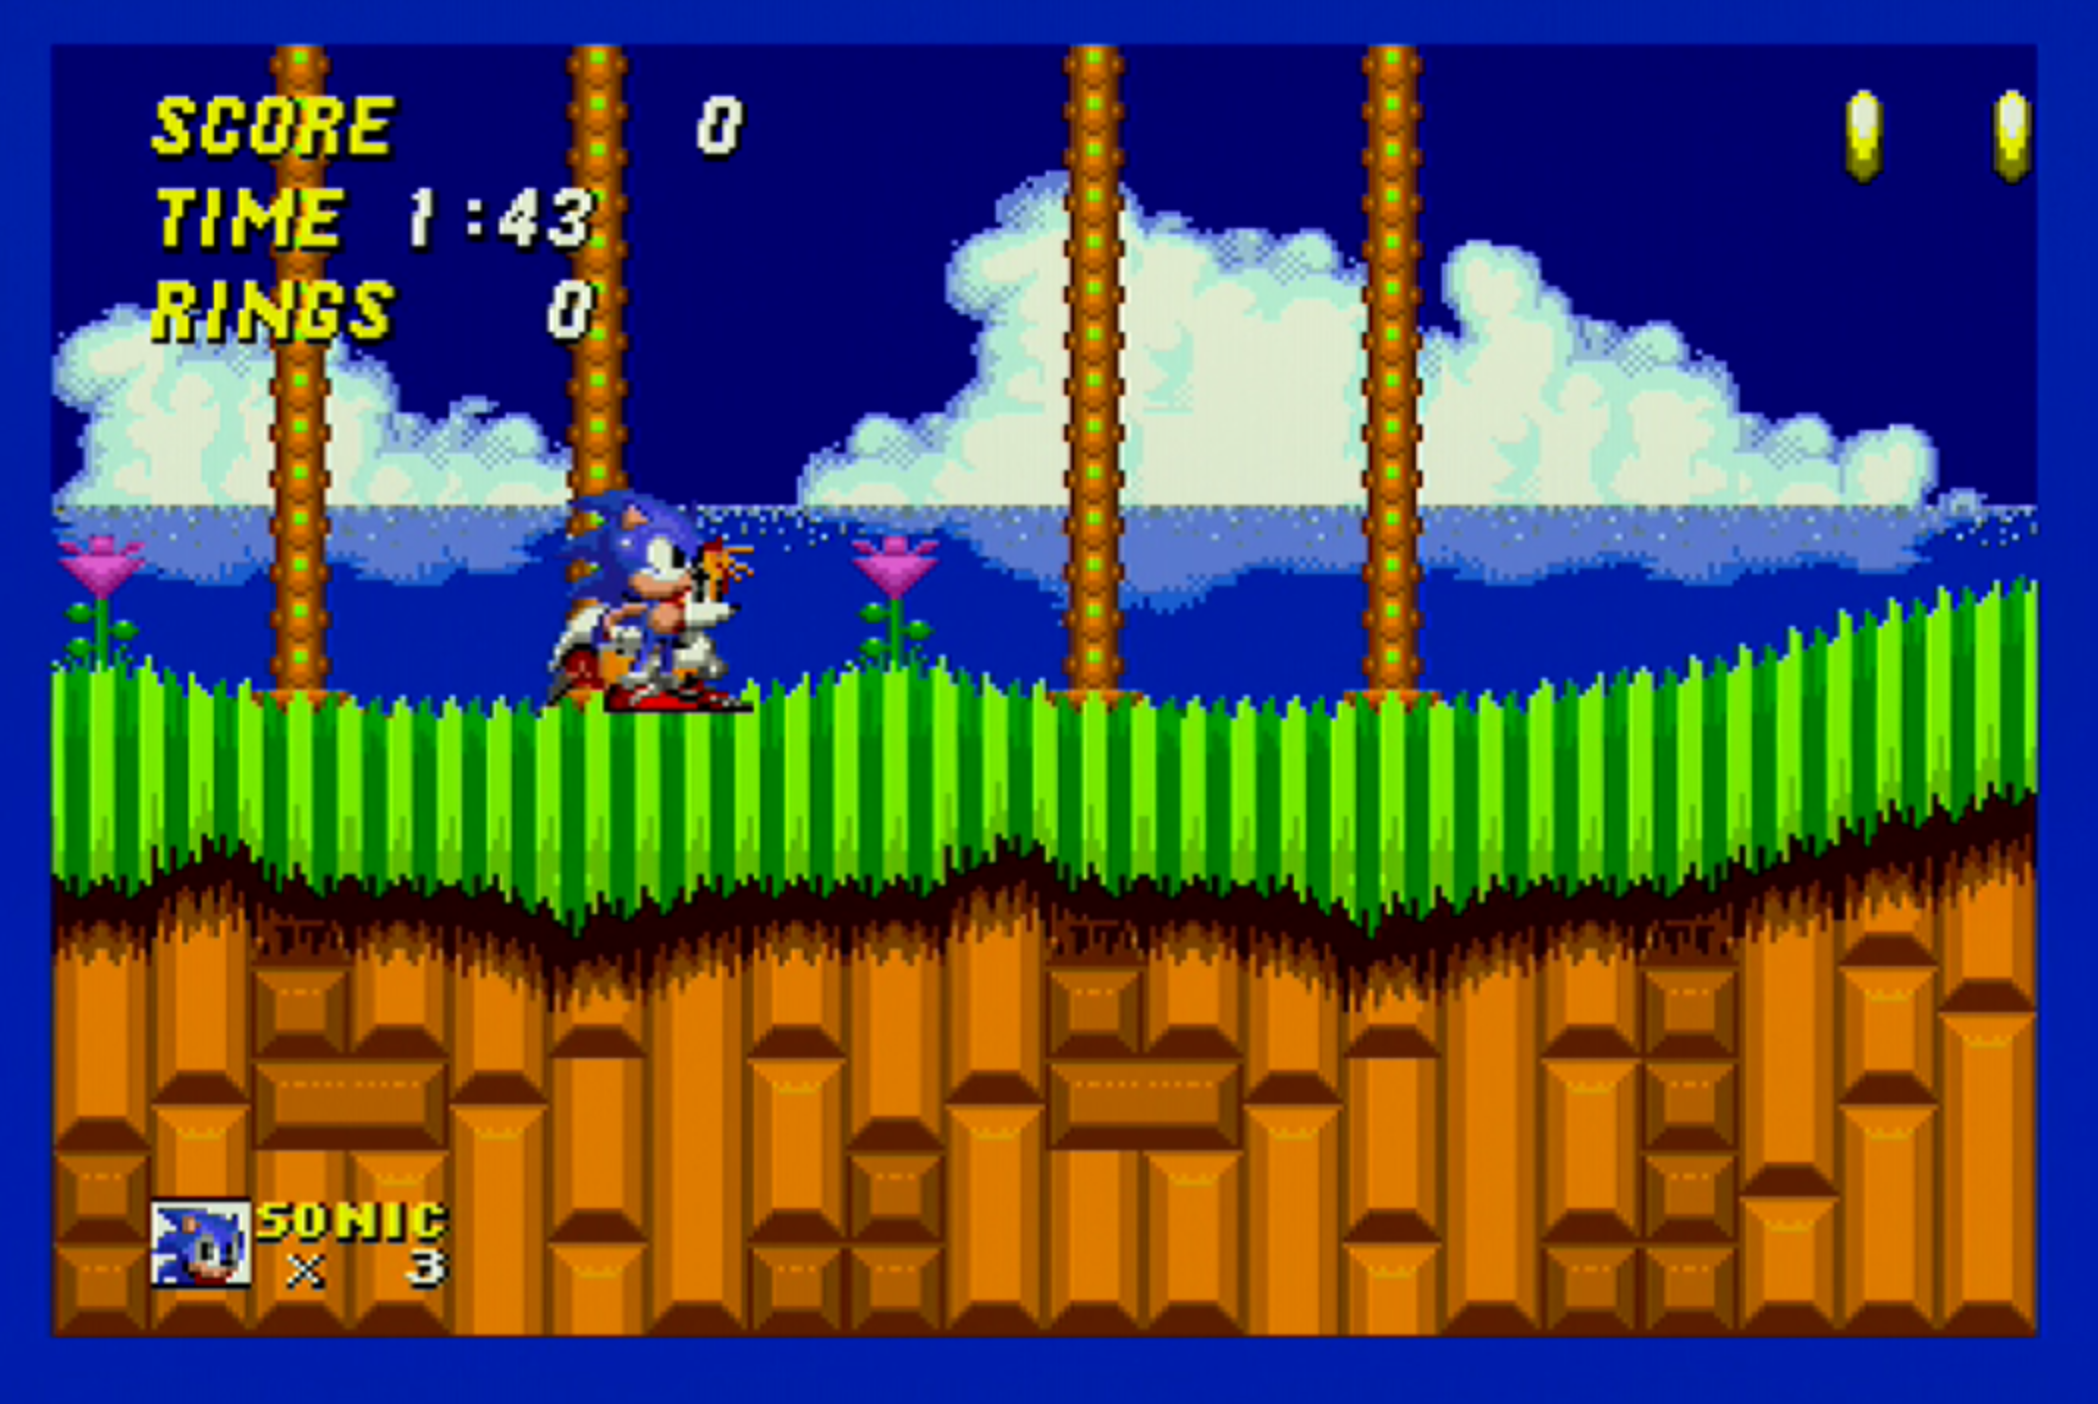
Your TV or your adapter will assume that 240/288p is 480i/756i and will deinterlace it (deinterlacing a progressive signal is pointless!). This is why the image quality is that bad.
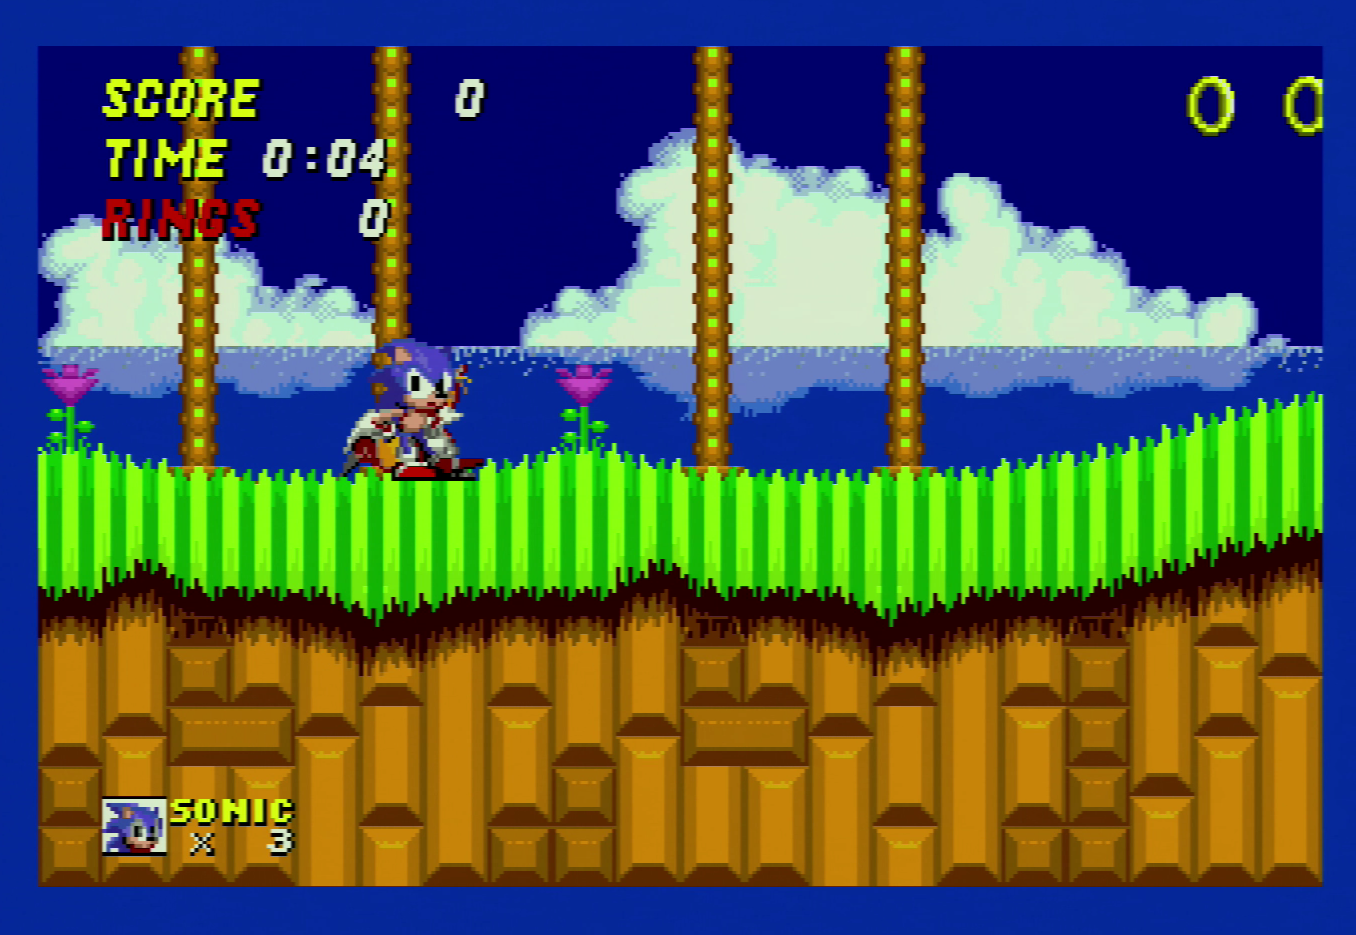
I cannot use OSSC with my Elgato HD and show you the sharp and beautiful line5x image quality, but even the normal line2x (here 576p of a PAL Mega Drive) looks much better!
Line 5x is much sharper, but capture cards have problems recognising it, but the TV or a display would correctly process it.
Want to compare this image with Framemeister and 1080p? Not that much difference, by the way. Colors of the OSSC are even better:
Pros: compact size, support of RGB via SCART, support of component and VGA (e.g. for Dreamcast, Xbox), zero-lag
Contras: no support for composite or S-Video, some output formats have low compatibility (e.g. SNES), no rich upscaling options and frequency adjustments.
Useful Links
- Manual
- Upadates
- Wikipage
- Review 1 (by Fudoh)
- Review 2 (Richretro)
- Review 3 (blz.la)
- My Life in Gaming Overview
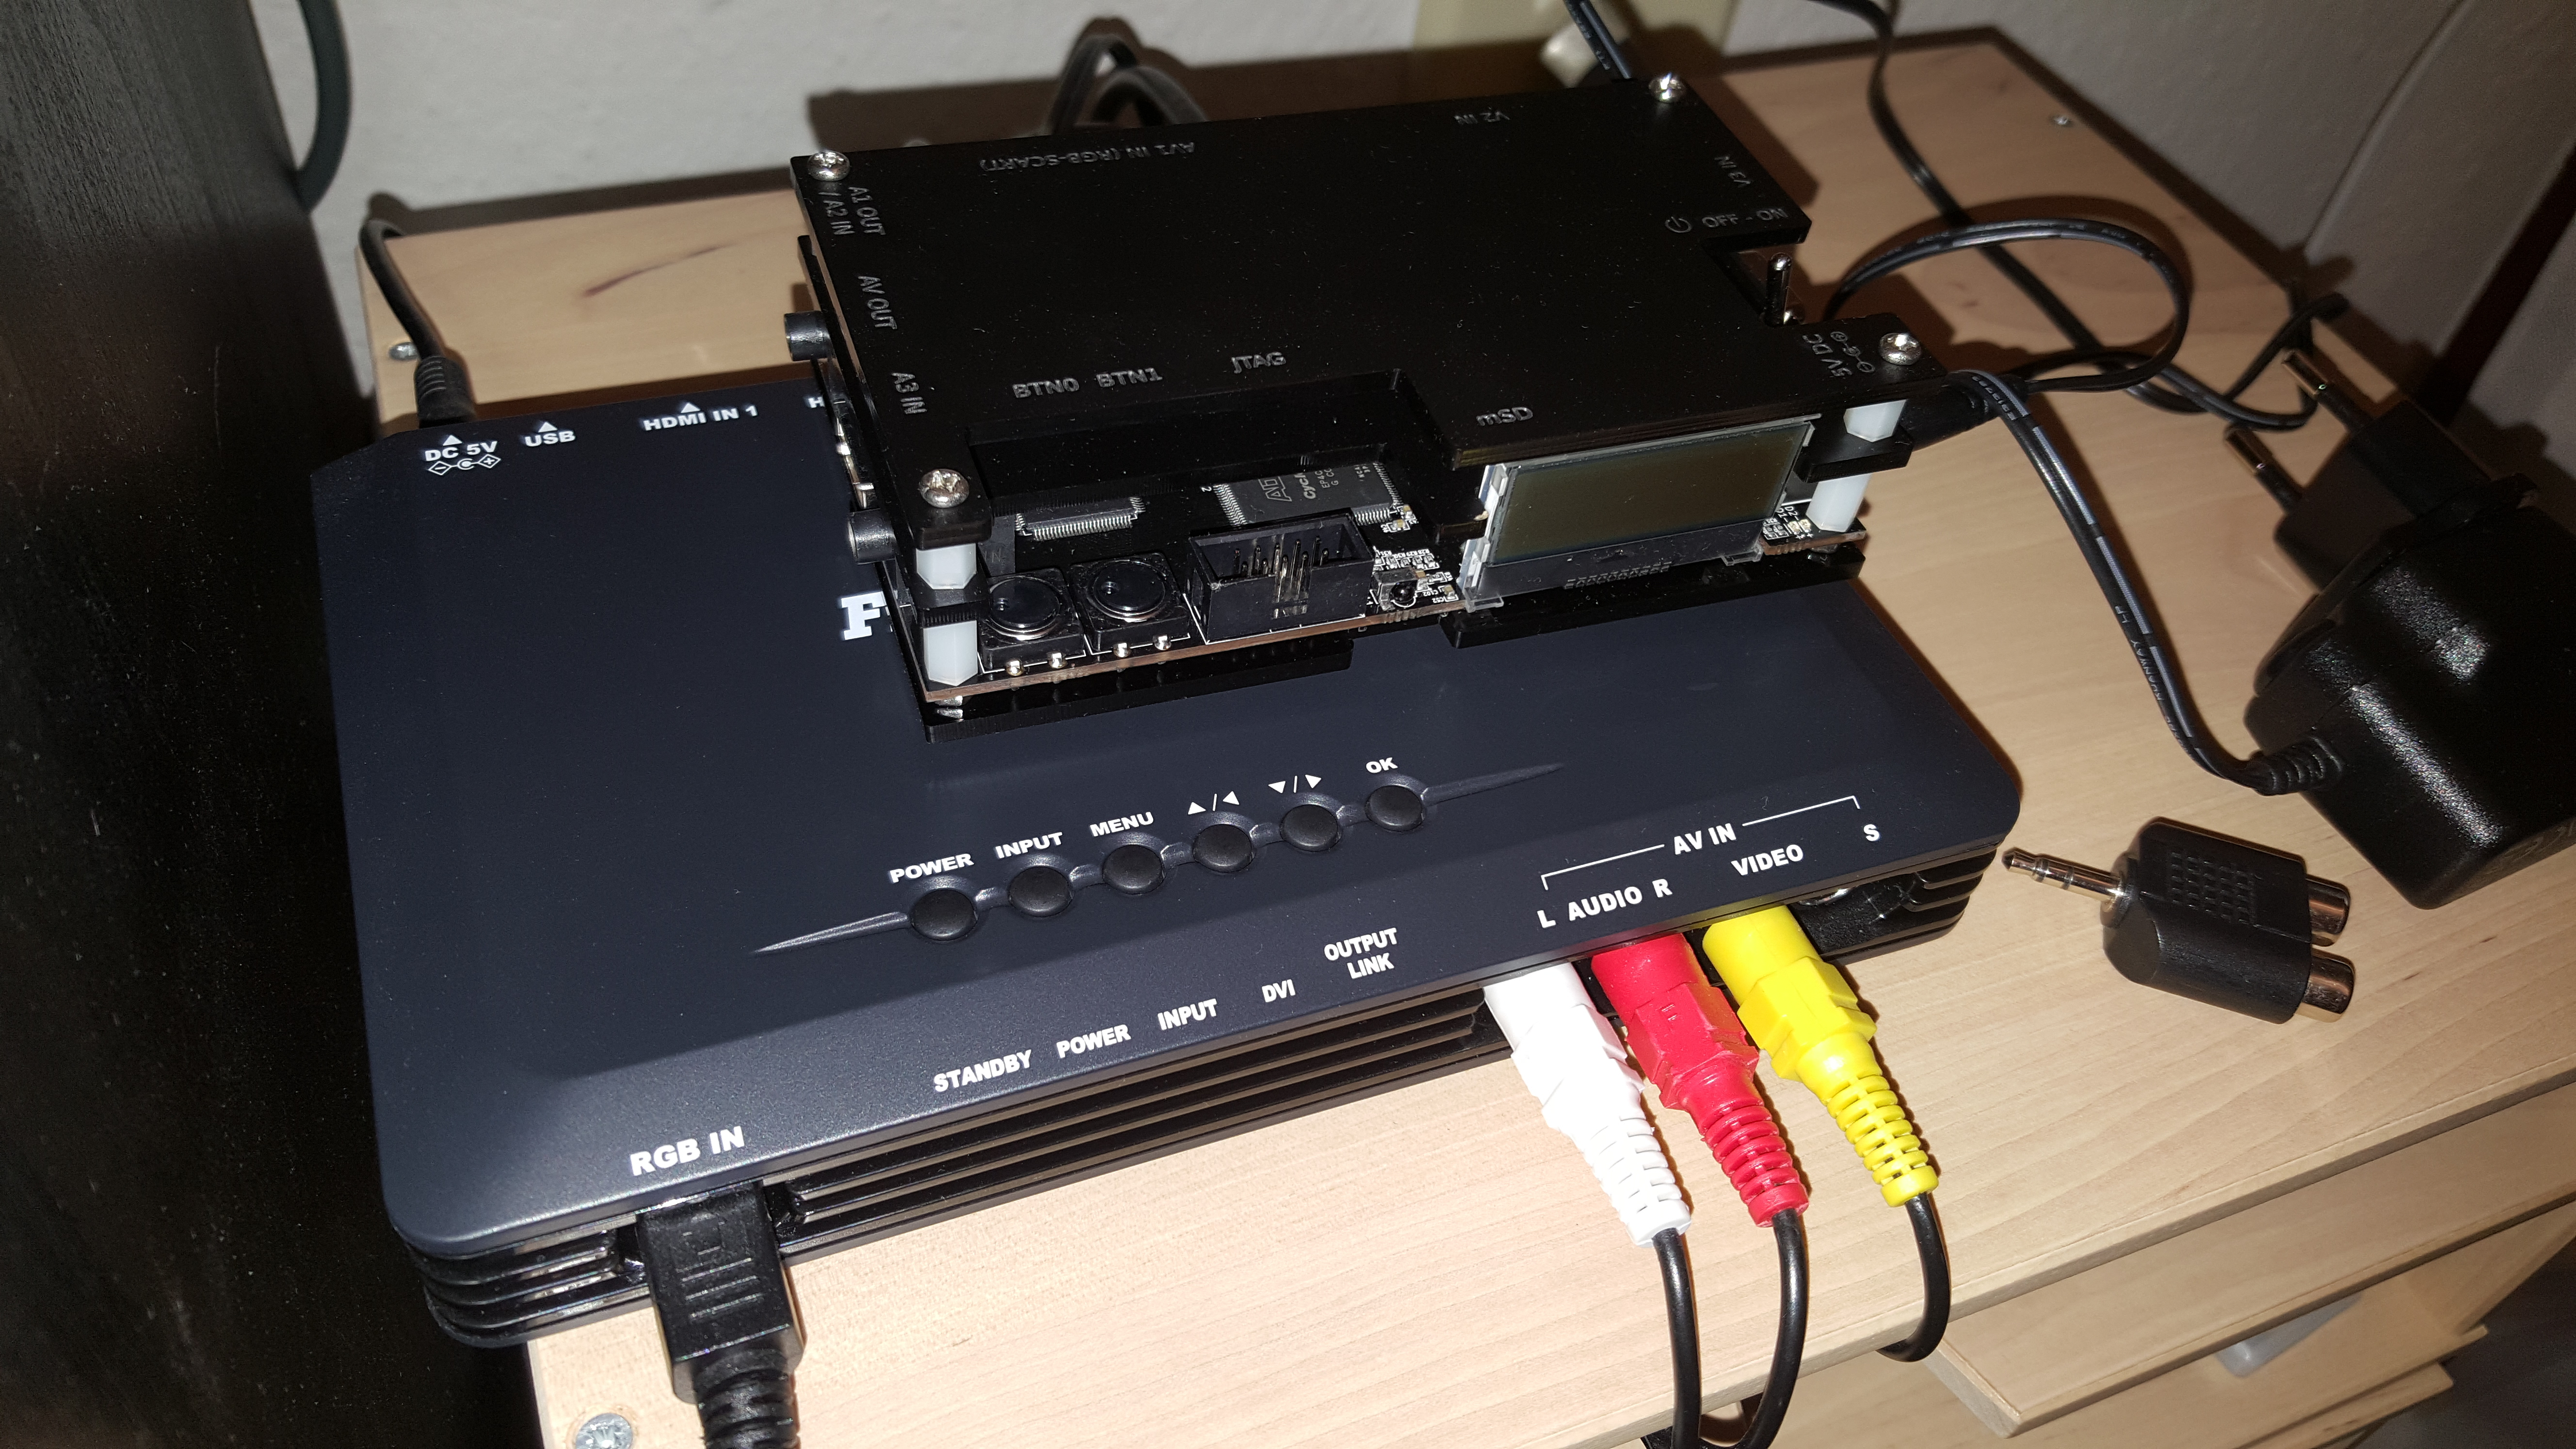
Packaging
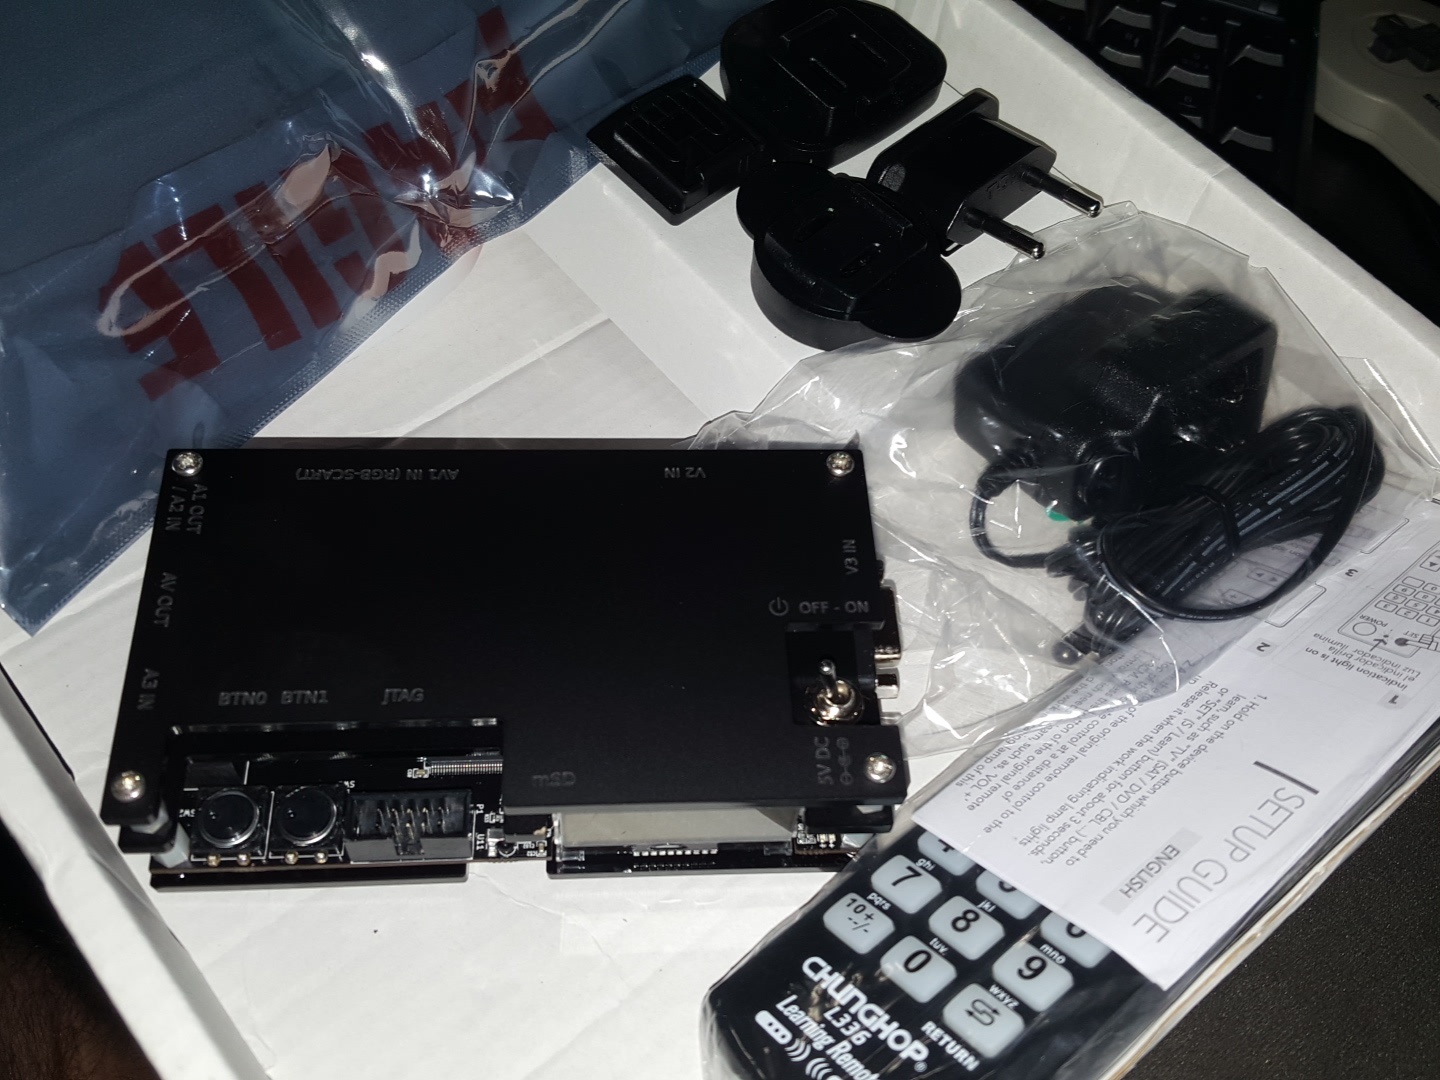
- The device itself
- Optional: a power supply with adapters
- Optional: a remote control (no batteries included!)
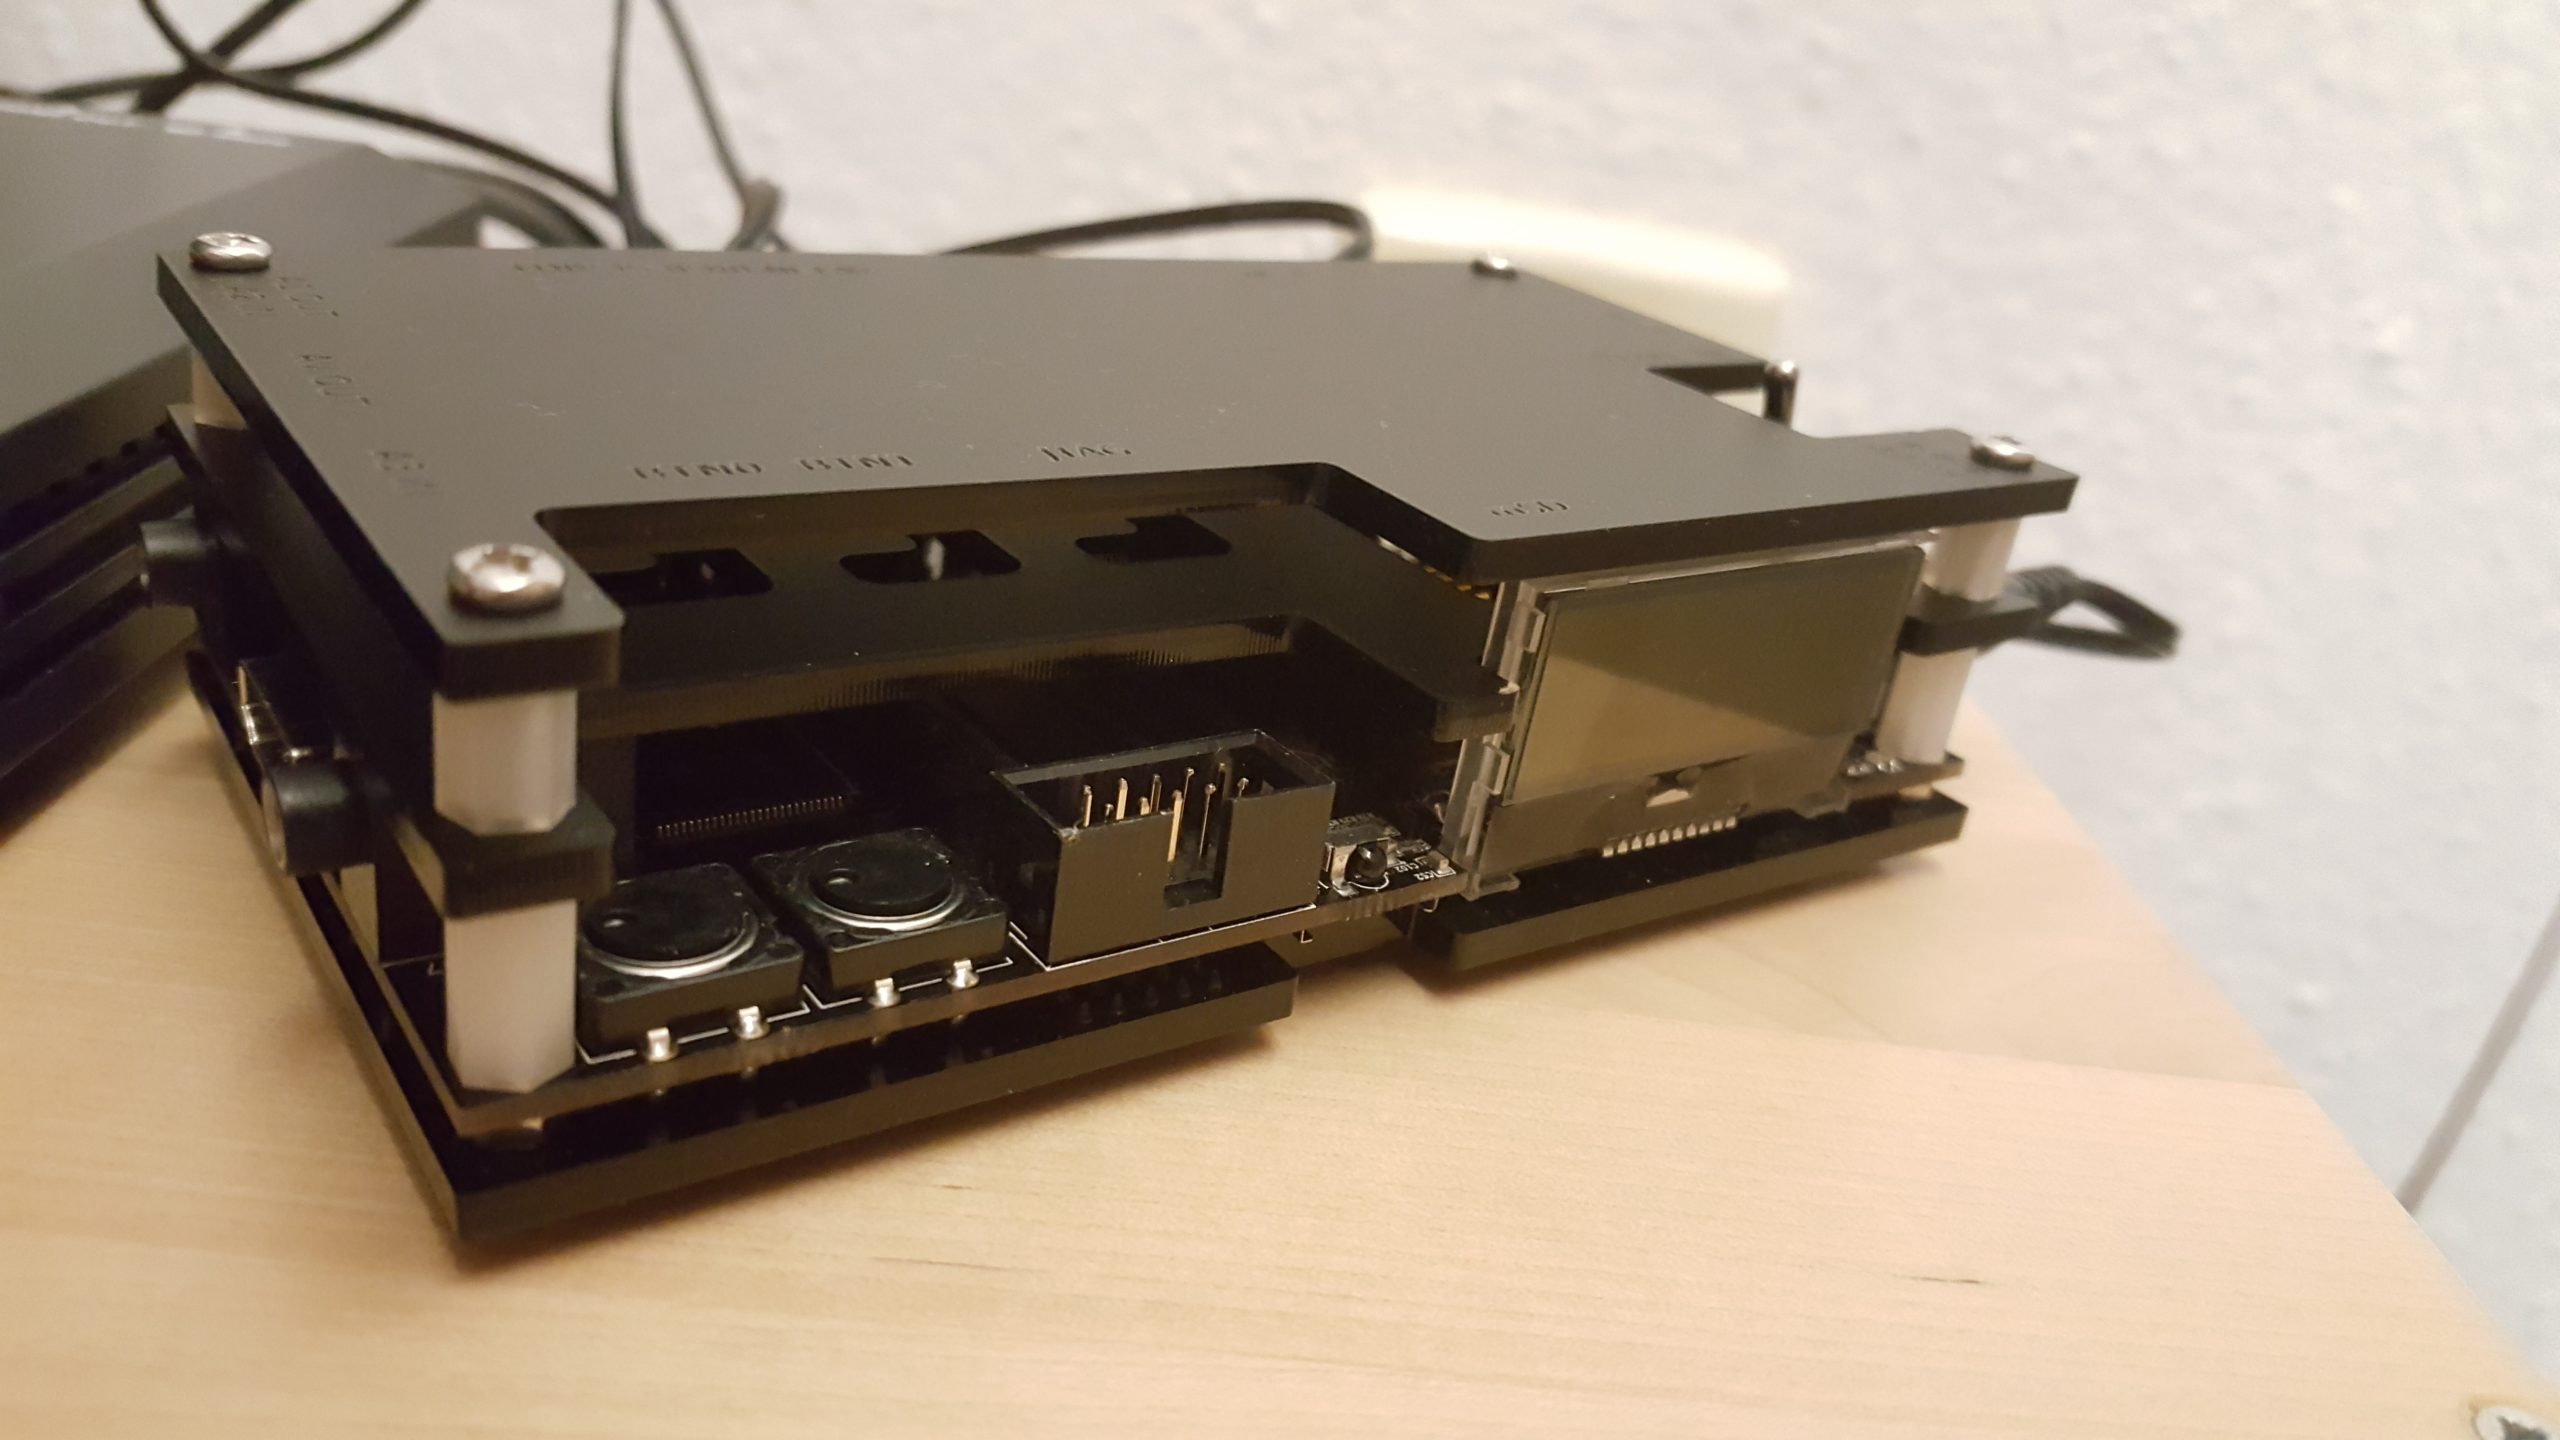
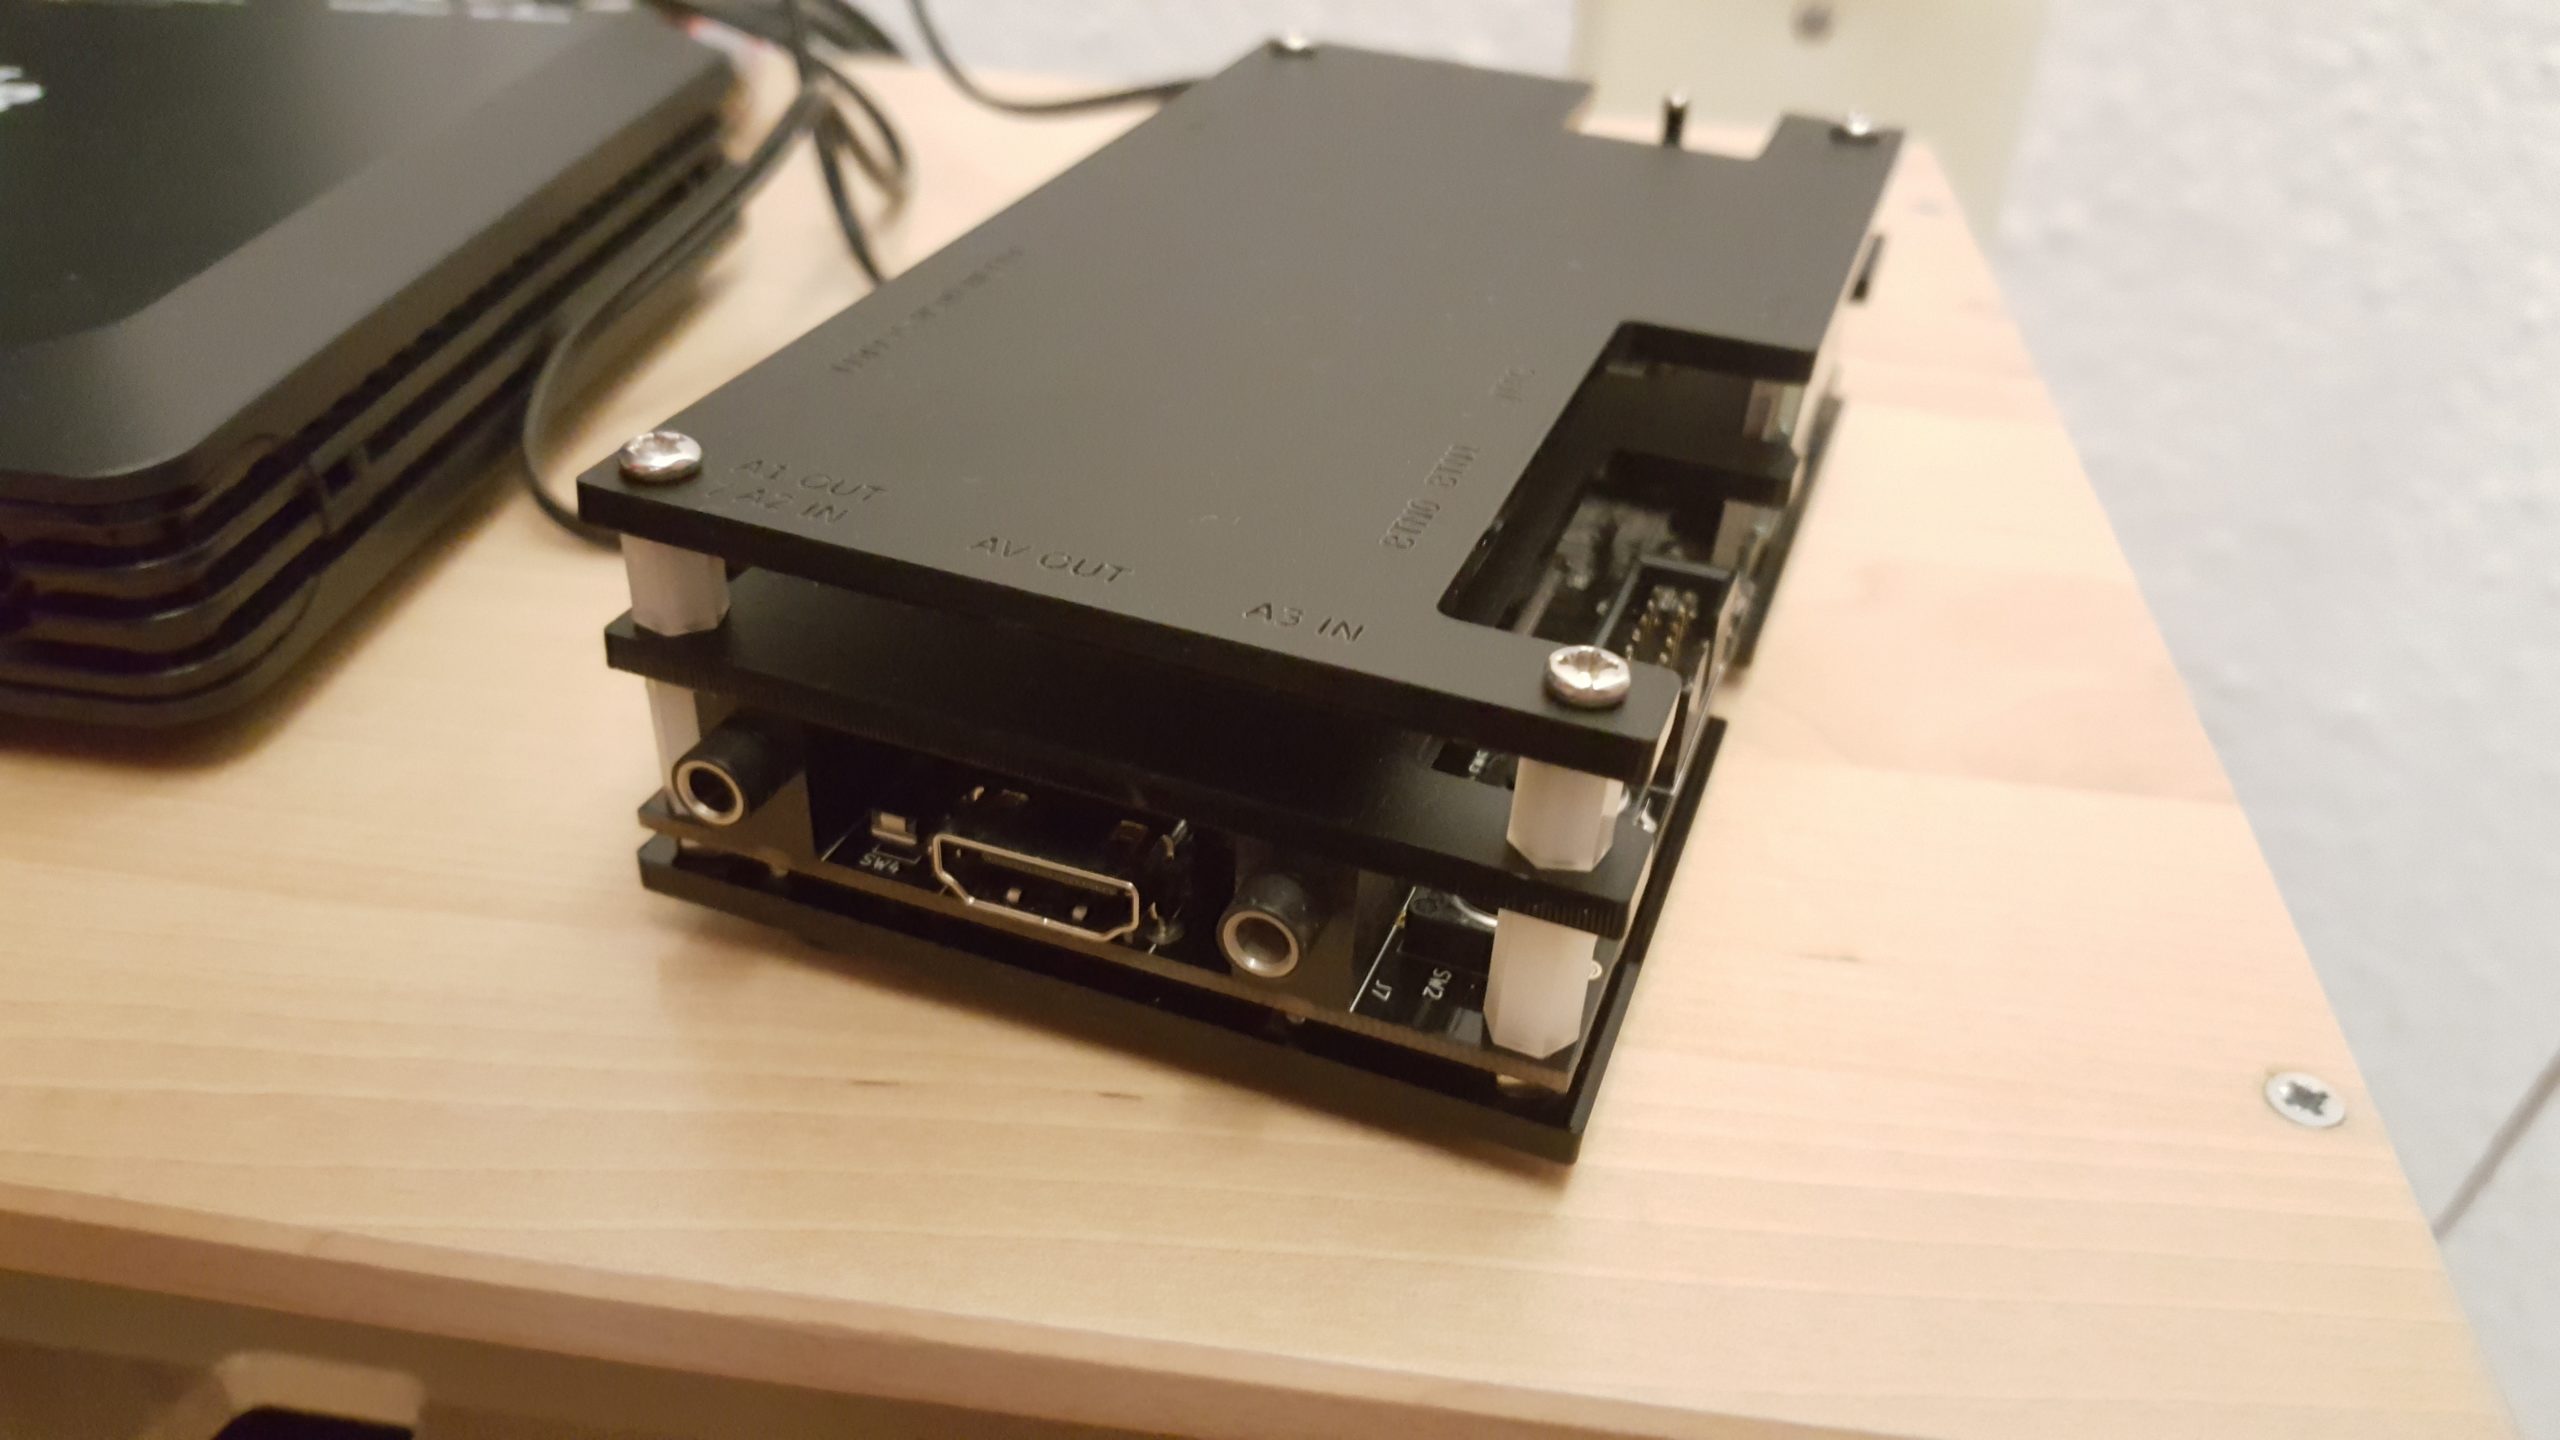
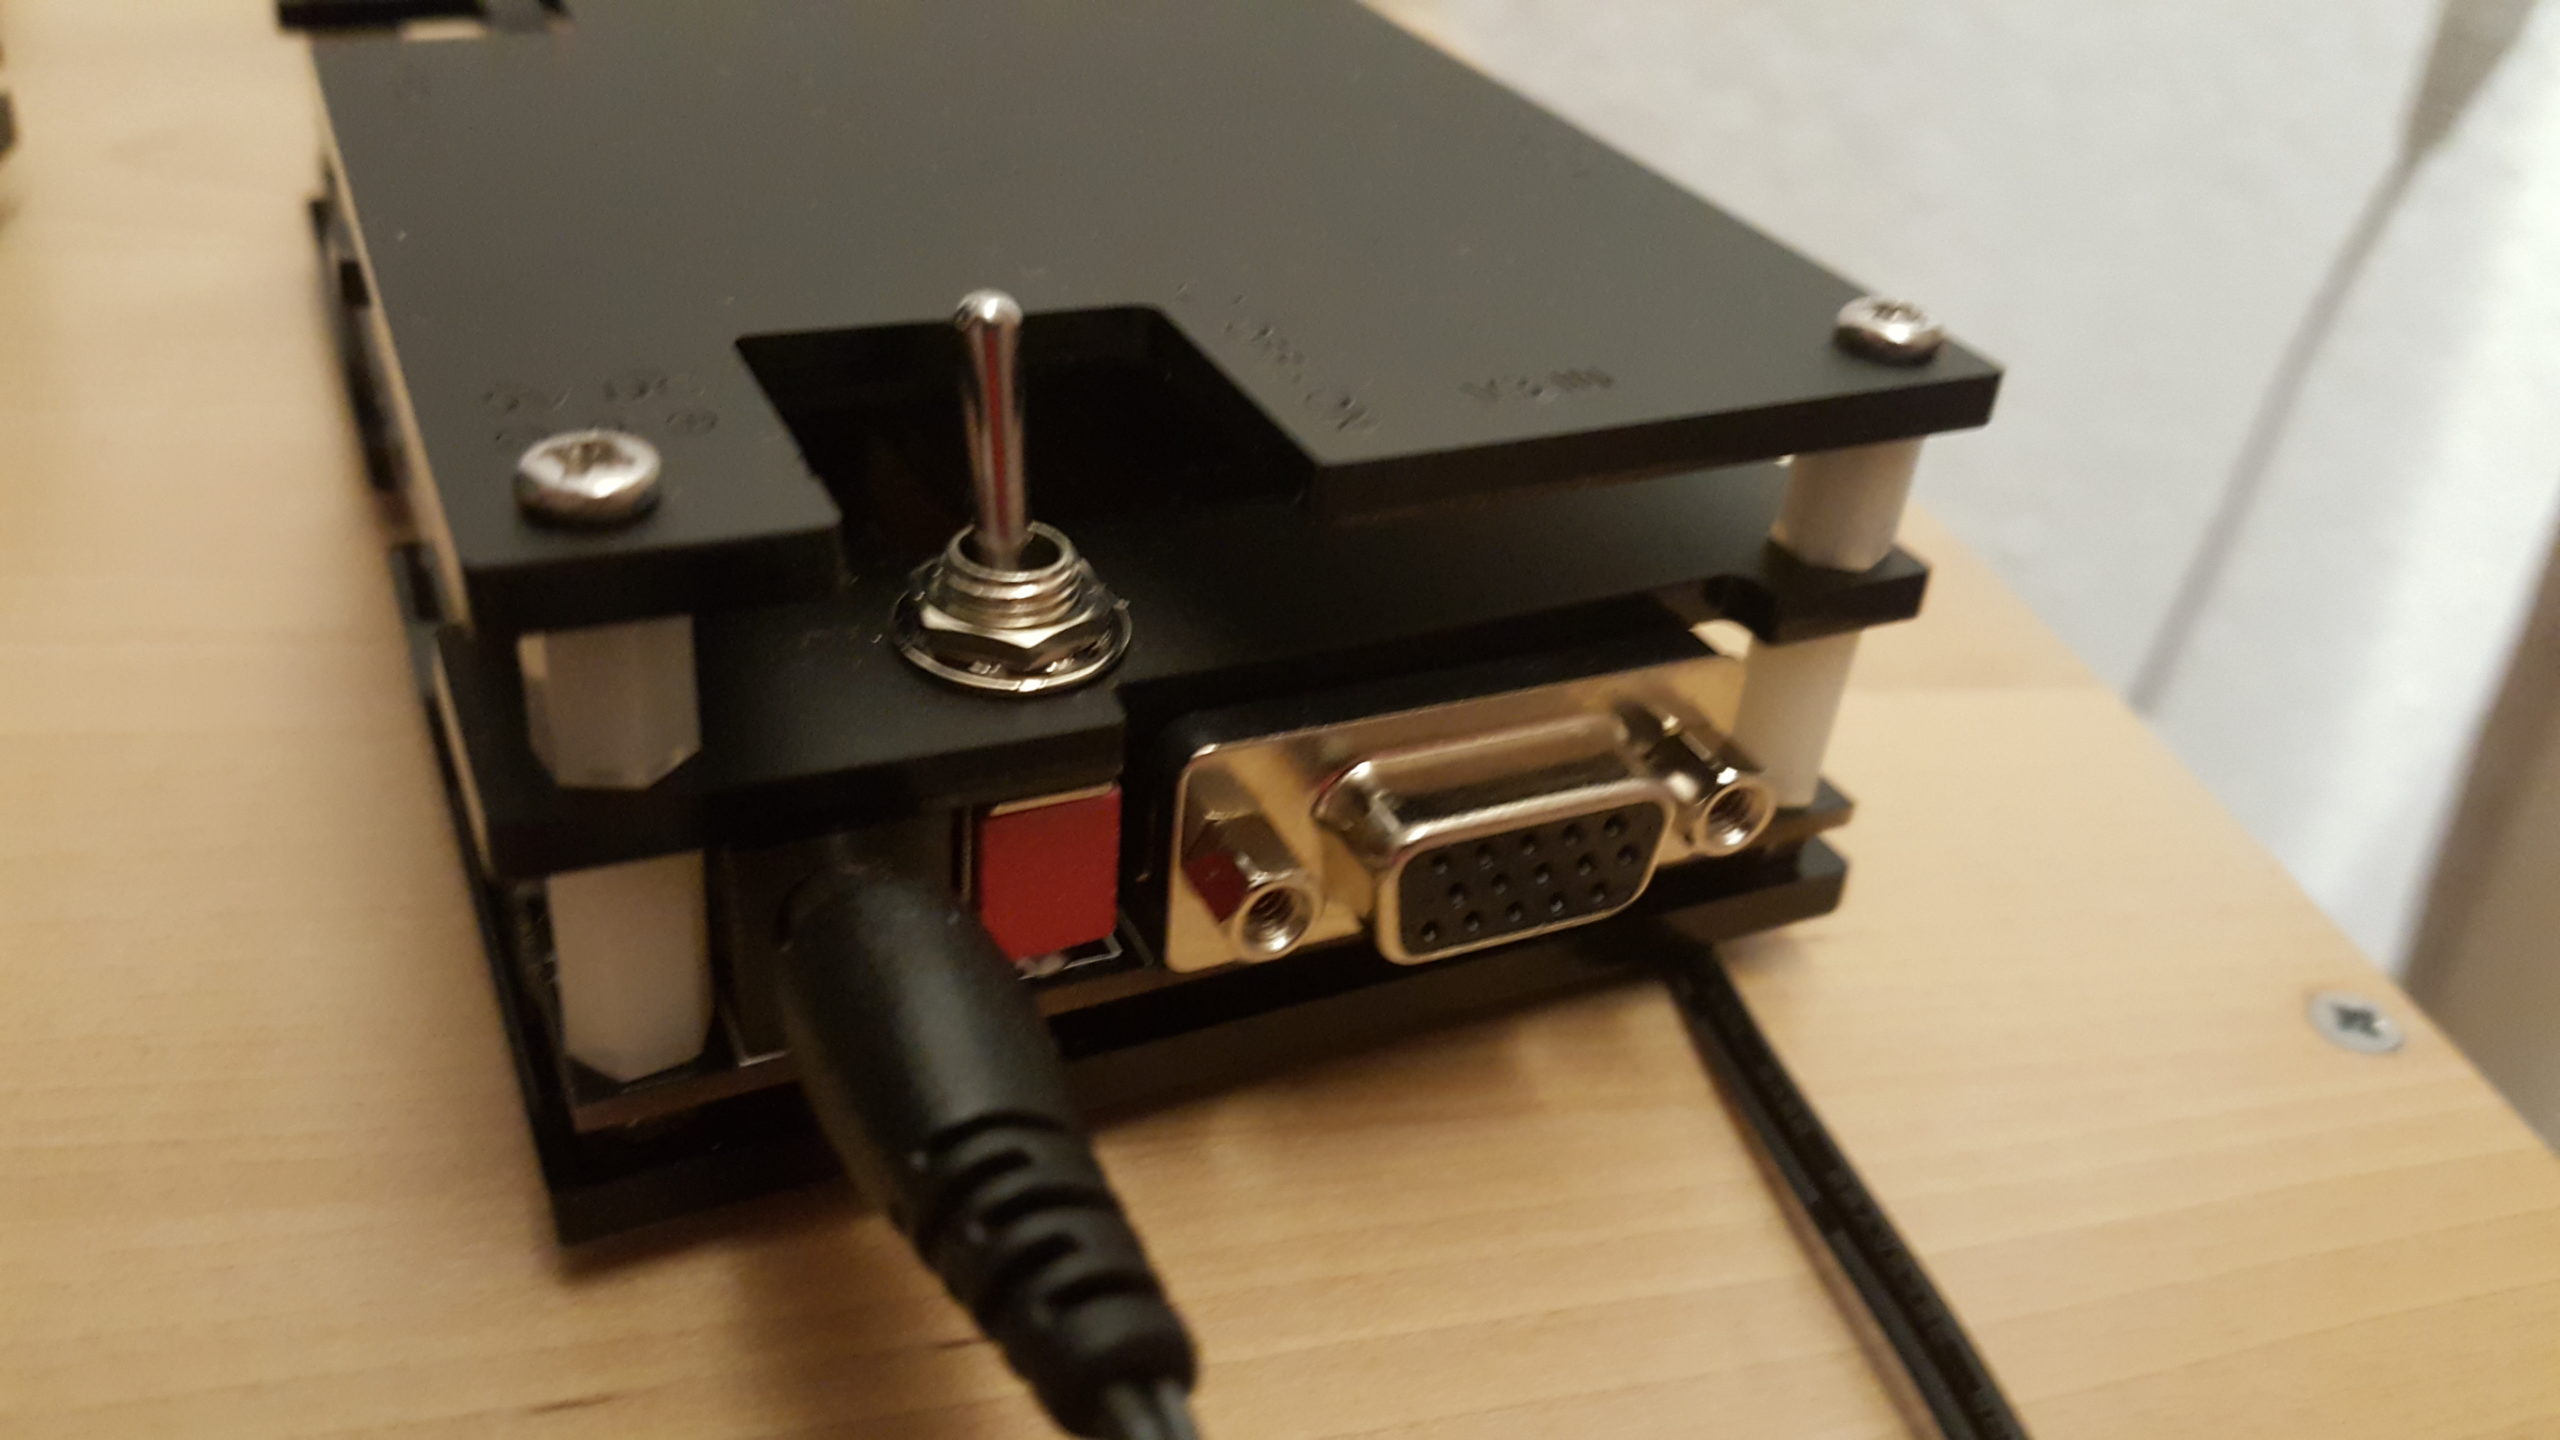
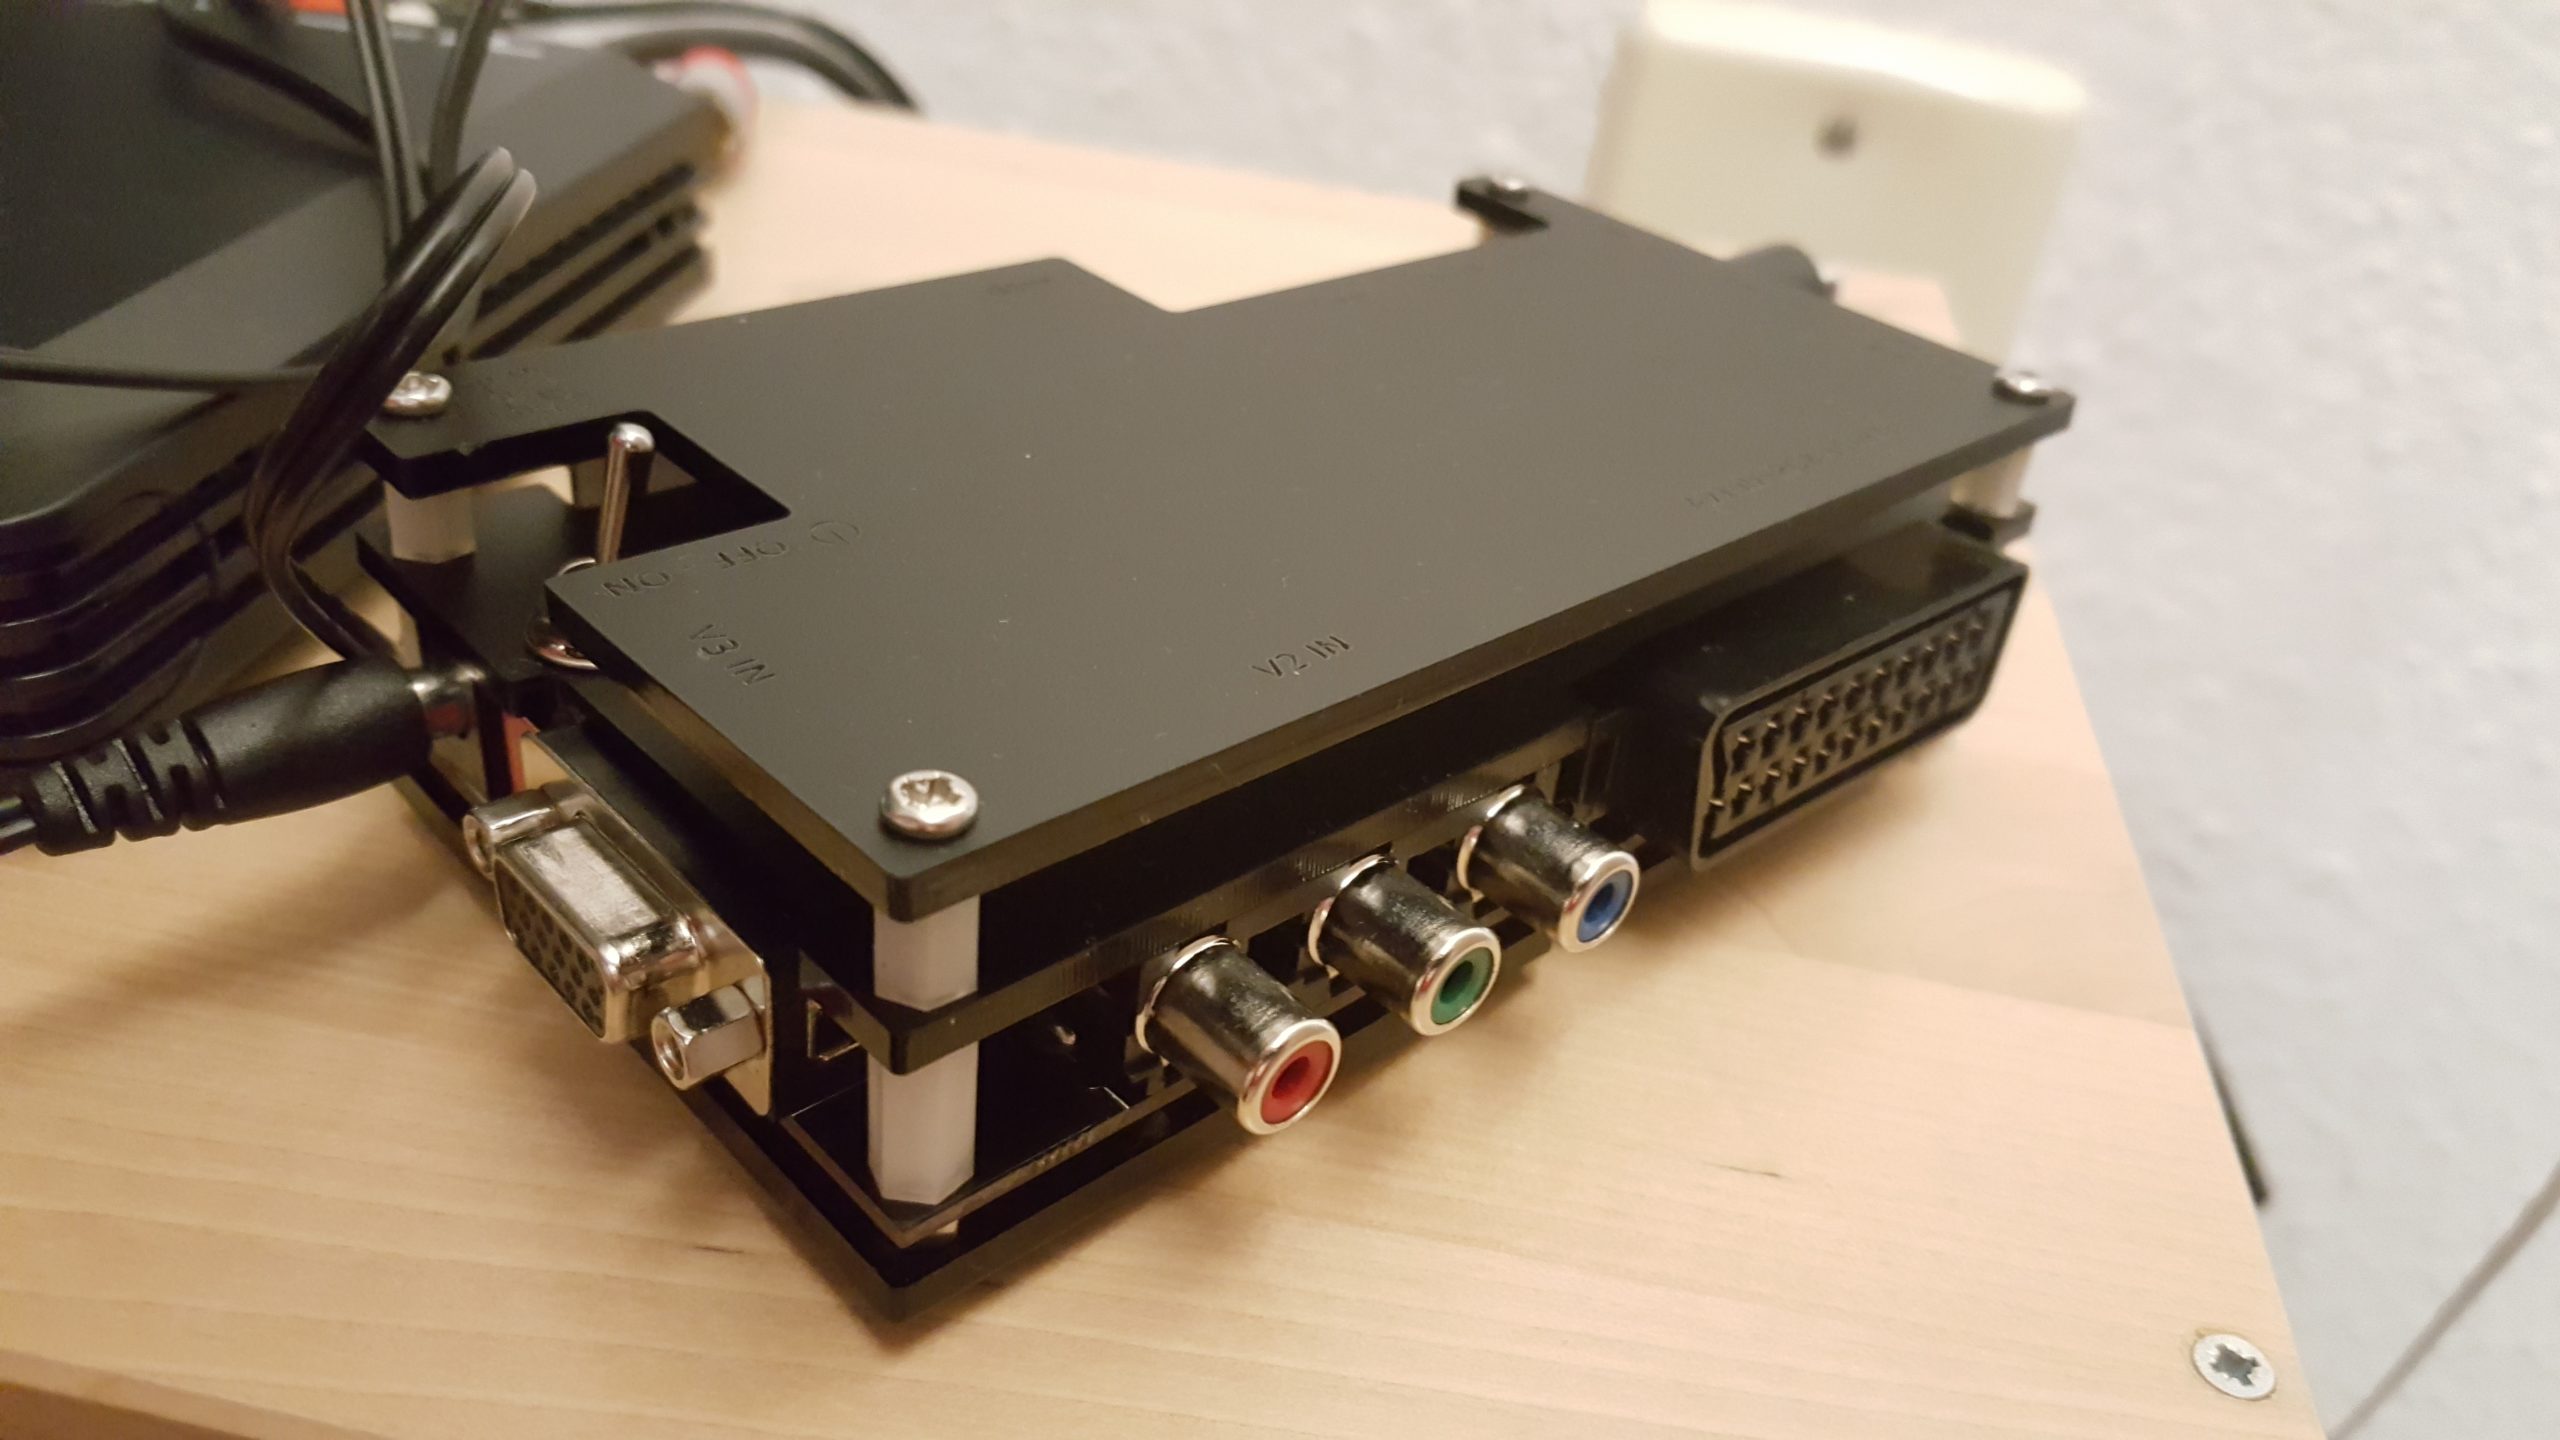
Overview
- Front: 2 physical buttons (BTN0 and BTN1), LCD-Display
- Back: Component RCA Inputs, SCART input
- Right: VGA input, Audio Input
- Left: HDMI output, Audio Input/Output
- Power supply specs: 5V, 1 Amp – 2,1 x 5,5mm positive tip
- Power supply cable length:

Inputs
- AV1: (RGB-SCART), supports clean csync, cvideo sync, luma sync
- AV2: Component (red, green, blue cables), supports RGBS, RGsB (sync on green) and YPbPr
- AV3: VGA (DSUB15 or 15khz RGB) supports video in RGBHV, RGBS (pin 13), RGsB and YPbPr formats
- One audio input (can be switched to output)
Supported Video Formats
- 240p/288p/480i/576i 15khz
- 25Khz medium-res modes
- 480p/576p/720p/1080i 31khz
Outputs
- HDMI
- 2x 3,5 Audio outputs (one of them can also be used as input (e.g. for component and VGA sources))
Supported output formats
- 240p/288p -> can be increased to 480p/576p via linedouble or 720p via line triple (compatible displays only)
- 240p/288p -> 1280×960, 1280×1152, 1080p, 1600×1200 line quadruple/quintuple (compatible displays only)
- 25Khz medium-res modes -> 480p
- 480i/576i -> 480p/576p or pass-through
- 480p -> pass-through or 960p line-double (compatible displays only)
- all other 31khz resolutions passed through
Supported Resolutions
Supported resolutions depend on your TV/Monitor. Some TV will be incompatible with many resolutions, but PC monitors should have better compatibility. I’m lucky my TV is a TV/Monitor combination (Samsung T24D310ES) and supports almost all resolutions, even 240p natively.
- 240p, 288p, 480i, 576i, 384p, 480p, 576p, 960i, 1080i @ 2X
- 240p, 288p, 480i, 576i @ 3X
- 240p, 288p, 480i, 576i @ 4X
- 240p, 288p @ 5X
Linemultiplyer
The OSSC has 2X, 3X, 4X, and 5X modes. E.g. you can create from a 240p source following resolutions:
- 2X=480p
- 3X=720p
- 4X=960p
- 5X=1920×1080, 1600×1200, or 1920×1200, depending on settings
Buttons
- BTN0: switch to the next source
- BTN1: select scanline mode (OFF, Auto, Manual)
Remote Control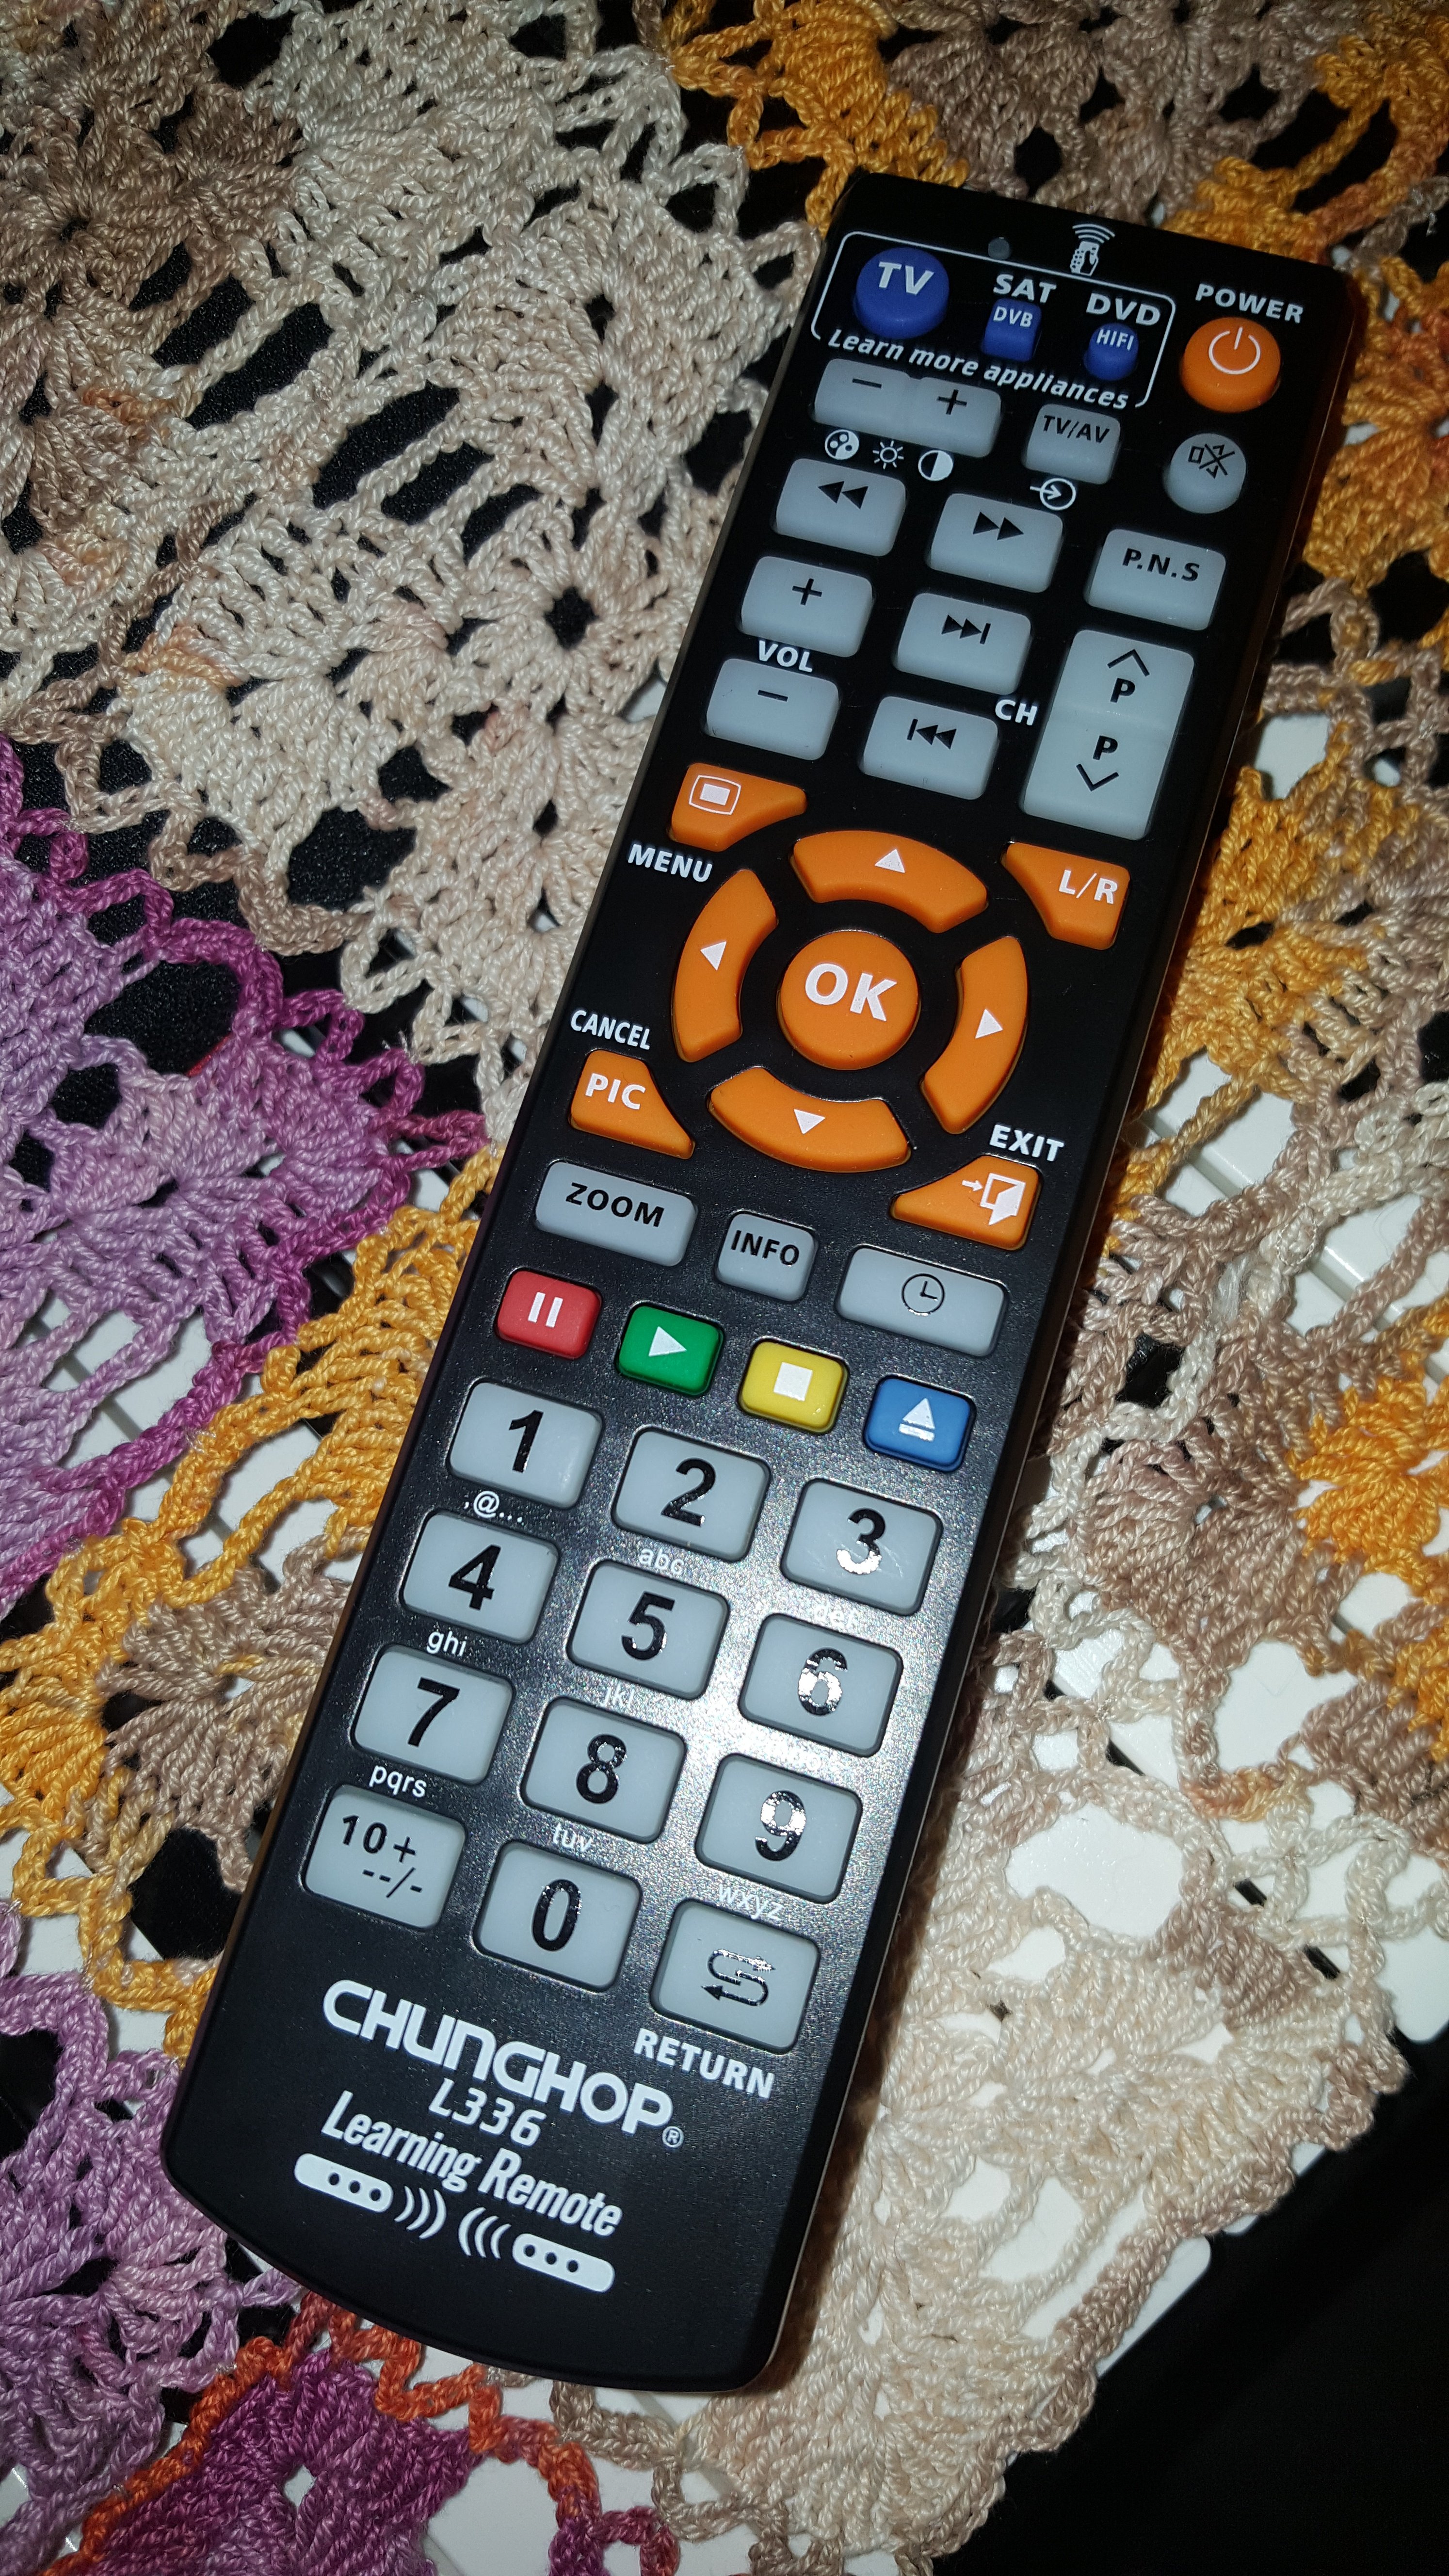
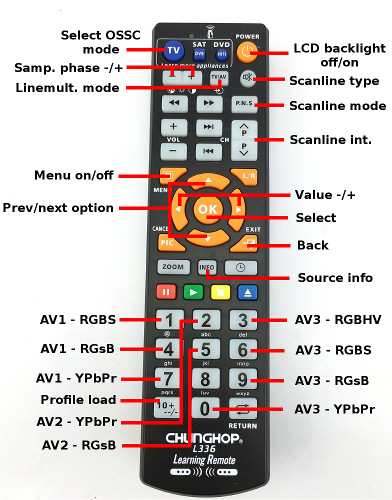

- 0-9: You can select the source and format:
- 1: AV1 RGBS
- 4: AV1 RGsB
- 7: AV1 YPbPr
- 2: AV2 YPbPr
- 5: AV2 RGsB
- 3: AV3 RGB HV
- 4: AV3 RGBS
- 9: AV3 RGsB
- 8: AV3 YPbPr
- MENU: open the menu on the LCD display
- OK: Select the submenu or accept
- BACK: Return to the previous menu
- UP/DOWN: Select next/previous menu option
- LEFT/RIGHT: Change value
- INFO: Display information on video source processing, where:
- VMod=selected output mode
- LO=number of output lines
- VSM=vsync generation mode (0=source, 1-2=FPGA modified)
- Power (=LCD_BACKLIGHT): Turns on/off the on-board LCD backlight
- P.N.S (=SCANLINE_MODE): Choose “Scanlines” mode
- Mute (=SCANLINE_TYPE): Choose “Scanline type”
- P UP/DOWN (=SCANLINE_INT+/-): Adjust scanline strength
- TV/AV (=LINEMULT_MODE): Start line multiplication mode (you need to input 0-5 after that to choose the line mult mode, where 0 is passthrough and 2,3,4,5 are line2x, etc.)
- +/- (=SAMP_PHASE+/-): Adjust the sampling phase
- 10+ (=PROFILE_LOAD): Load a profile
Now you can also purchase a labeled overlay for this remote control.
Menu
See detailed description on this site.
- Video in proc[essing]
- Video LPF: video low-pass filter to reduce noise in video (Auto, Off, 95 MHz, 35 MHz, 16 MHz, 9 MHz)
- YPbPr input Color Space: color space conversion type (Rec. 601 or Rec. 709)
- R/Pr / G/Y / B/Pb offset: affects brightness, 0-255
- R/Pr / G/Y / B/Pb gain: affects contrast, 0-255
- Sampling opt.[ions]
- Sampling phase: 0-347 Deg (affects sharpness)
- 480p in sampler: Auto/DTV 480p
- Allow TVP HPLL2x: enable or disable 2x sampling clock (disabling might improve stability with Line5x)
- Allow upsample2x: enable or disable 2x sample rate in certain modes
- Sync opt.[ions]
- Analog sync LPF: low pass filter for analogue signals (Off, 33 MHz, 10 MHz, 2,5 MHz)
- Analog sync Vth: Sync slicer threshold (0-350mV)
- Hsync tolerance: (0-39,2us)
- Vsync threshold: (1,5-30,7us)
- H-PLL Pre-Coast: (0-5)
- H-PLL Post-Coast: (0-5)
- Output opt.[ions]
- 240p/288p proc: Passthru, Line2x, Line3x, Line4x, Line5x
- 384p proc: Passthru, Line2x
- 480i/576i proc: Passthru, Line2x (bob), Line3x (laced), Line4x (bob)
- 480p/576p proc: Passthru, Line2x
- 960i/1080i proc: Passthru, Line2x (bob)
- Line2x mode: Generic 4:3, 320×240 optim., 256×240 optim.
- Line3x mode: Generic 16:9, Generic 4:3, 320×240 optim., 256×240 optim.
- Line4x mode: Generic 4:3, 320×240 optim., 256×240 optim.
- Line5x mode: Generic 4:3, 320×240 optim., 256×240 optim.
- Line5x format: 1920×1080, 1600×1200 (image is cropped), 1920×1200 (image is cropped)
- 256×240 aspect: 4:3, 8:7
- TX mode: HDMI, DVI
- HDMI ITC: Off, On
- Initial input: select the input to automatically start with. Test pattern is shown when no signal is detected.
- Post-proc.[essing]
- Scanlines: Off, Auto, Manual
- Scanline str.[ength]: 6-100%
- Scanline type: horizontal, vertical, alternating
- Scanline alignment: Top, Bottom
- Horizontal mask: 0-63 pixels (to hide the overscan area)
- Vertical mask: 0-63 pixels (to hide the overscan area)
- Mask brightness: 0-15
- Reverse LPF: 0-31 (can decrease blurriness on SNES)
- DIY latency tester (only with separate external equipment)
- Compatibility
- Full TX setup: Off, On
- AV3 interlacefix: Off, On
- Audio Options (only on audio enabled versions, or revision 1.6)
- Down-sampling: 2x, Off
- Swap left/right: Off, On
- Audio gain: -12 .. + 12 dB (from FW 0.80)
- Load profile
- Save profile
- Reset settings
- F[irm]w[are]. update: you need to write the image with the update onto a micro SD first
Connecting consoles
- Atari: no direct connection, mod the console to output via Scart RGB
- NES: no direct connection, mod the console to output via Scart RGB
- Famicom: no direct connection, mod the console to output via Scart RGB
- PC-Engine: no direct connection, mod the console to output via Scart RGB
- SNES: via SCART RGB
- Sega Mega Drive 2: via SCART RGB
- Nintendo GameCube: via SCART RGB (or Component)
- Sega Dreamcast: via (VGA) (or Scart)
- PlayStation Portable: via Component
- PlayStation 2: via Component (or Scart)
- Wii: Component (or Scart)
Connecting consoles in detail
SNES
connect SNES via SCART cable with the SCART input (AV1), switch to AV1 (Button 1 on the remote) input. From now on you can switch (press TV/AV and then 1-5 on the remote or go to the Output opt. in the menu) between Passthrough (TV/AV+“1”) and 5 linemultiplying modes (TV/AV+“2”–“5”).
- Line2x gives you (if your native resolution is 240p): 480p,
- Line 3x: 720p,
- Line 4x: 960p
- Line5x: 1080p or depending on option Line5x format resolutions 1920×1080, 1600×1200, 1920×1200
Now, the image of SNES may look a bit blurry. There is an option to fix this: go to Post-proc. -> Reverse LPF and set it to 6-10, depending on your taste. This option will reverse the blur and make the picture sharper.
Sega Mega Drive
connect Sega Mega Drive/Genesis via a SCART cable with the SCART input (AV1), switch to AV1 (Button 1 on the remote) input. From now on you can switch (press TV/AV and then 1-5 on the remote or go to the Output opt. in the menu) between Passthrough (TV/AV+“1”) and 5 linemultiplying modes (TV/AV+“2”–“5”).
- Line2x gives you (if your native resolution is 240p): 480p,
- Line 3x: 720p,
- Line 4x: 960p
- Line5x: 1080p or depending on option Line5x format resolutions 1920×1080, 1600×1200, 1920×1200
Since MD/Genesis shows some pixel garbage in the lower part of the screen, you may also want to adjust the option Post-proc. -> Vertical Mask. This will help you to hide the overscan area, mostly on european consoles.
Nintendo GameCube
Best connection types for GameCube are SCART or component cable. Since the component cable is rare and very expensive, the best choice is the SCART cable. Also not so many games support 480p anyway (but if your GameCube is modded, you can force 480p).
Let’s see the SCART connection first.
Connect GameCube via a SCART cable with the SCART input (AV1), switch to AV1 (Button 1 on the remote) input. From now on you can switch between following modes.
- Line1x: Passthrough (480i, 576i)
- Line2x (bob): deinterlacing using the bob algorithm. The image may be shaky
- Line3x (laced): linetripled to 1440i/1728i output.
- Line4x (bob): linequadrupled 960p/1152p output.
Two last modes may not work on your TV, because the resolution and refresh rate is too unusual. The Line2x gives me a pixellated look. In my case I am using a TV, which can deinterlace itself and the image is a bit soft, but more pleasant, than other modes. So I just leave at passthrough. Other options give me pixellated results I don’t like.
Now with the highly expensive component cable:
Connect GameCube via component cable with the red, green and blue inputs (AV2), connect audio cables (white and red) using a RCA to 3.5 adapter with the A1 out / A2 in input and switch to AV2 (Button 2 on the remote) input. Using the component cable you get the resolution of 480p. You can only linedouble it.
- Line1x: Passthrough (480i, 576i)
- Line2x: linedoubled 960p/1152p
If you want to use the GameBoy Player, the best option is to use the homebrew GameBoy Interface. You can adjust the resolution and the image sharpness and overall quality is better. In order to use this homebrew your GameCube needs to be modded.
Sega Dreamcast
You have two options here: you can connect via SCART (and get max 480i/576i) or via VGA (which gives you a better 480p progressive signal).
Let’s begin with SCART:
Connect Dreamcast via SCART cable with the SCART input (AV1), switch to AV1 (Button 1 on the remote) input. From now on you can switch between following modes.
- Line1x: Passthrough (480i, 576i)
- Line2x (bob): deinterlacing using the bob algorithm. The image may be shaky
- Line3x (laced): linetripled to 1440i/1728i output.
- Line4x (bob): linequadrupled 960p/1152p output.
Now the VGA:
Connect Dreamcast via a VGA cable (looks like this) with the AV3 input, switch to AV3 (Button 3 on the remote) input. Using the VGA cable you get the resolution of 480p. You can only linedouble it.
- Line1x: Passthrough (480p, 576p)
- Line2x: linedoubled 960p/1152p
For Line3x and 4x (for SCART) and Line2x (VGA) mode you can also enable the option Sampling opt. -> Allow upsample2x. It can enhance the sharpness using another upscaling algorithm and help, if your TV doesn’t cope with the horizontal rates of your Dreamcast. See this post for more information.
Also swith the Option Sampling opt. -> 480p in sampler to “DTV 480p” to correct the aspect ratio, if it’s wrong.
PlayStation
connect PlayStation via a SCART cable with the SCART input (AV1), switch to AV1 (Button 1 on the remote) input. From now on you can switch (press TV/AV and then 1-5 on the remote or go to the Output opt. in the menu) between Passthrough (TV/AV+“1”) and 5 linemultiplying modes (TV/AV+“2”–“5”).
- Line2x gives you (if your native resolution is 240p): 480p,
- Line 3x: 720p,
- Line 4x: 960p
- Line5x: 1080p or depending on option Line5x format resolutions 1920×1080, 1600×1200, 1920×1200
Please note, that some games switch between 240p/288p and 480i (for menus). During the transition the OSSC will lose the sync for a couple of seconds.
PlayStation 2
Two options: SCART and component (enables max of 480p and more!). For component you may also want to change to the YPBPR output mode. If you can’t see any picture, you can do following.
- Wait about 20 seconds, Press Down, X, 3x Down, X, Left, X.
Well, you have a tough choice here: SCART of component? I prefer SCART. First: you don’t have to attach audio separately. Second: it’s a bit sharper and colours look a bit better than component. Drawback: no progressive 480p.
Connect PS2 via a SCART cable with the SCART input (AV1), switch to AV1 (Button 1 on the remote) input. From now on you can switch between following modes.
- Line1x: Passthrough (480i, 576i)
- Line2x (bob): deinterlacing using the bob algorithm. The image may be shaky
- Line3x (laced): linetripled to 1440i/1728i output.
- Line4x (bob): linequadrupled 960p/1152p output.
Just like with the GameCube: two last modes may not work on your TV, because the resolution and refresh rate is too unusual. The Line2x gives me a pixellated look. In my case I am using a TV, which can deinterlace itself and the image is a bit soft, but more pleasant, than other modes. So I just leave at passthrough. Other options give me pixellated results I don’t like.
Now the component cable:
Connect PS2 via component cable with the red, green and blue inputs (AV2), connect audio cables (white and red) using a RCA to 3.5 adapter with the A1 out / A2 in input and switch to AV2 (Button 2 on the remote) input. Using the component cable you get the resolution of 480p. You can only linedouble it.
- Line1x: Passthrough (480p, 576p)
- Line2x: linedoubled 960p/1152p
PlayStation Portable
You can connect this portable gaming system with the OSSC via the component cable (it has a special connector). Attach the cable to your PSP, your OSSC. Then switch PSP on and go to Settings -> External Display Settings to external display. OR turn the PSP system on and then press and hold the display button on the system for at least 5 seconds to switch to the external output.
The resolution is 480p, though games will not use the whole screen and will only fill out the area of 480 × 272. The image will have black borders. You can’t zoom with OSSC but at least you can improve the resolution. There is no point of choosing 480i, the image will be much worse.
Connect PSP via component cable with the red, green and blue inputs (AV2), connect audio cables (white and red) using a RCA to 3.5 adapter with the A1 out / A2 in input and switch to AV2 (Button 2 on the remote) input. Using the component cable you get the resolution of 480p. You can only linedouble it.
- Line1x: Passthrough
- Line2x: linedoubled 960p/1152p
Actually Line2x looks very good with this console, so I recommend using it. It may look more pixellated, e.g. my TV shows much smoother image with passthru. Try enabling Allow Upsample2x to make the image less edgy.
Another interesting question is playing PSX games on PSP and how it affects the resolution. Please stay tuned!
Updating Firmware
All updates can be found here.
In order to update use a micro SD card. Download needed firmware (depending on your revision) and write it as image (e.g. Win32imager) to the SD. Insert the card into the OSSC. Turn the ossc on and go to the menu option “Firmware”. Update.
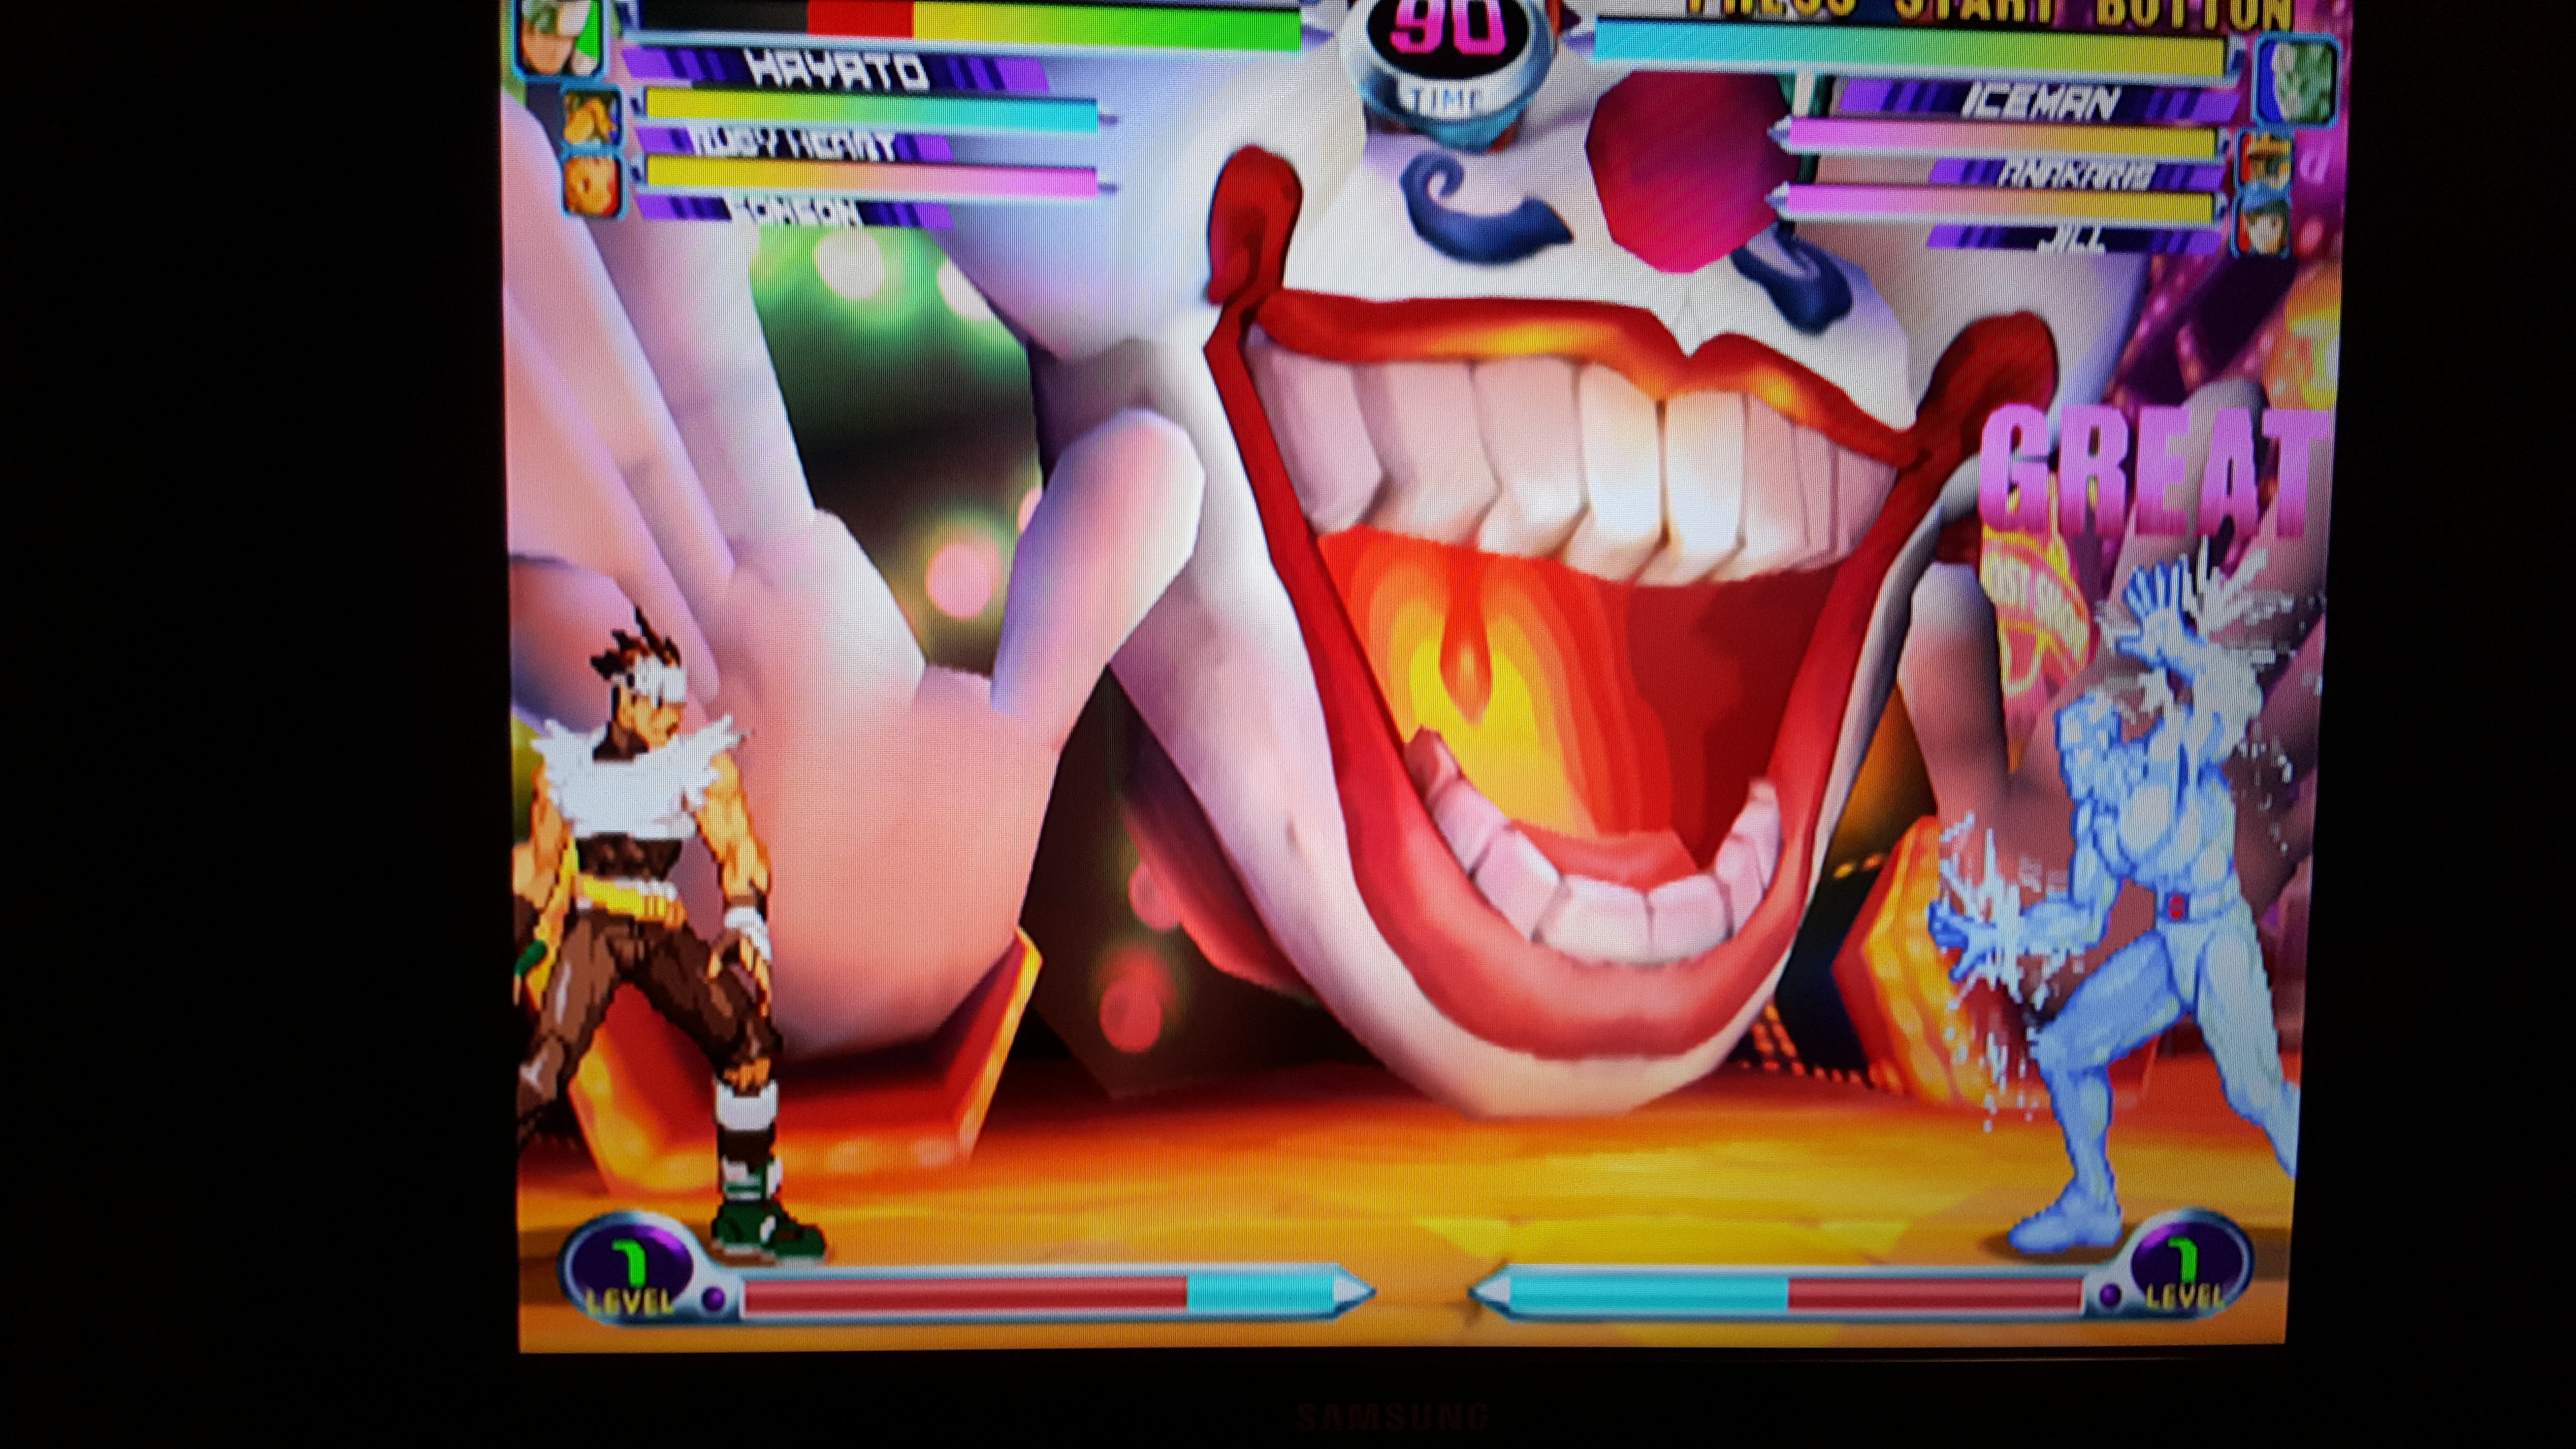
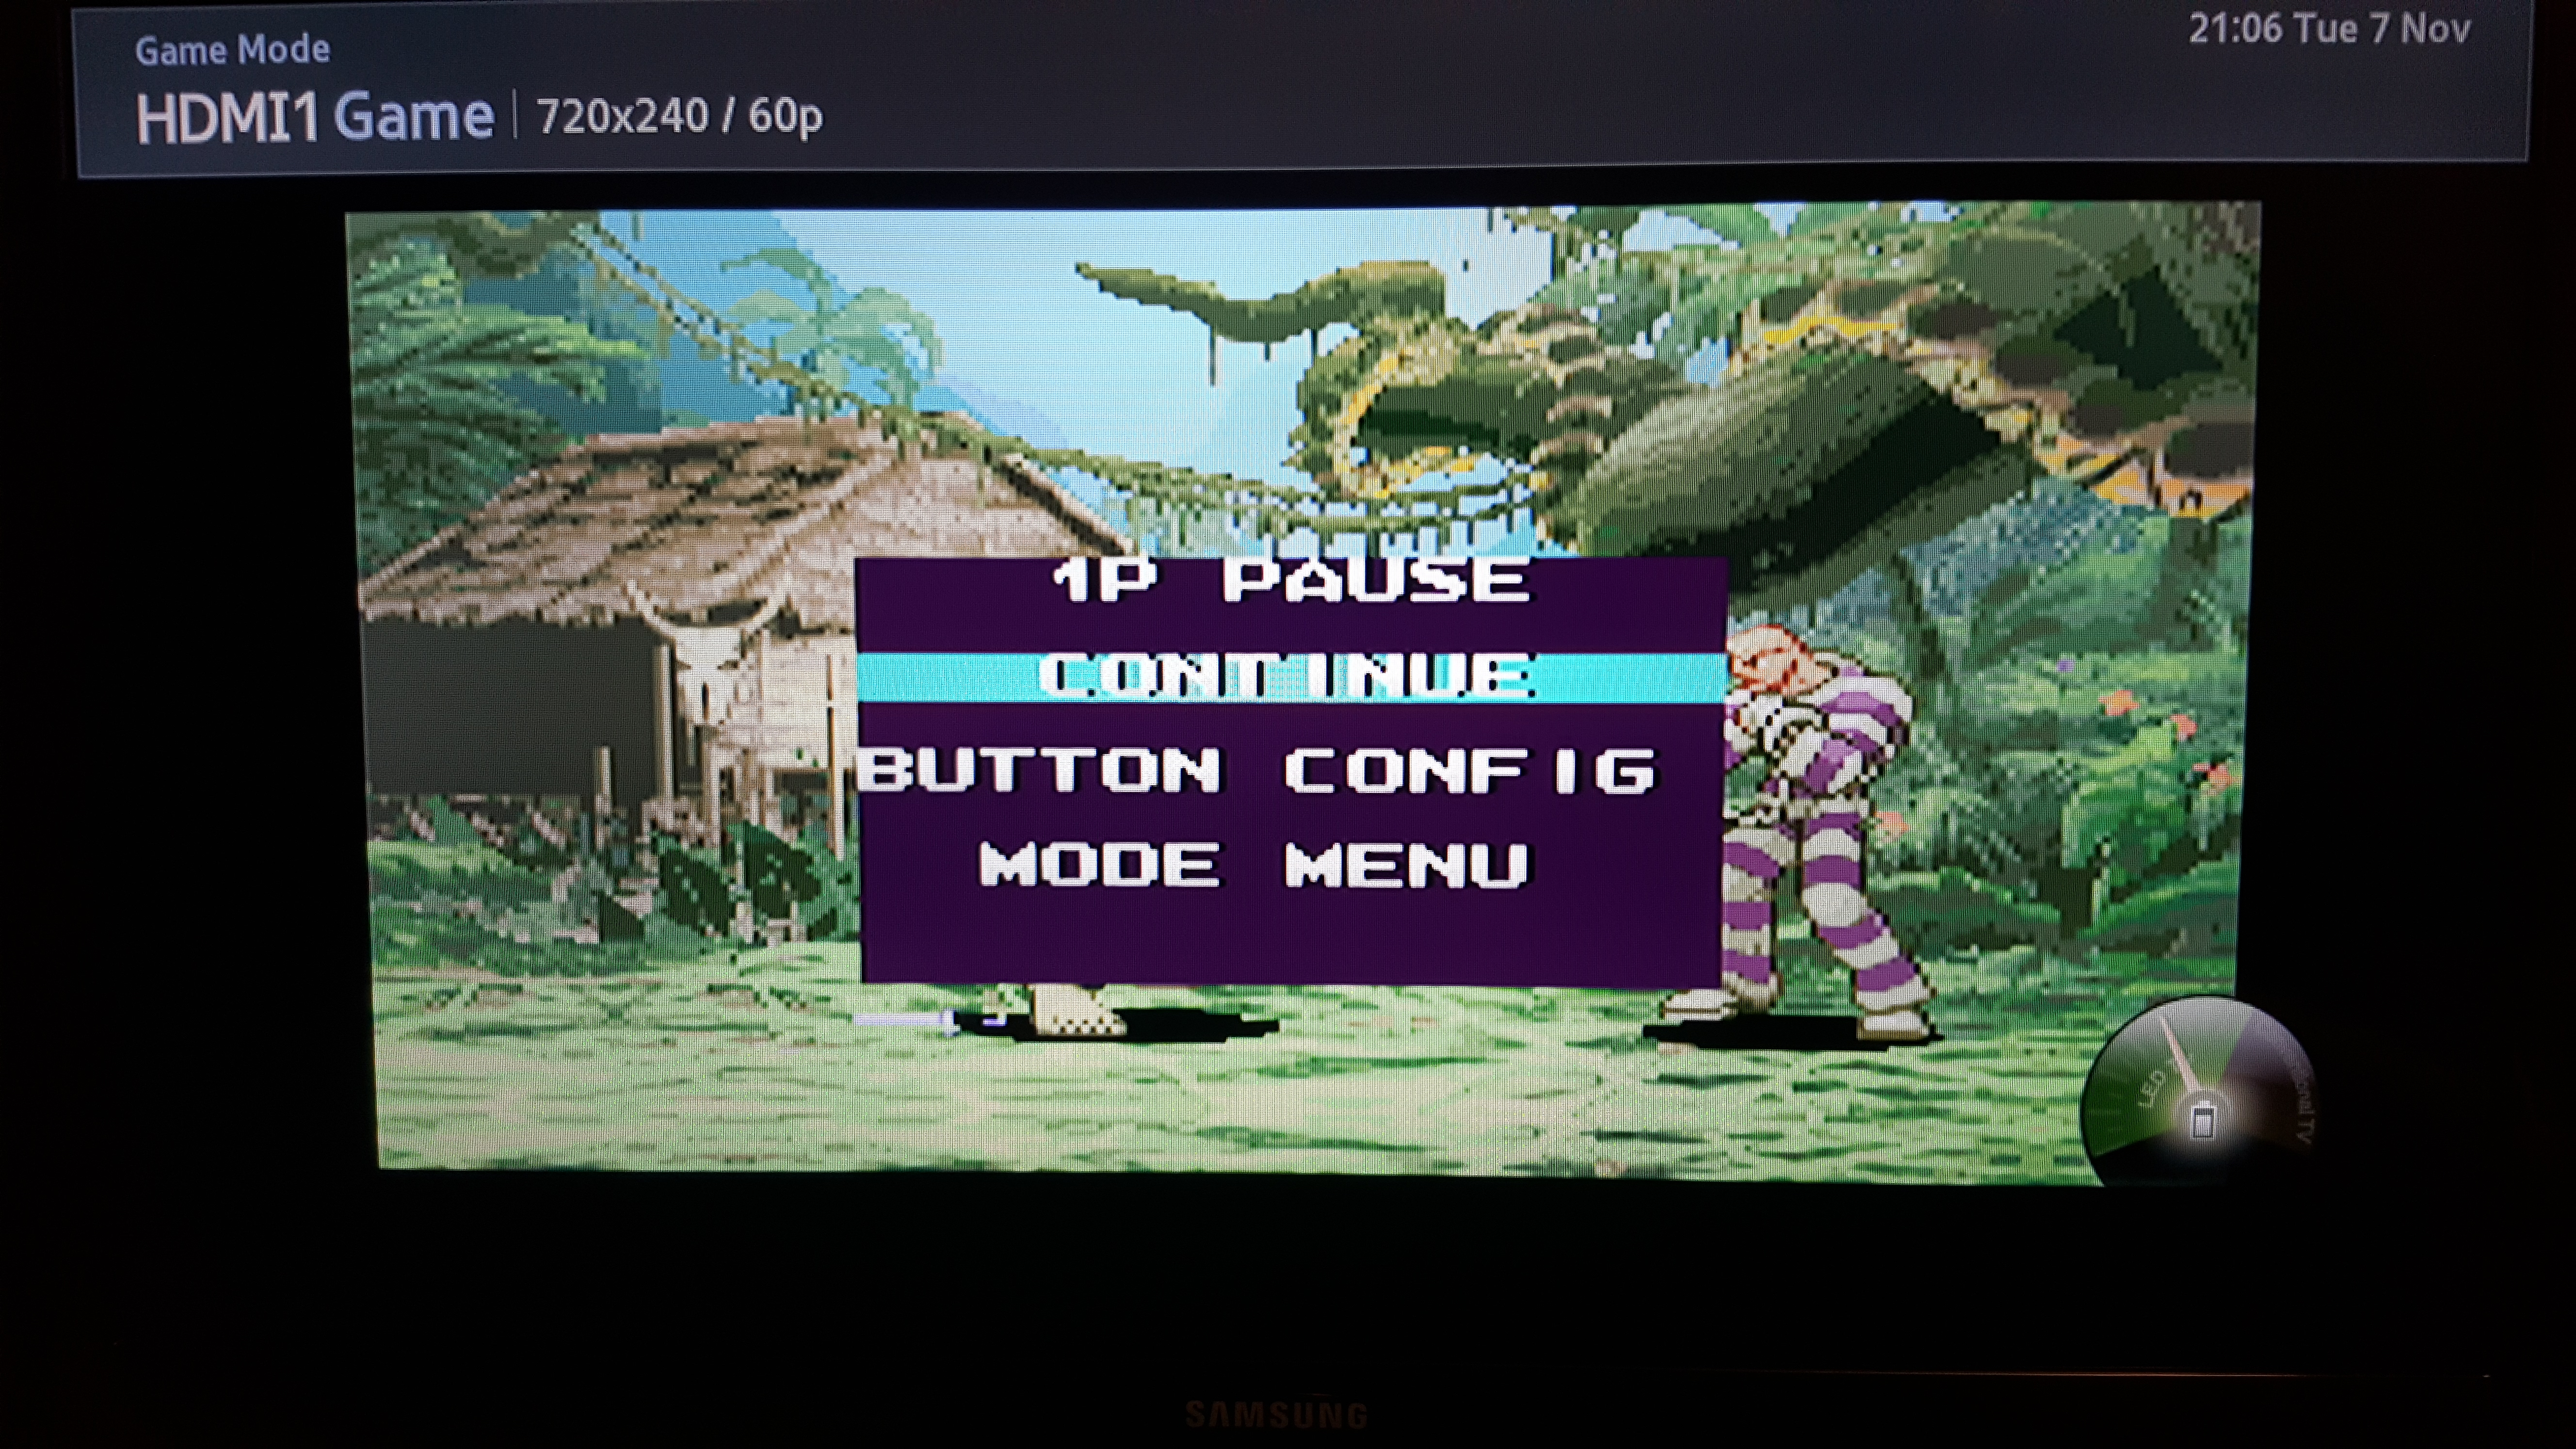
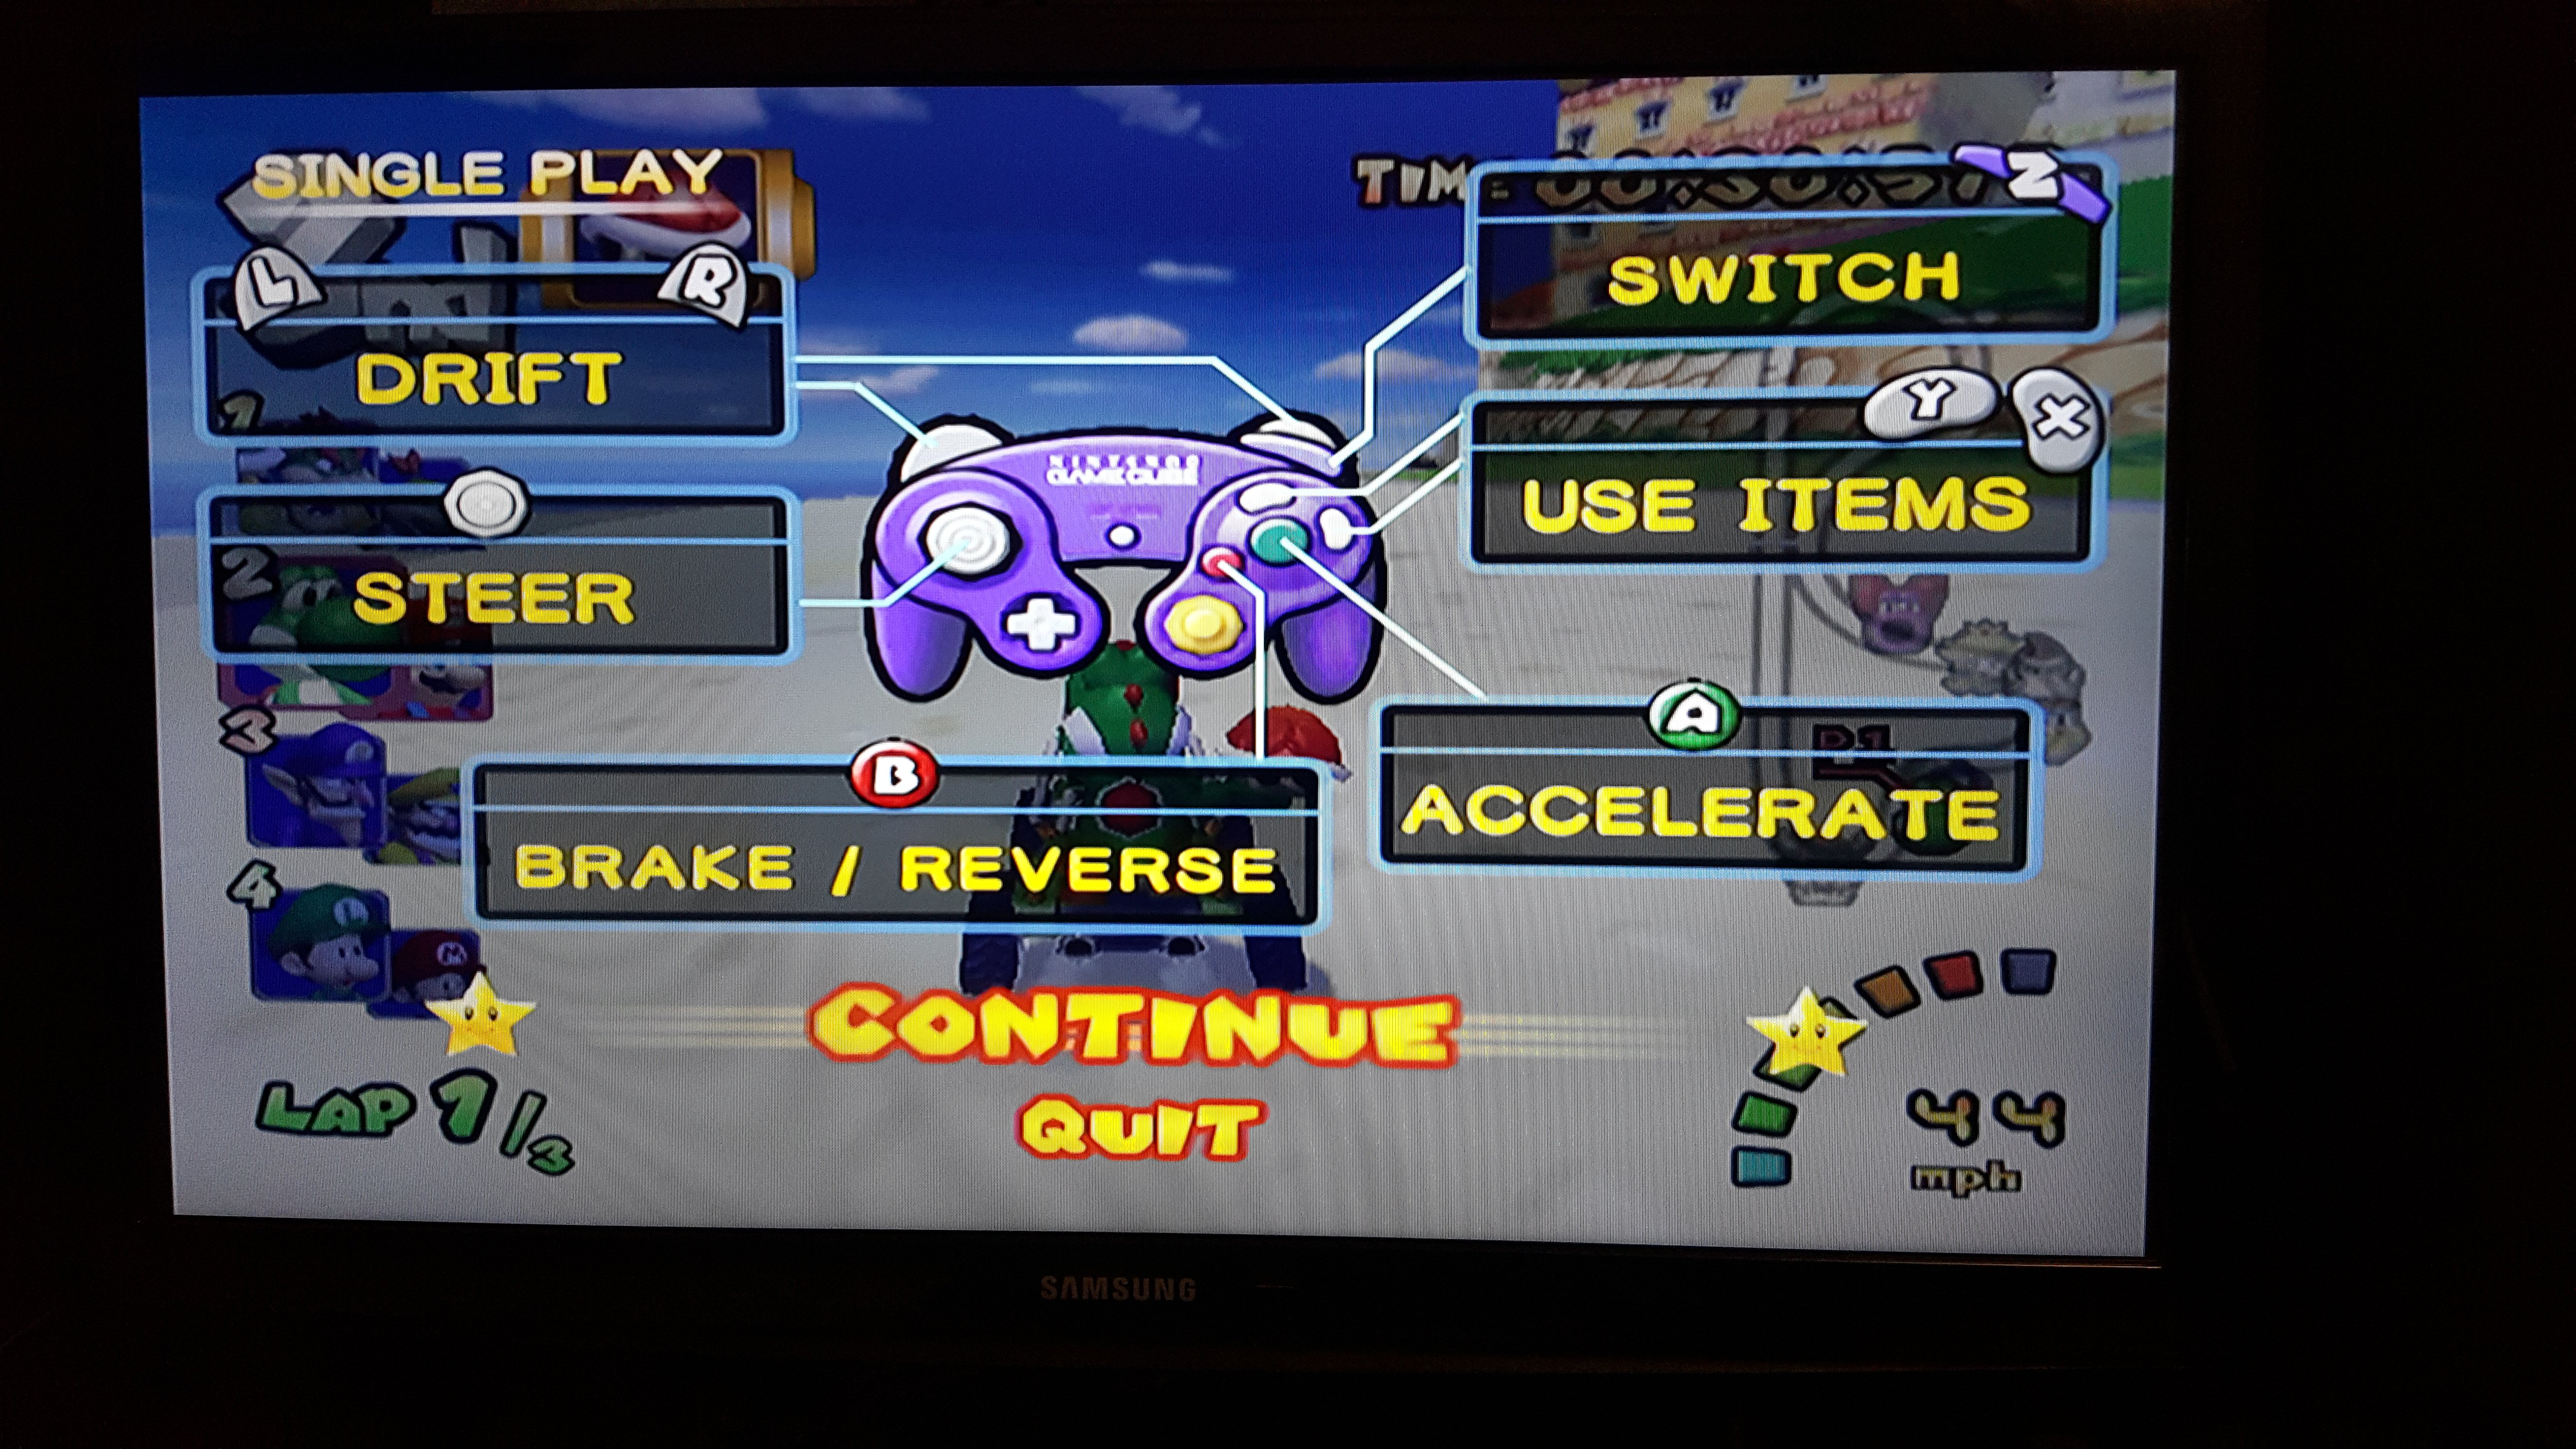
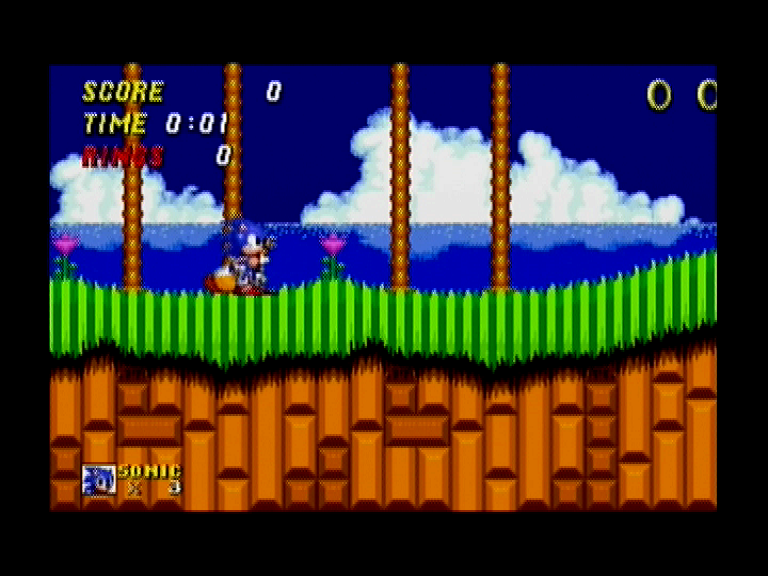
Screenshots