

Analogue Super NT – is a gaming console, a clone of the SNES/Super Famicom, made by company Analogue, Inc., and released on 7th February of 2018. This is a hardware clone based on an FPGA, which means it utilises hardware emulation of the original hardware on the lowest level. This results in maximal compatibility with original game paks and accessories (except the light gun), lowest possible lag and very authentic gameplay (almost ideal cycle based copy of cpu commands). All functions of the original console (memory, cpu, video, audio) are recreated using the FPGA system. Apart of this a dedicated scaler is used and there is a lot of different settings (especially for video output).
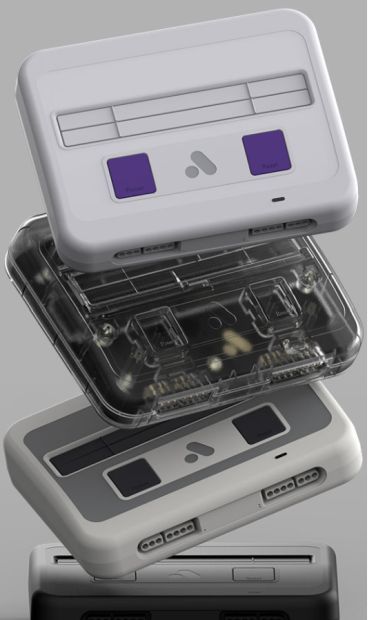
Four colour variants have been released:
- colour scheme of the north american model
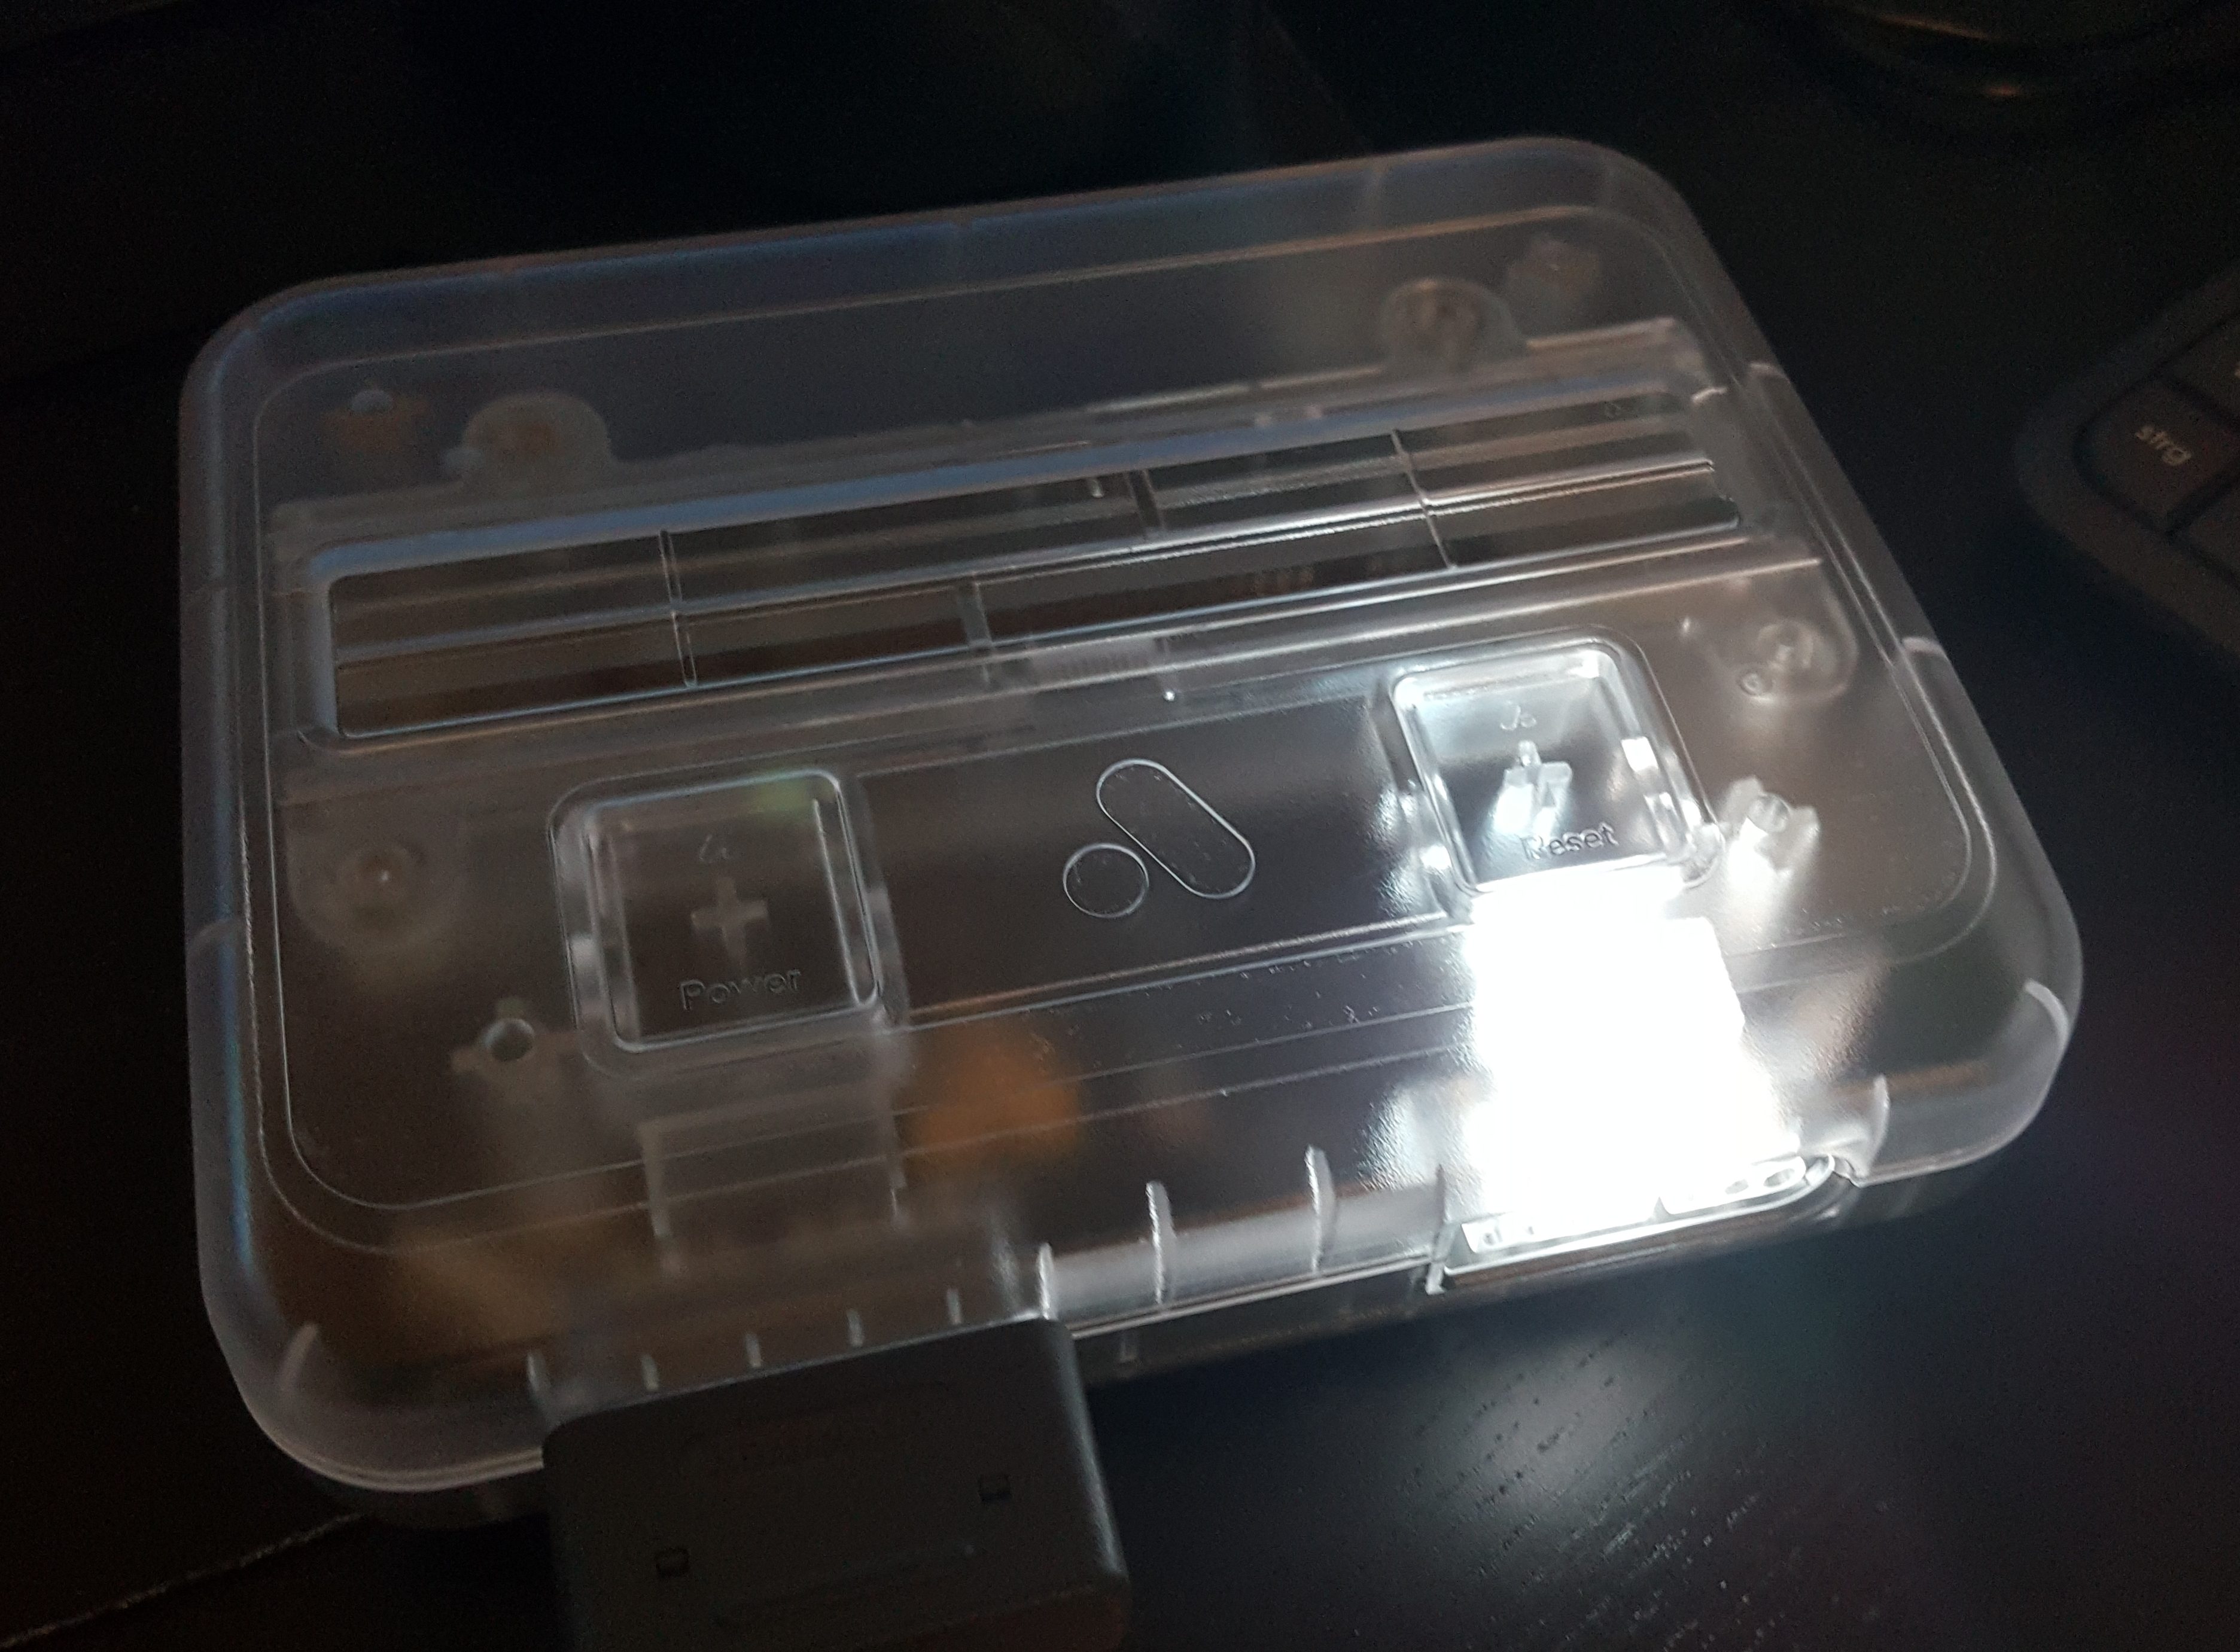
- transparent (used in this guide)
- colour scheme of the japanese or european model
- black model
Want to compare the image quality?


Parallel to the release of the console the company 8bitdo released wireless gamepads of the same colours. These controllers are not included and have to be bought separately. Also the console supports original controllers from SNES/SF.
Wireless controllers can be connected via the adapter called 8bitdo Retro Receiver. It is inserted into the controller port and is synchronizing with controllers (also other wireless controllers are supported, e.g. Dualshock 3, 4) via bluetooth. Controller’s battery should last for about 20 hours of gameplay.
I highly recommend controllers by 8bitdo, because they replicate the ergonomics of the originals and are very well-built. The only downside can be a very little lag, so if you want the best speed possible, use the original wired controllers.

Further information
- Official page with guides and updates
- Technical review by DigitalFoundry
- Technical review by MyLifeInGaming
Technical specs
- Board: FPGA Altera Cyclon V
- Resolutions: 480p, 720p, 1080p
- Regions: PAL, NTSC (without automatic recognition, that’s why the region should be set manually before the start in the system options)
- Connection to TV: via HDMI
- Updates: using the SD card
- Compatibility: SNES, Super Famicom, Super Game Boy, Super Game Boy 2
- Audio: upscaled 48000 Hz 16-bit audio, digitally through HDMI, support of audio chips on cartridges or Super Game Boy
- Controller ports: support of original gamepads
- wlan/bluetooth: no
- Flashcards support: yes: Everdrive, SD2SNES
- Graphical enhancements: three types of buffers, two of which maintain the original game speed, scalers (=filters), scanlines, options for resolutions, aspect ratios and other enhancements (e.g. support for more sprites etc.)
Packaging

Each console is delivered in a black box with a sticker, which tells you the technical specs and on the side the colour of the console. Cables are stored in a black carton box.
This is what included:
- console itself
- short manual in English
- micro USB -> normal size USB (for power supply)
- power supply adapter for USB (multi-region for Japan and USA)
- HDMI cable
In a separate envelope:
- carton box for the digital version of the game Super Turrican: Director’s Cut
Pre-installed games

Two games are pre-installed on the console. Both are developed by Factor 5:
- Super Turrican: Director’s Cut: is the special and full version of the original game, released in abridged form in 1993 due publisher limitations and costs. This version is enhanced and has a new level, new audio, weapons and is 6 Mbit instead of 4 of the original.
- Super Turrican 2 (original game has been released in 1995)
Connection
Connection is very ease. Micro USB cable to the console, the normal USB to your TV or any other power source (you can use any USB-adapter, like from smart phone) or even power bank. Connect HDMI to the console and TV and don’t forget to connect the controller!
Updates
Search for an update news on the site https://support.analogue.co/hc/en-us (e.g., Super Nt: Firmware Update v4.1). Download the file and unpack it into the root folder of an SD Card. Insert the card into the console and turn the console on. The LED will be blinking red for a period of 3-4 minutes, afterward the console will be reset and the led will become normal.

Turning on and off
You turn on or off by pressing on the left button labeled Power. After turning on a short logo animation will be shown.
Important: before changing the game cartridge, turn off the console!
Starting games
Starting games cartridge
Make sure the console if turned off. Gently insert the cartridge and press Power to turn on. After the menu is loaded, choose Run Catridge.
Important: before changing the game cartridge, turn off the console!

Starting digital games
Two games are pre-installed on the console: Super Turrican: Director’s Cut and Super Turrican 2. You can find them in the main menu (you can access it by pressing down+select).
Resetting game
You can reset your current game by pressing the Reset button (the right one), or by pressing up+select.
Main menu
You can navigate with the digital pad and confirm/cancel with the shown buttons (you can also change them). You can access this menu after turning on or by pressing down+select. Press select again to go back to the game.
Important: games will not be paused if you access the main menu!
The main menu consists of the following options:
- Run Cartridge: start the inserted cartridge
- Super Turrican Director’s Cut: run this pre-installed game
- Super Turrican 2: run this pre-installed game
- Settings: system settings
- Tools: using cheats
Settings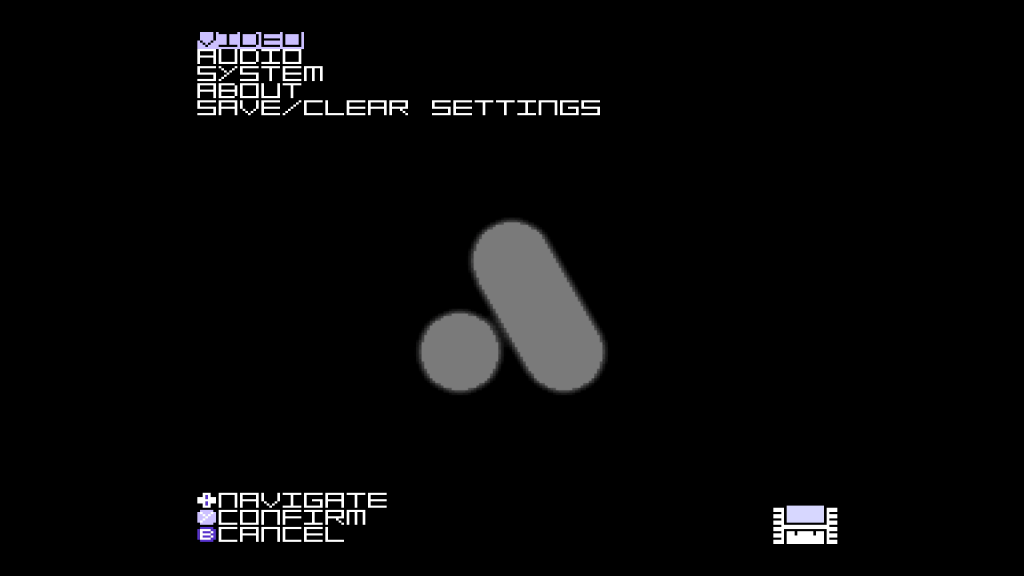

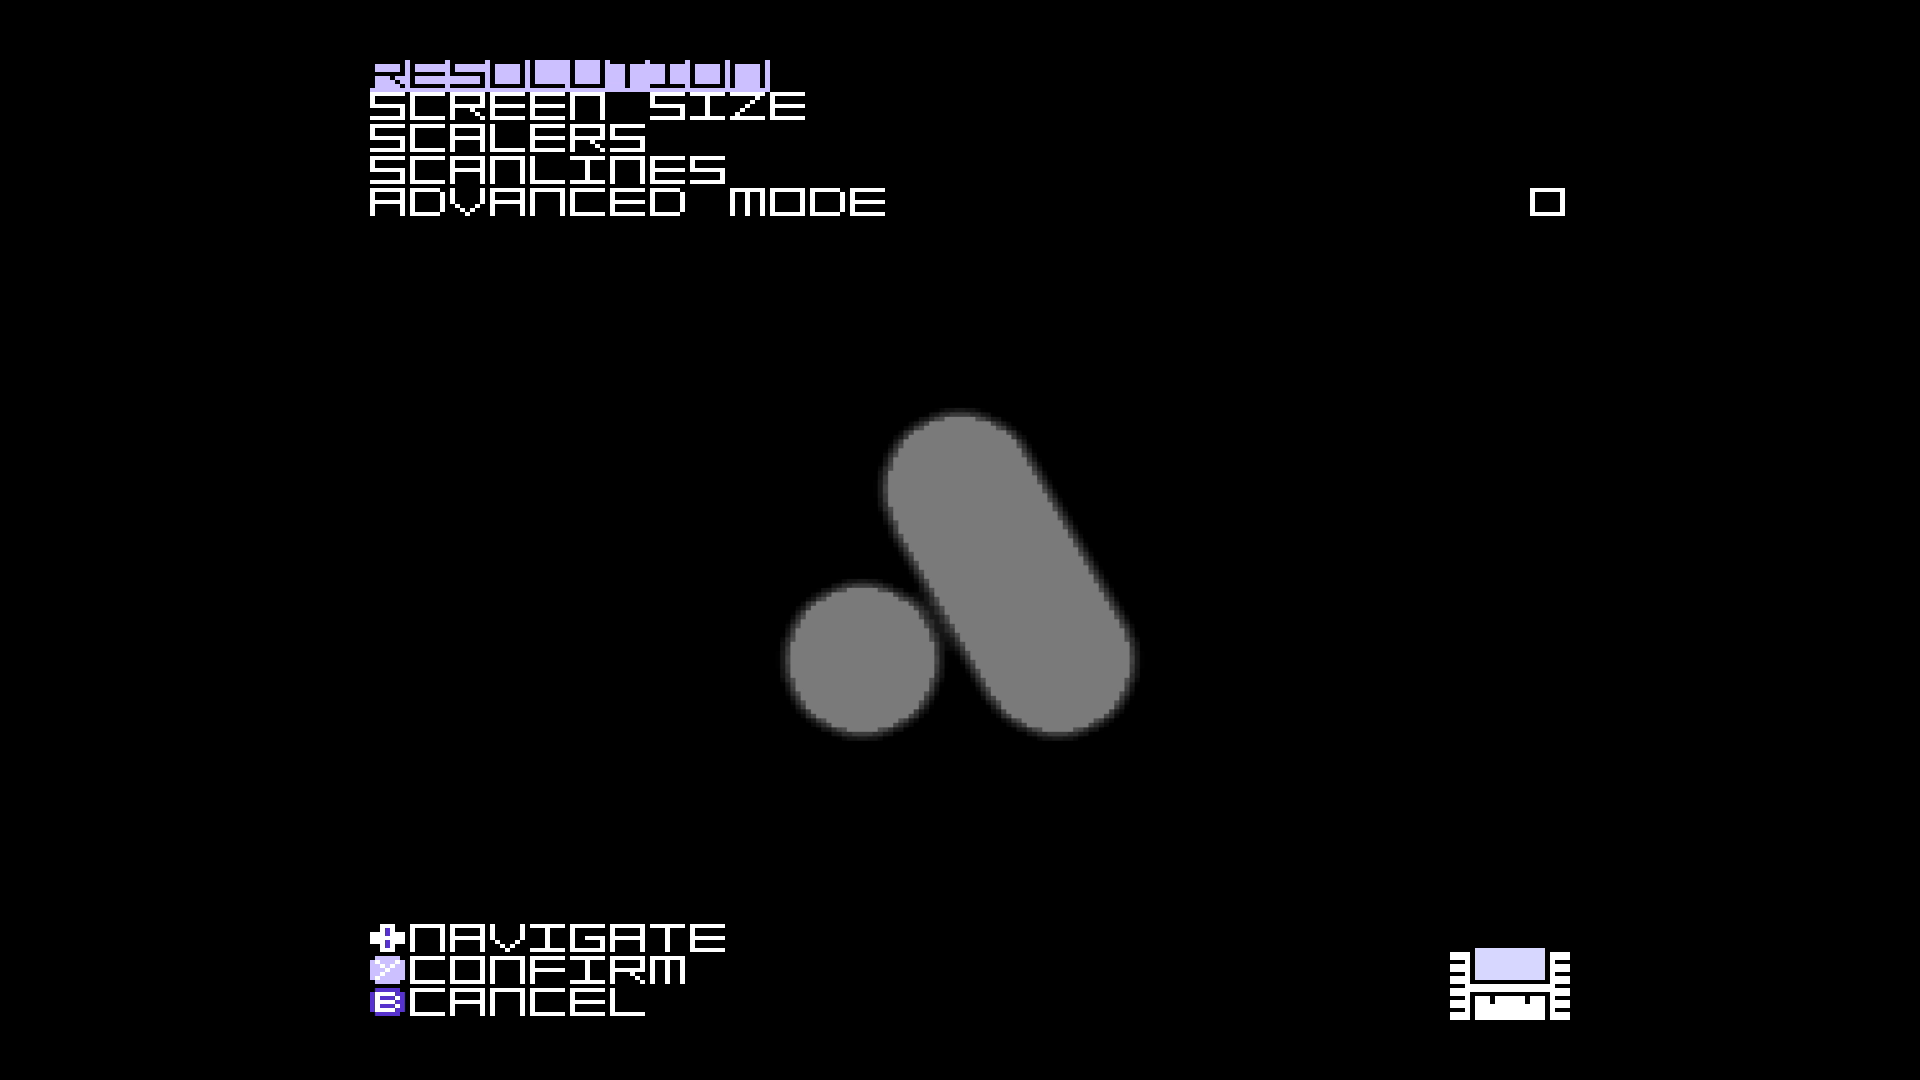
VIDEO

Options marked with * are only shown if Advance Mode es selected. Some options are then renamed or replaced.
- RESOLUTION: here you can choose the resolution and the frequency. Also all supported modes are shown here. Important notice: during the resolution change the game can crash! For the scanlines the resolution 720p is recommended. For more crisp image, but without scanlines, use 1080p. You should use 480p only if your TV/monitor doesn’t support other resolution. Frequency of 60 is better than of 50 and should be supported by most TVs.
- 480p60: the lowest resolution, but can be combined with the scanlines
- 720p60: this resolution is recommended if you want to use the scanlines
- 1080p60: the highest possible and the most crisp resolution, but not recommended, if you want to use the scanlines
- 576p50: the european standard for PAL games and if your TV doesn’t support the above mentioned. The scanlines should look ok (because 576 is 2х of the european 288p, used in the original)
- 720p50: only if your TV doesn’t support the better 720p60
- 1080p50: only if your TV doesn’t support the better 1080p60
- SCREENSIZE: here you can set the aspect ratio and integer scaling (4x, 4,5x, 5x). When using 5х height, top and bottom parts of the screen will become cropped, but side borders will be smaller.
- 1:1: each pixel has the same height and width. The picture is too squeezed.
- 8:7 (default setting)
- 4:3 for 16:9
- 4:3 for 16:10
- 4x height: magnification, by which top and bottom parts of the screen remain visible
- 4.5x height: magnification, by which the image is stretched vertically so that only side borders remain visible
- 5x height: the image is stretched even further, so that a part of it is cropped, but the side borders are smaller
- CROPPING:* allows you to crop the image from all four directions
- crop left: crop the image from the left
- crop right: crop the image from the right
- crop top: crop the image from the top
- crop bottom: crop the image from the bottom
- SCALERS: scaling filters which can soften the image and make it look more cartoon-like.
- no scaler: don’t upscale and don’t use any filter (default setting)
- HQ2X: upscaling and softening, level 2
- HQ3X: upscaling and softening, level 3
- HQ4X: upscaling and softening, level 4
- Scale 2X: upscaling, magnitude 2
- Scale 3X: upscaling, magnitude 3
- X-Ray: black and white inverted filter. I guess, just for fun.
- disable H Interpolation: moving images can have slight artifacts. This options reduces them. It is recommended to disable this option.
- disable V Interpolation: moving images can have slight artifacts. This options reduces them.
- SCANLINES: horizontal scanlines make the screen look like an old CRT
- no scanlines: do not add any scanlines (default setting)
- normal scanlines: normal horizontal scanlines
- hybrid scanlines: scanlines only visible on specific layers/colours
gamma boost: increase gamma to make the picture brighter, because scanlines can make it too dark. It is recommended to use this option every time.Removed in 4.4. See COLOR menu.- scanline depth: adjust scanlines thickness
- WIDTH & HEIGHT*: manually set width and height of the image. Recommended settings: Width: 1170 x Height: 960, H Pos: +38, V Pos: +42. Also very useful for the Super Game Boy adapter.
- width: width of the image. You can stretch it to fill the whole screen, but it won’t look good. Original system had aspect ration ca. 4:3.
- horizontal position: horizontal position
- height: height of the image
- vertical position: vertical position
- EXTRA FEATURES*: a couple of advanced enhancements
- 64 sprite tiles: original hardware hat limitations of the number of sprites. You can increase it to make the picture less flickering
- mode 5 & 6 Interlace disable: disabling interlacing for some modes, except in hight resolution (480i)
- pseudo-hires blending: half transparent areas are shown as solid
- BUFFER MODE*: buffer mode allows you to choose, which refresh rate is used. You can change it to show the game with the original speed. This will result in tearing. Default mode is Zero Delay Mode, which is compatible with the HDMI specs, but is 0,15% slower than the original.
- Fully buffered: original refresh rate is used by dropping frames and adding a little lag. Recommended for speedrunners.
- Zero delay mode: minimal lag and no dropped frames, compatible with HDMI refresh rate of 60Hz, but the game speed is 0,15% slower than original (original SNES ouput slightly above 60Hz)
- Single buffer mode: slightly faster than Fully Buffered, but adds a vertical tearing during horizontal scrolling. Recommended for speedrunners.
- COLOR*
- Limit RGB range: you can limit RGB range if your TV needs it
- Lock gamma sliders together: all gamma changes for all channels simultaneously
- Red: gamma correction for red channel
- Green: gamma correction for green channel
- Blue: gamma correction for blue channel


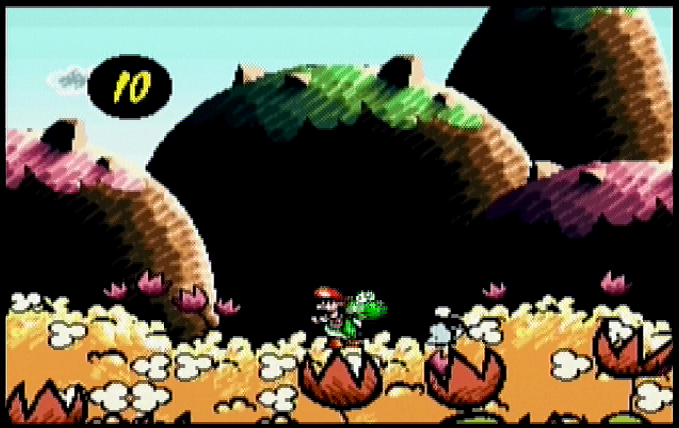
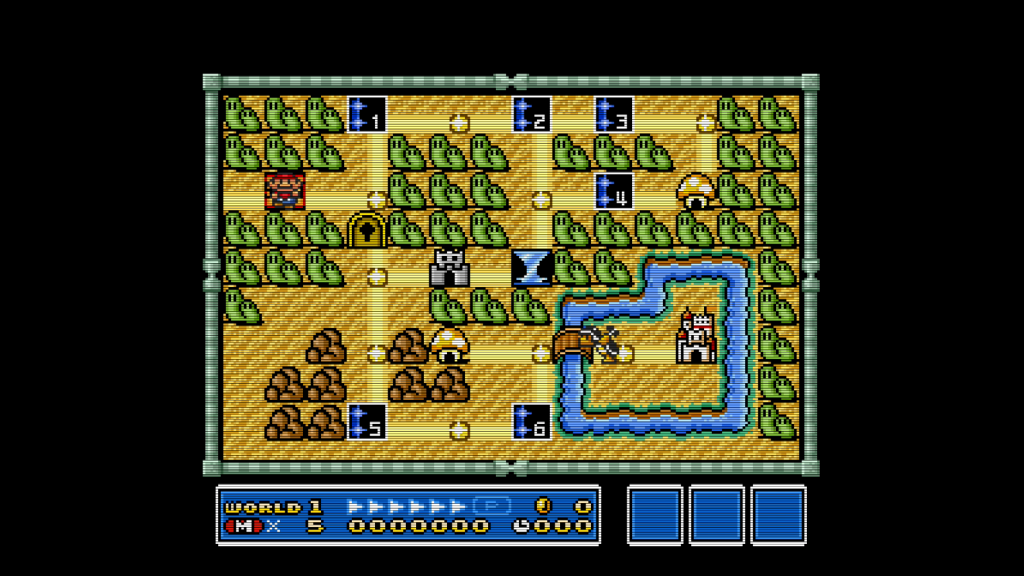
default

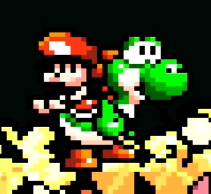
hq2x
scanlines + 1080p
AUDIO: audio settings
- -3dB output cut: cuts the volume because some games are too loud
- Cartridge Audio Enable: enable/disable support for integrated into cartridges sound chips (e.g., Super Game Boy)
- Swap Left & Right: swap left and right channels
- Cartridge Audio Volume: adjust the volume of the audio chip on the cartridge
SYSTEM: system settings
- MENU OPTIONS: main menu settings
- Skin: colour scheme, affecting the colours of the buttons in the menu or symbols (e.g. the symbol of the cartridge)
- classic: north american colours (white, blue, lila), north american cartridge
- sf: japanese/european colours (green, blue, yellow, red), super famicom cartridge
- Highlight style: highlighting of letters
- solid: solid colours
- swipe: filling up
- flash: splashes one time
- rolling: each letter if filled separately
- throb: permanently flashing
- Highlight color: letters’ colours
- light purple: lila
- dark purple: dark blue
- red: red
- yellow: ochre
- blue: light blue
- green: green
- white: white
- magenta: magenta
- Font: font and capitalisation
- alternate font: less aesthetic font (like the one used in Everdrives)
- upper case only: show only capital letters, otherwise only the first letter is capitalised
- Menu bounce: the main menu will bounce. Removed in 4.4, and is back in 4.5!
- Dim Game in Menu: dim the game when the main menu is shown
- Skin: colour scheme, affecting the colours of the buttons in the menu or symbols (e.g. the symbol of the cartridge)
- CONTROLS & HOTKEYS: adjust buttons for confirming/canceling and adjust button combinations
- reset hotkey: button combination for resetting (default up+select)
- menu hotkey: button combination for main menu (default down+select)
- confirm/select key: button for confirmation/selection (default Y)
- cancel/back key: button for canceling/returning (default B)
- STARTUP OPTIONS: start-up options
- boot sequence delay: delay after start
- title->menu: go from start-up animation to the main menu
- title->cartridge: go from start-up animation directly to the inserted game
- menu direct: go directly to the main menu without the start-up animation
- cartridge direct: go directly to the game without the start-up animation
- HARDWARE: region setting (PAL or NTSC). Some games check the region and you need to set the correct region before starting the game.
- NTSC: North America, Japan
- PAL: Europe, Australia
- launch system timing: adjust the timing so that the Game Genie is supported
- NTT data pro compatibility: forces compatibility with ntt data gamepad
- SD Card speed: you will need to restart the system after changing this option
- Normal
- Fast
- Faster
- LED OPTIONS: LED options
- STANDBY COLOR: white colour
- CLASSIC: north american model colours (lila, blue)
- SF: Super Famicom colours (green, blue, yellow, red)
- CENTER PIXEL: current center pixel
- K-PRO RAINBOW: rainbow colours
- CUSTOM PATTERN: own pattern
- ADJUST PATTERN: adjust custom pattern
- ABOUT: information about creators and also special thanks to other contributors
- SAVE/CLEAR SETTINGS: save current settings or reset to default settings
- SAVE SETTINGS: save current settings
- RESTORE FACTORY DEFAULTS: restore default settings
Almost all settings are shown in this official video by analogue:

Button combinations
You can change these combinations in the main menu. Default combinations are:
- up+select: restart the game
- down+select: show the main menu
Recommended video settings
- width: 1170
- height: 960
- gamma boost: enabled
- disable H interpolation: enabled
Custom Firmware (Jailbreak)
One Jailbreak is already available (not official). Apart from some minor changes, it allows to start games directly from the SD card.
Installation: download the jailbreak software and unpack the bin file into the root folder of your SD card (it should be formatted in Fat32). Insert the SD card into the console and turn the console on. Just like with the official updates, the console will be flashing with its LED for 3-4 minutes and after it’s finished the console will restart and the led will become normal. Some new options will be added and some will be changed. Save roms into the folder “SNES” (you can divide them into further subfolders, but don’t put more than 300 roms in one folder!).
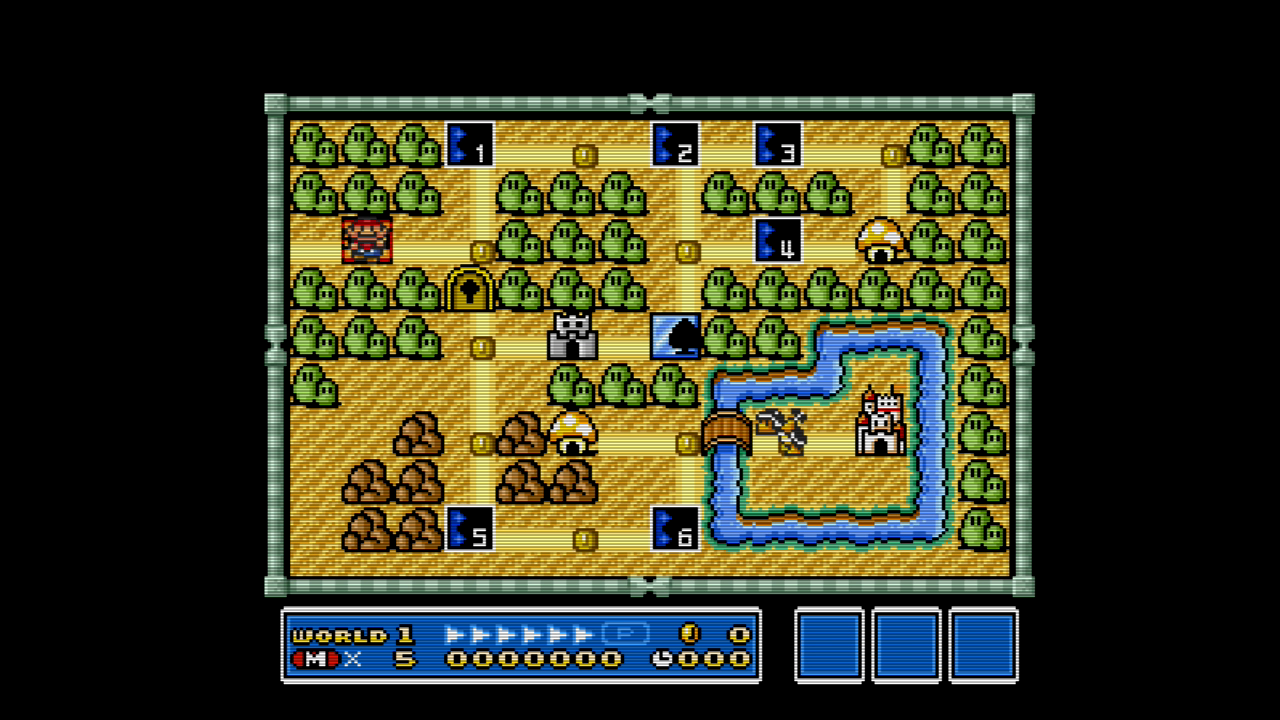
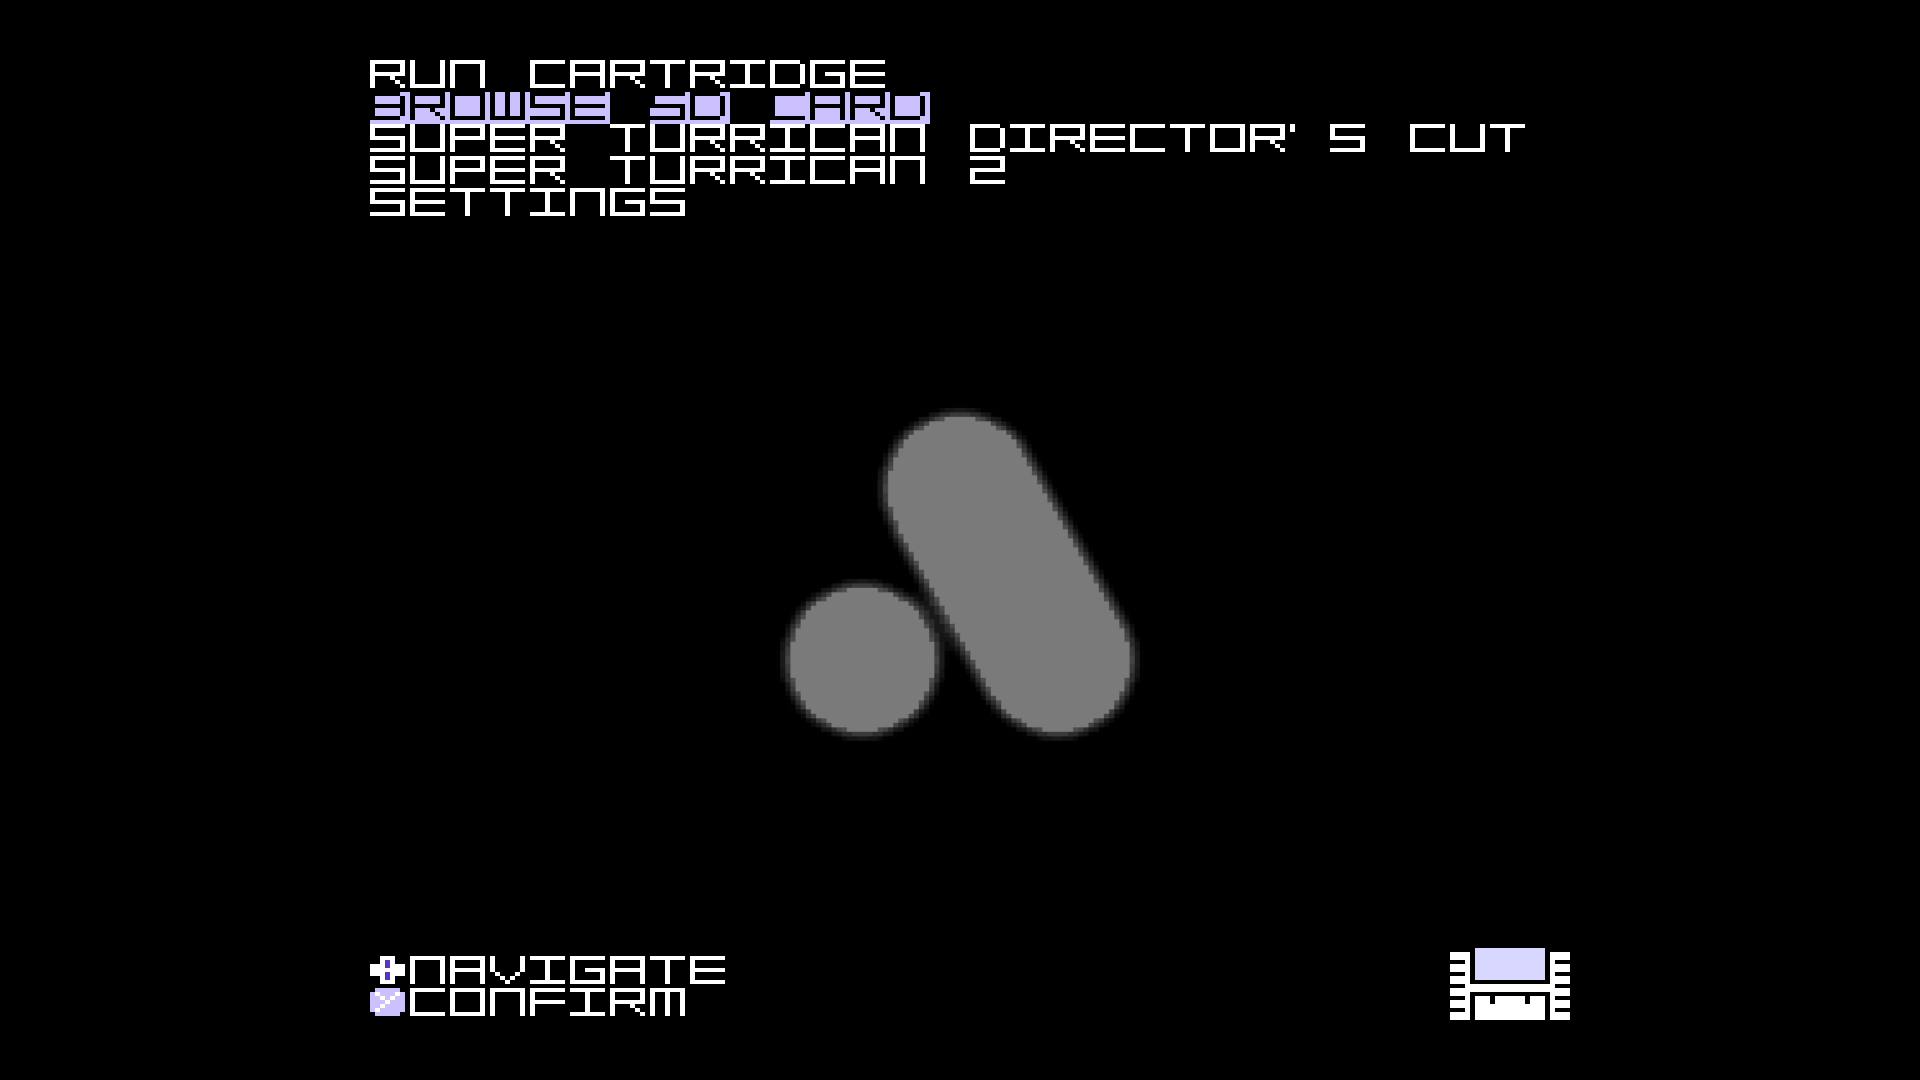
You now have access to a new option called “Browse SD Card”, where you can navigate and choose roms to load. You can go back anytime to the main menu screen by choosing <-GO BACK, or load the inserted cartridge (*RUN CARTRIDGE*). In the game, if you go back into menu, you go first into the list of games. From there you can open the main menu by pressing START or go back to the game by pressing SELECT.
Compatibility: games with special chips (Street Fighter Alpha 2, Star Fox, Super Mario Kart, Super Mario RPG, Doom, Mega Man X2, and so on) are not supported. The warning EXPANSIONS NOT SUPPORTED! is shown.
From version 6 the menu handling has been changed and more message screens has been added. Now you also need to exit the game and restart it, in order to save correctly.
There is also a very useful tool, CopySNES, which allows you to create dumps of your games and save them on the SD card. See this page for more instructions.
The setting custom pattern (menu options -> led options) is renamed to load custom pattern and allows to load patters from the SD card.
All saves are stored in the folder /SAVES/SNES/
You can also use your SD cards from you flashcards and saves are automatically recognised.
Screenshots


LED showcase