

Introduction
Mega SG is an FPGA clone of Sega Genesis / Mega Drive, made by Analogue and released in 2019. The console supports all games from Genesis and Mega Drive and also Sega Master System via the included adapter. More adapters will be released to support other 8 bit Sega consoles.
The console ouputs via HDMI in multiple resolutions and features similar options and capabilities as the previous console Super NT.
No controller is included and an unreleased game can be played after the latest firmware is installed.
Development of the FPGA carried out by Kevtris and the implementation is a cycle perfect hardware simulation of the original hardware.
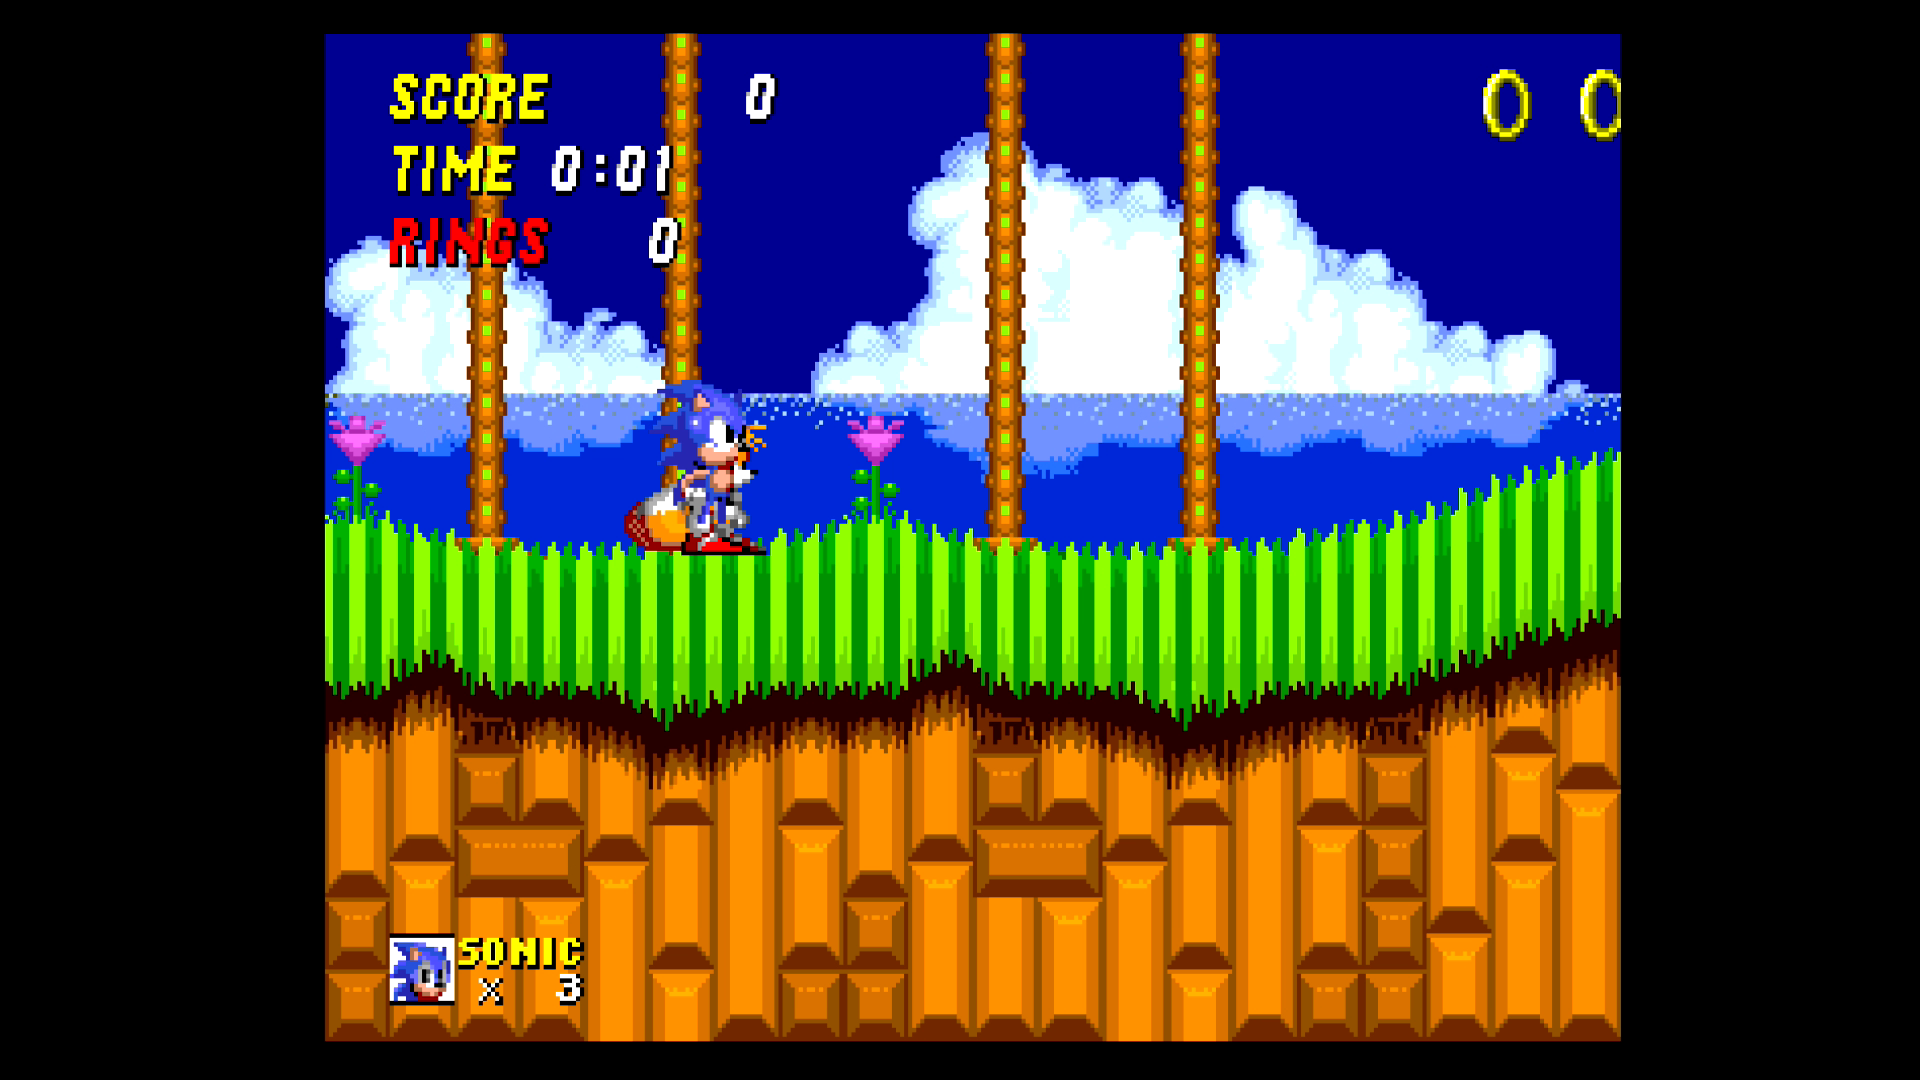
Here’s the picture quality you get:
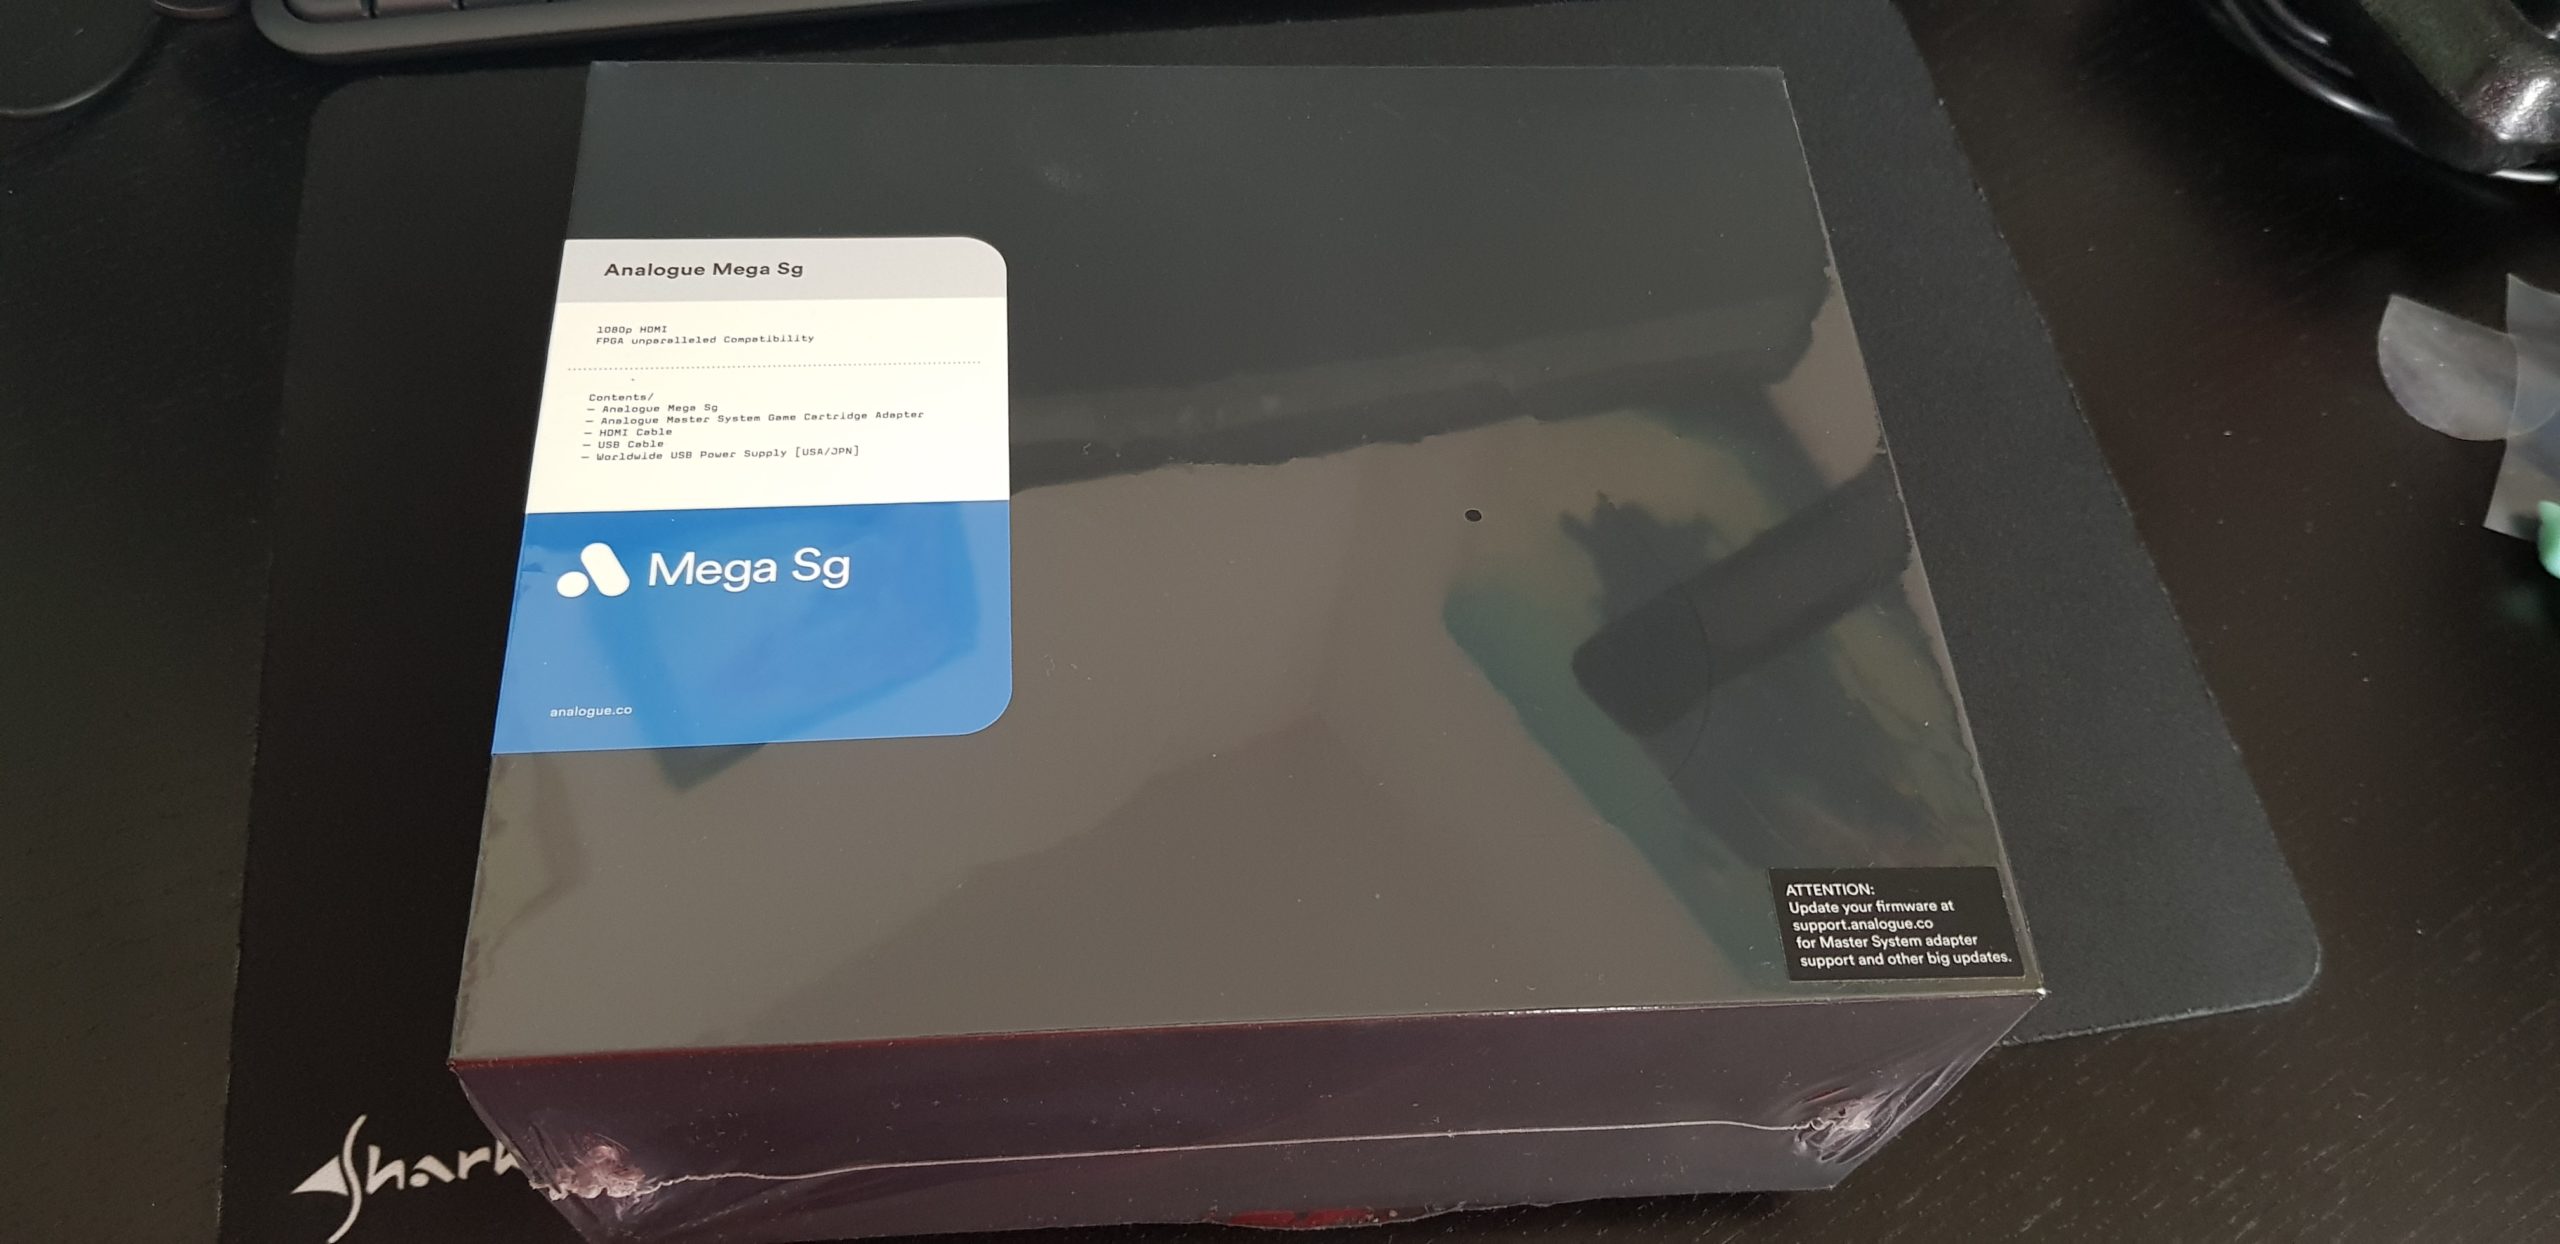
Contents
- Analogue Mega SG
- Analogue Master System Game Cartridge Adapter
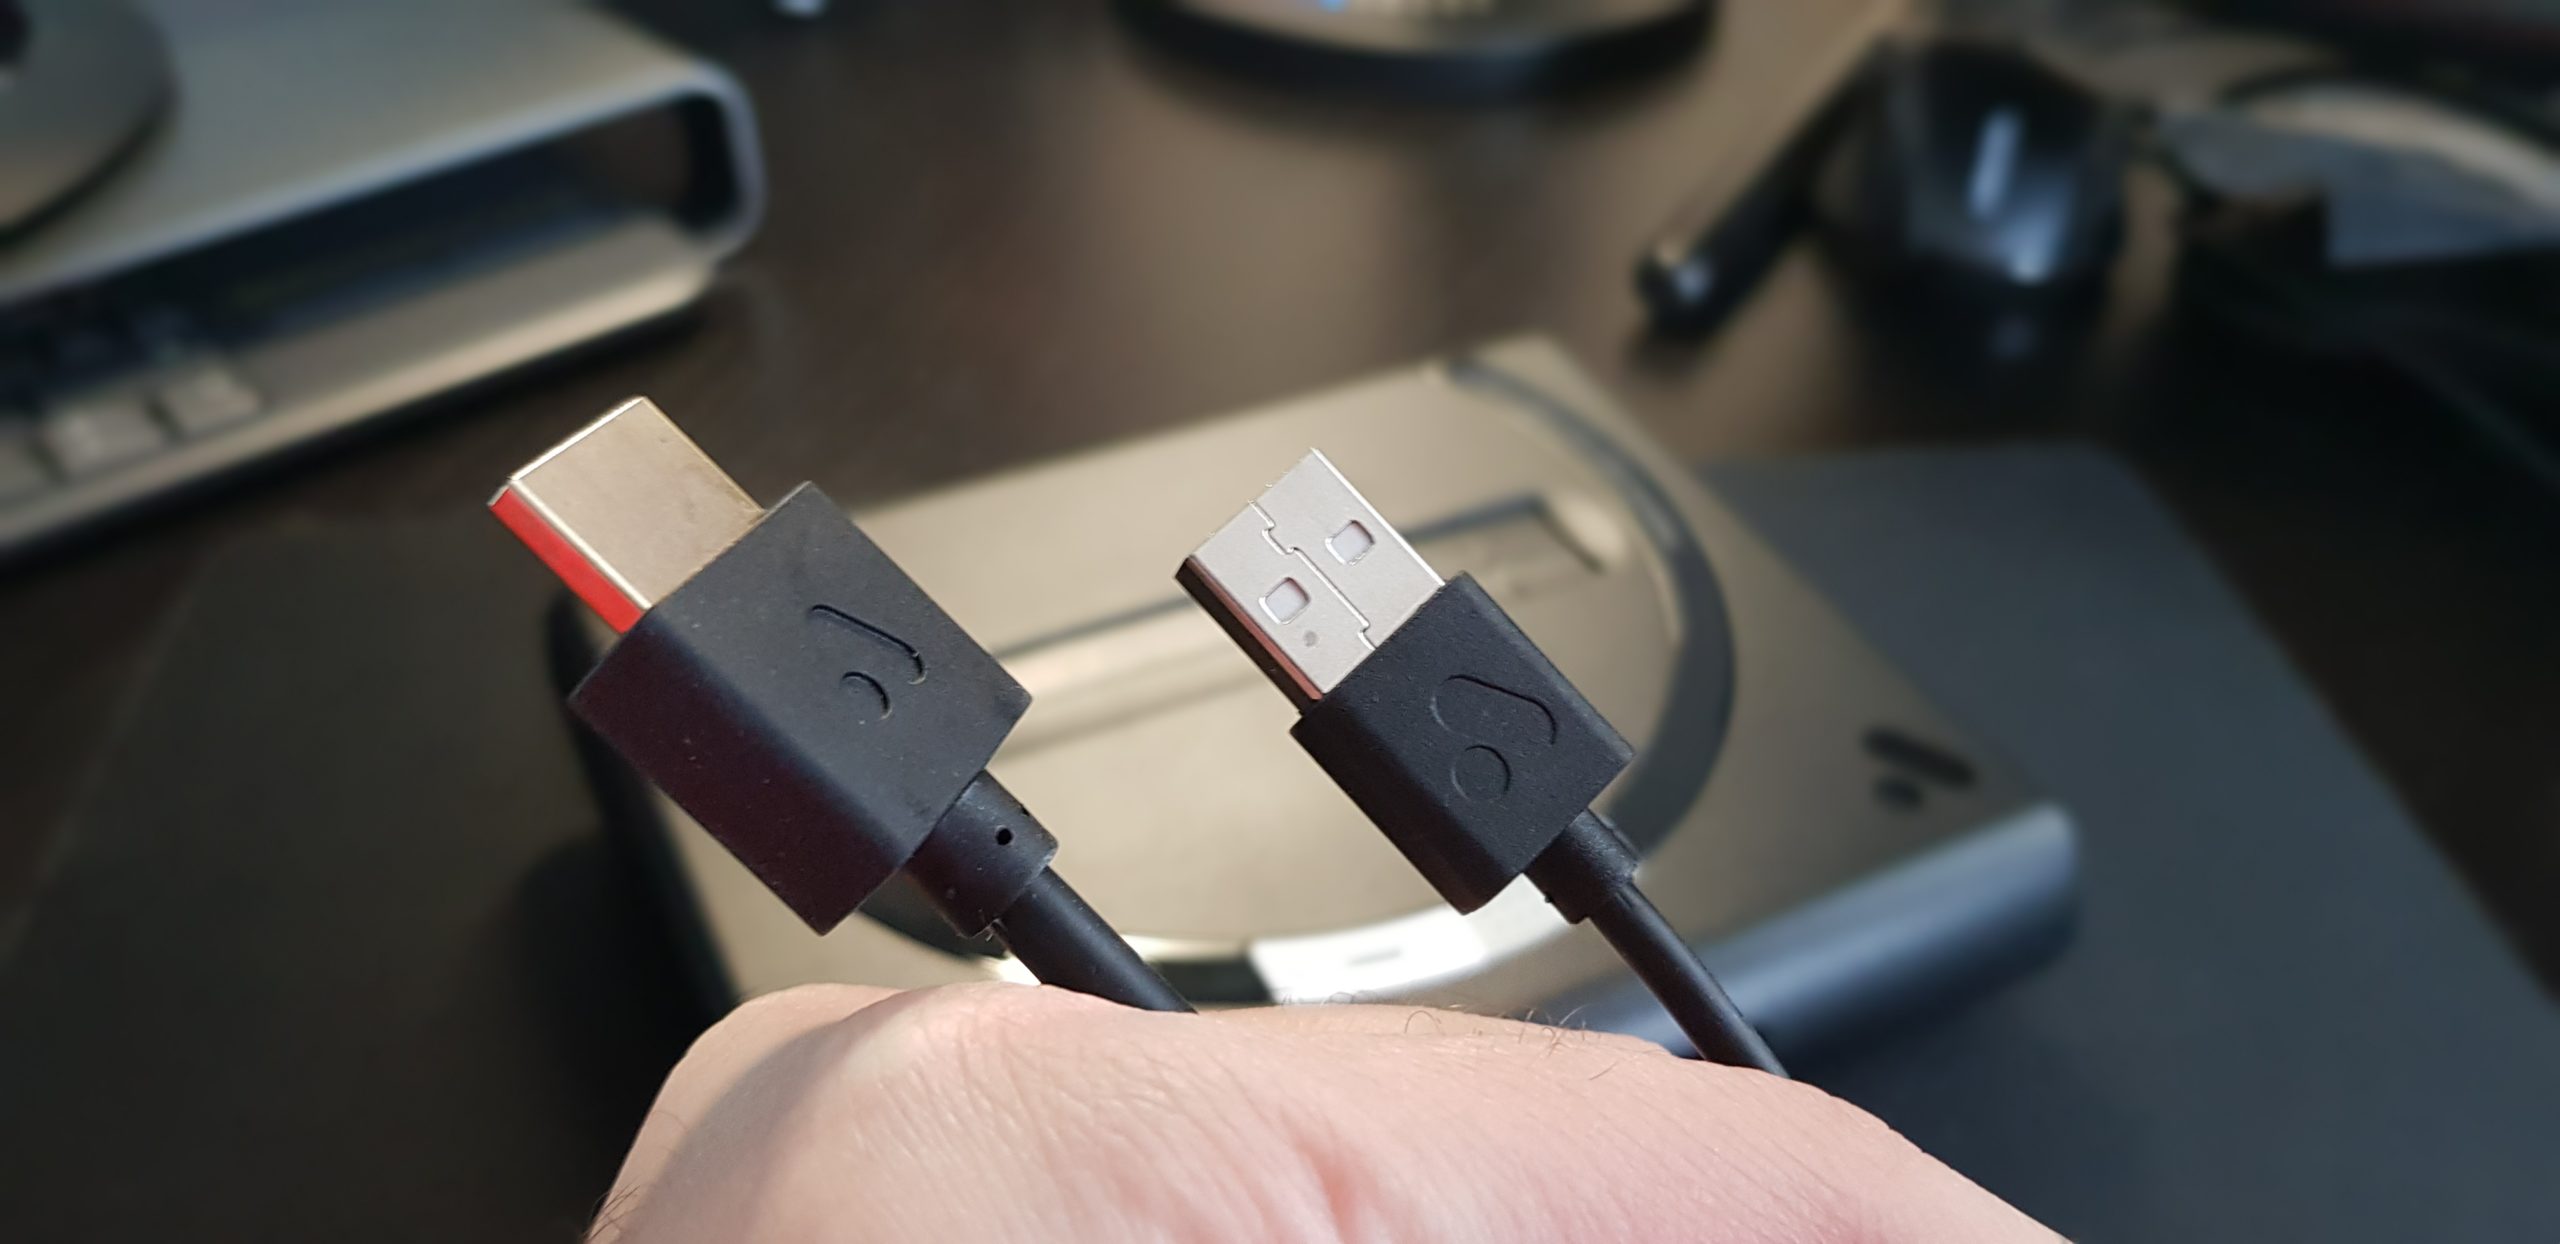
- HDMI Cable
- USB Cable
- Worldwide USB Power Supply (USA/JPN)
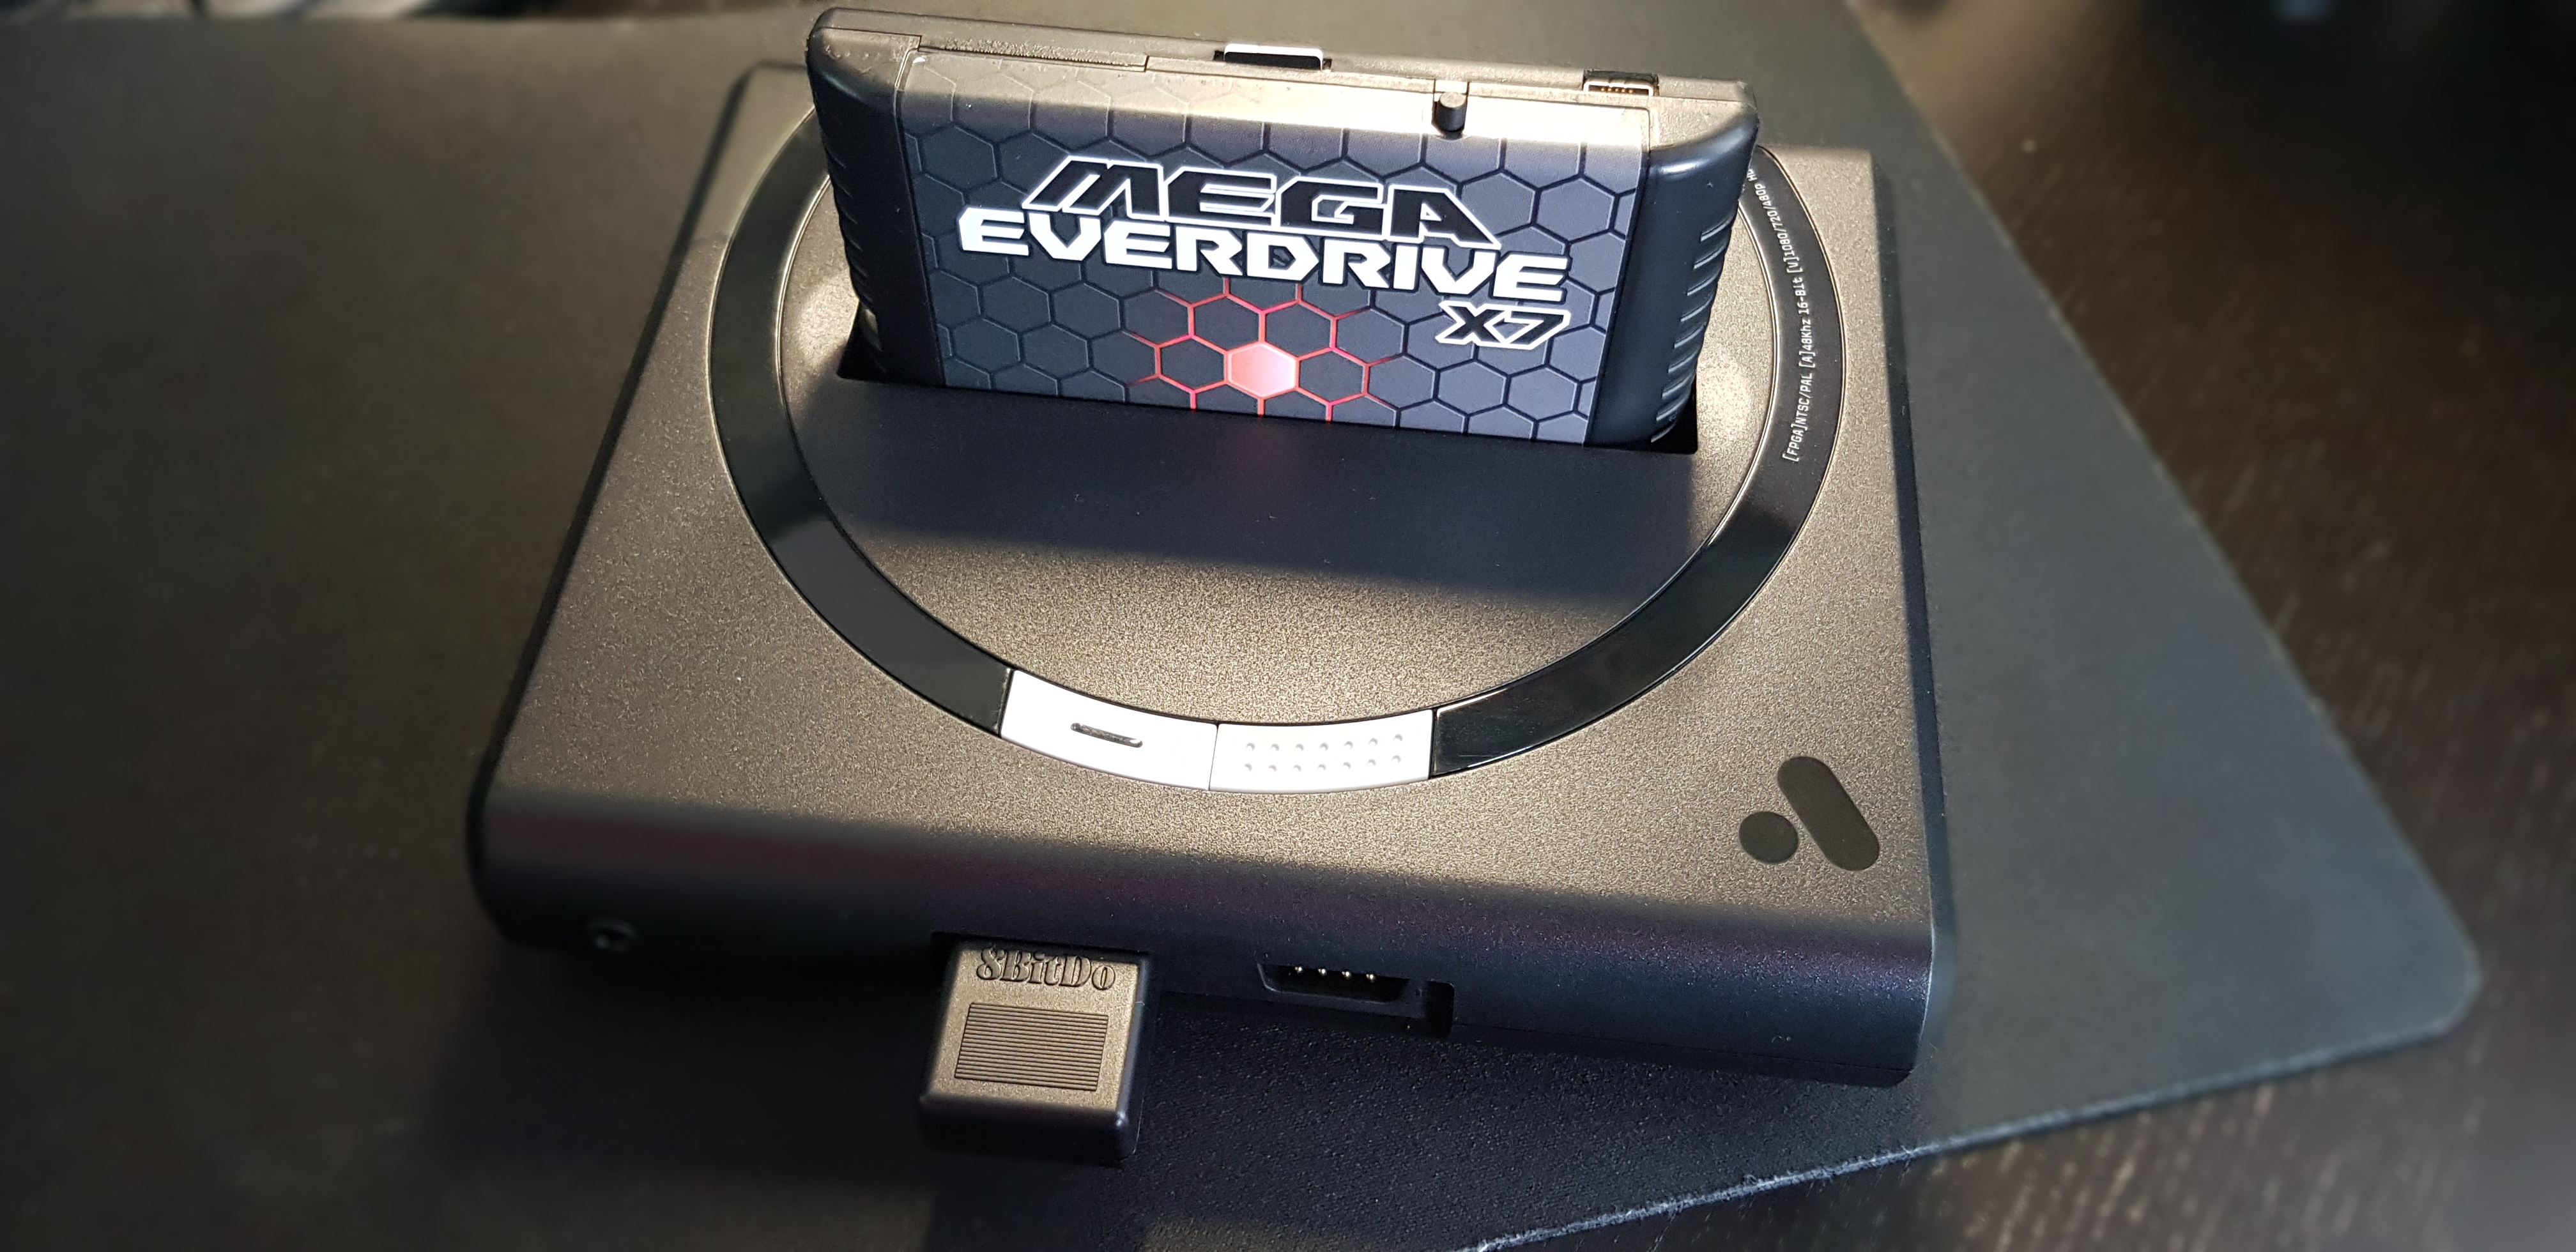
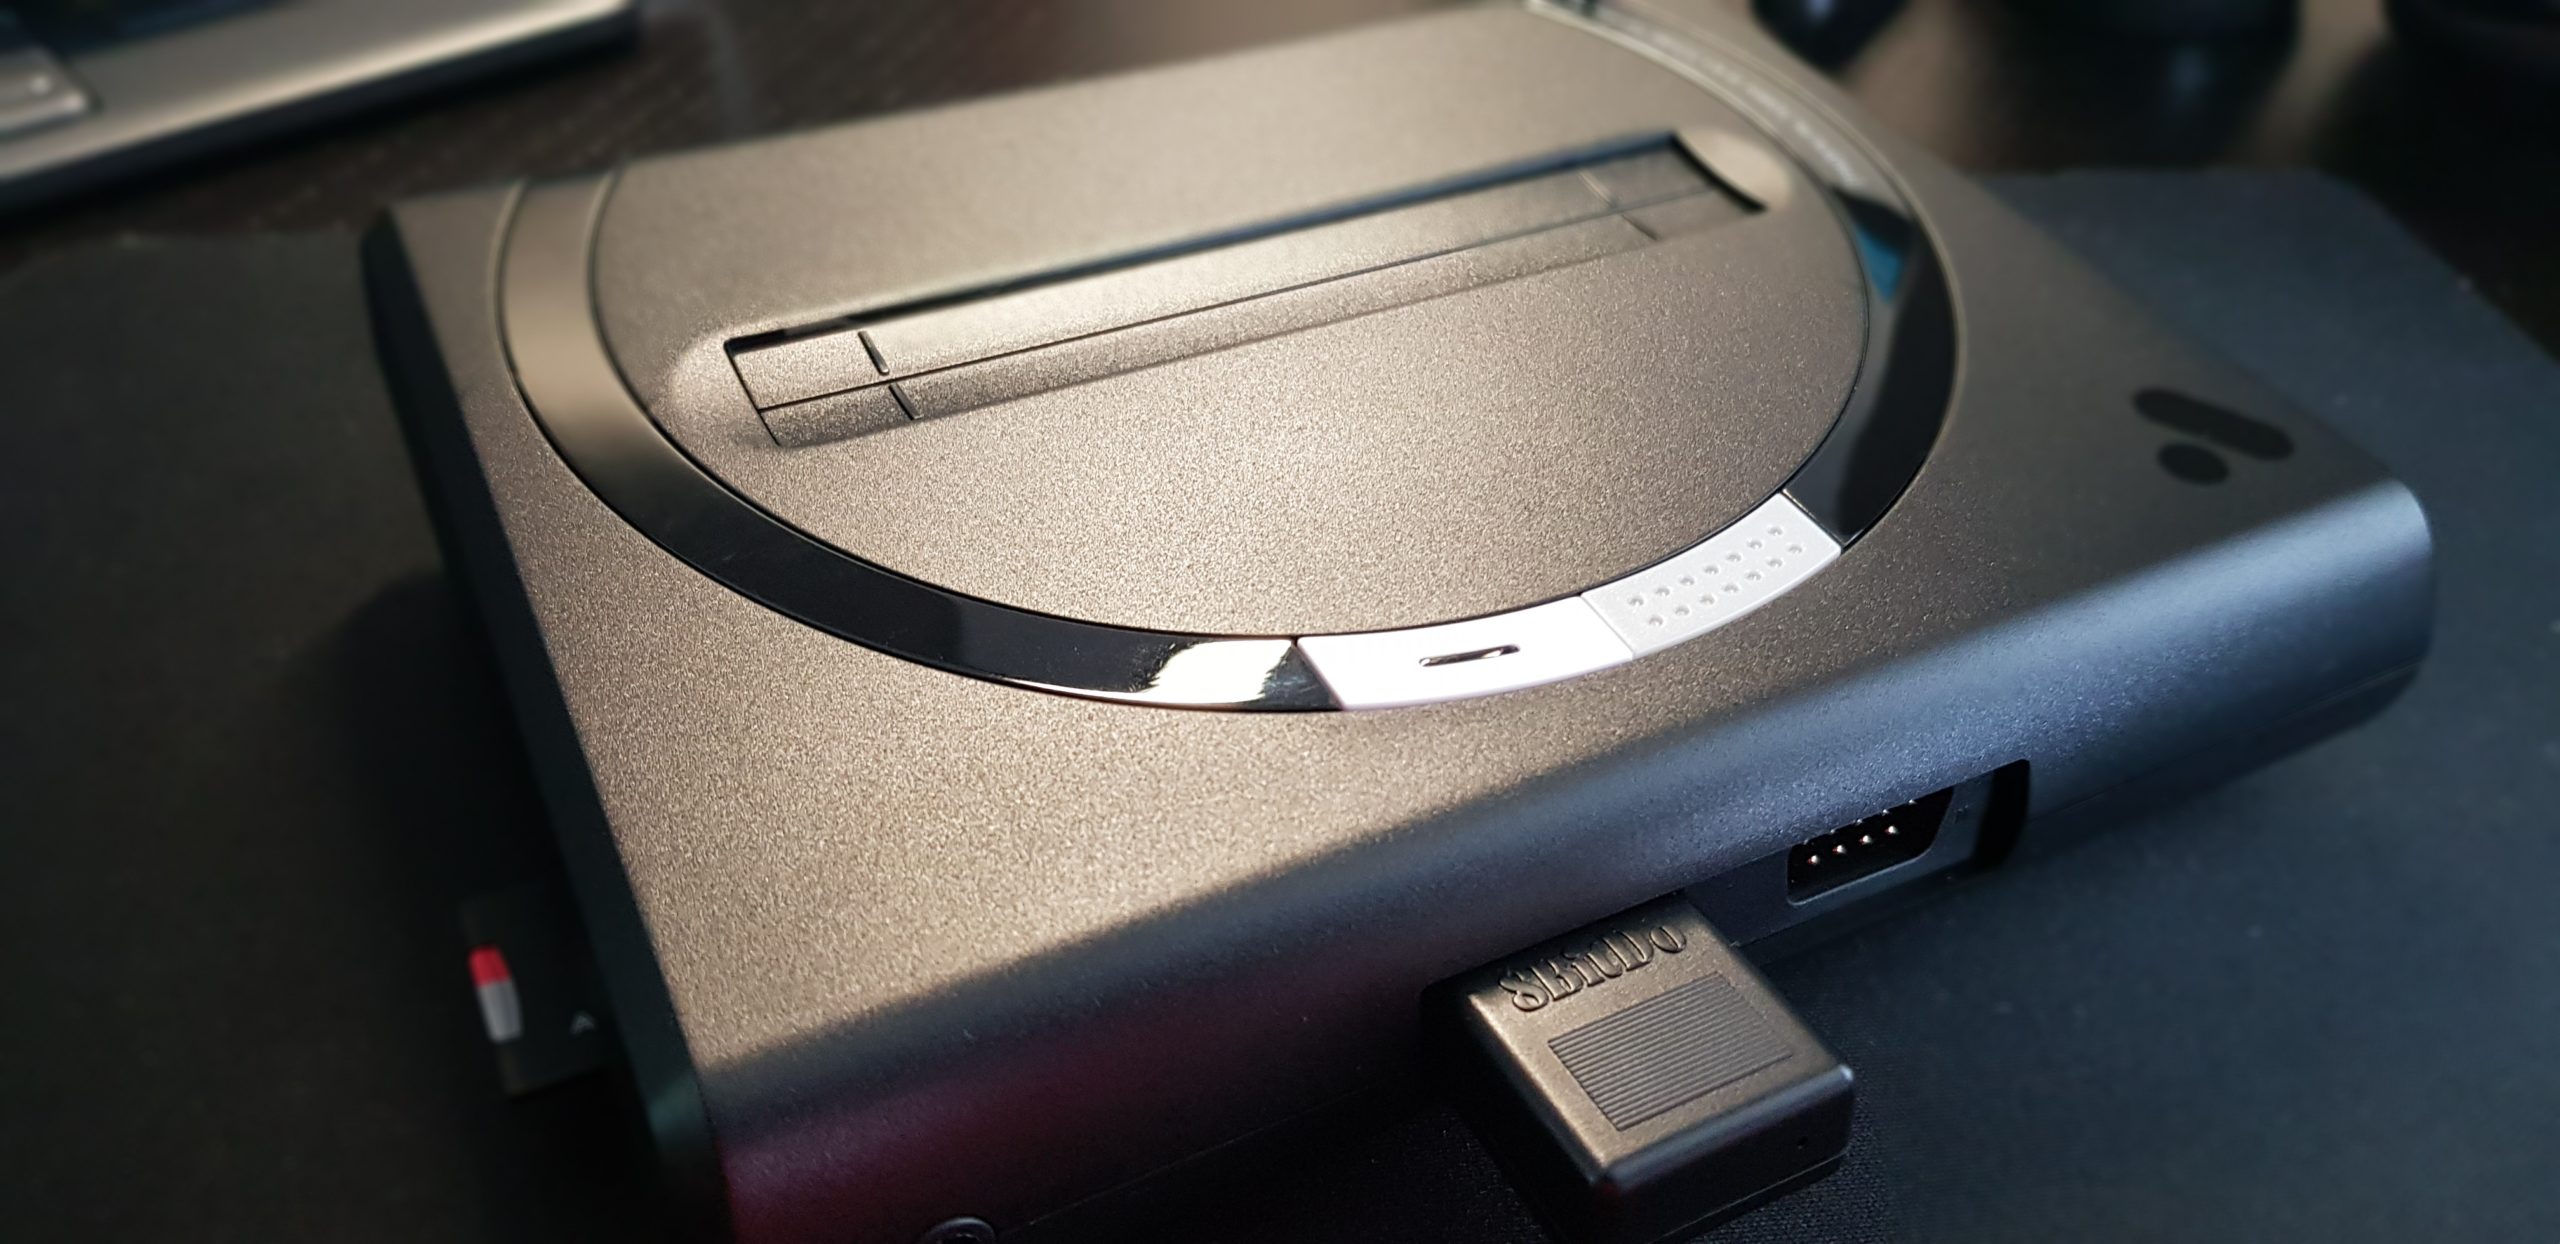
Console overview
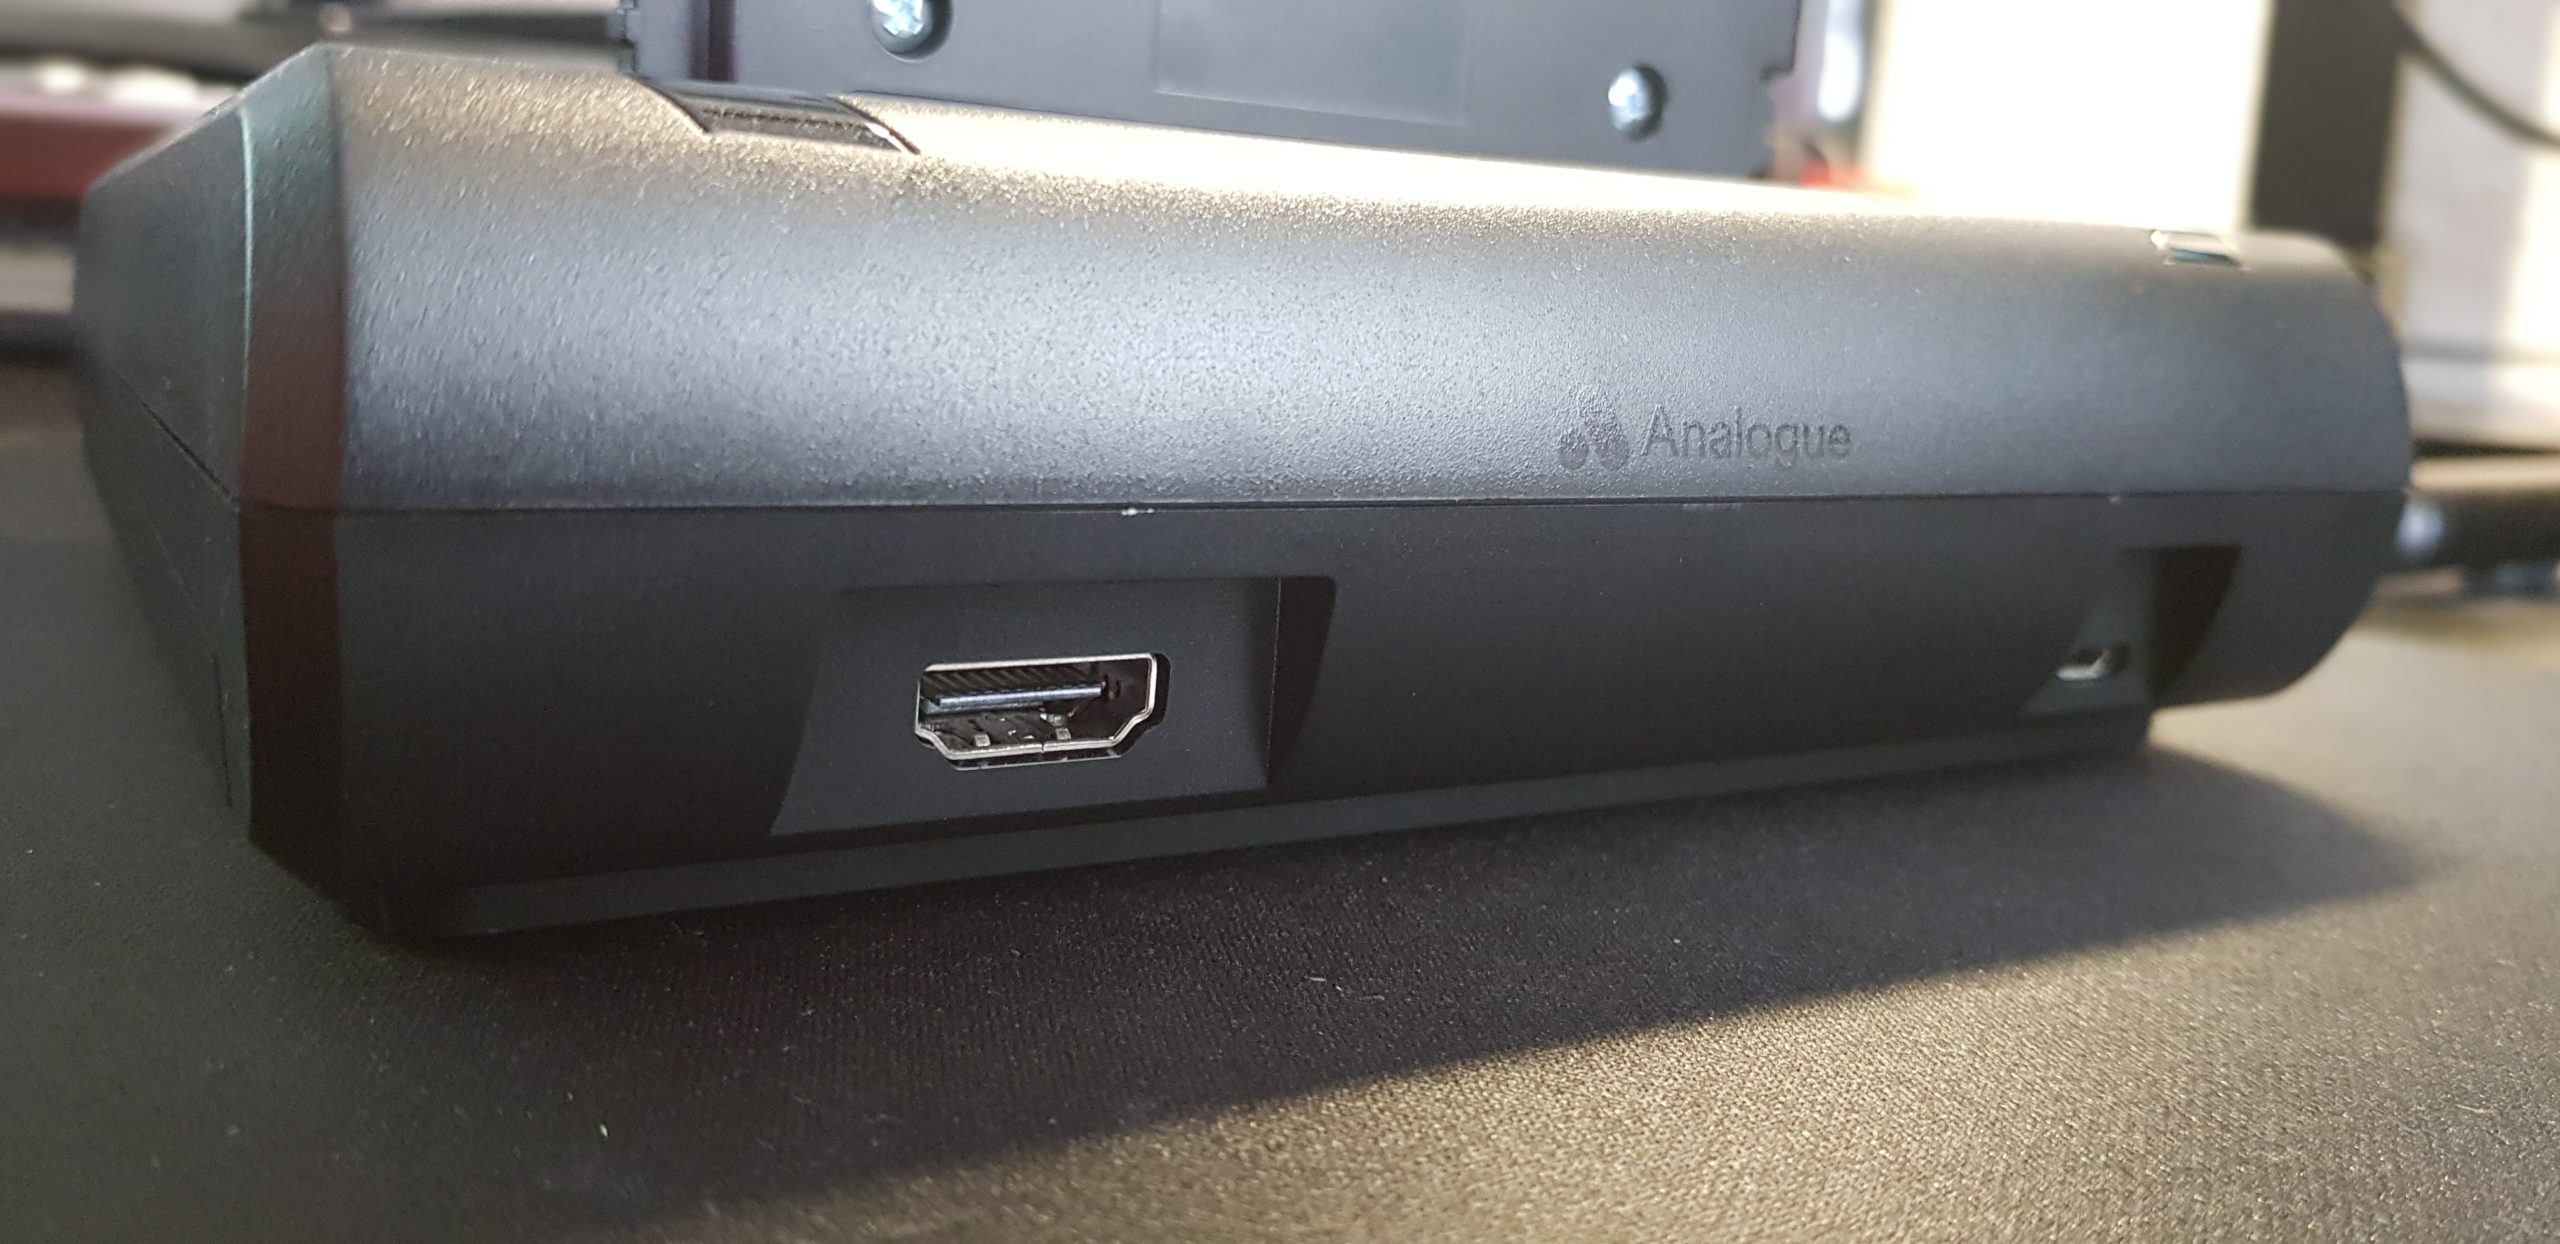
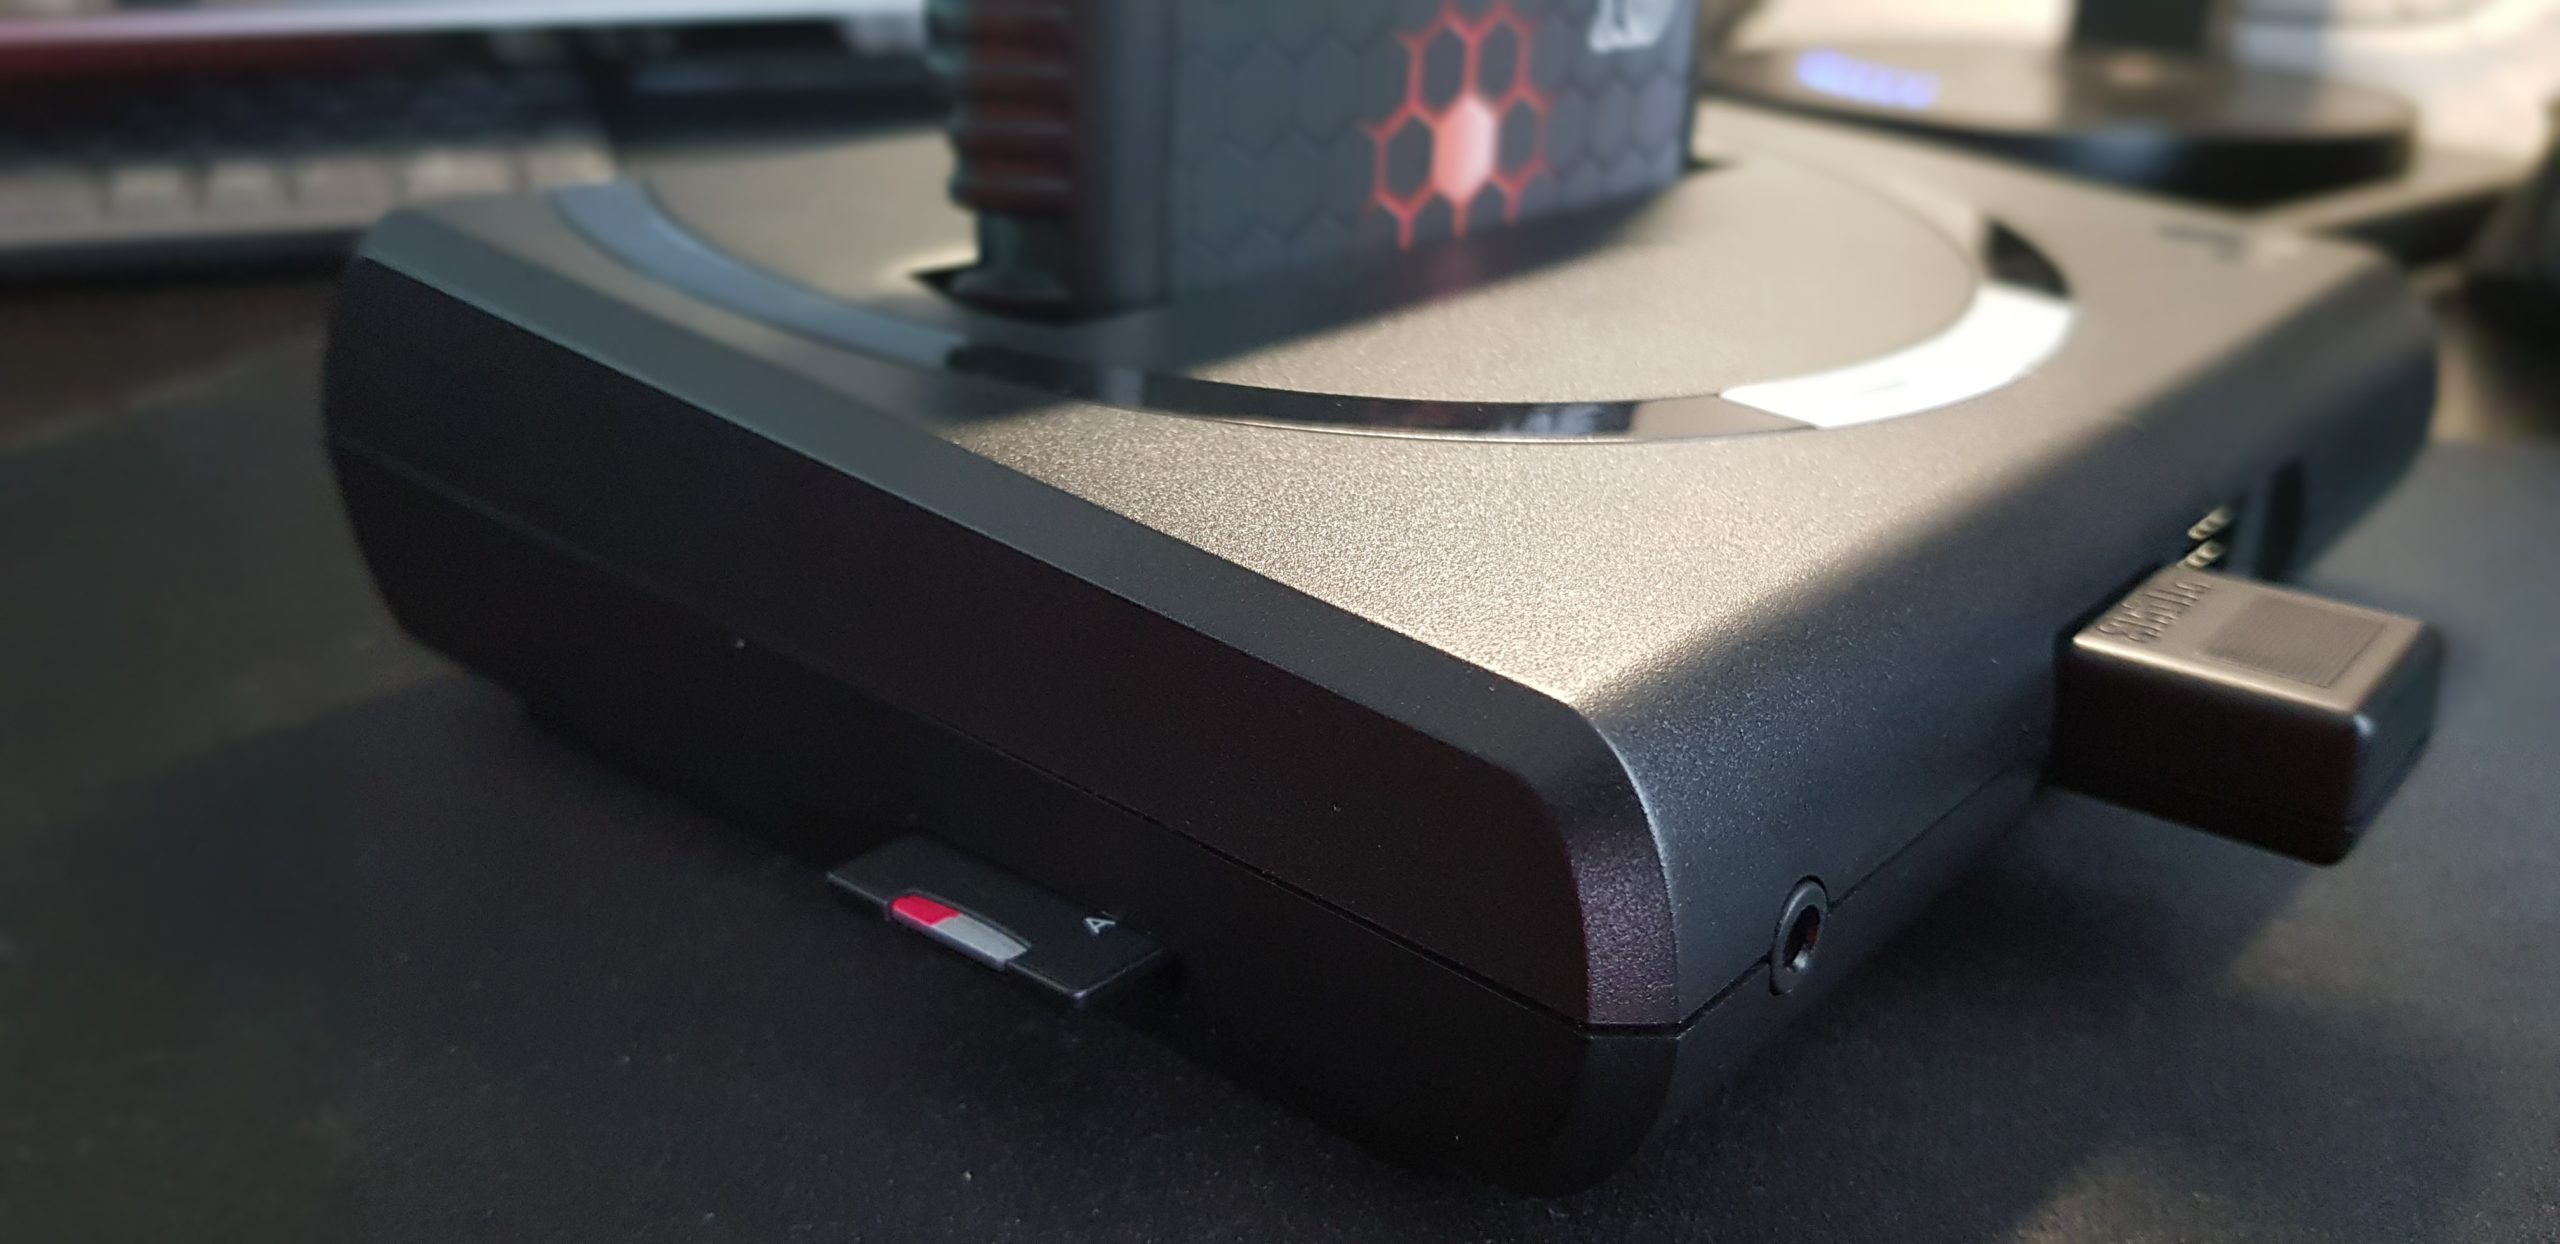
Following interfaces can be found on the console:
- 2x 9 pole controller ports compatible with the original controllers.
- 3,5 mm audio jack for headphones
- SD card slot for firmware updates (and jailbreak)
- HDMI input
- Micro USB input
- Cartridge slot compatible with Genesis / Mega Drive games (using the included cartridge adapter also Master System games can be played)
- Expansion slot to connect the console to Mega CD or Sega CD.

Used components:
- Altera Cyclone V
Measurements:
- L: 138 mm
- W: 168 mm
- H: 47 mm
Connection:
- Connect HDMI cable to the console and to the TV/Monitor.
- Connect MicroUSB cable to the console and to power source. You can connect directly to your TV or use any USB adapter. The included power supply adapter is not suitable for Europe without an appropriate adapter.
- Connect wired controller(s) to the console. If you’re using a wireless controller, connect the receiver to the console.
- Gently insert the cartridge you want to play.
Setup is complete!
Changing cartridges: turn the console off before changing the cartridge!
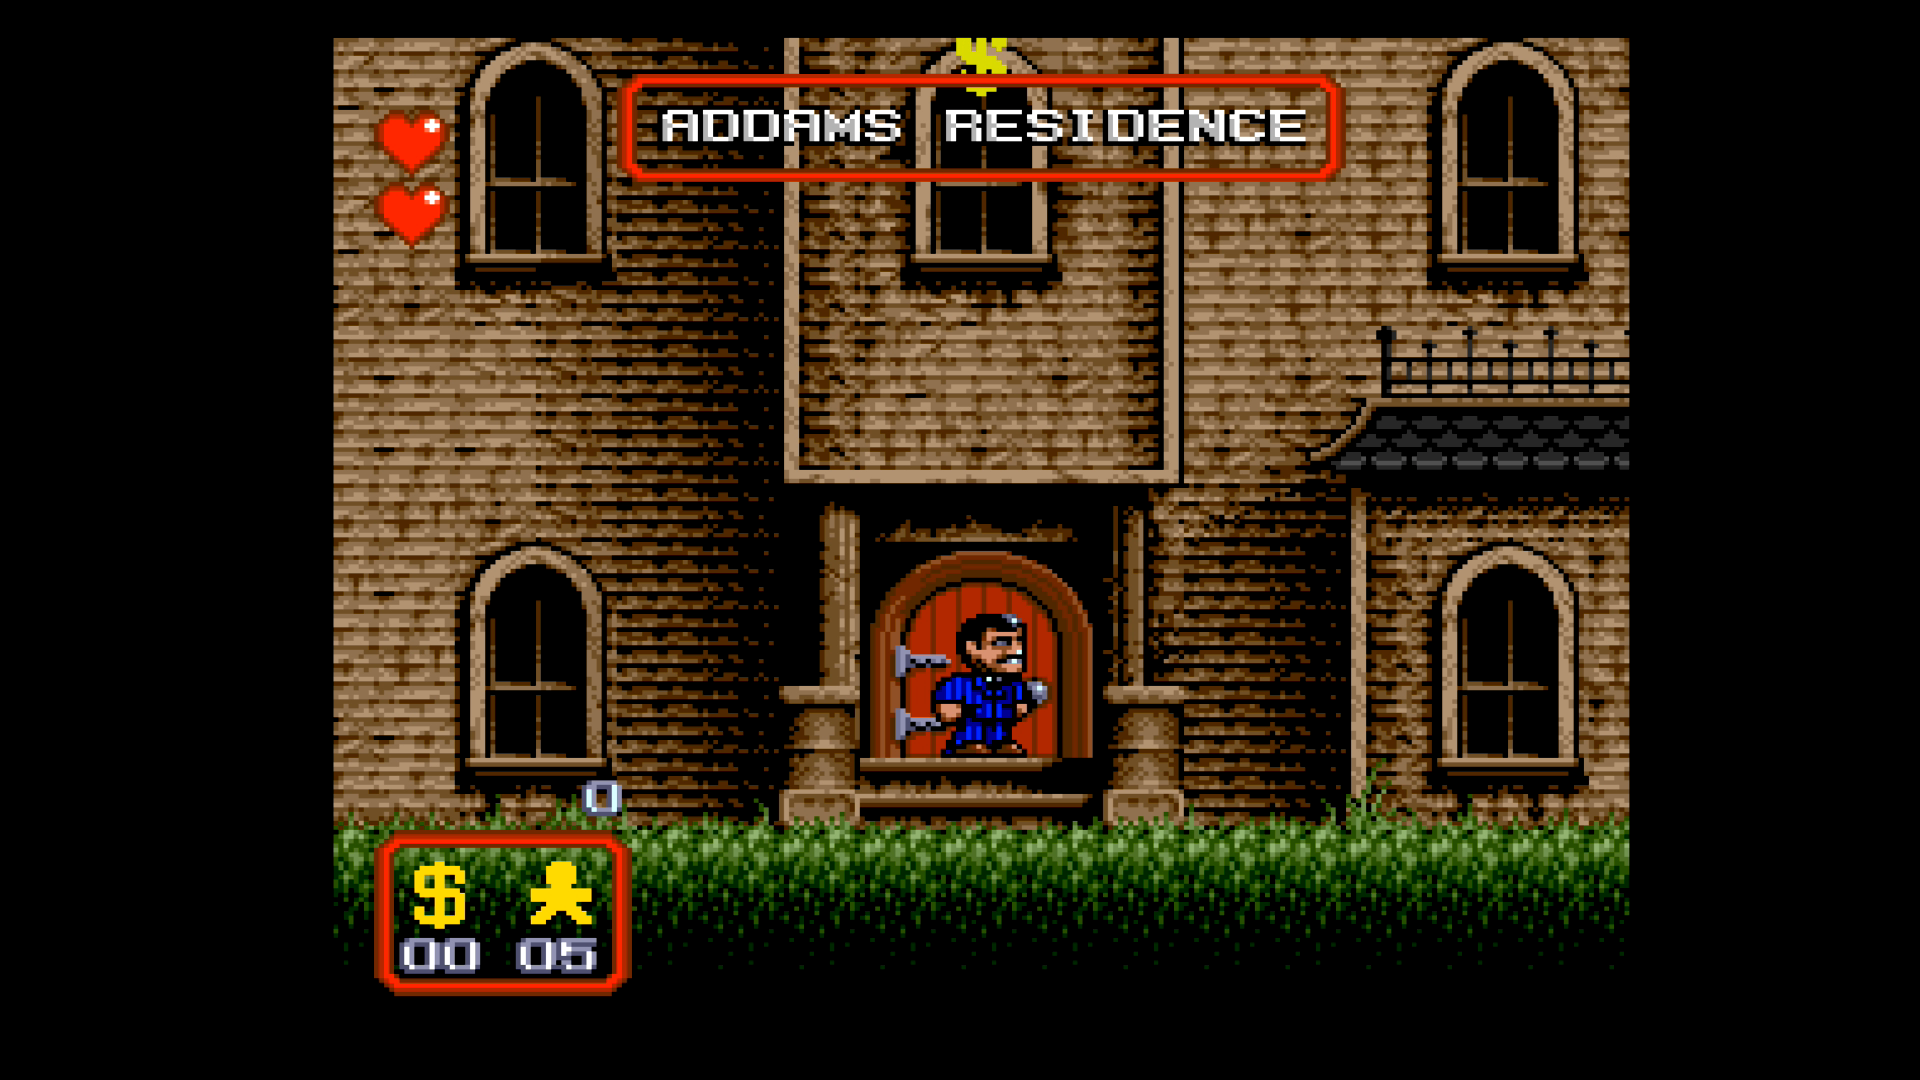
Addams Family

Alien 3
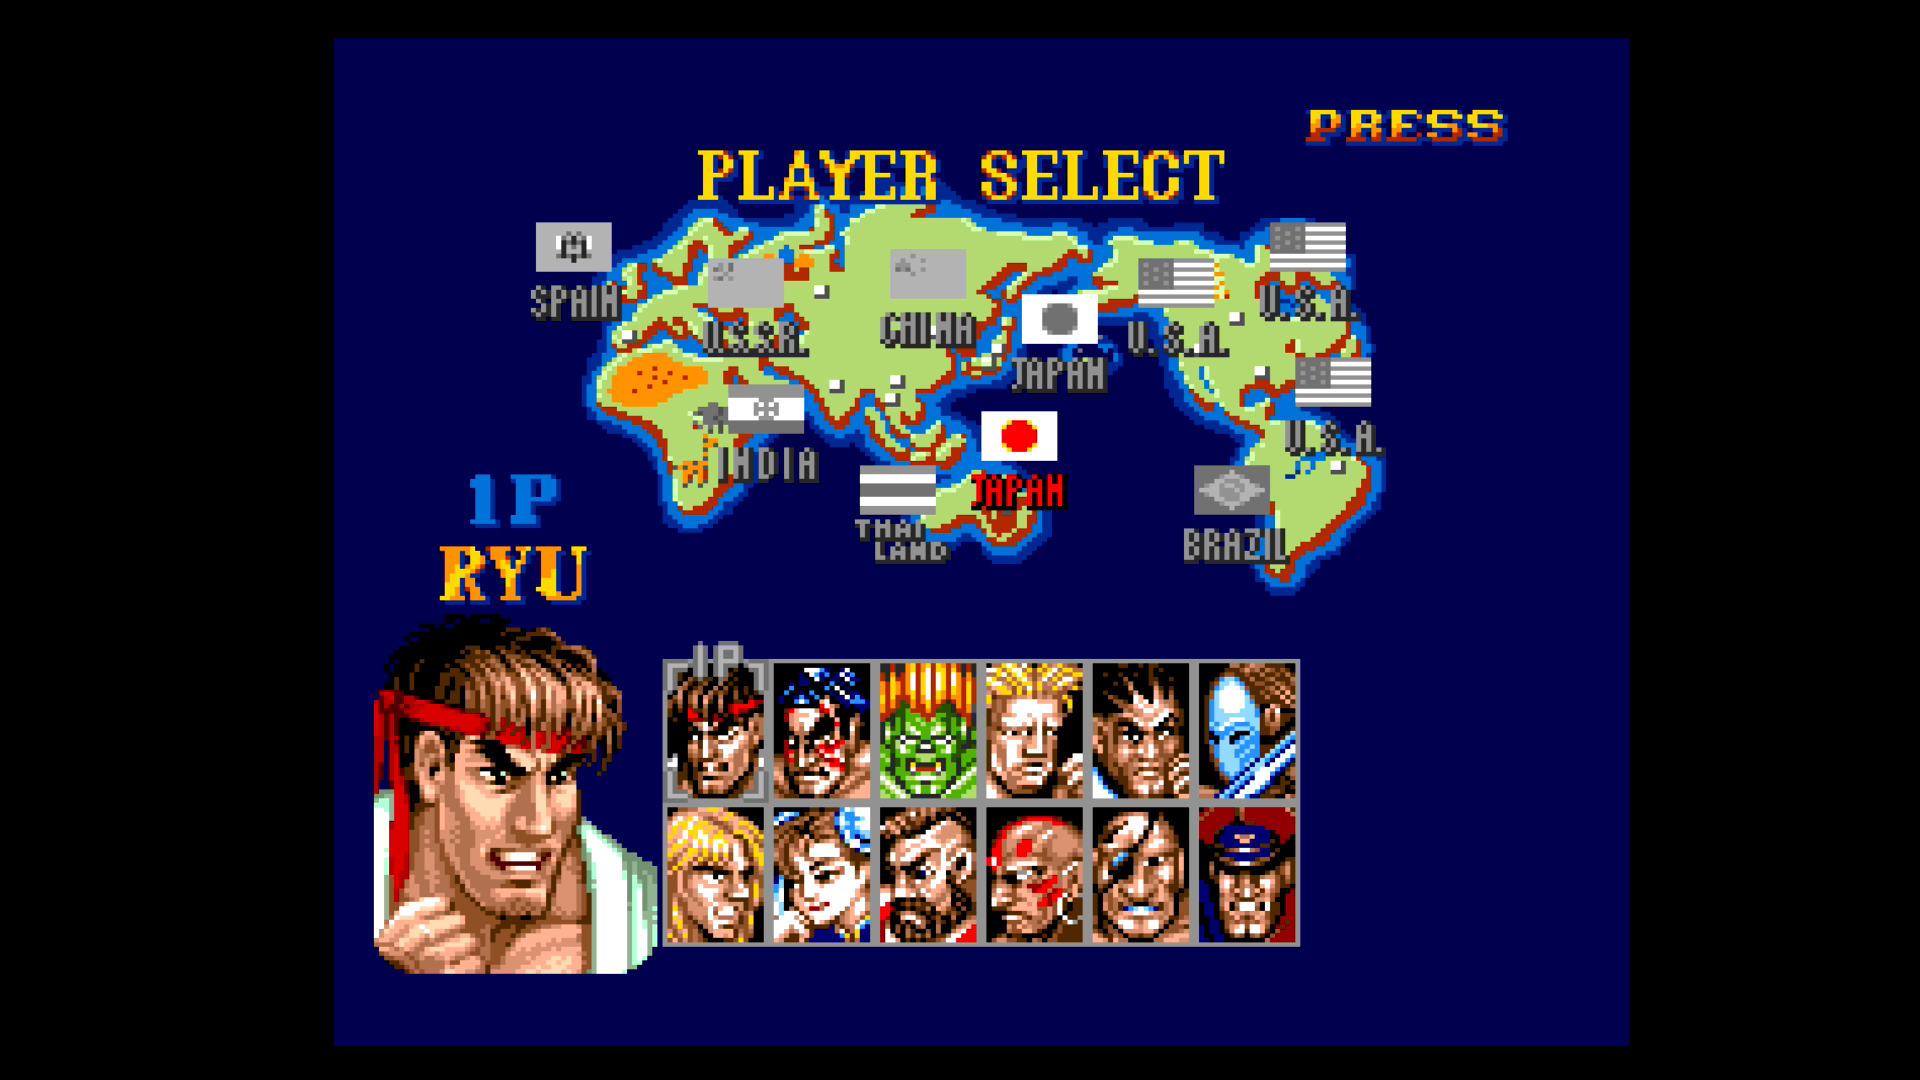
Street Fighter II
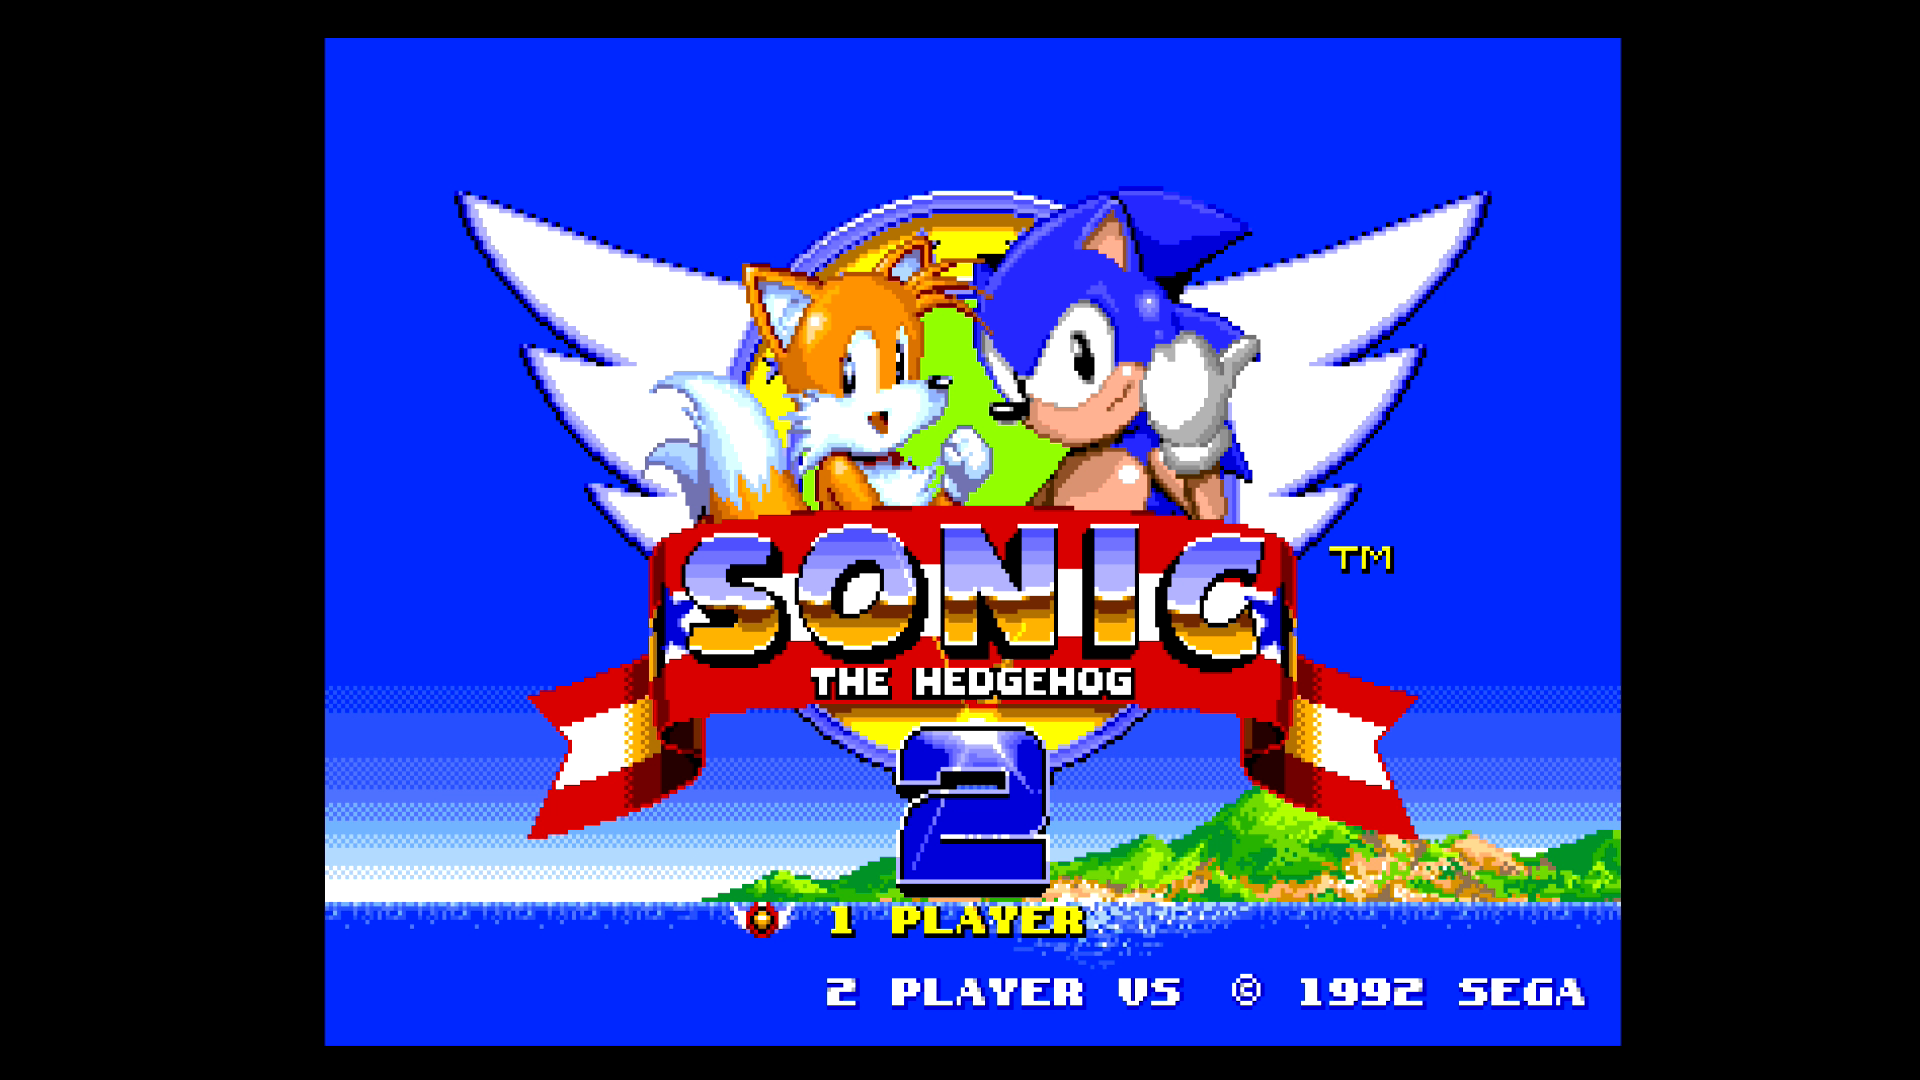
Sonic 2
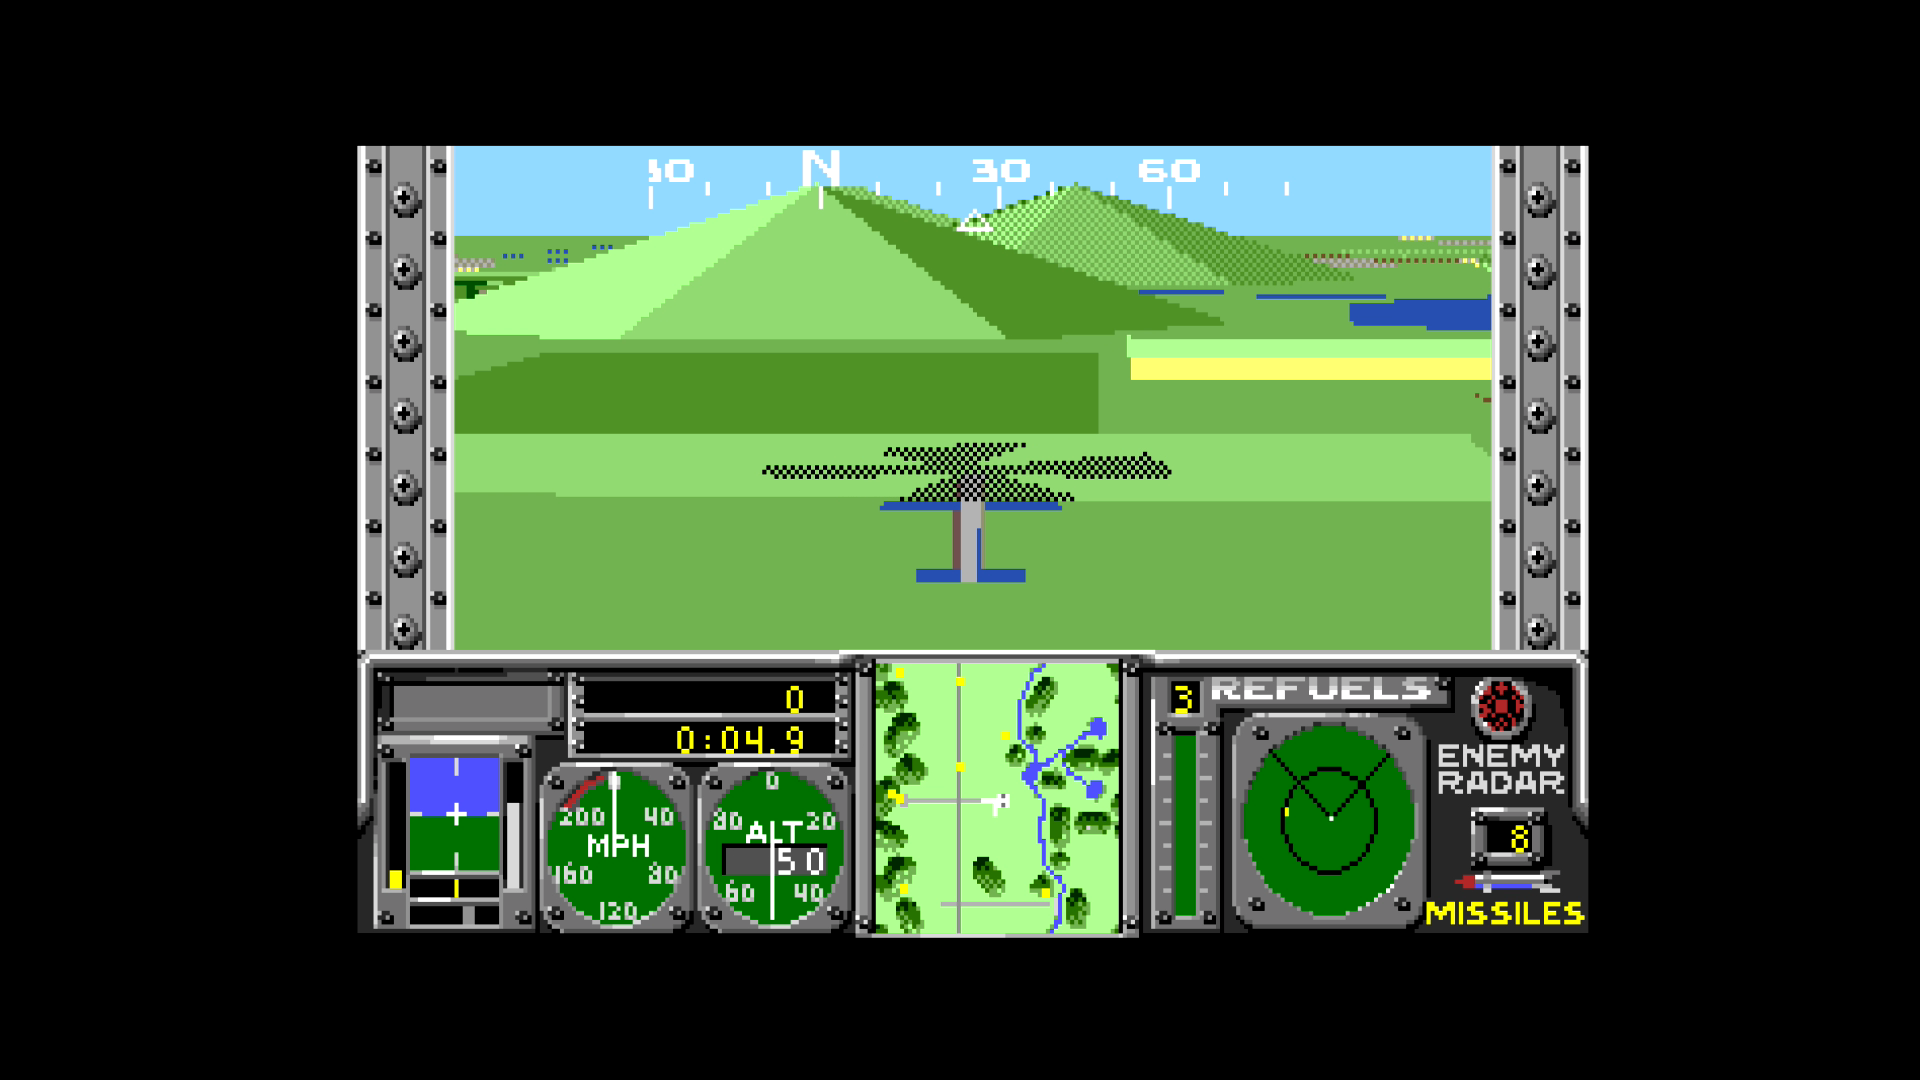
Steel Talons
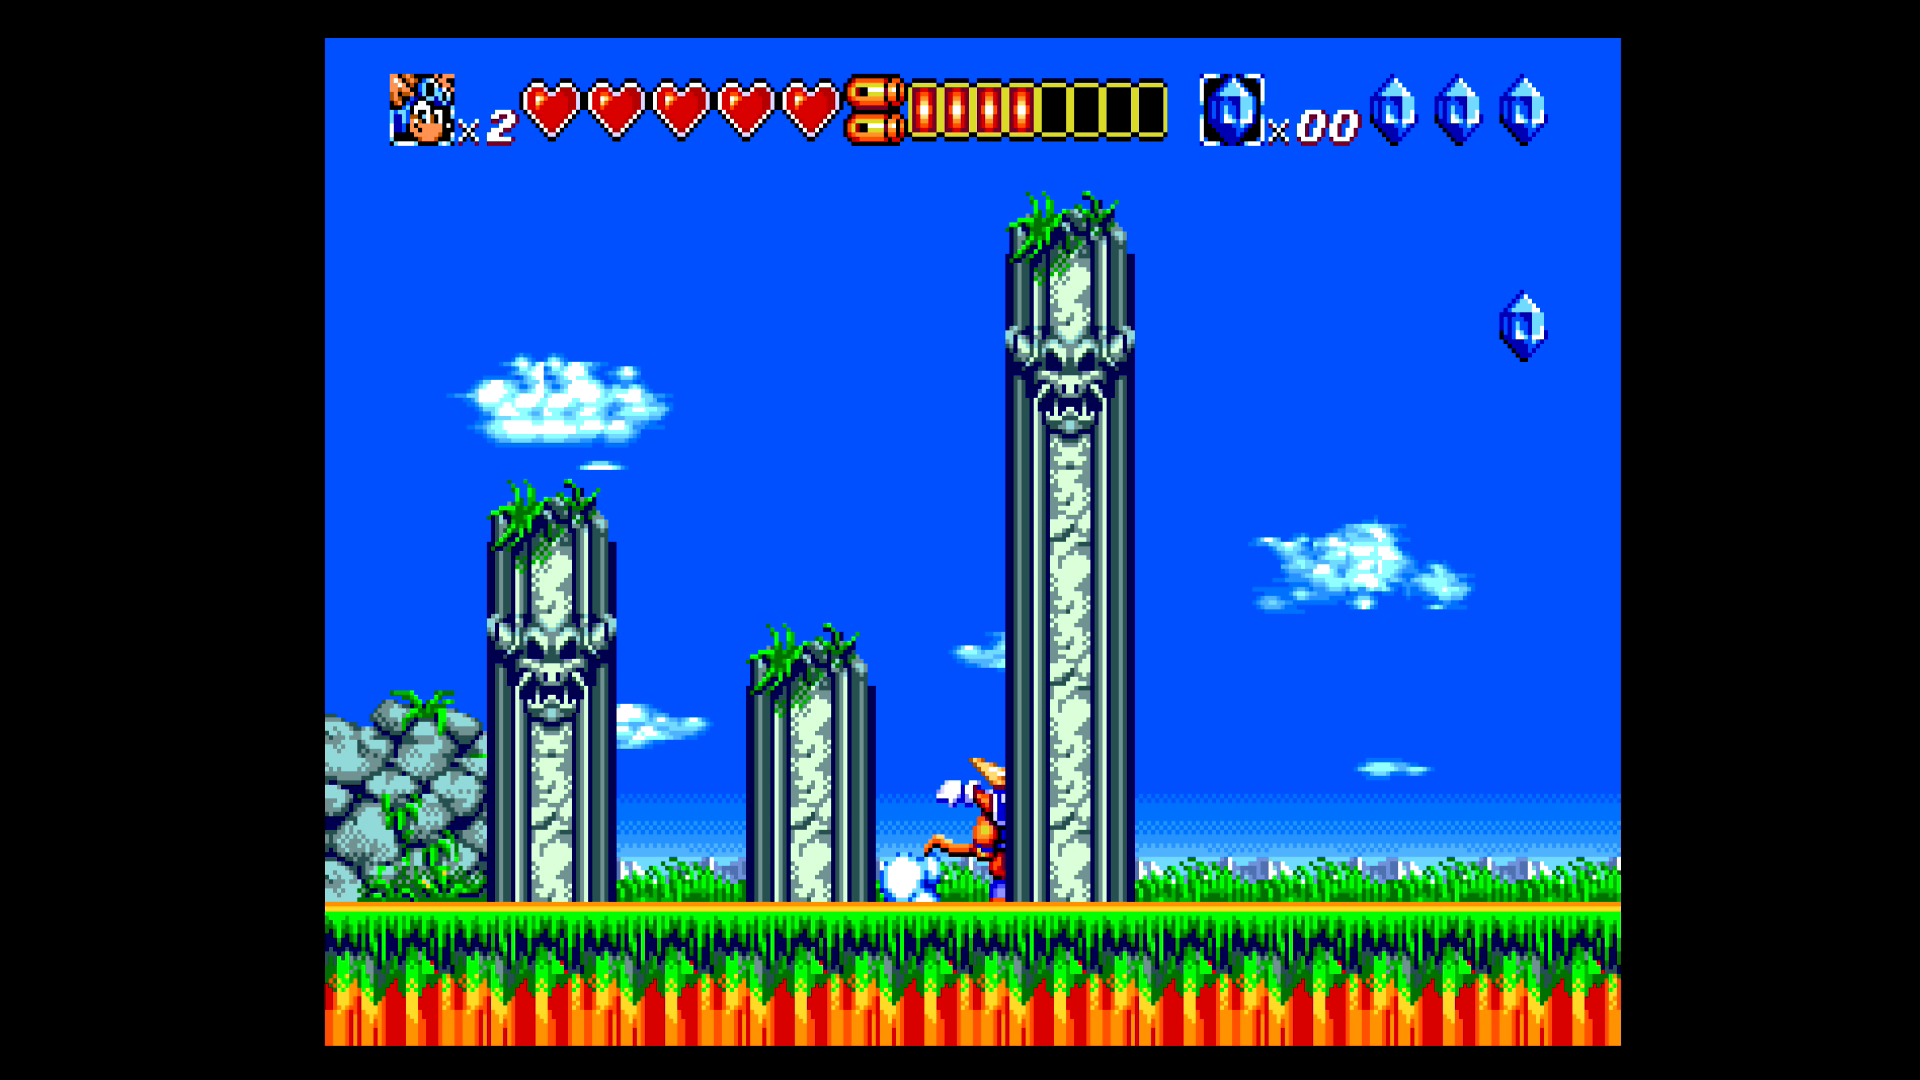
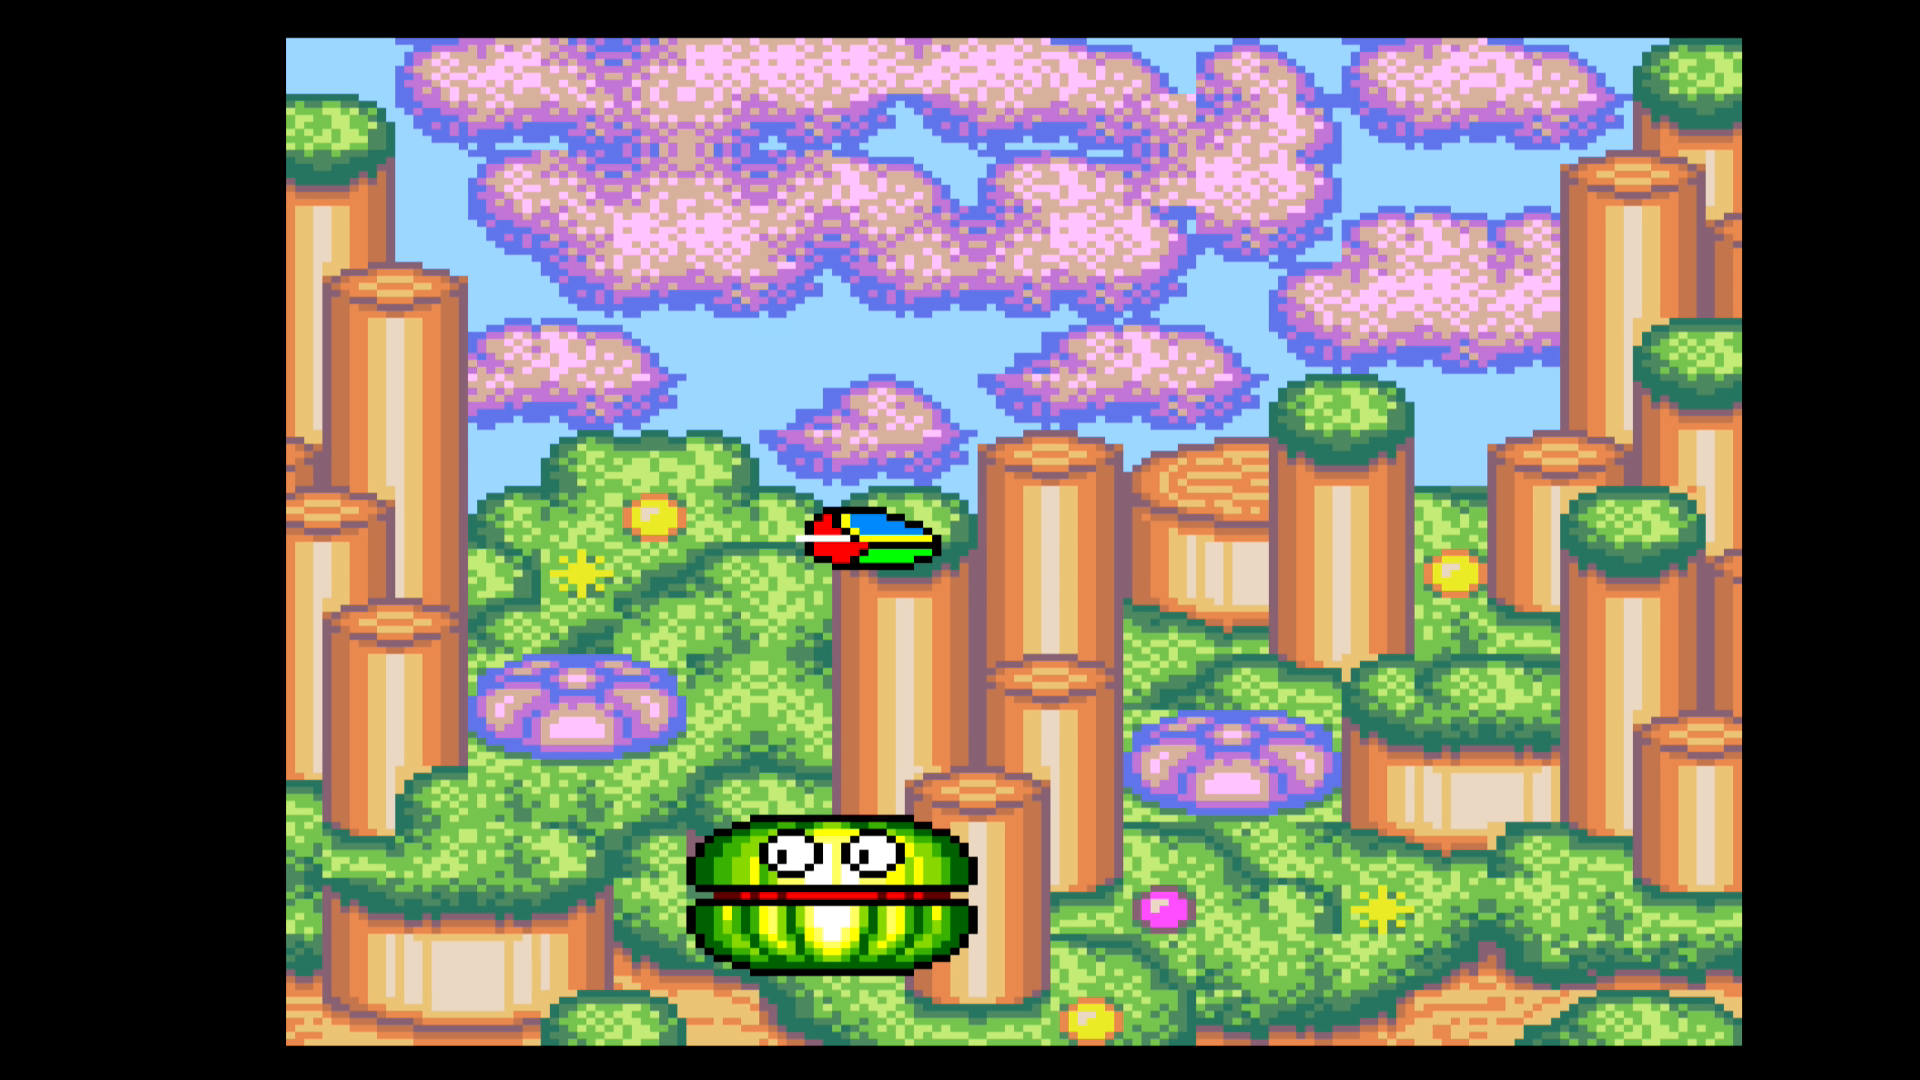
Sparkster
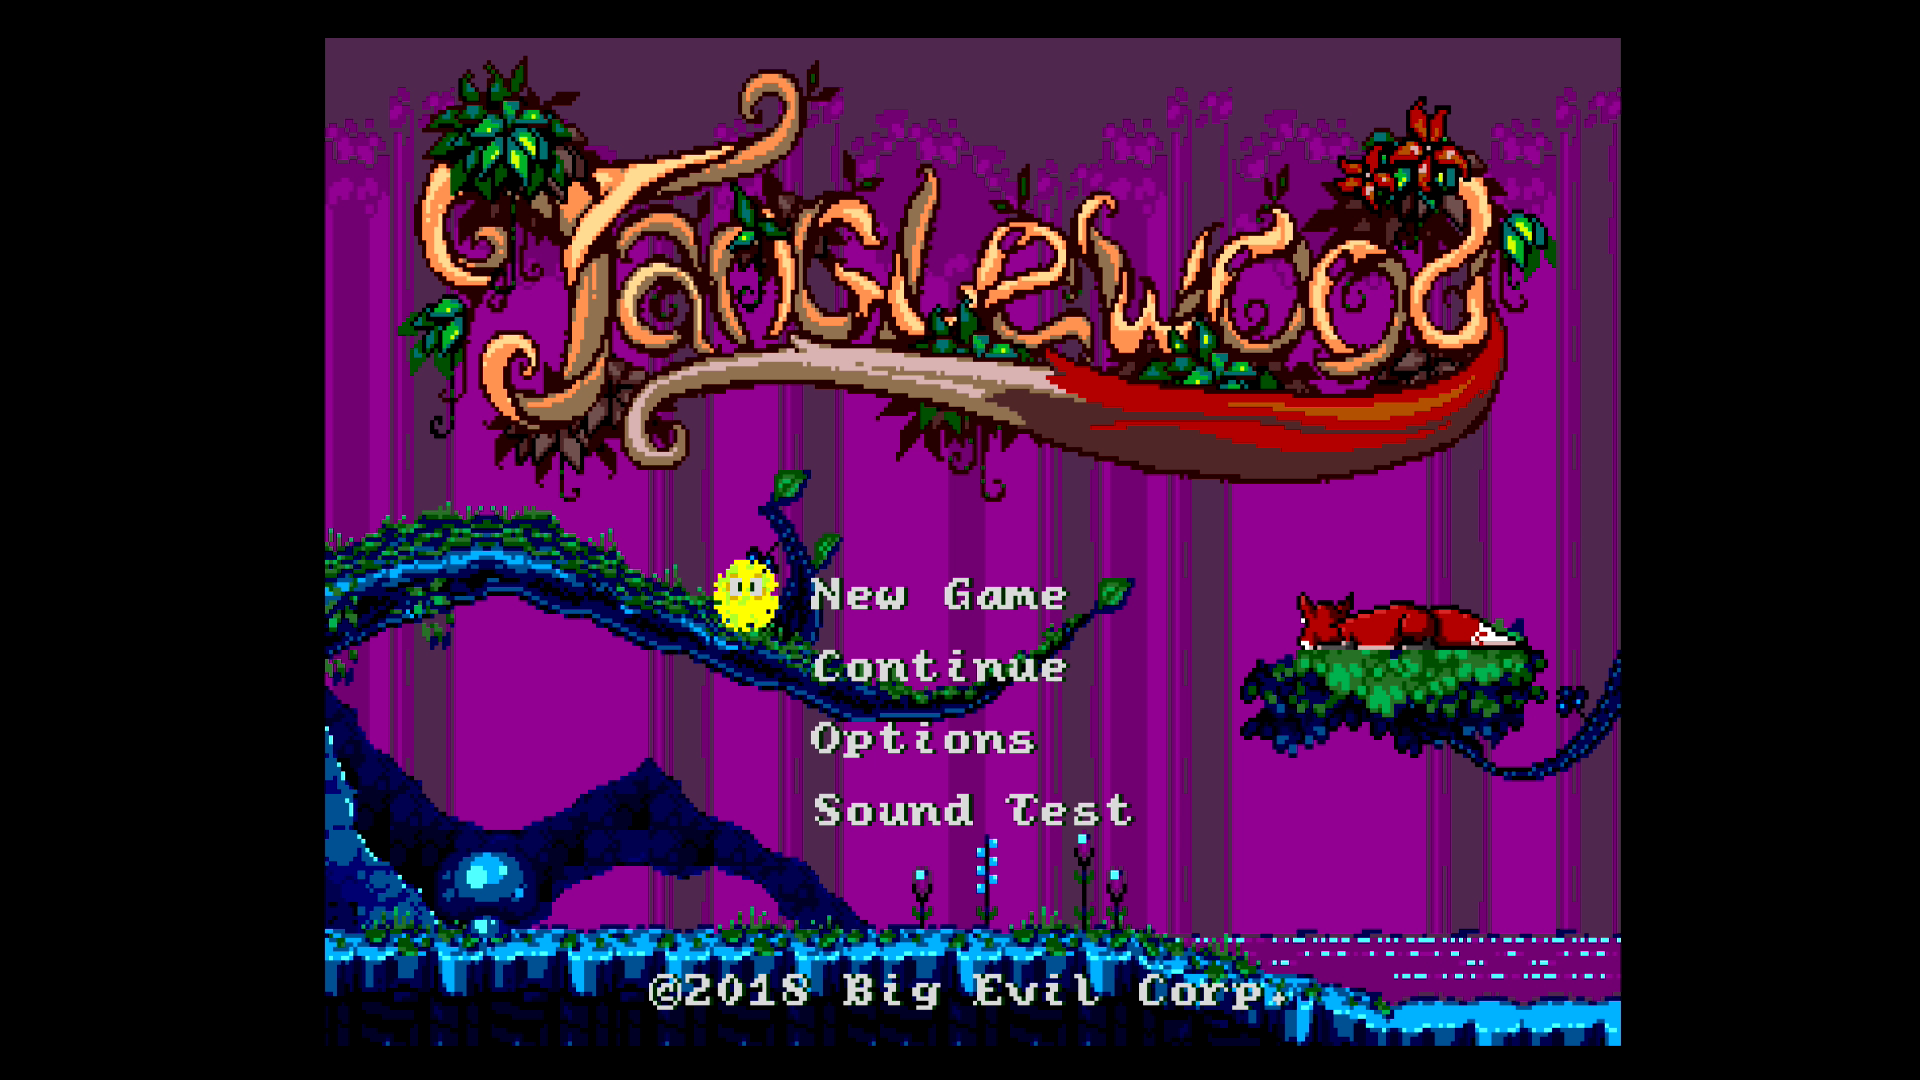
Tanglewood
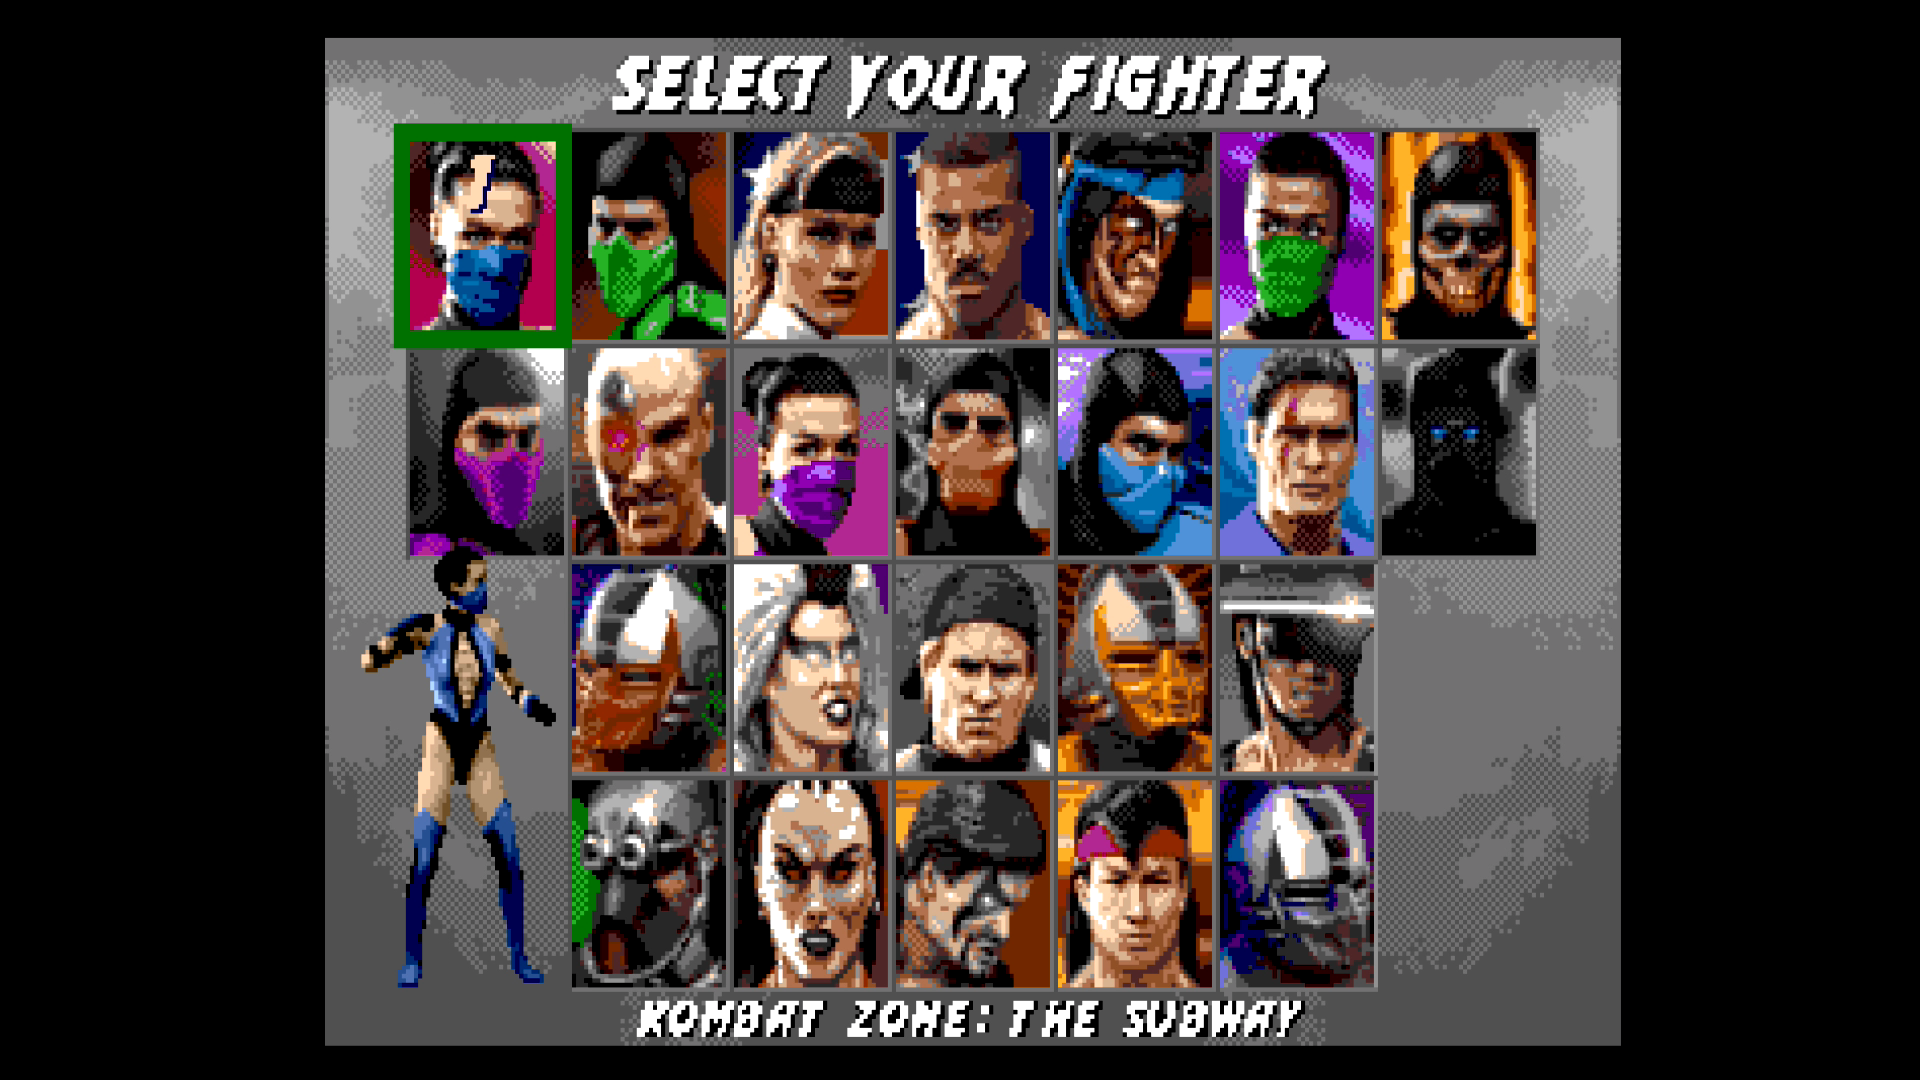
Ultimate Mortal Kombat 3
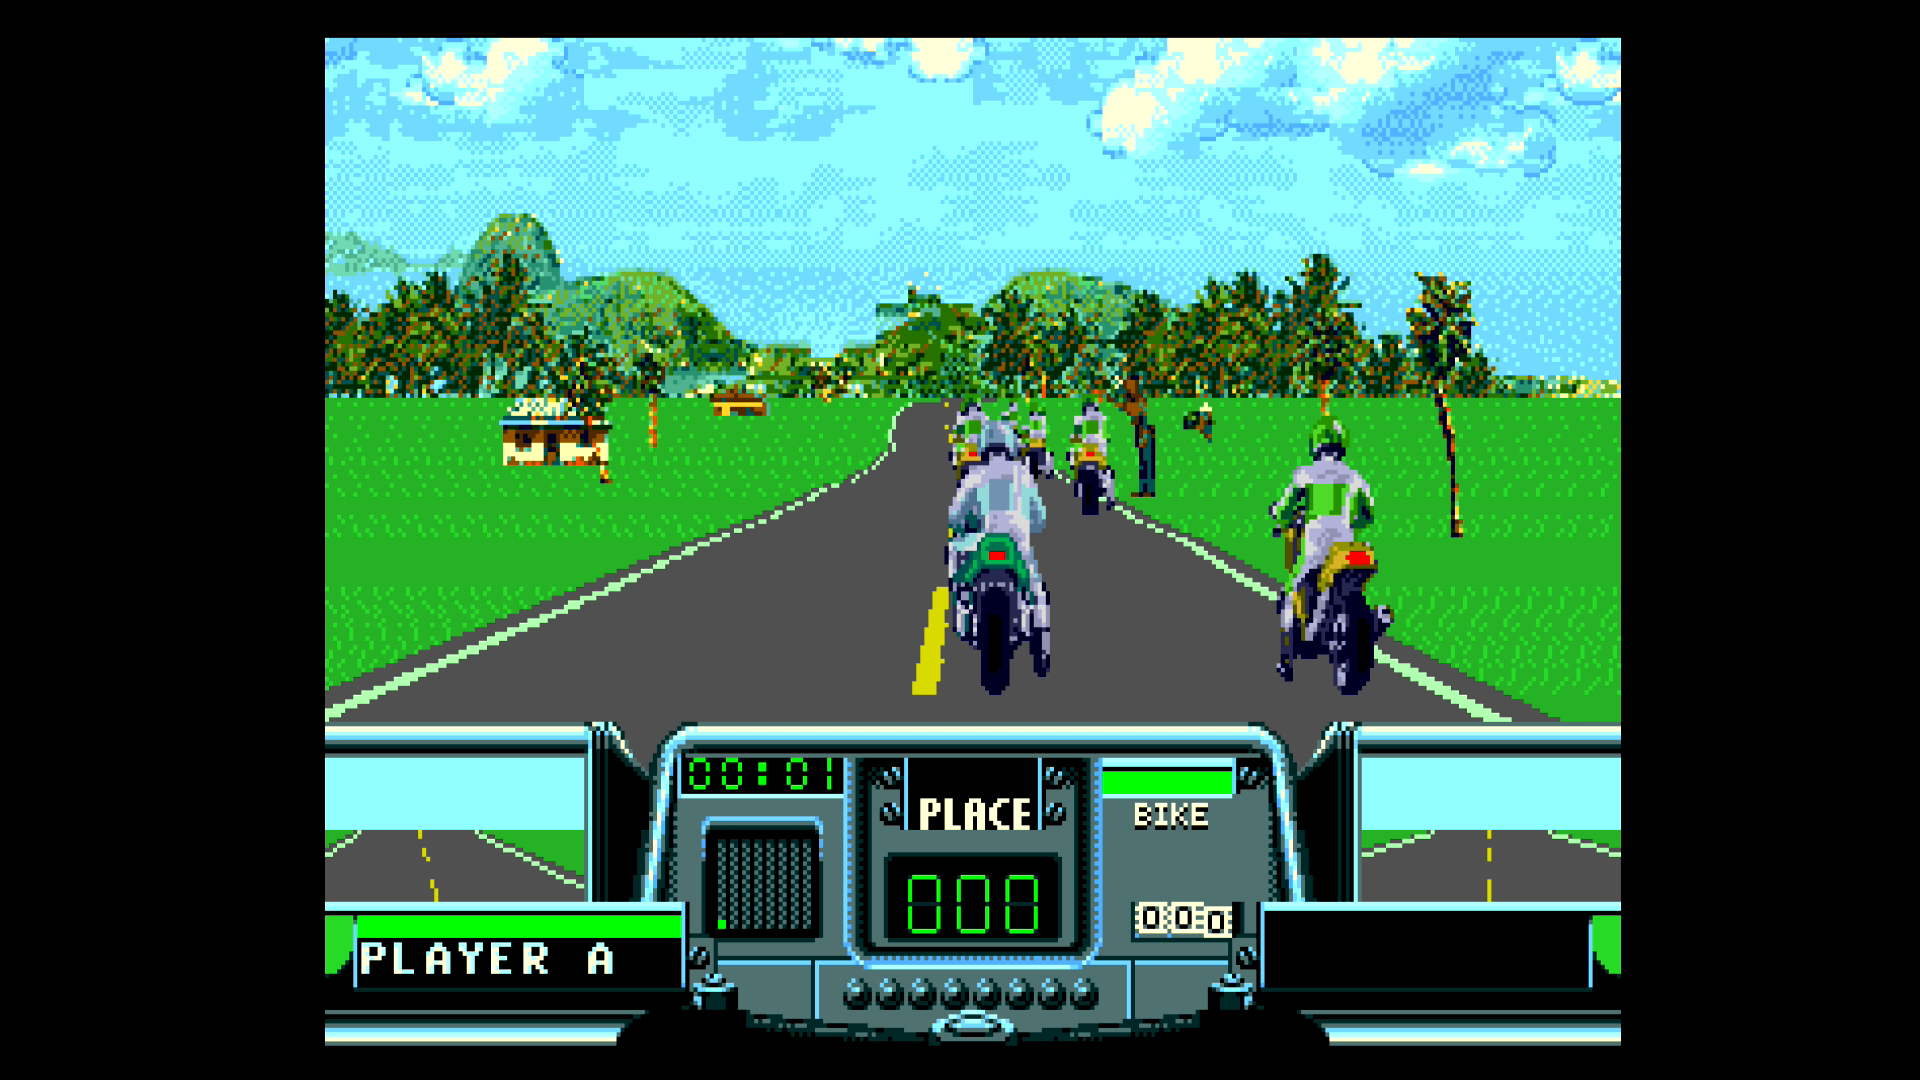
Road Rash 3
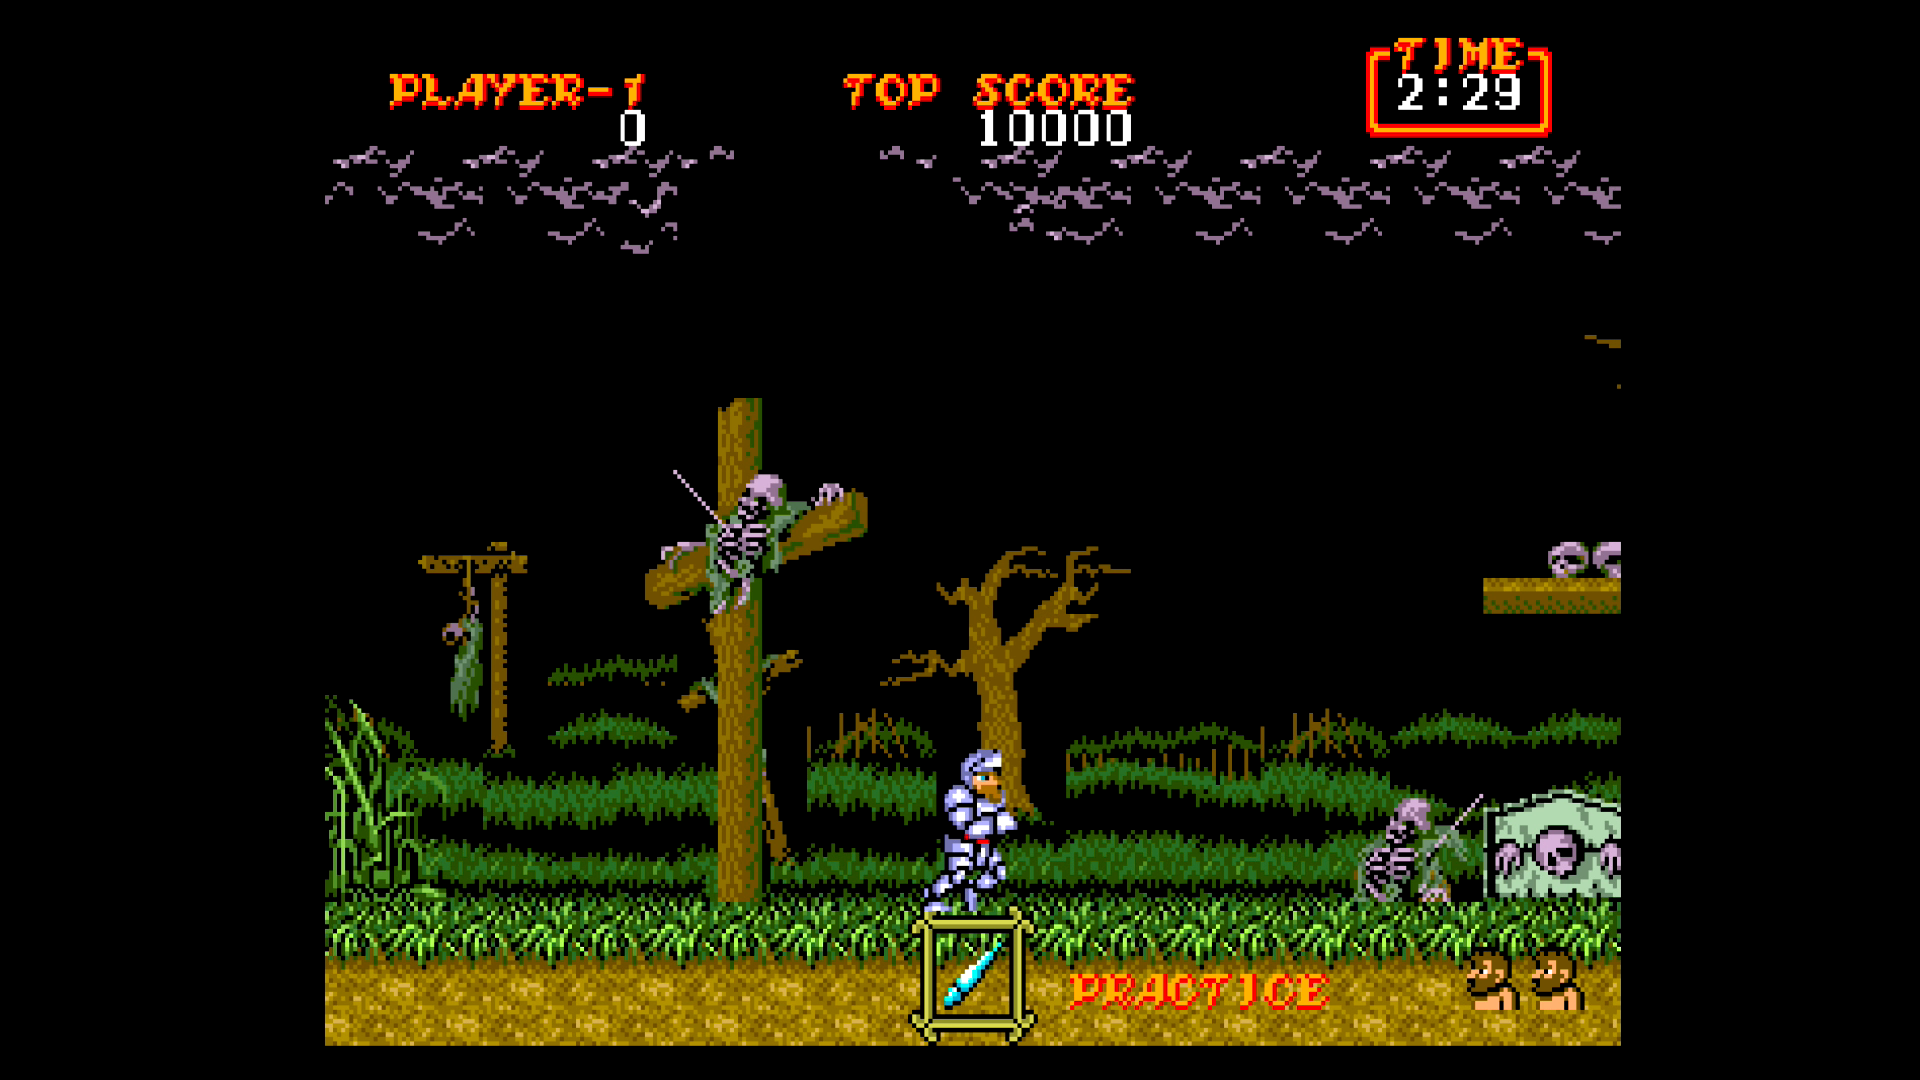
Ghosts and Ghouls
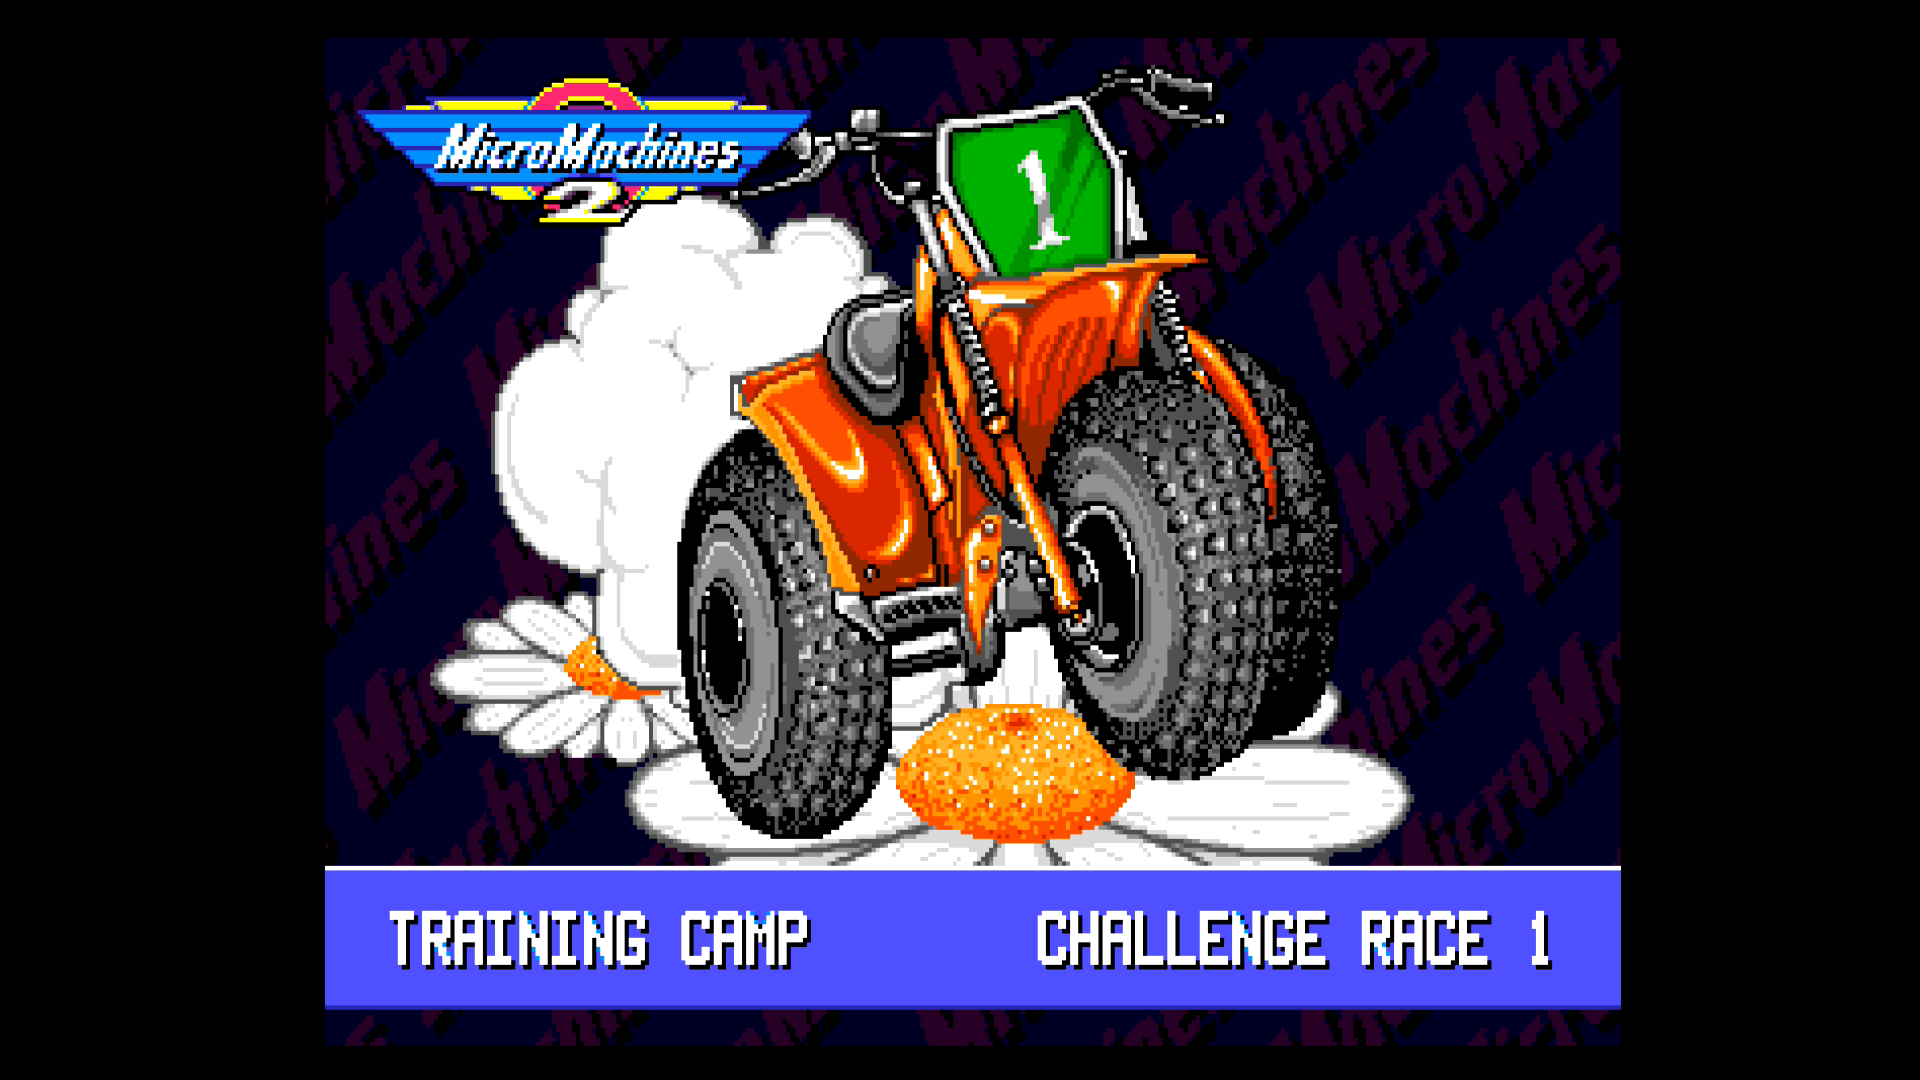
Micro Machines 2

Micro Machines 2

Battletoads (Game Gear)
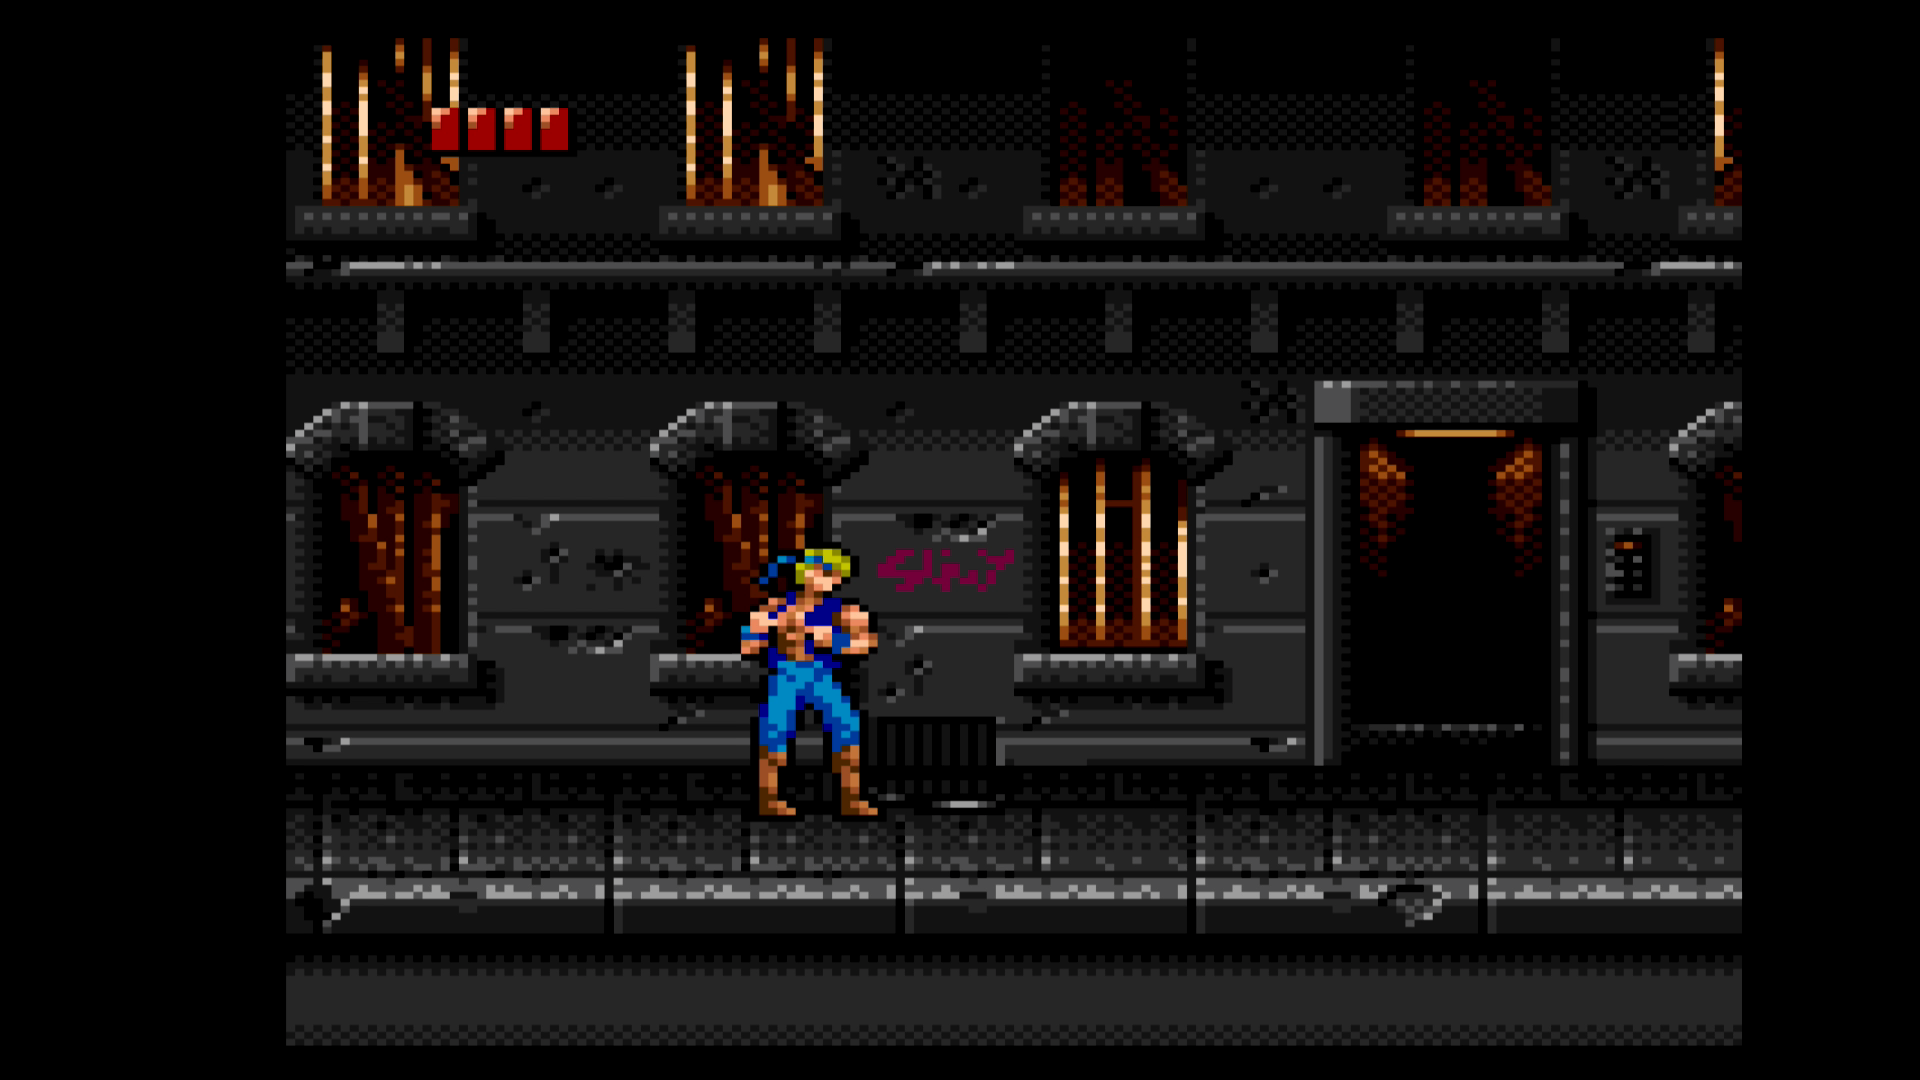
Double Dragon (Game Gear)
Fantasy Zone (Game Gear)
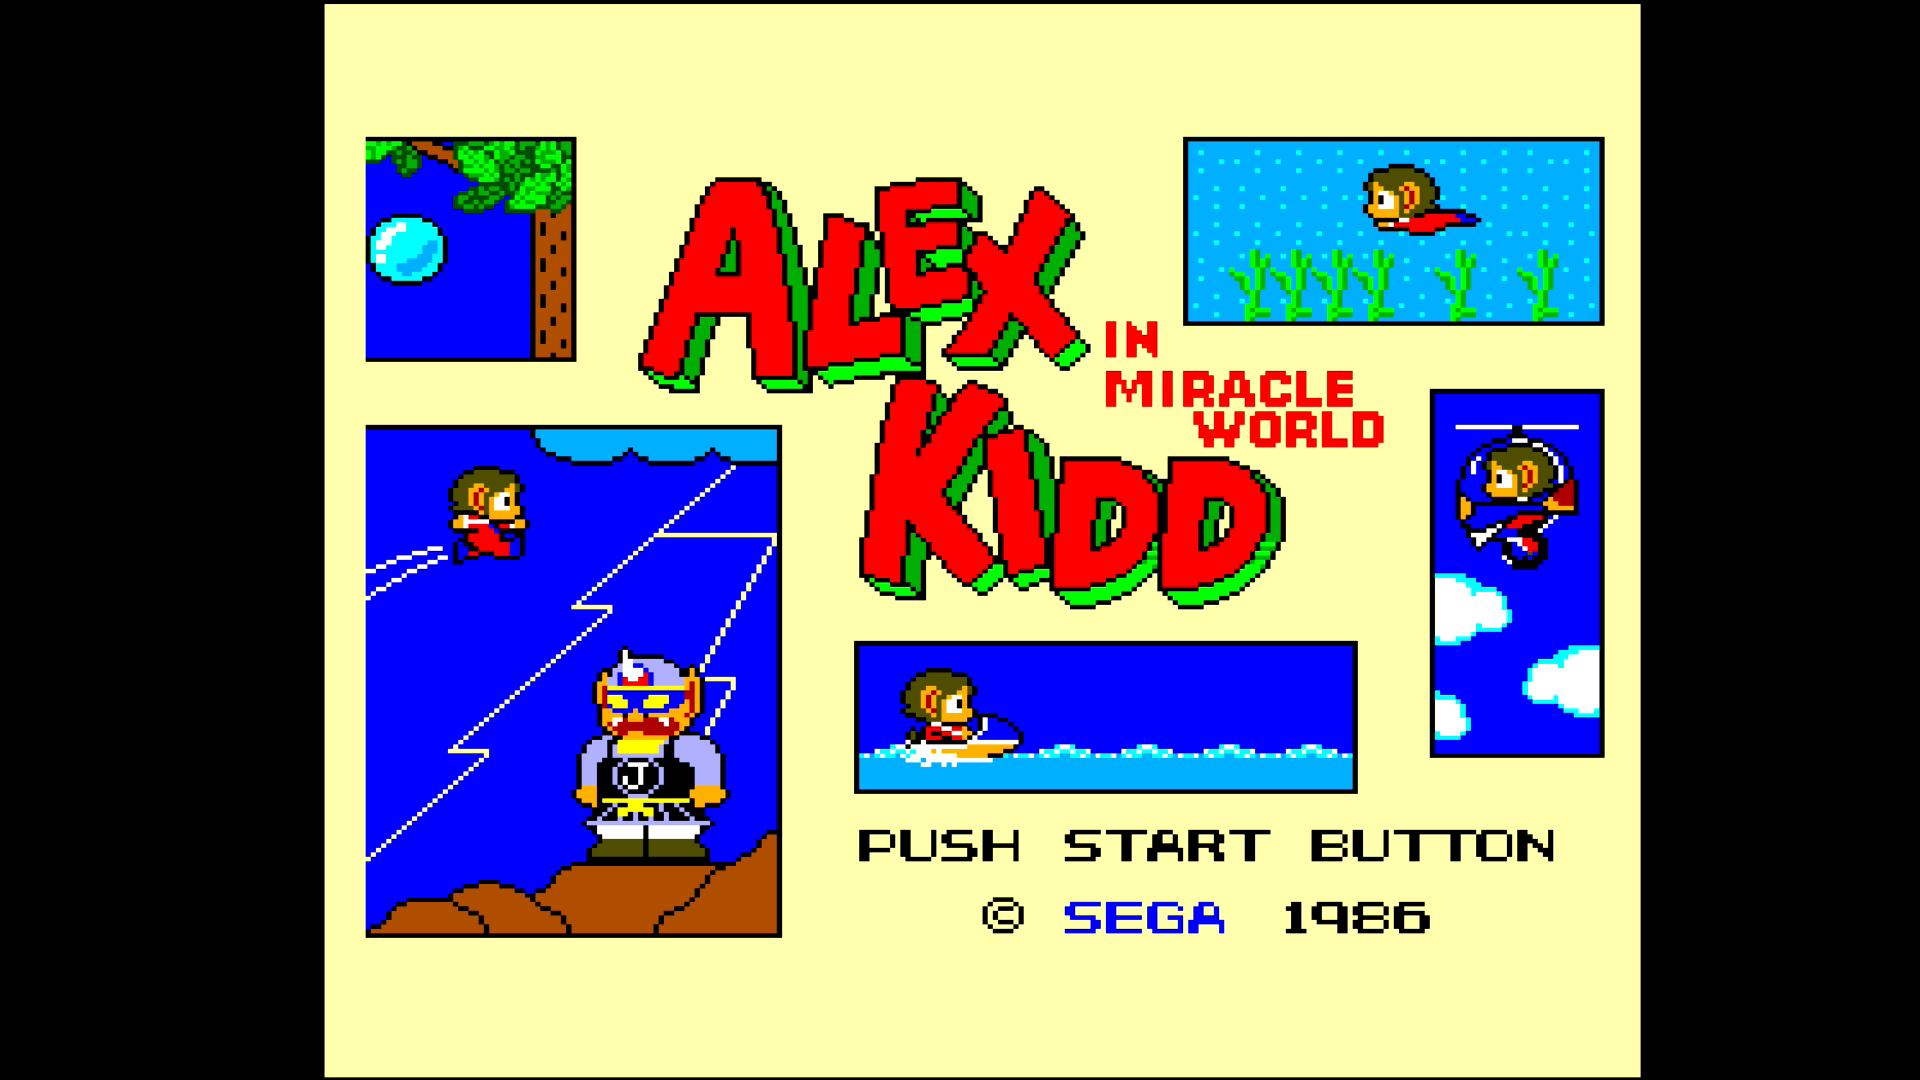
Alex Kidd (SMS)
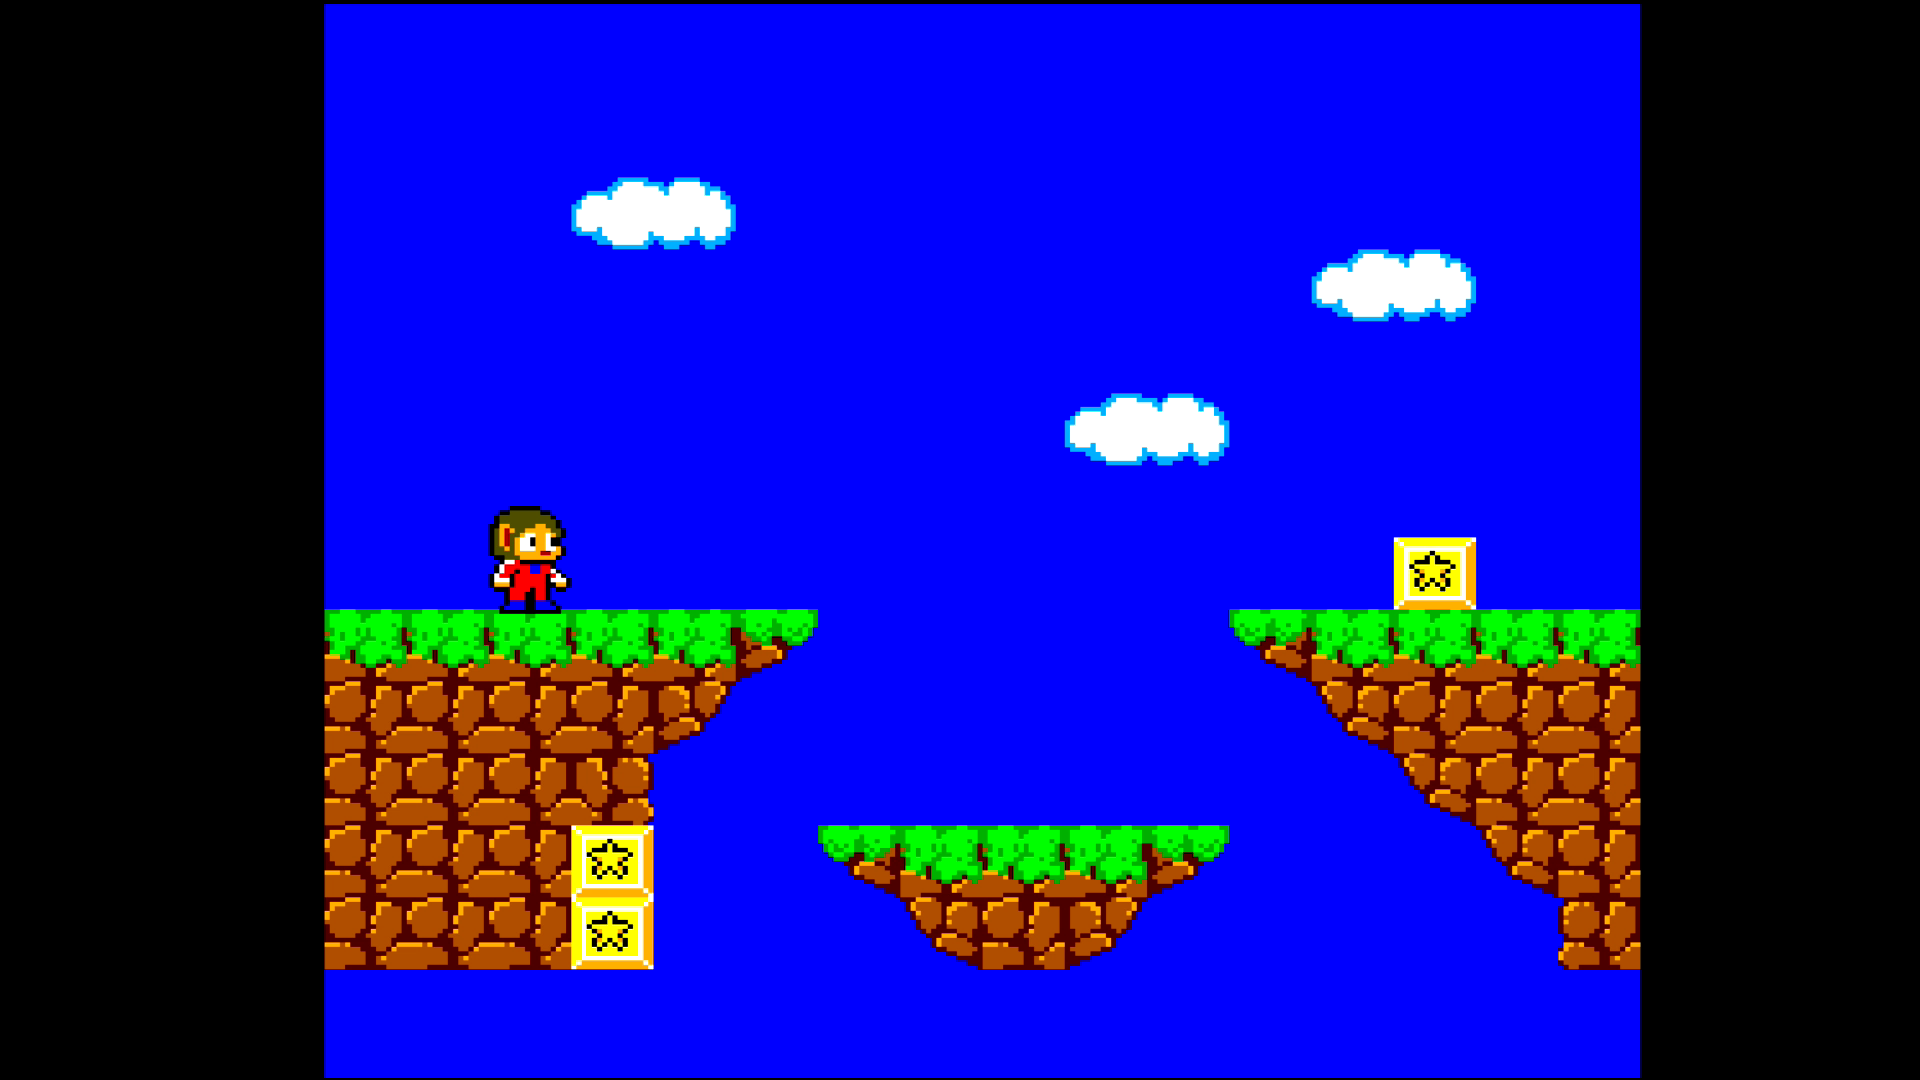
Alex Kidd (SMS)

Golden Axe (SMS)

Golden Axe (SMS)
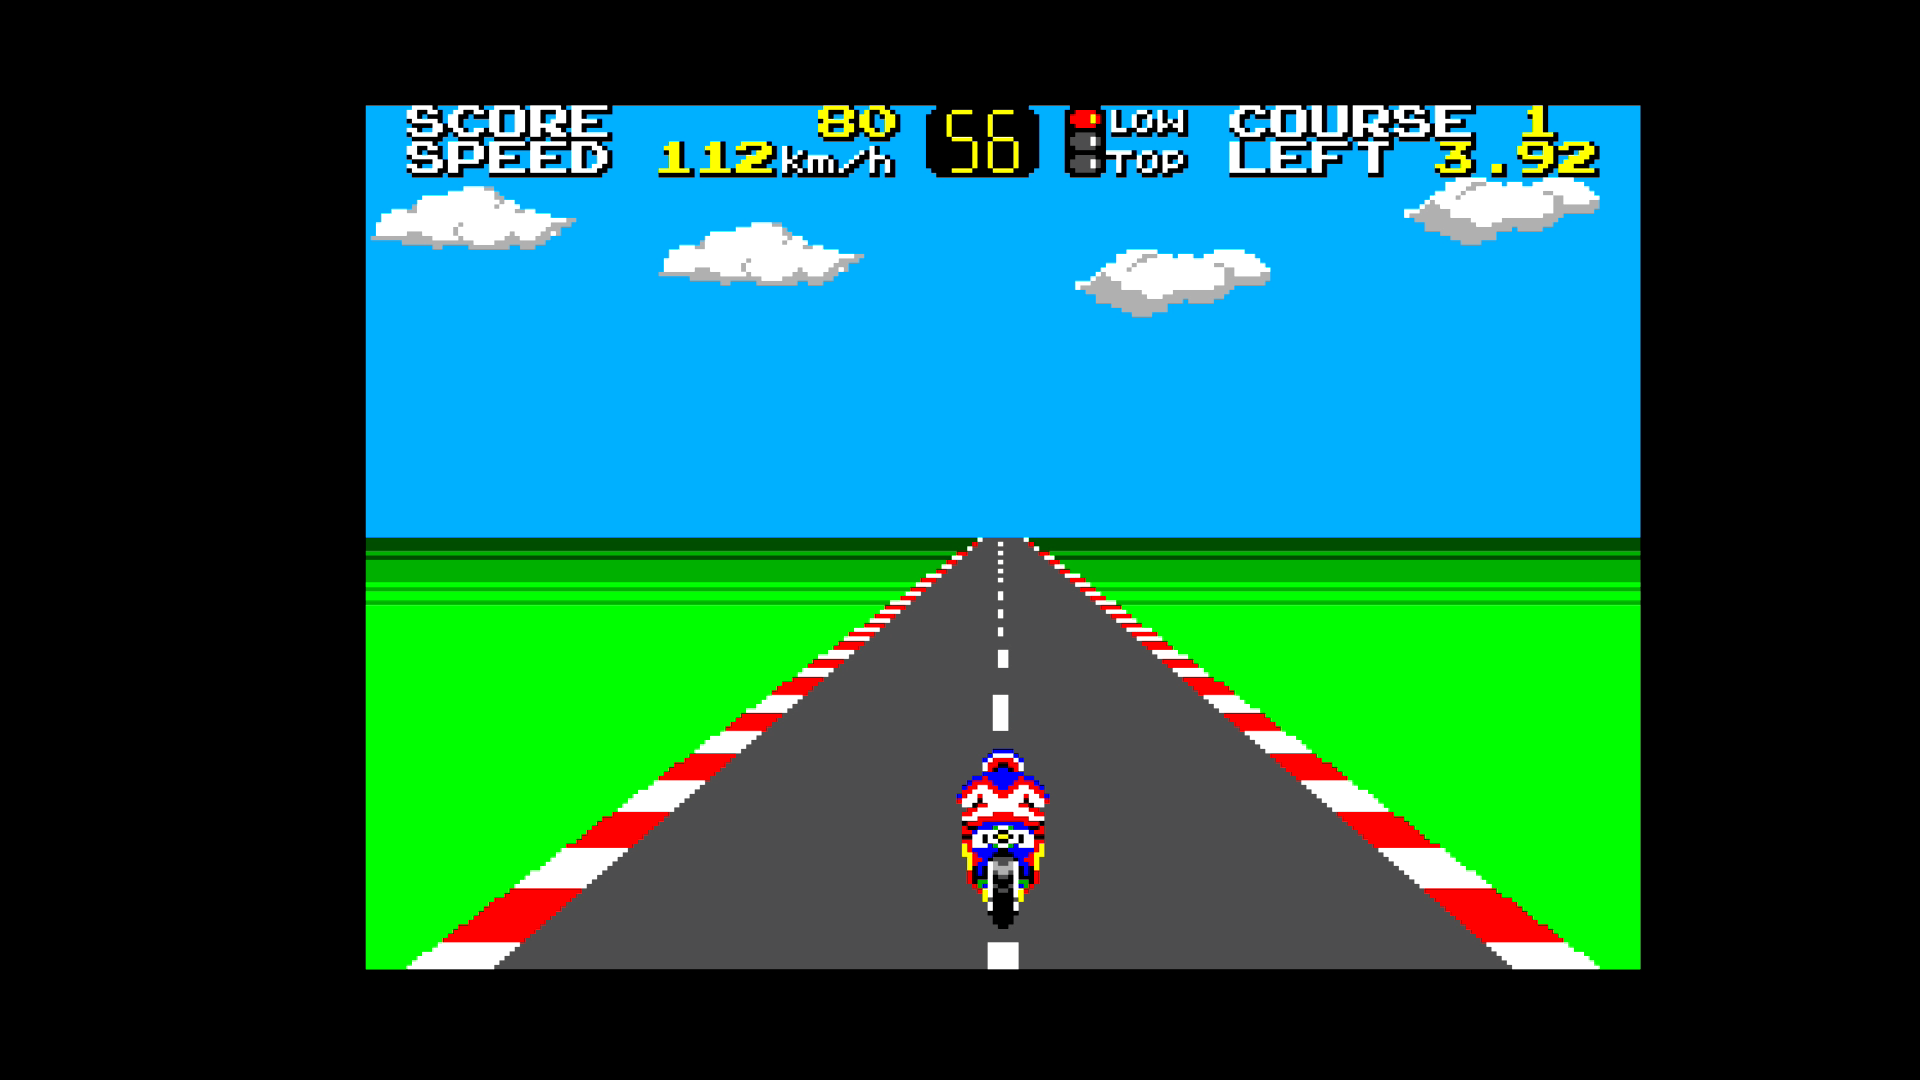
Hang On (SMS)
Compatibility
Software:
- Genesis / Mega Drive cartridges all regions
- Unlicensed, Homebrew, Repro Cartridges
- Codemasters J-Cart Cartridges
- Sonic & Knuckles Lock-On Cartridge
- Virtua Racing
- Game Genie
- Mega Everdrive v1, v2/x7, x3, x5
- Everdrive MD v1, v2, v3
- Sega Master System Cartridges (using the included adapter, Master System Converter II, Power Base Mini, Power Base Mini FM, Master Everdrive X7)
- Game Gear, SG-1000 and Master System Cards will be supported via an adapter

Hardware:
- Sega CD model 1 & 2, Mega CD (using the original adapter)
- All controllers, official Sega Mouse and Mega Mouse, Sega Activator
- Sega Team Player and EA 4 Way Play Multi-taps
- 8bitDo Retro Recevier
- Zero Tolerance Link Cable
- Miracle Piano
Notes:
- Light gun (Menacer) games don’t work, they will only work with CRT TVs
- 32x add-on and games will not work (32x requires mixes analogue video signals with Genesis signals)
- Games with 480i (Sonic 2 co-op, for example) will not display correctly and will have video artefacts

Operating
- Turn On: press the left button on the top front part. This button will light up.
- Turn Off: press the left button again, the LED light will be turned off.
- Reset: the physical reset can be done with the right button
Keys
- A: accept, select
- B: cancel, go back
- C: exit menu and go back to the game
Hotkeys
Notice: you can change the hotkeys in the Menu.
Default hotkeys combinations are:
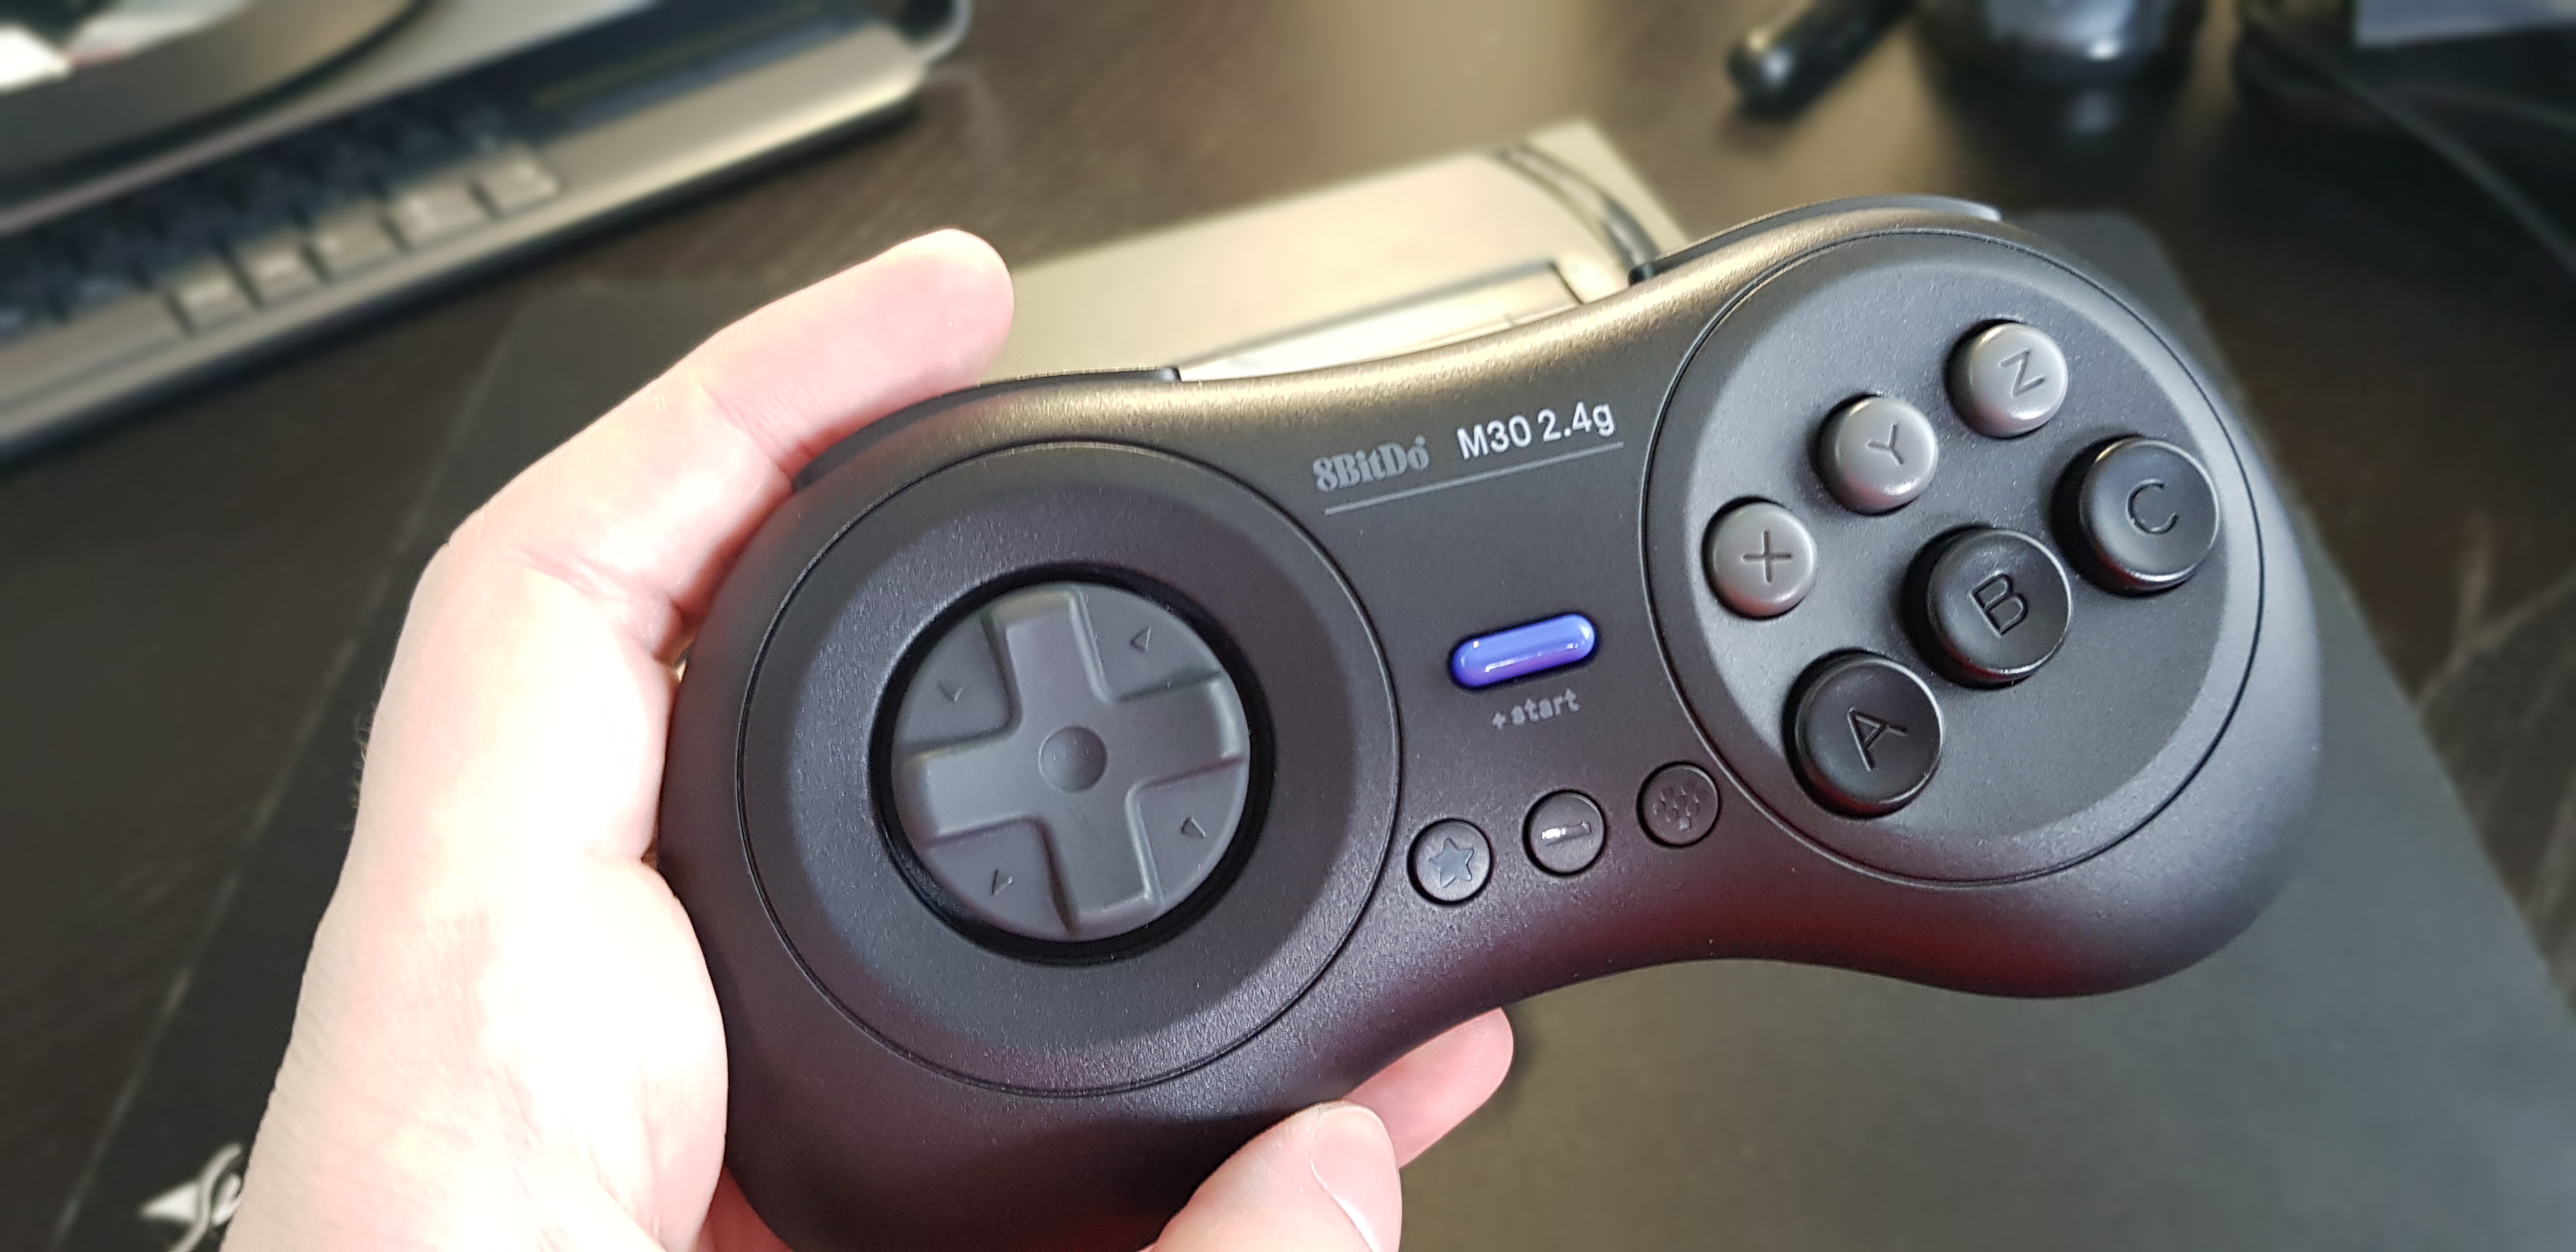
- Down + Start: main menu (On 8BitDo: the heart button, the third one in the middle)
- Up + Start + A + B + C: reset
Updating
Notice: after updates all settings will be reset! Write them down before updating.
- Go to the official website to the support page and download the latest firmware.
- Place the .bin file into the root folder of an SD card (the card need to be formatted as Fat 32). For cards larger than 32 Gb you can use this tool.
- Turn off the console and then insert the card into the console.
- Turn on the console and wait, until the flashing is complete (LED light will be red!).
- The console will reset after flashing and will start normally.
Main Menu
After start you will be welcomed by an animation.

The main menu has following elements:
- Run Cartdige: start the inserted catridge
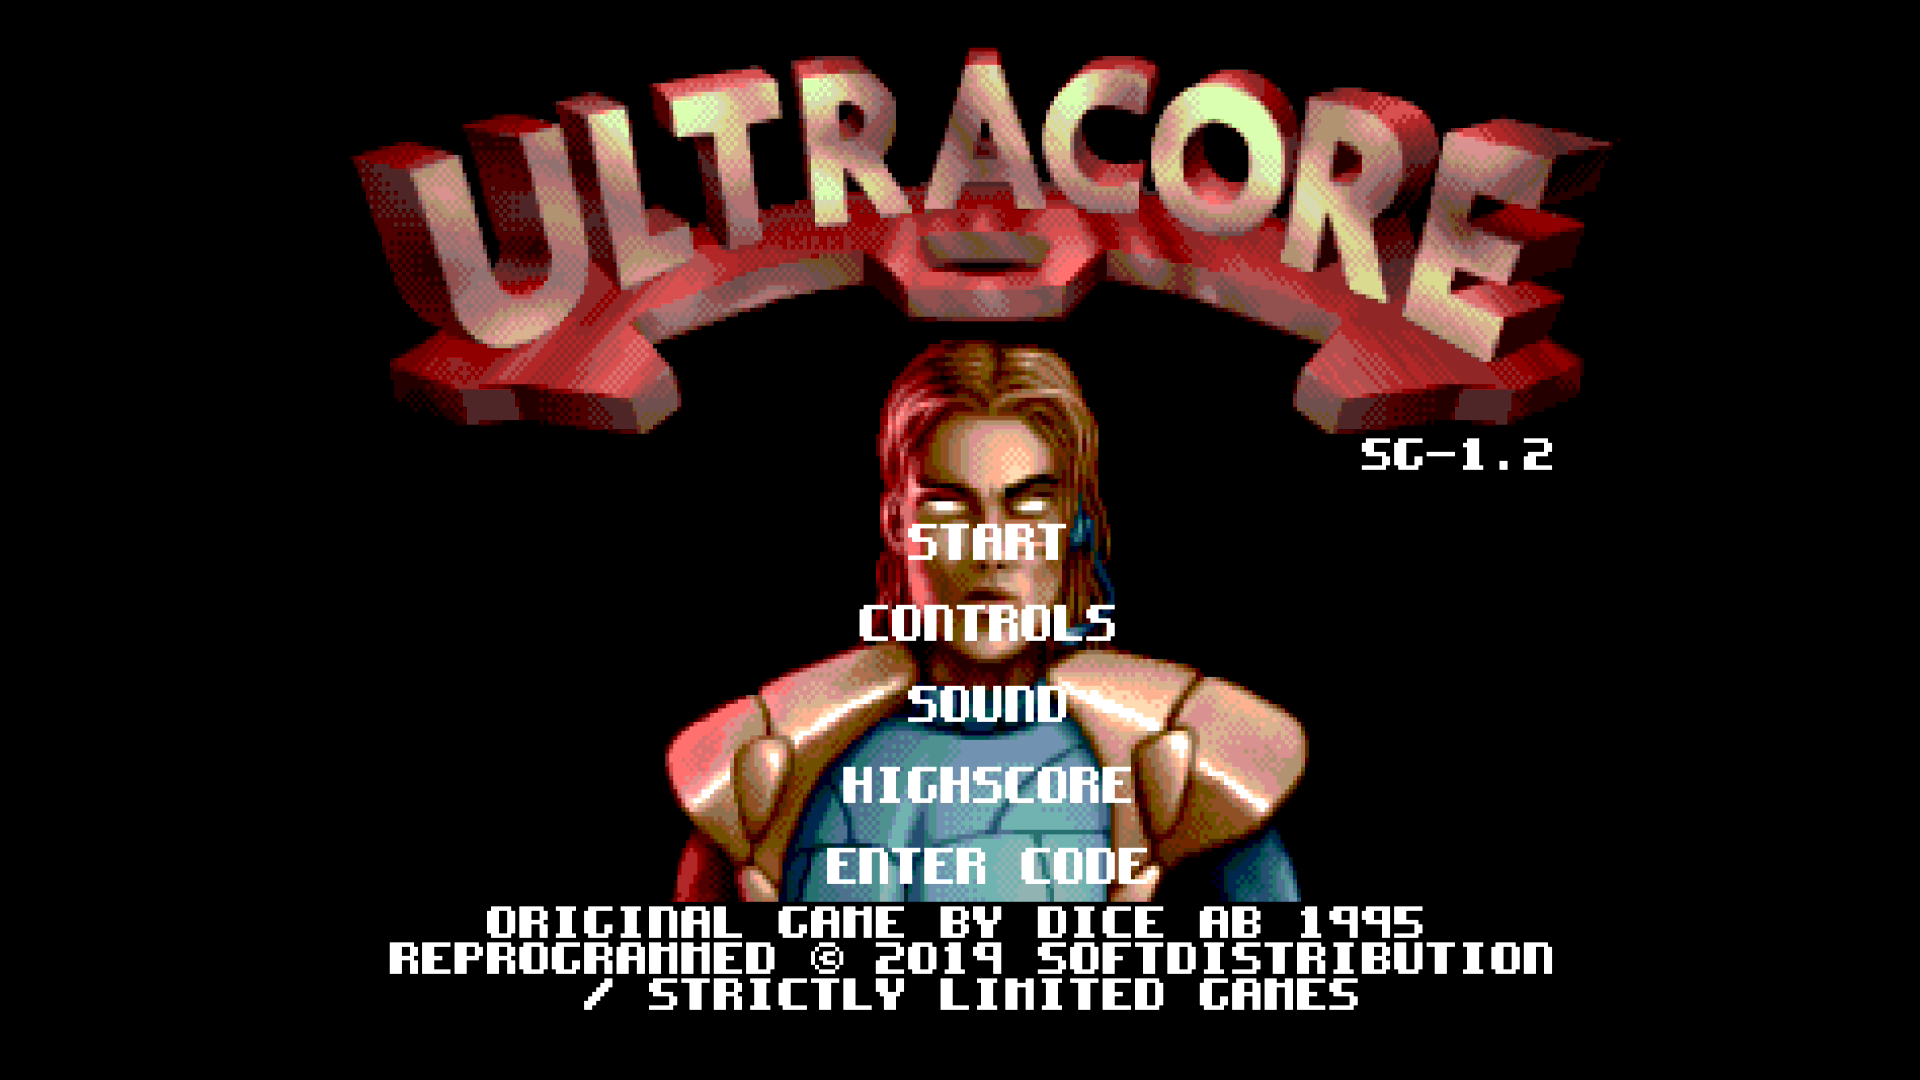
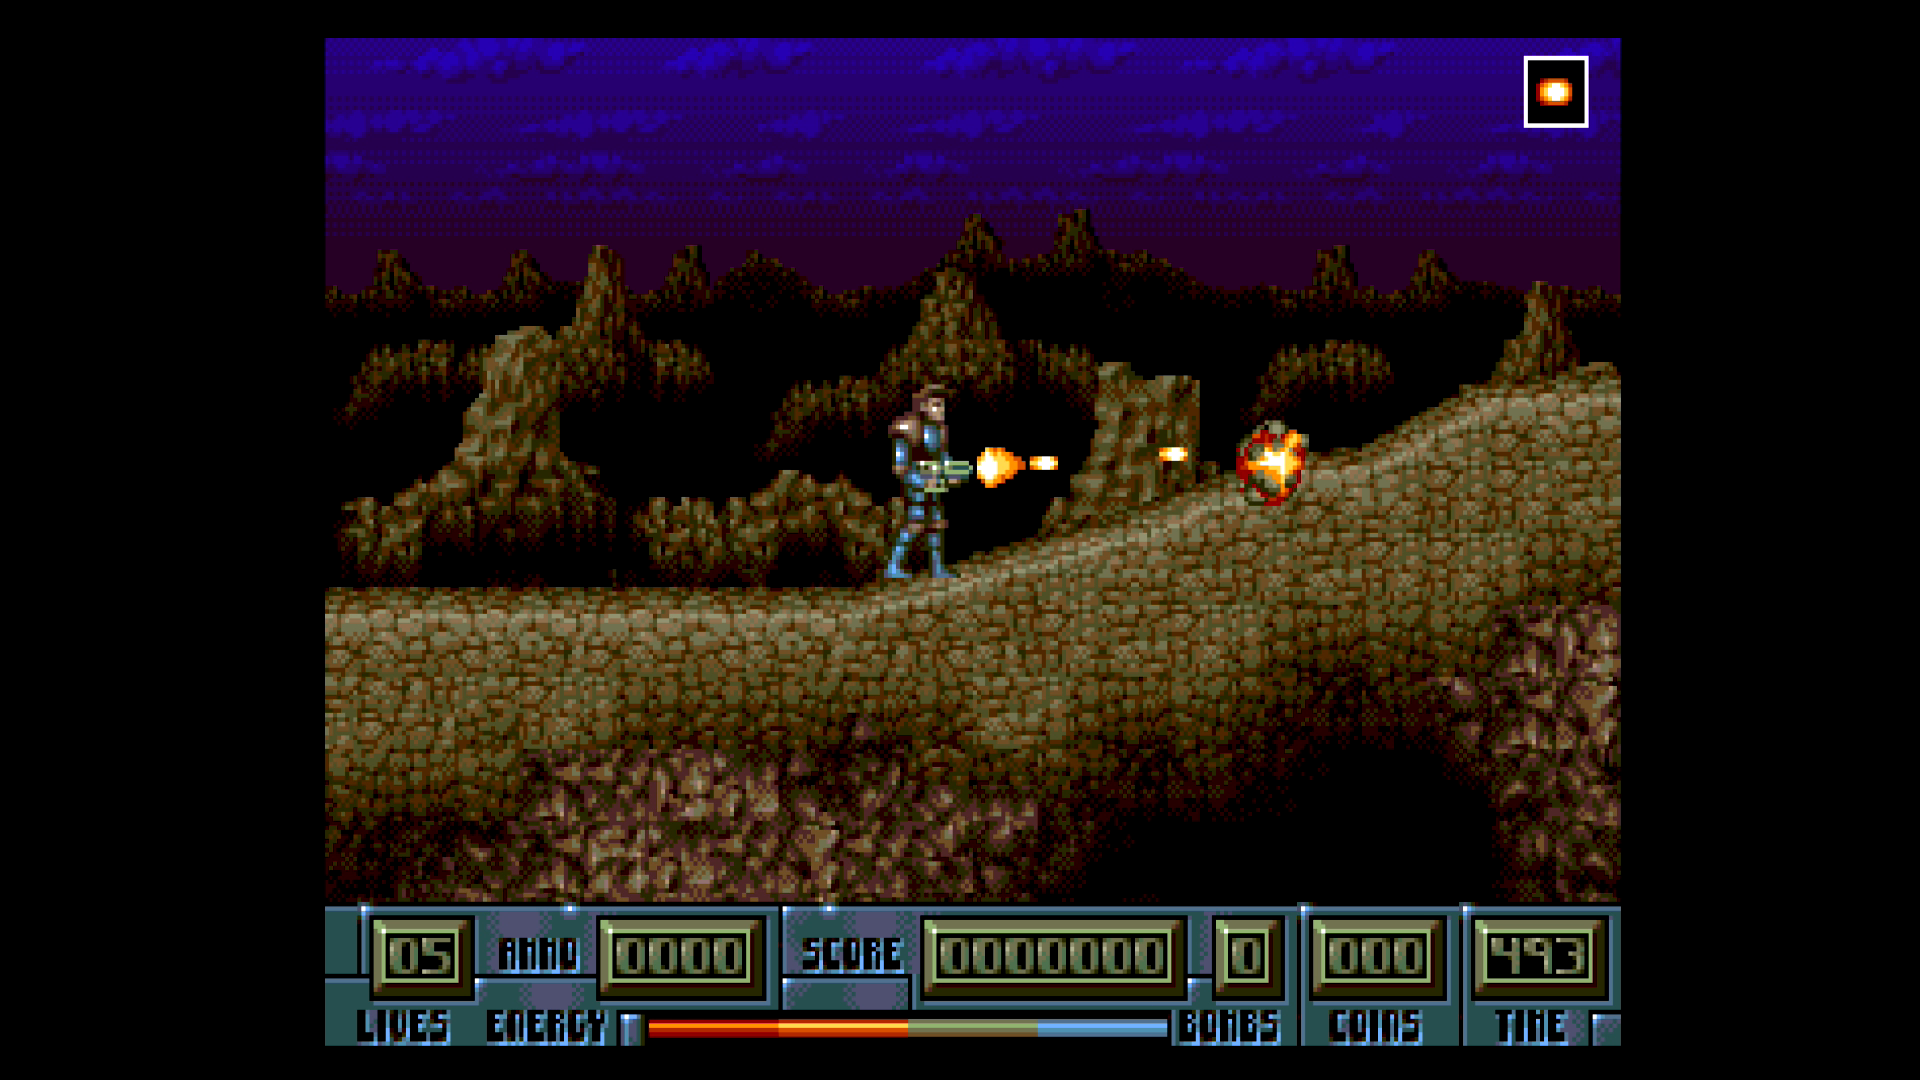
- Play Ultracore: play the preinstallerd game “Ultracore”
- Settings: go to the Settings (Video, Audio, Hotkeys, etc.)
- Tools: show Tools (Cheat Codes, Controller Test)
Run Cartridge
- Playing Genesis/Mega Drive Games: make sure you insert the game while the console is off!
- Playing Sega Master System Games: make sure you insert the game while the console is off! Use the included adapter to play Master System games.
- Mega SG also supports Flash Cartridges like Mega Everdrive or Master Everdrive.
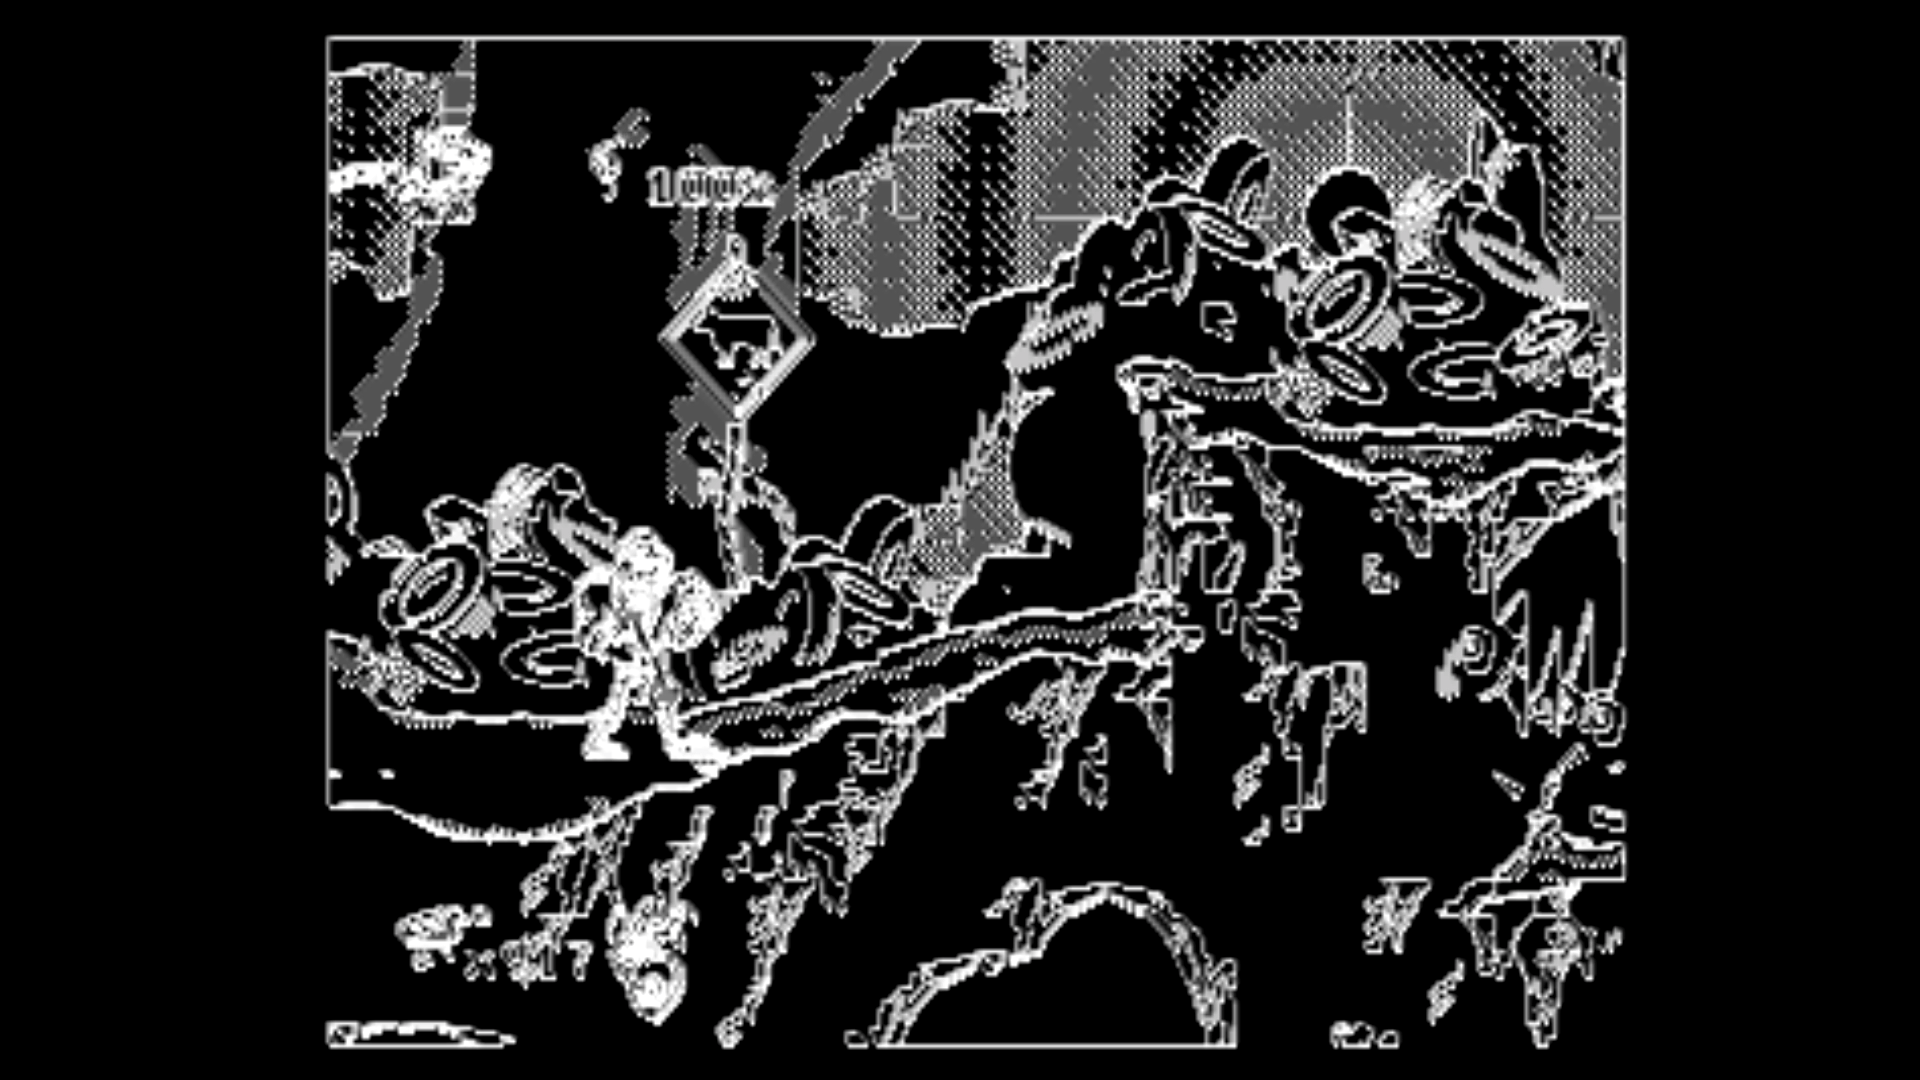
Play Ultracore
After updating to any newer firmware version a new option will be added: “Play Ultracore”. “Ultracore” is an unreleased game developed by DICE. It’s a run’n’gun game similar to Contra with Metroidvania elements.
Settings
Following options are available:
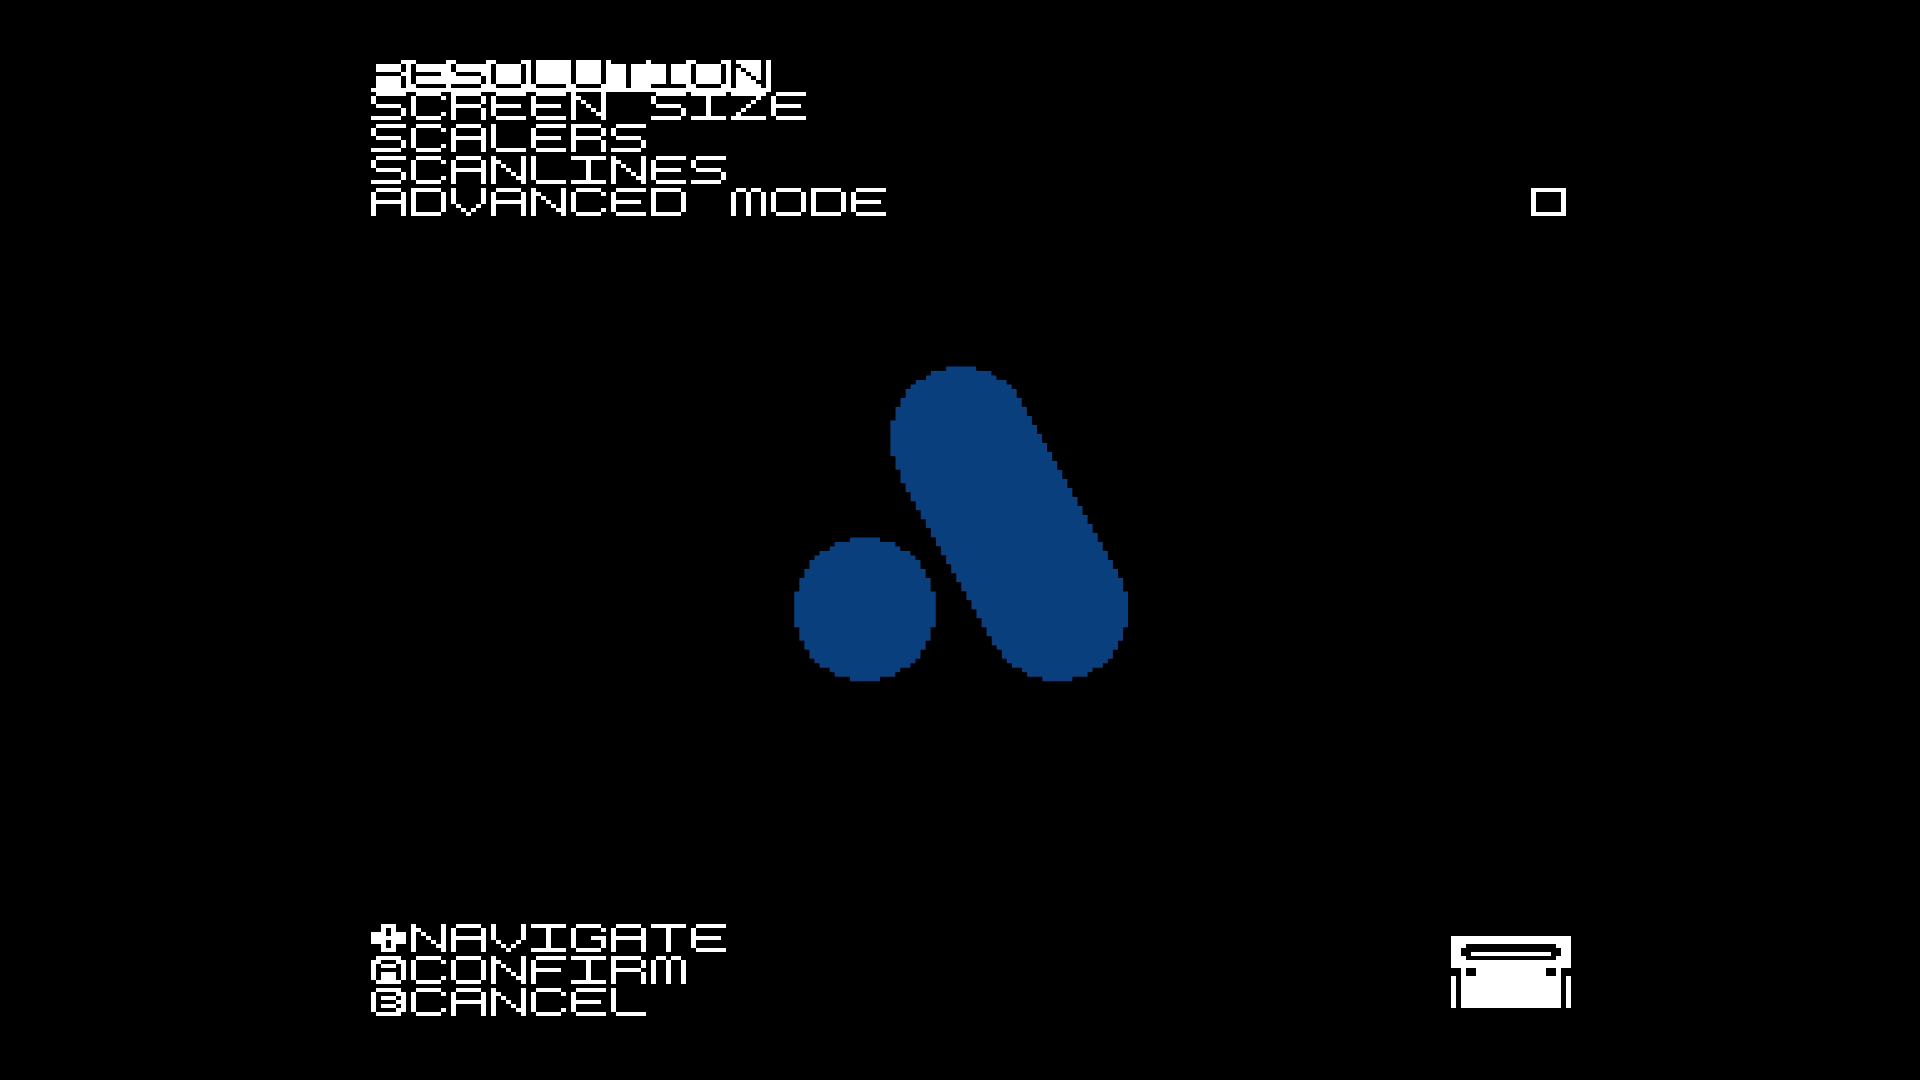
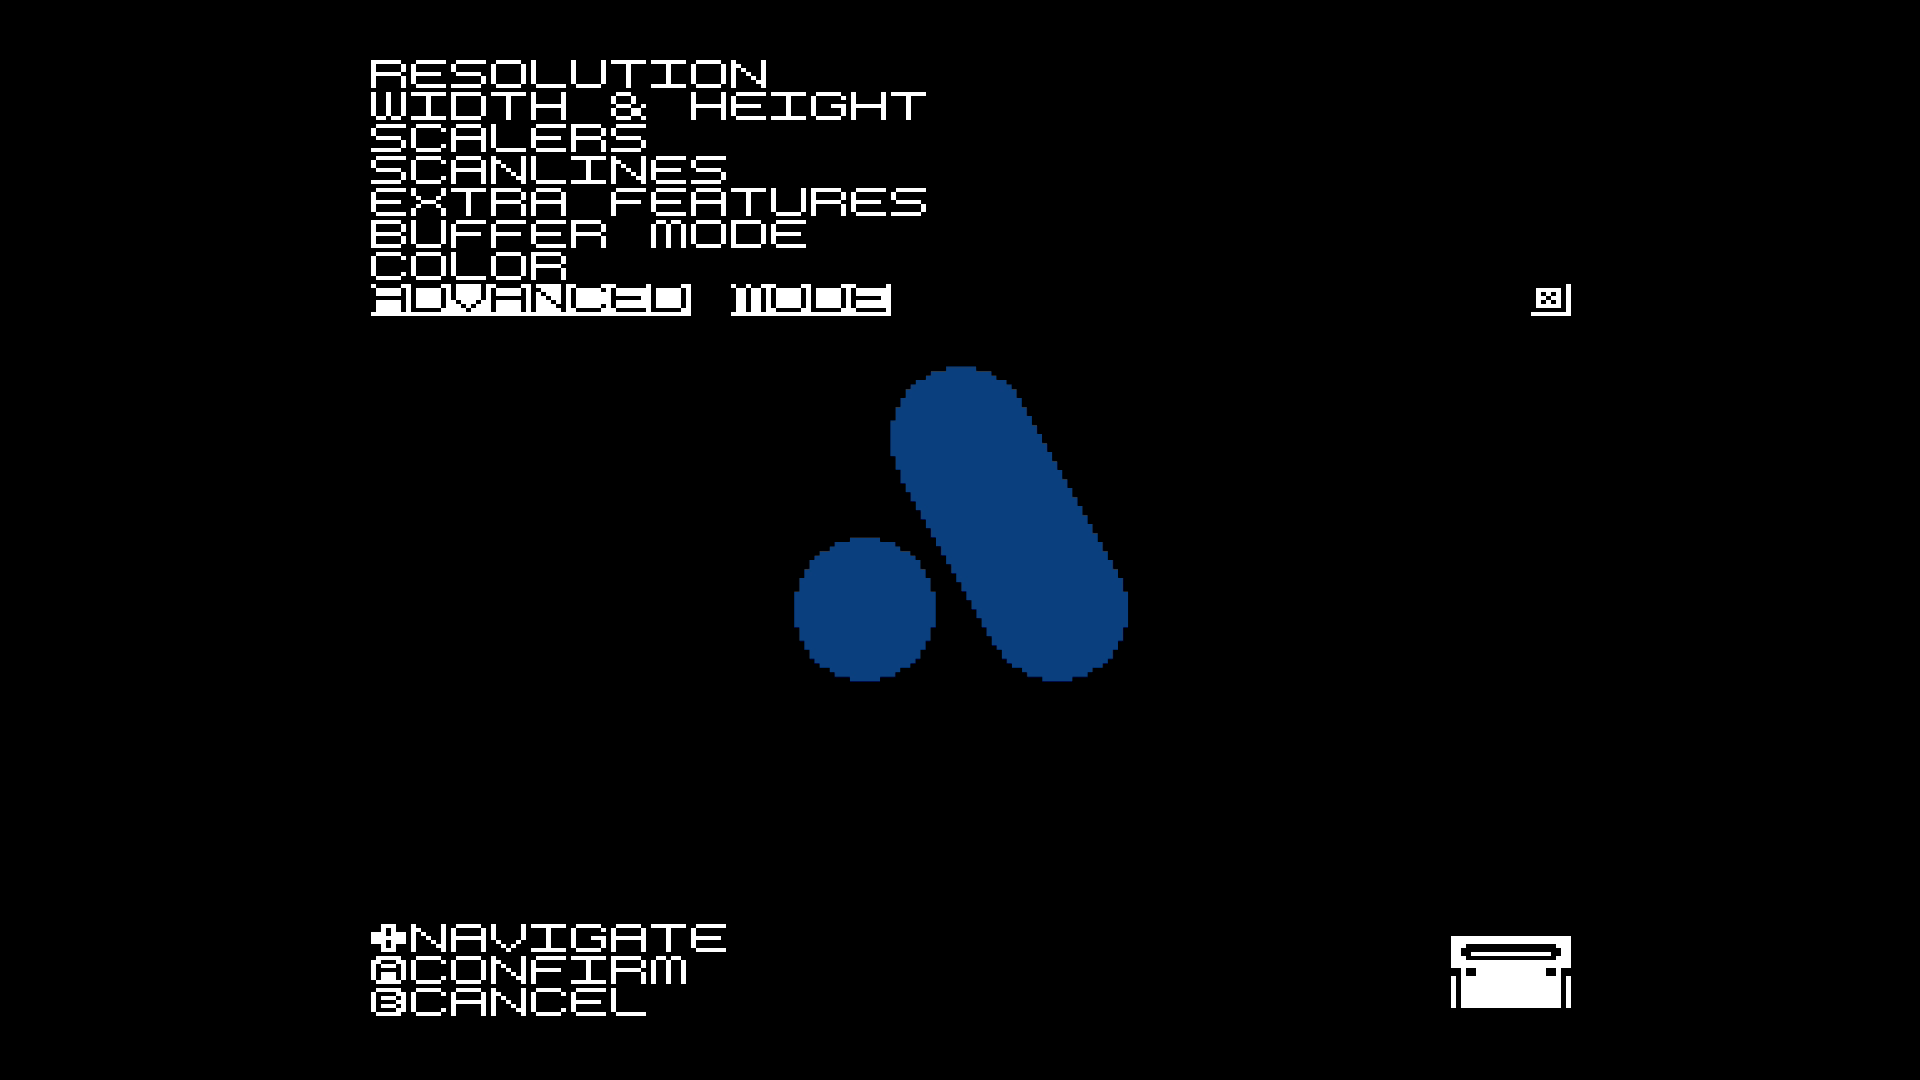
- Video: adjust video settings. You can also enable the option “Advanced mode” to see advanced settings.
- Audio: adjust audio settings
- System: adjust system settings
- About: see information about contributors and creators
- Save/Clear Settings: save or clear current configuration
Tools
Two options are available here:
- Cheat Codes: here you can enter Game Genie codes
- Controller Test: start the controller test application
Settings in Details
Video Settings
All video settings are gathered in this submenu.
Want to know even more -> watch this Youtube video made by FirebrandX.
Resolution
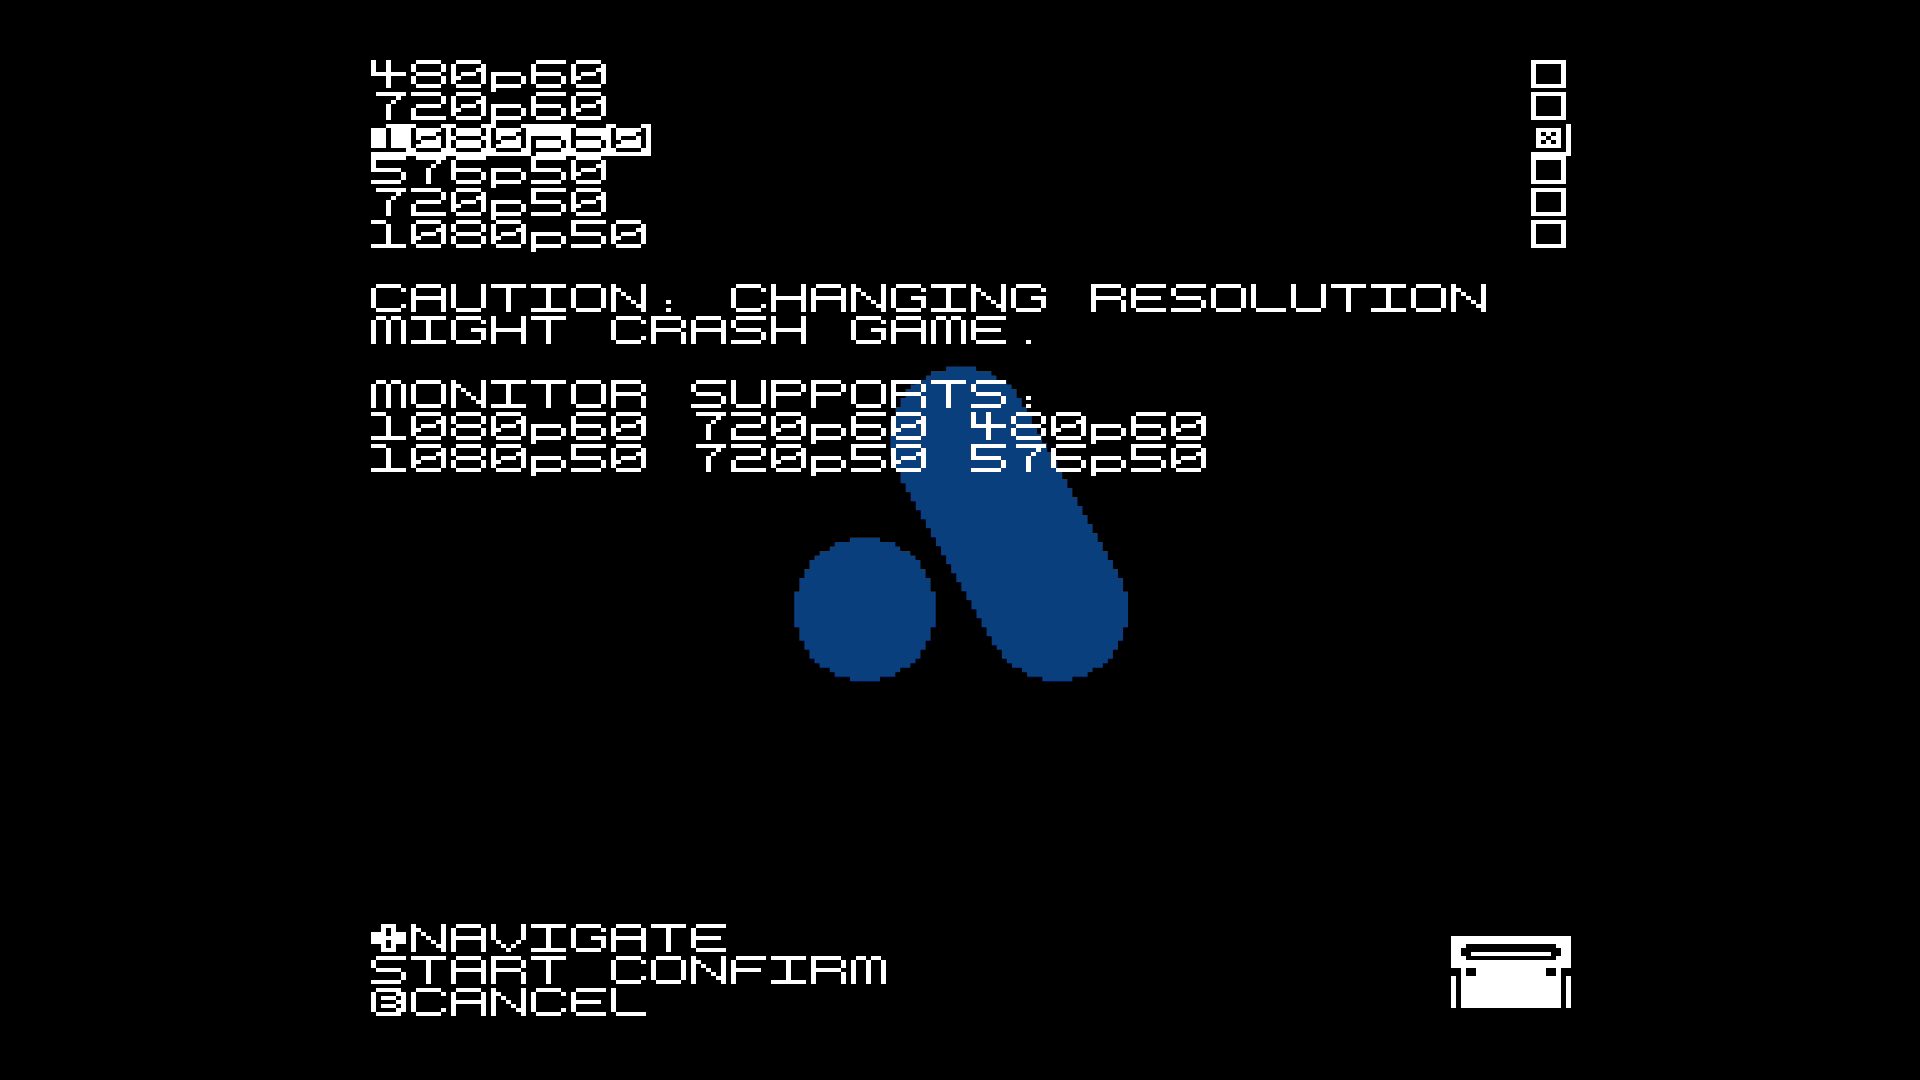
Choose the resolution from the list. Changing the resolution might crash the game but after restart it should work normally.
The resolution choice consists of following elements:
XXXpYY or XXXXpYY,
where XXX or XXXX is the vertical resolution (480, 720, 1080), ‘p’ means progressive and YY is the frequency (50 or 60 Hz).
For better image quality and sharpness and if your TV is not 4K, choose the highest resolution (1080p).
If you want to use scanlines or have a 4K TV, 720p may be a better option. 720p is a 3x integer scaling of the original 240p, therefore the scaling should be better and scanlines will look perfect.
Supported resolutions and frequencies will also be shown.
Screen size
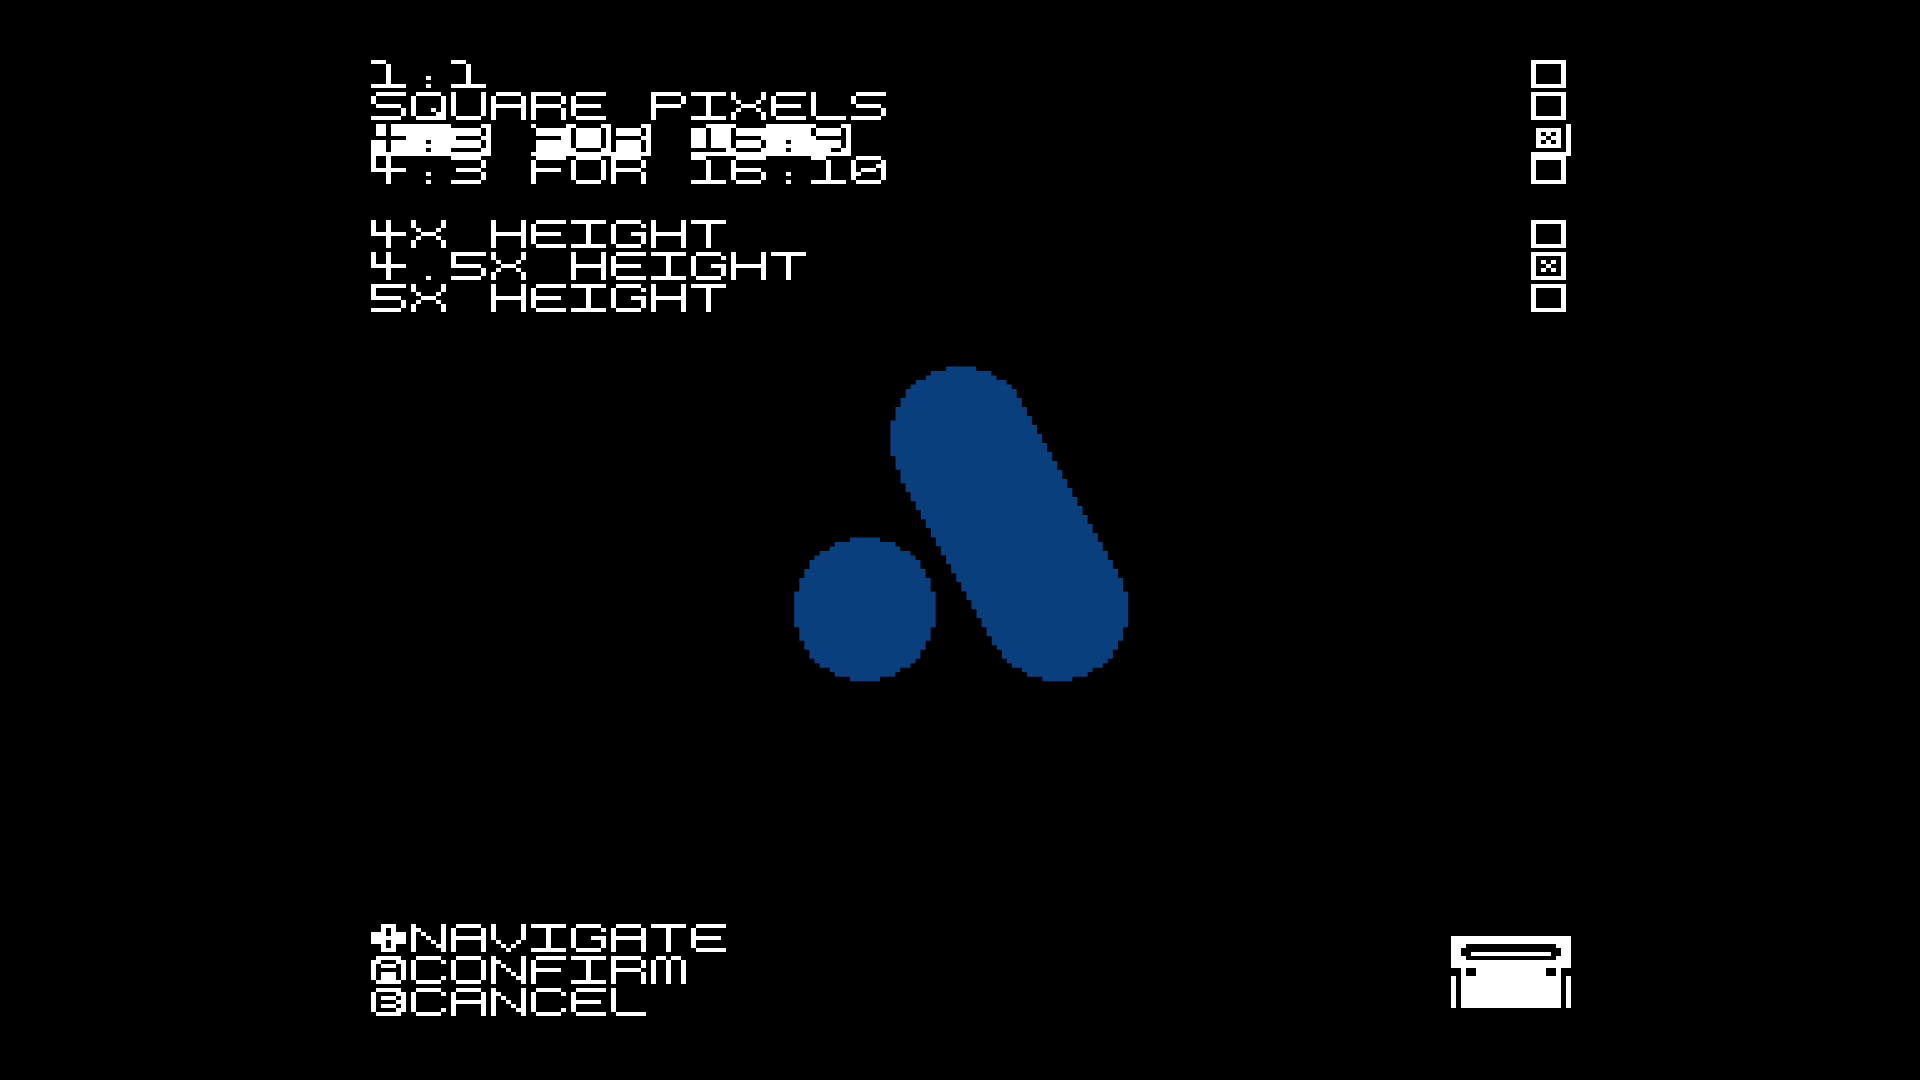
You can set the aspect ratio. Normally the option 4:3 for 16:9 is the best.
Scalers

Here you can choose one of scalers to make the image softer and you can also adjust the interpolation setting to fix the shimmer on moving images (for LCD displays).
HQ2X, HQ3X, HQ4X use neighbouring pixels and interpolation algorithms and create a softer image (cartoonish).
Scale 2X and 3X use different algorithm but the result is very similar to previous.
Notice: Using scalers will cause a little lag!
Here is the comparison of different scalers:
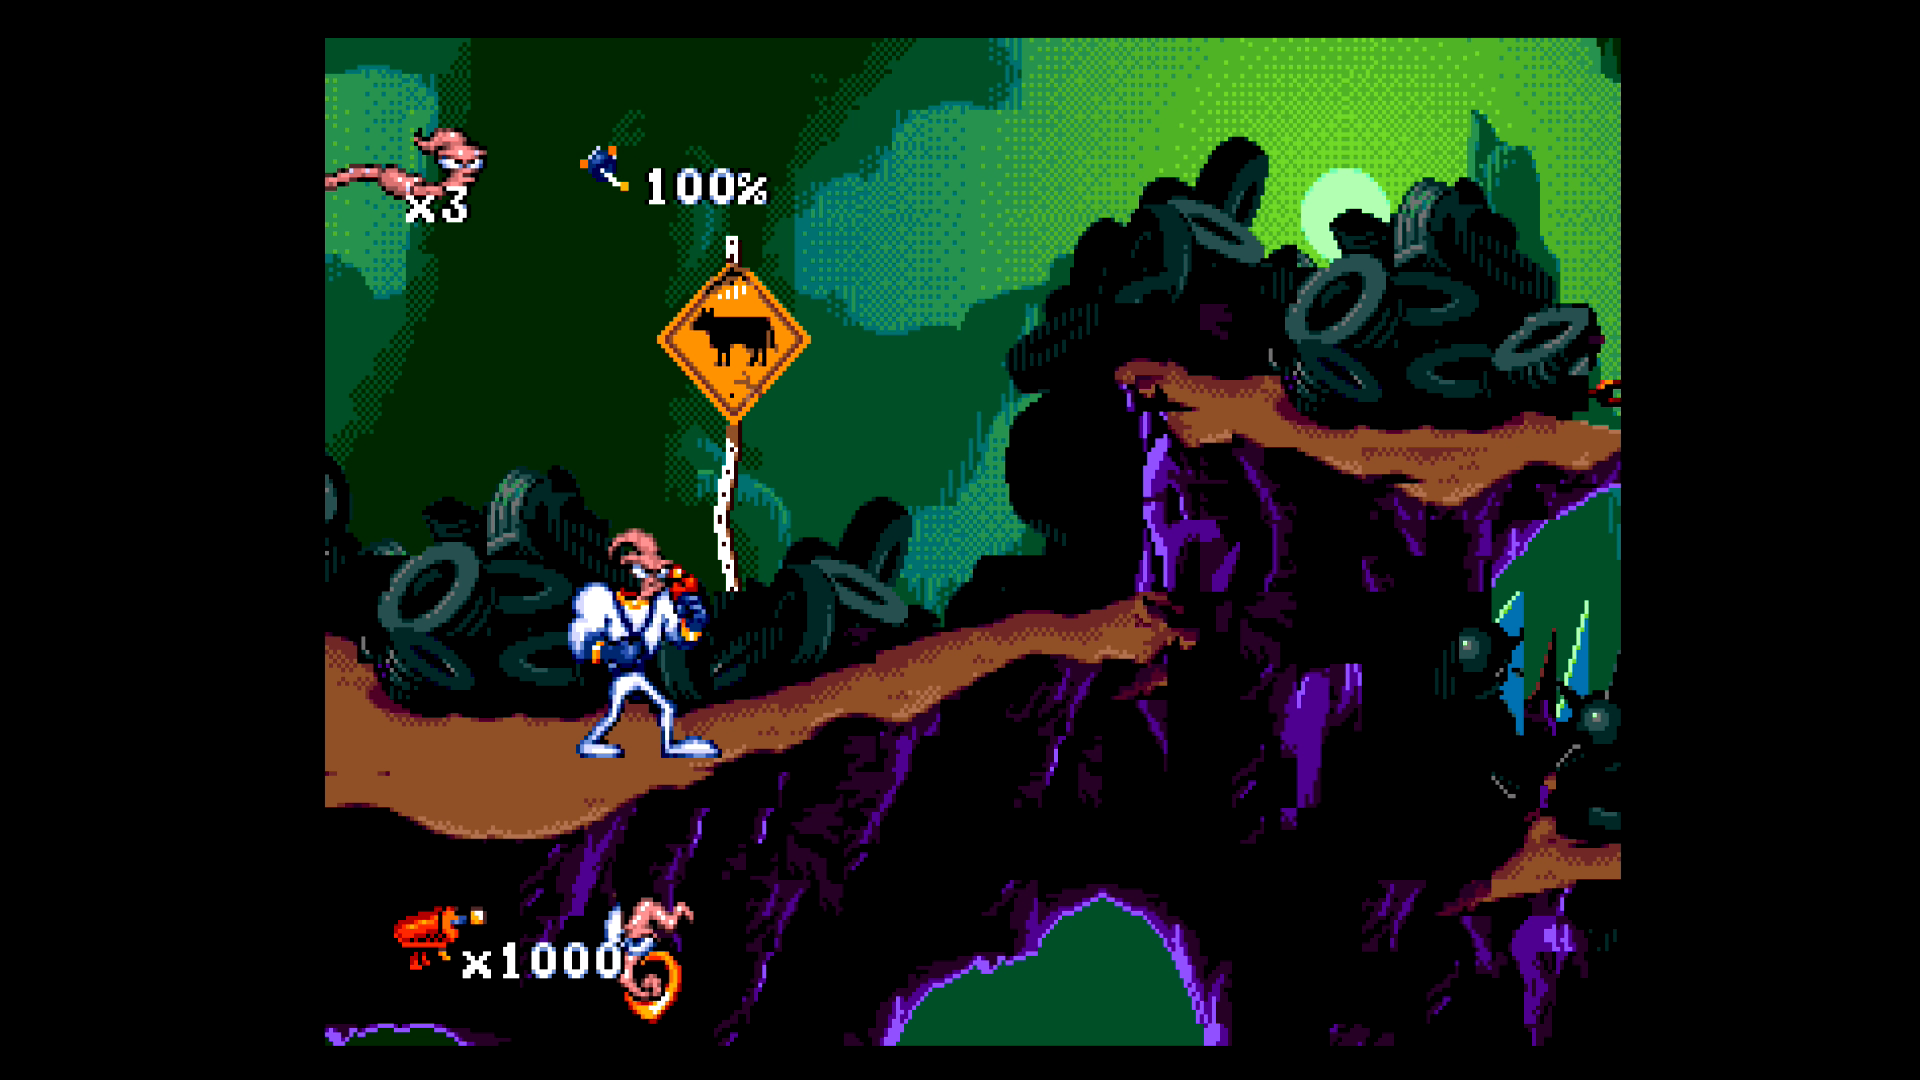
No Scaler

HQ2X
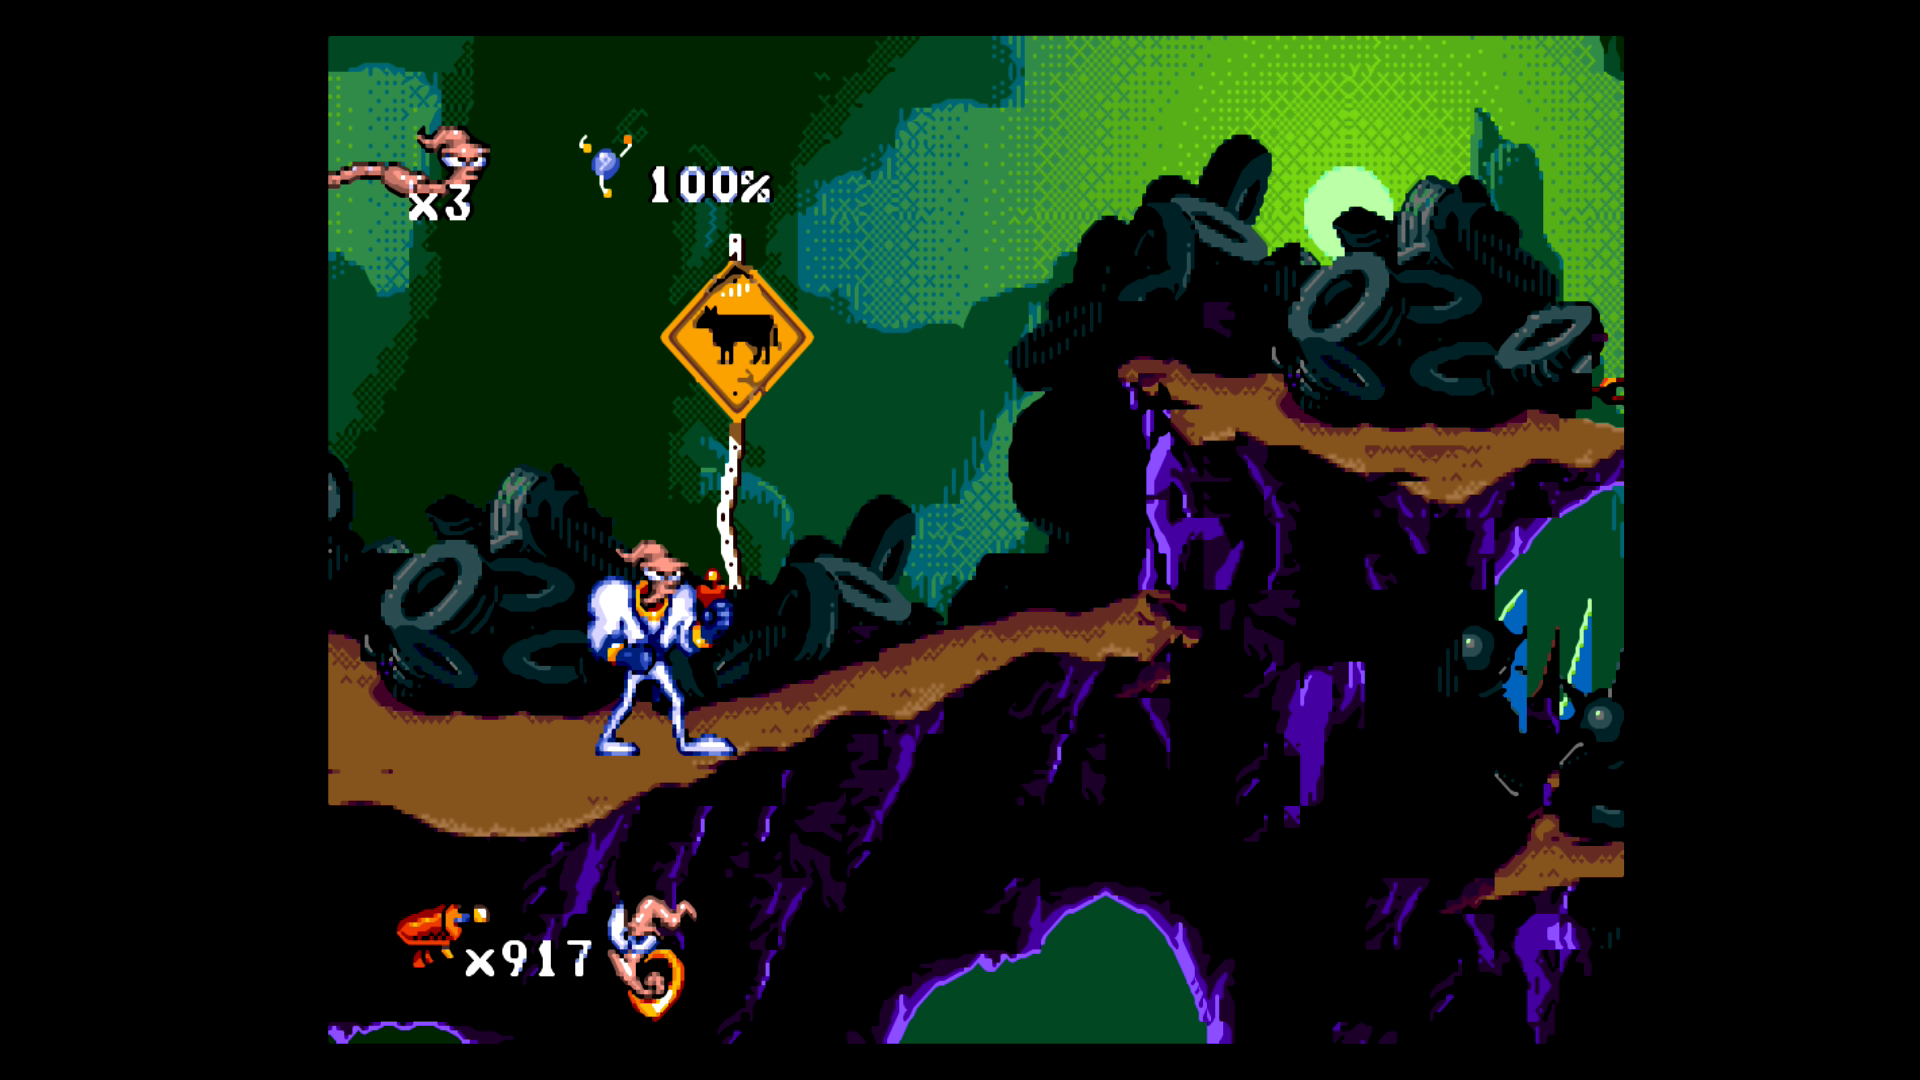
HQ3X

HQ4X

Scale 2X

Scale 3X
X-Ray
Scanlines
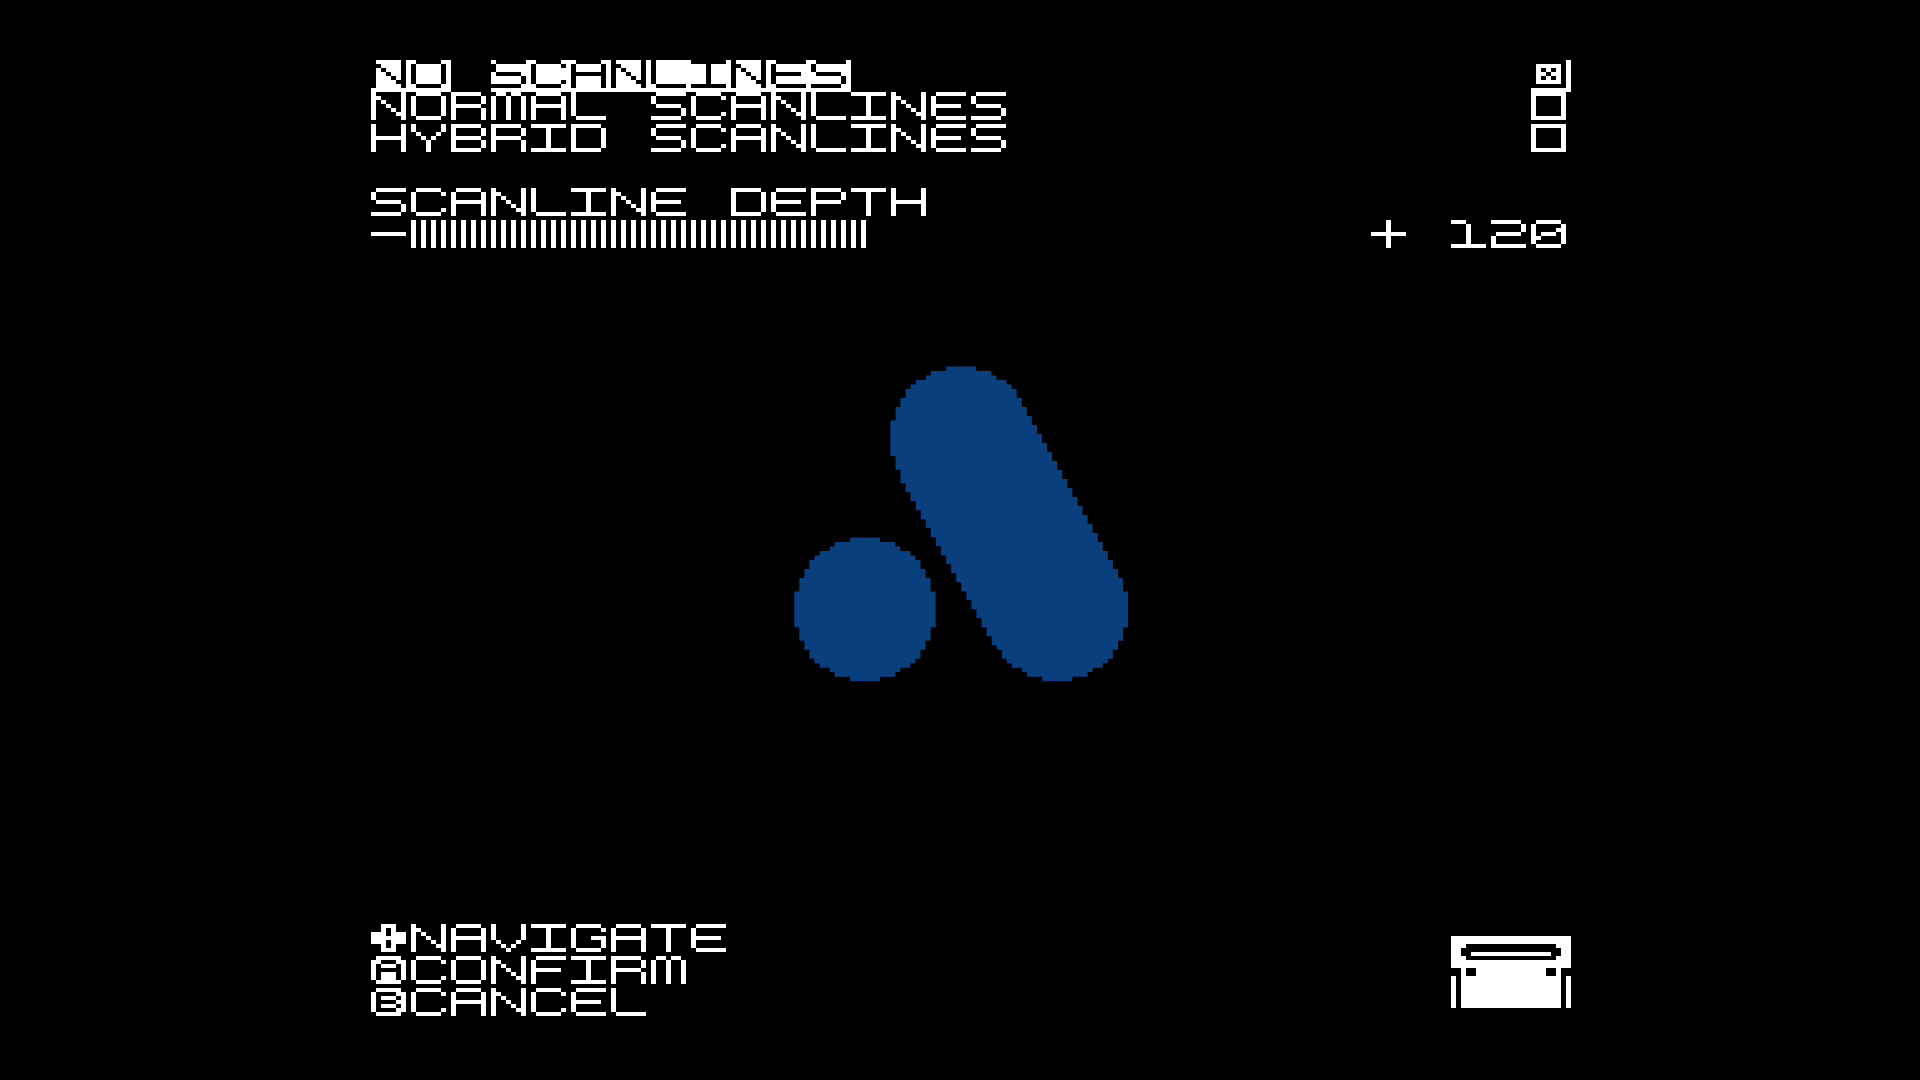
You can enable or disable virtual scanlines. For better results change the resolution to 720p.
Hybrid scanlines are more realistic because they also adjust the gamma and darker objects have thicker scanlines.
For 480p every second line is dimmed, for 720p every third. You can adjust the thickness of scanlines.
If scanlines don’t look good, you can also try adjusting the vertical position of the image in the Width & Heigth menu (Advanced Mode should be enabled).
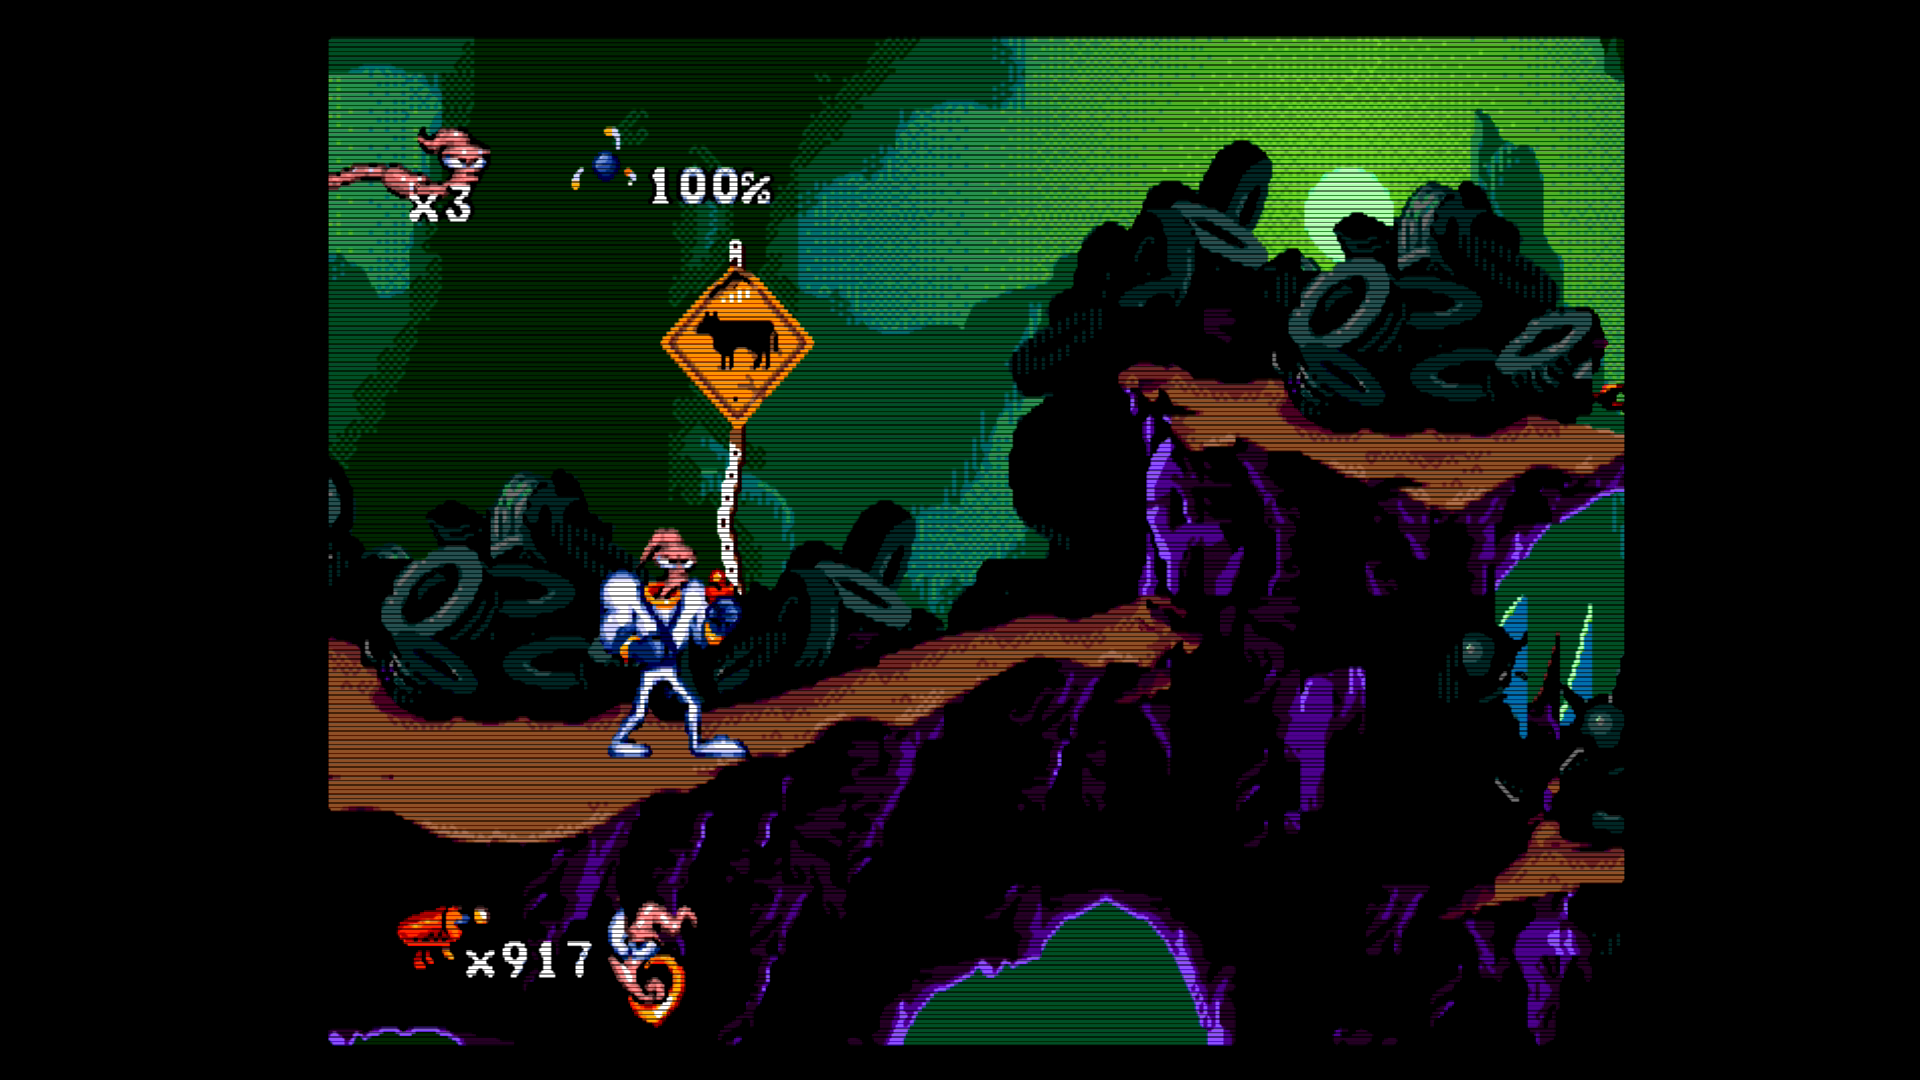
Normal Scanlines (120)
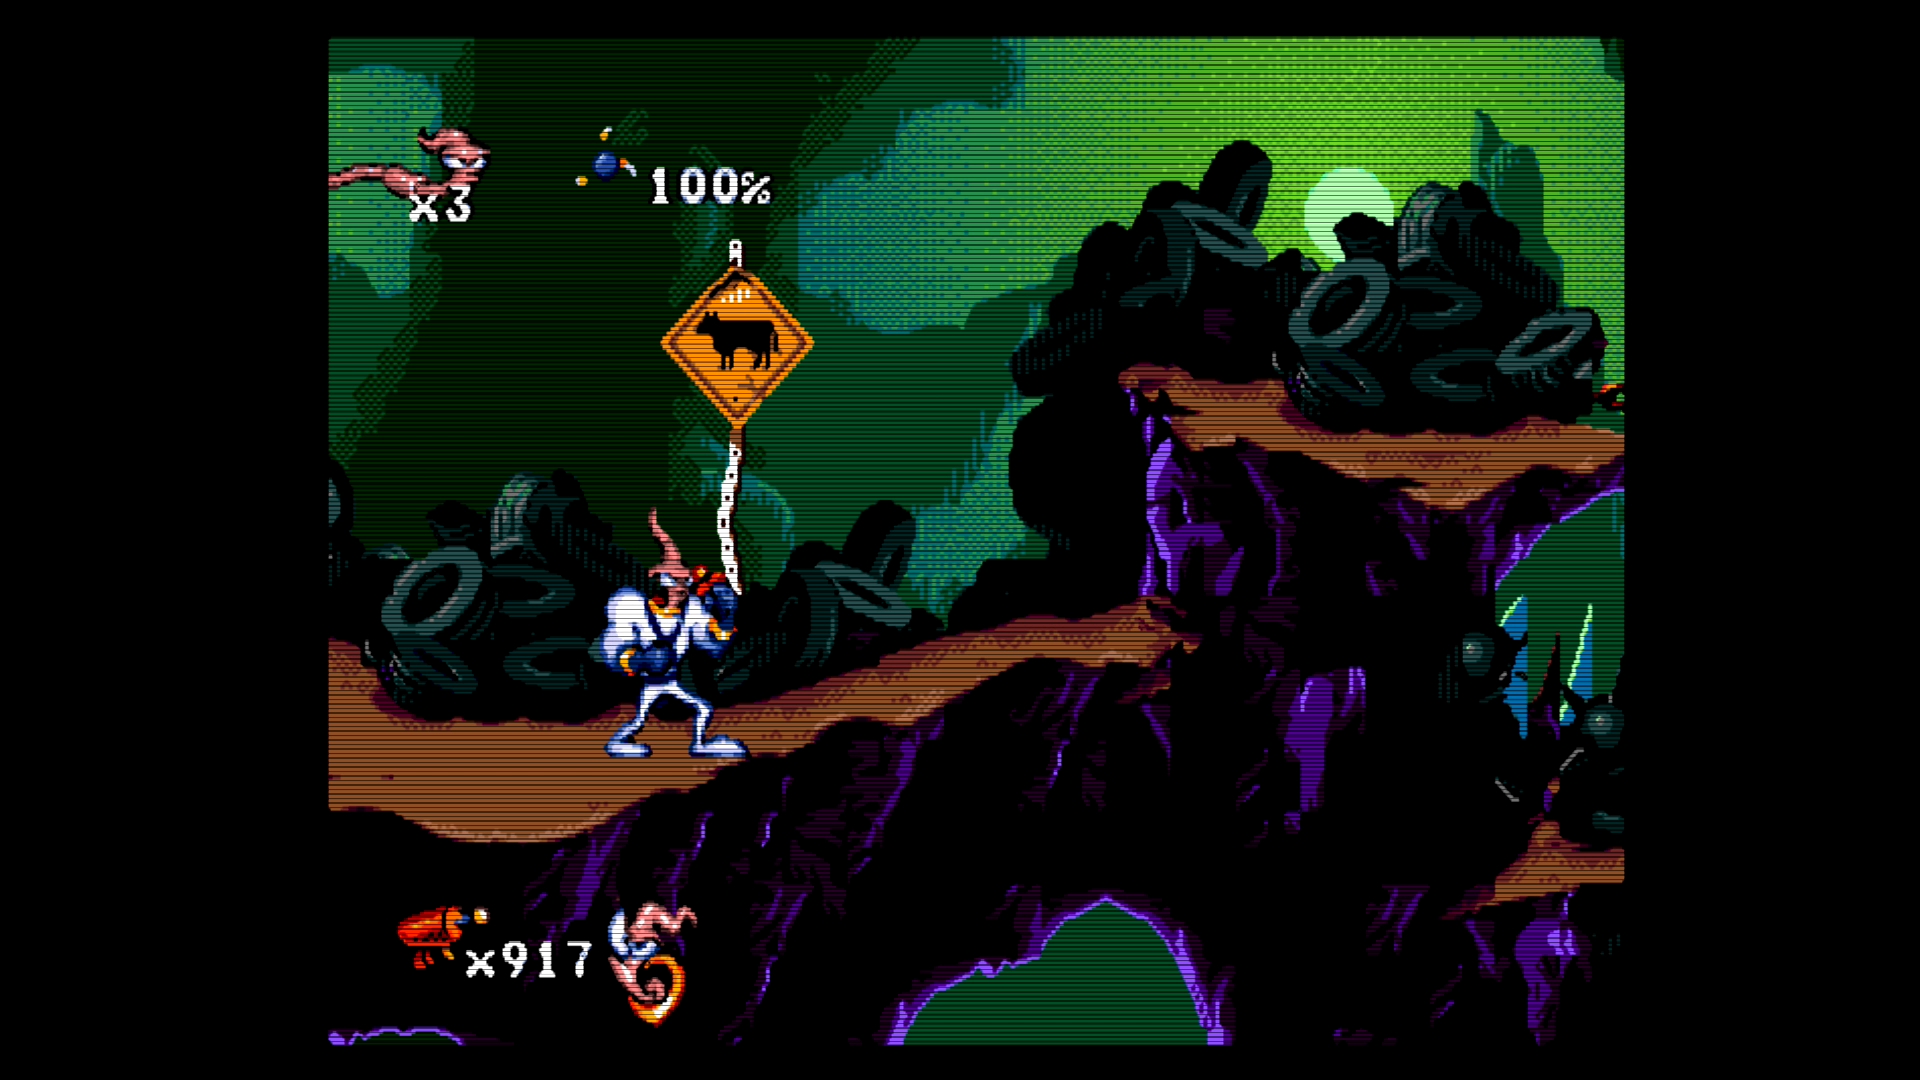
Hybrid Scanlines (120)
Advanced Mode
Turning the option “Advanced Mode” will change menu layout and add some extra options.
You have then following options:
Width & Height
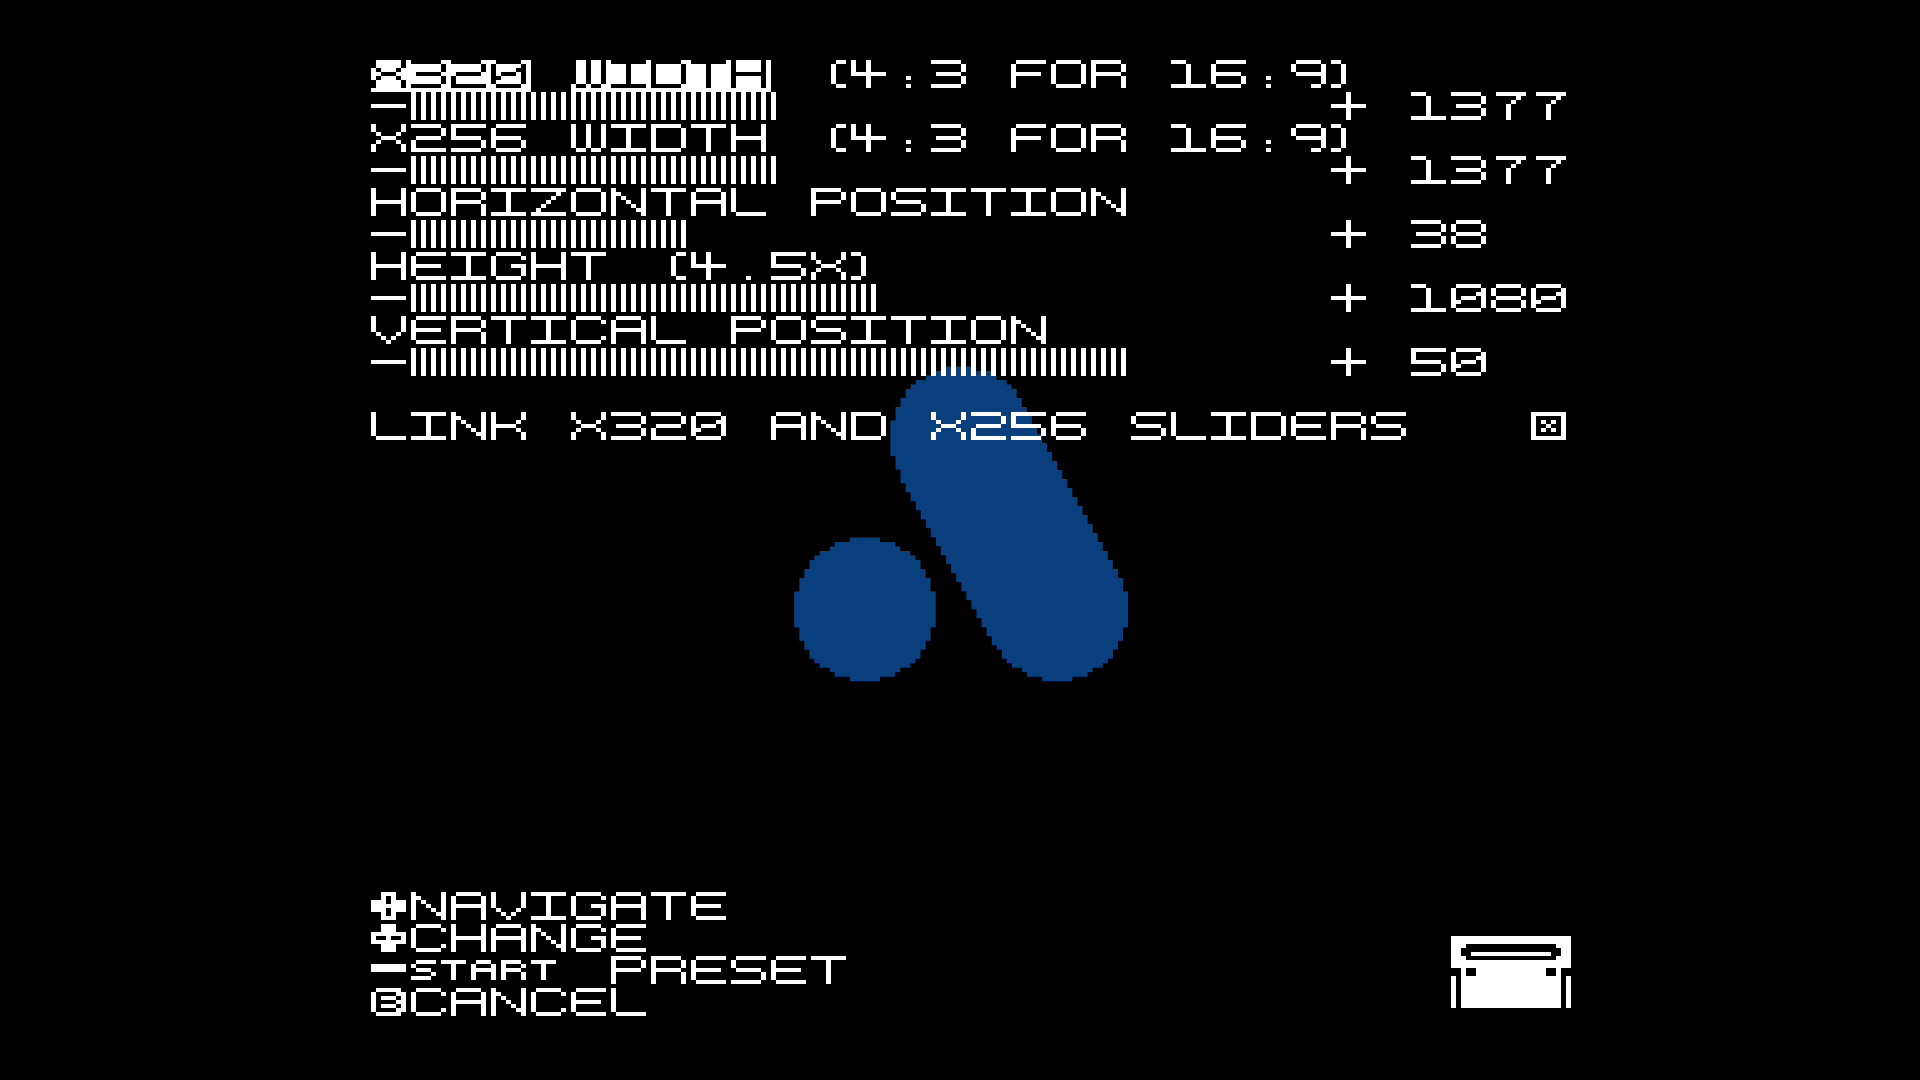
You can adjust the width, heigth and both horizontal and vertocal positions manually.
Extra Features
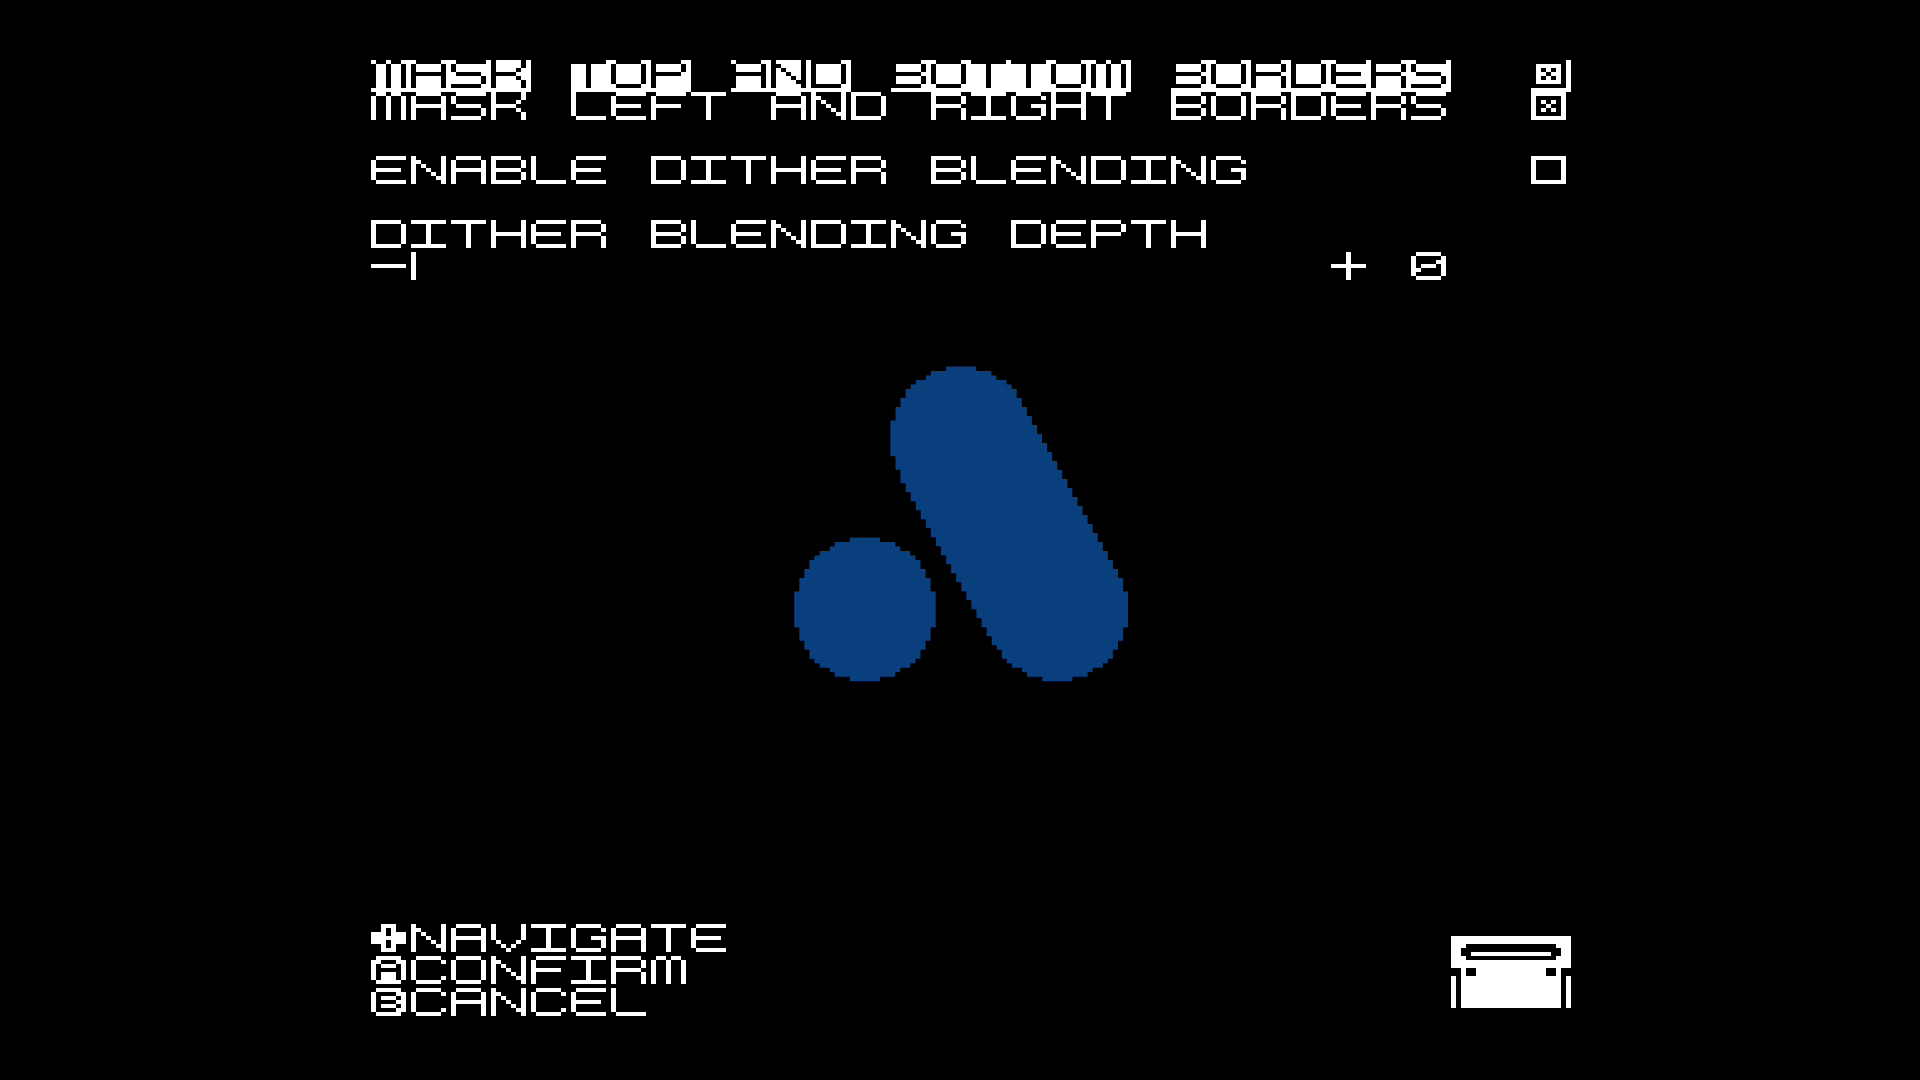
Here you can adjust the mask to hide borders which were usually hidden on CRT TVs.
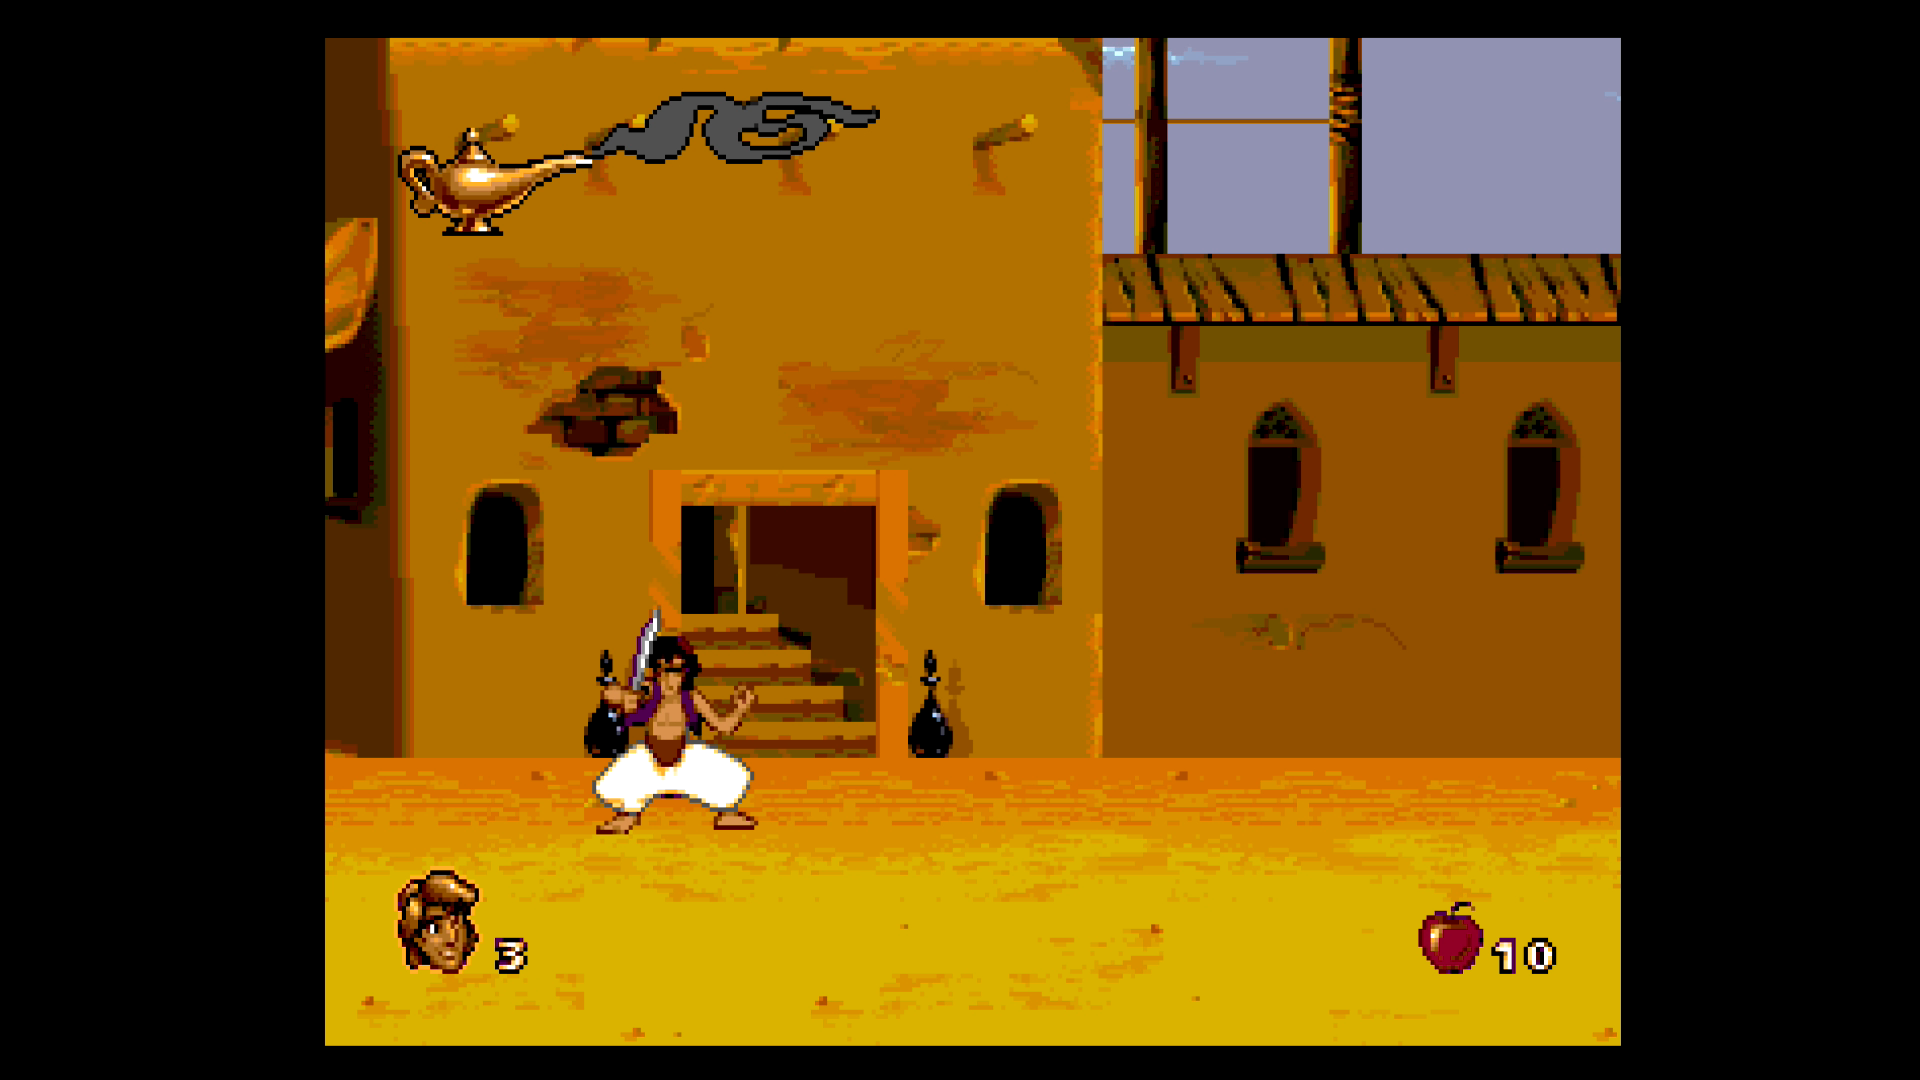
Dither Blending will make dithered parts of the screen look solid. Dithering was used in games to create transparency. On CRT TVs this resulted in solid transparent sprites but on newer TVs and monitors sharp pixel checkerboard sprites can be seen. You can also adjust the depth of this option to adjust it for you needs.
Compare the ground, the shadow near the starcase in the house and the walls on these screenshots:

Buffer Mode
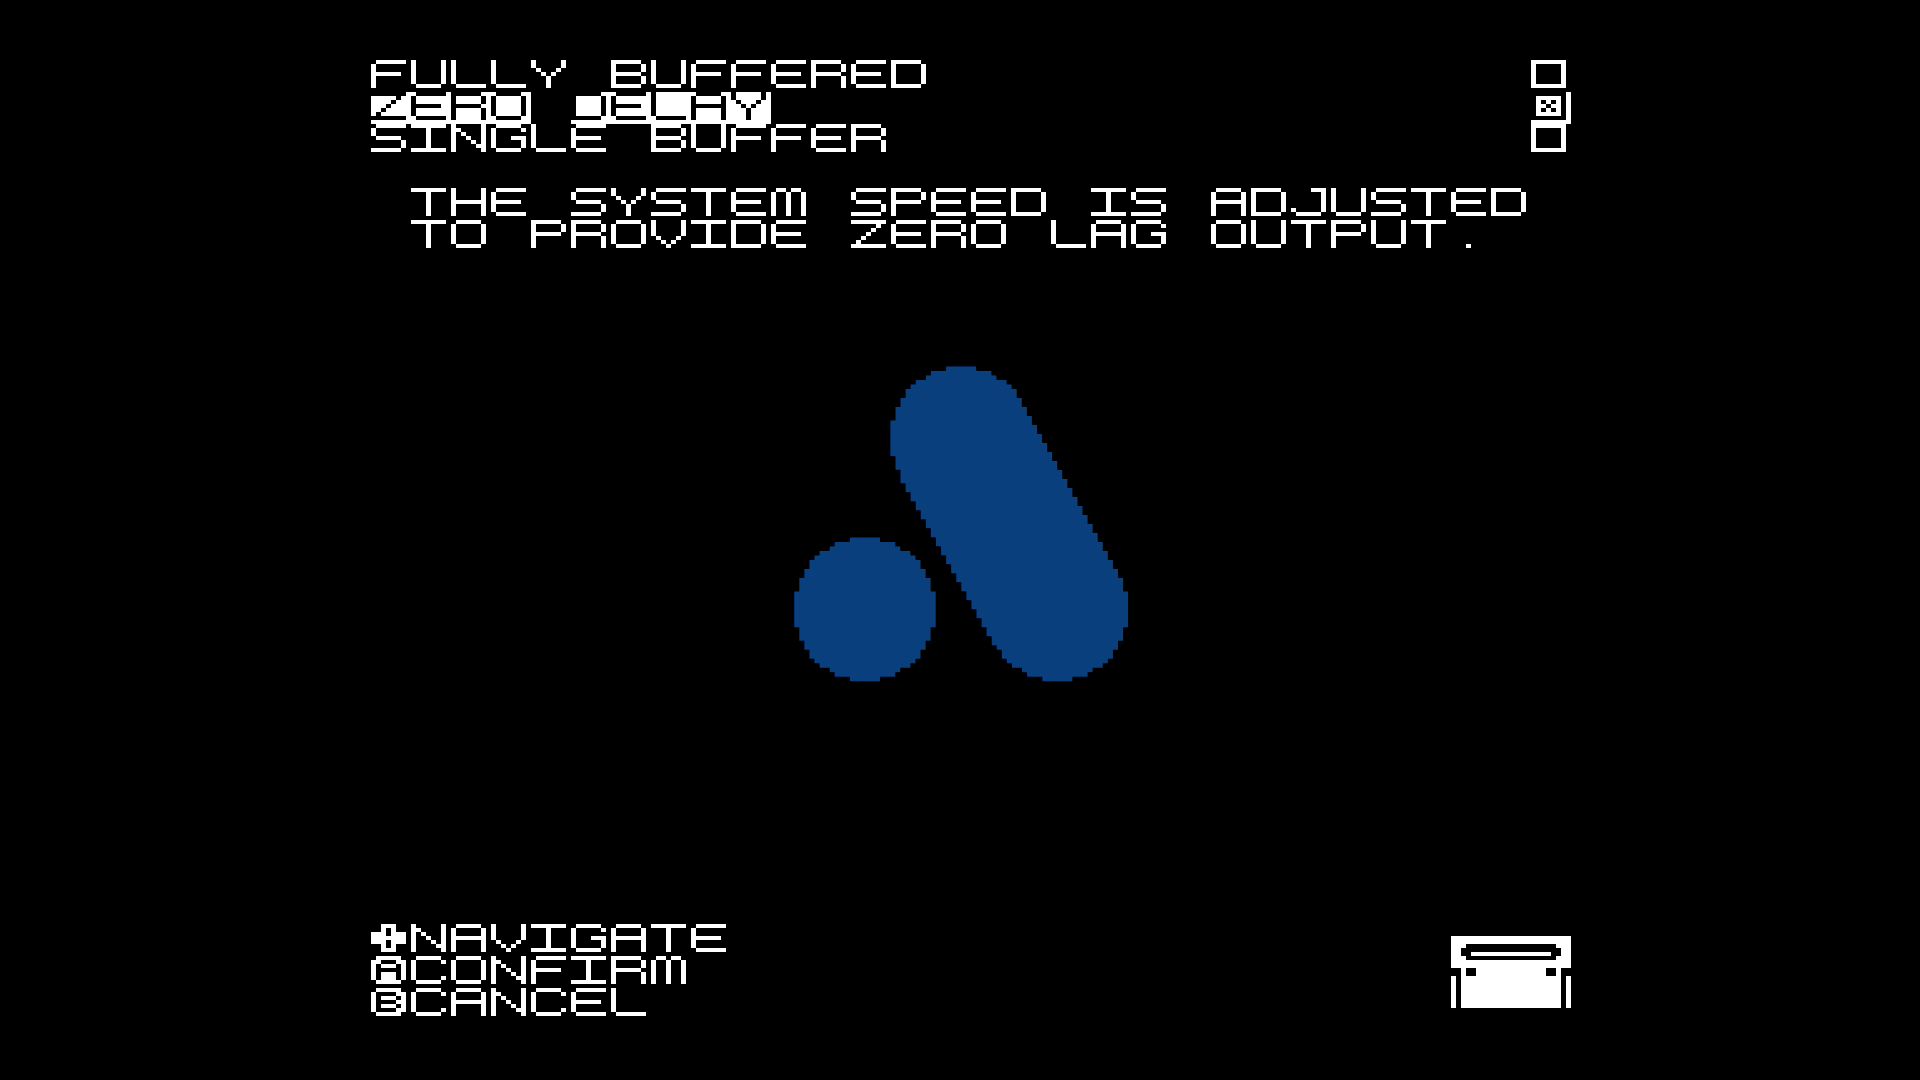
Buffer modes are similar to those on the Super NT and should address the fact, that NTSC frequency wasn’t 60, but 59,92275 and PAL was not 50, to 49,70146 frames per second.
You have three options here:
- Fully Buffered: the original speed will be used (60/50fps). Some lag will be added becase the console must render at leat 1 frame ahead. No tearing.
- Zero Delay: the gameplay will be sped up a bit to achieve 60/50fps, therefore the game will run 0,13% faster (1 extra second in 10 minutes), but no extra lag or tearing is caused.
- Single Buffer: not full frame will be rendered ahead, but only a portion of it. Thus the lag is less than with the Fully Buffered option, but every several seconds a tearing will appear.
The Zero Delay option is recommended. The difference in speed is very low. Lowest lag and no tearing.
Color
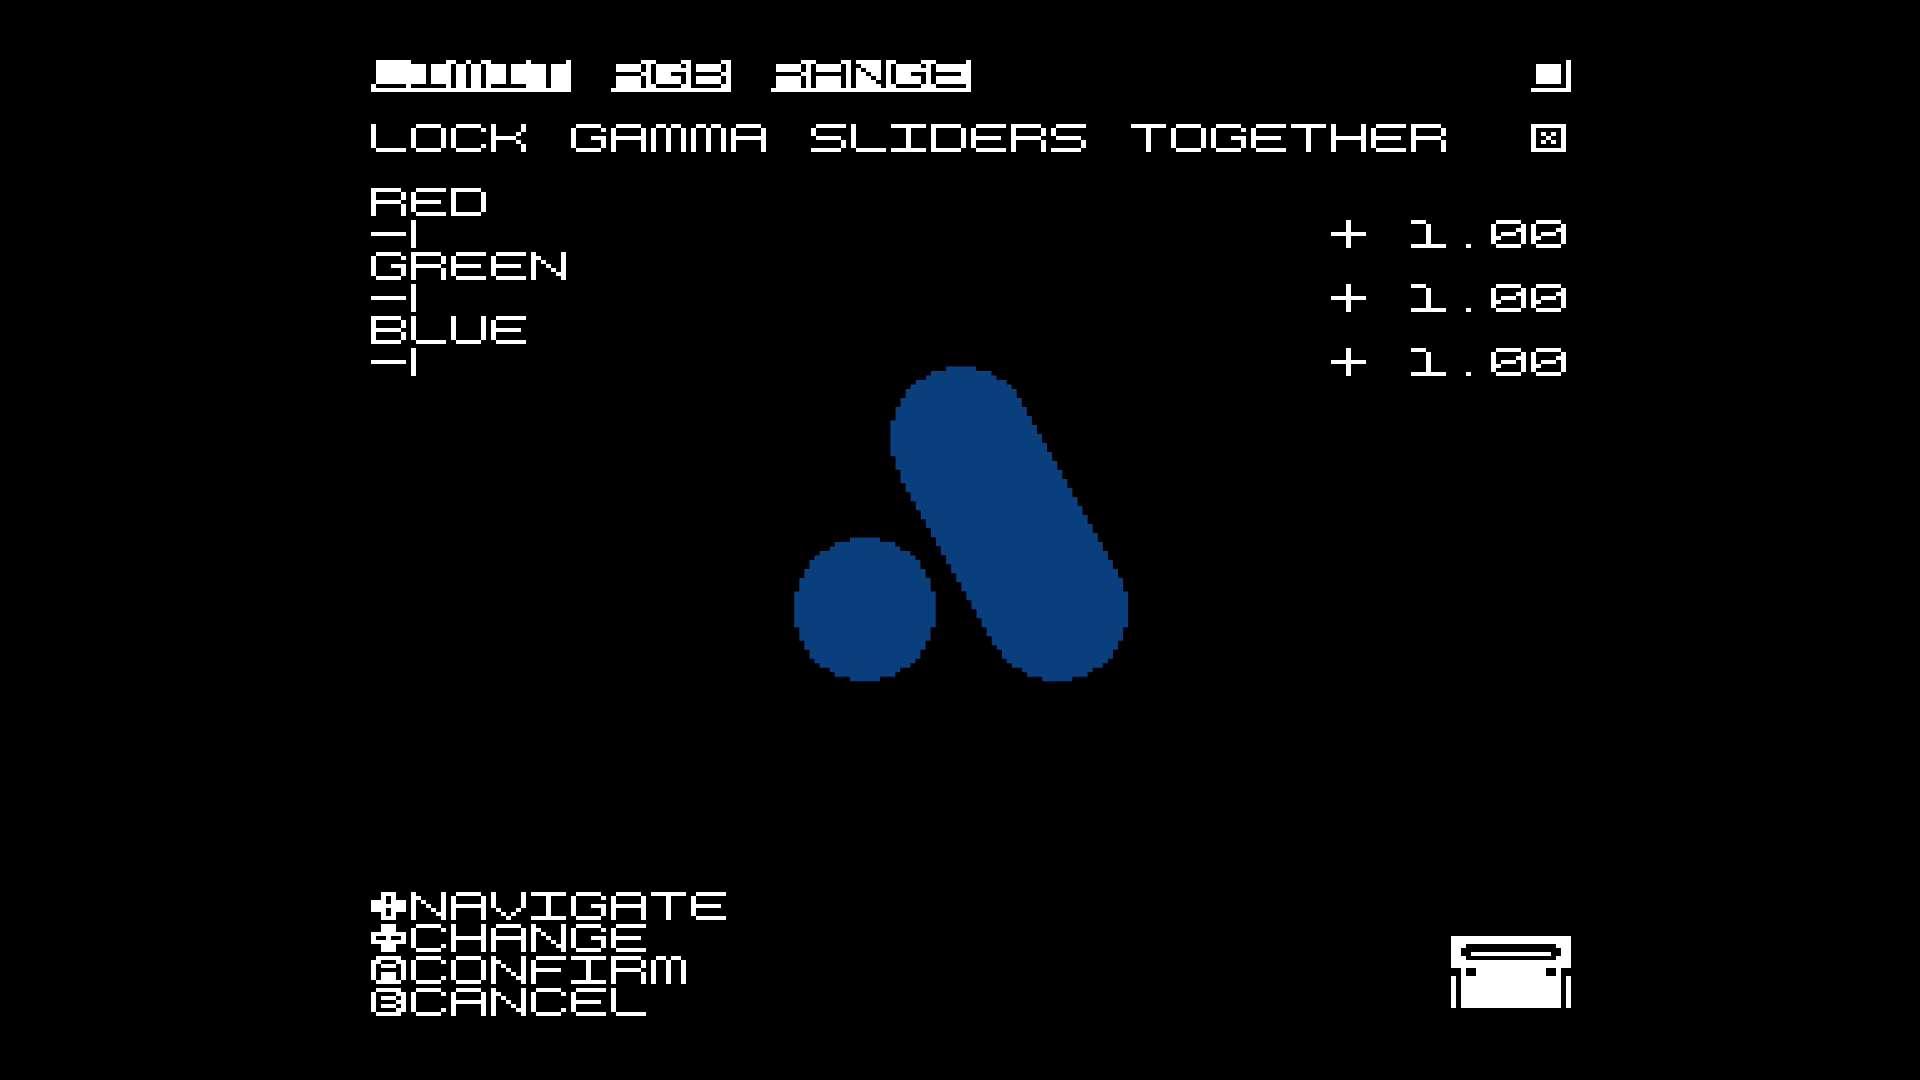
Using Red, Green and Blue sliders you can adjust the colour values.
Audio
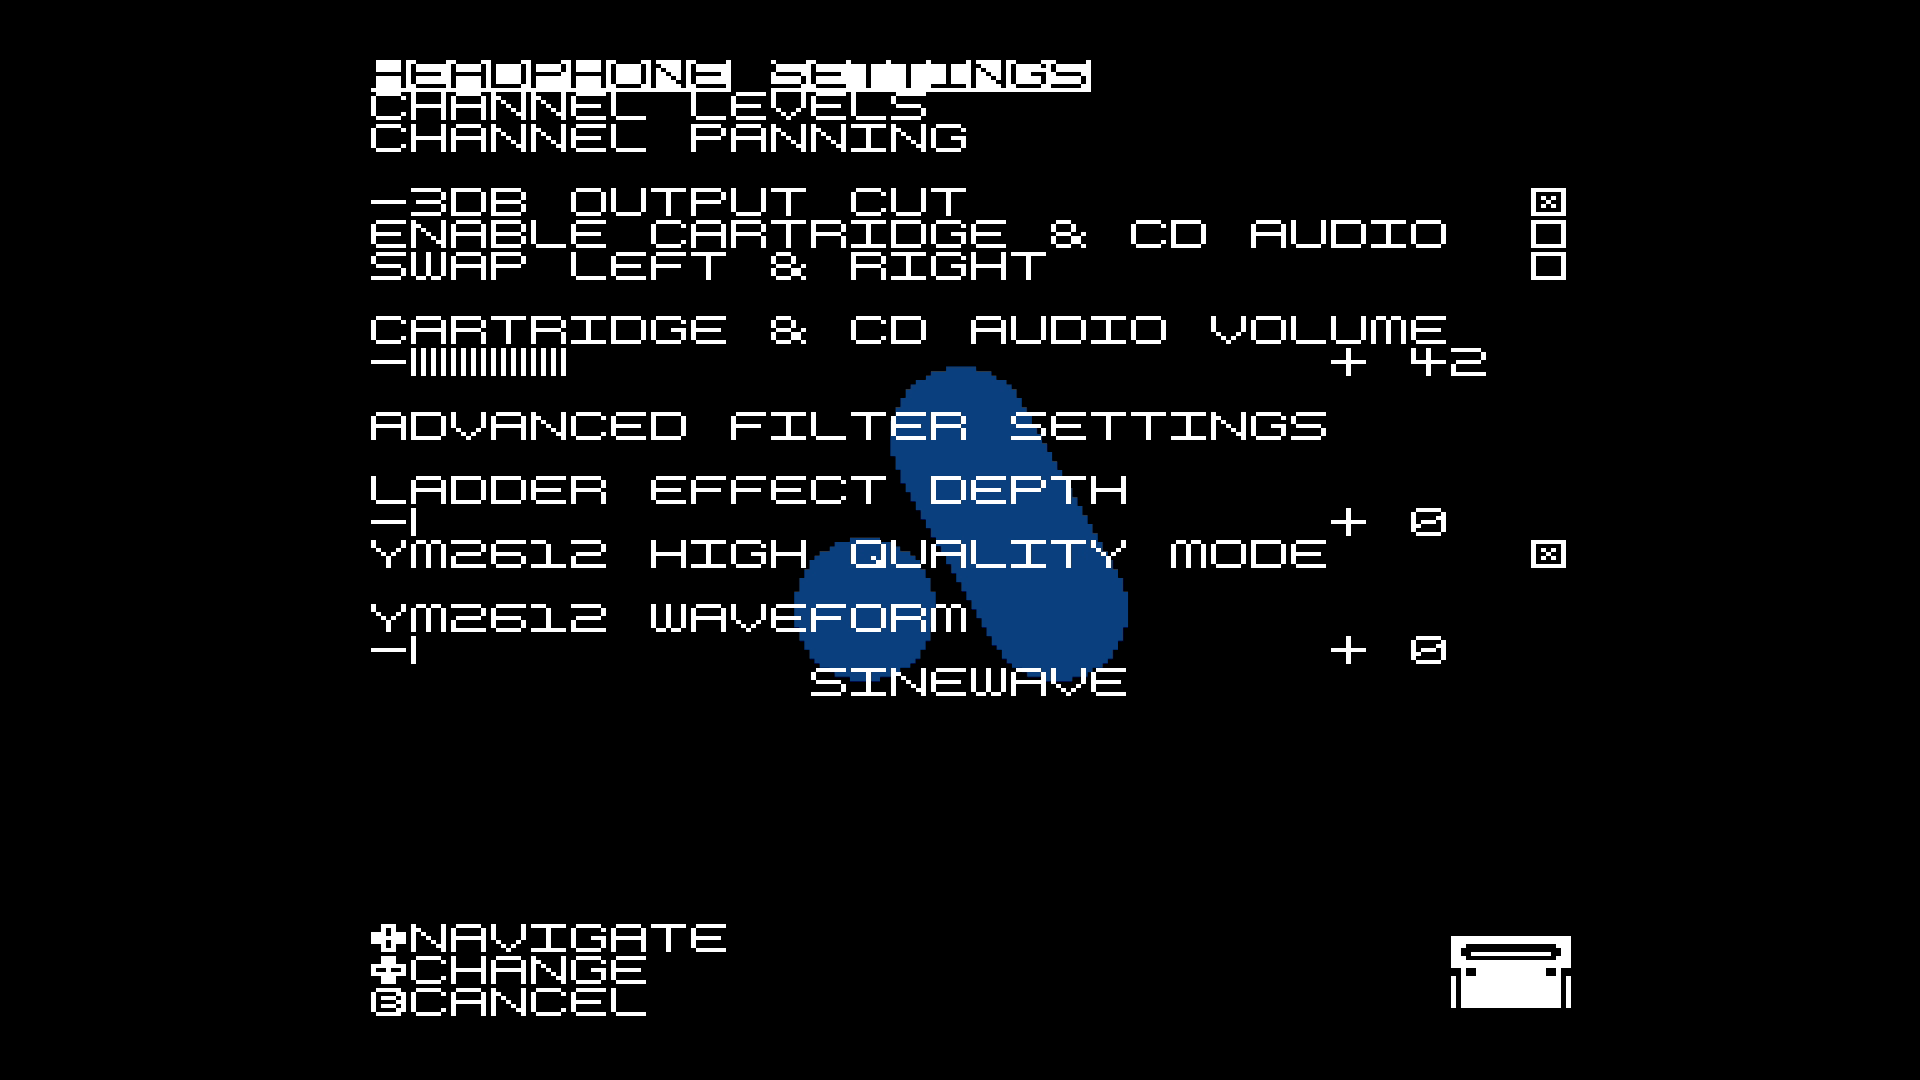
Headphone Settings
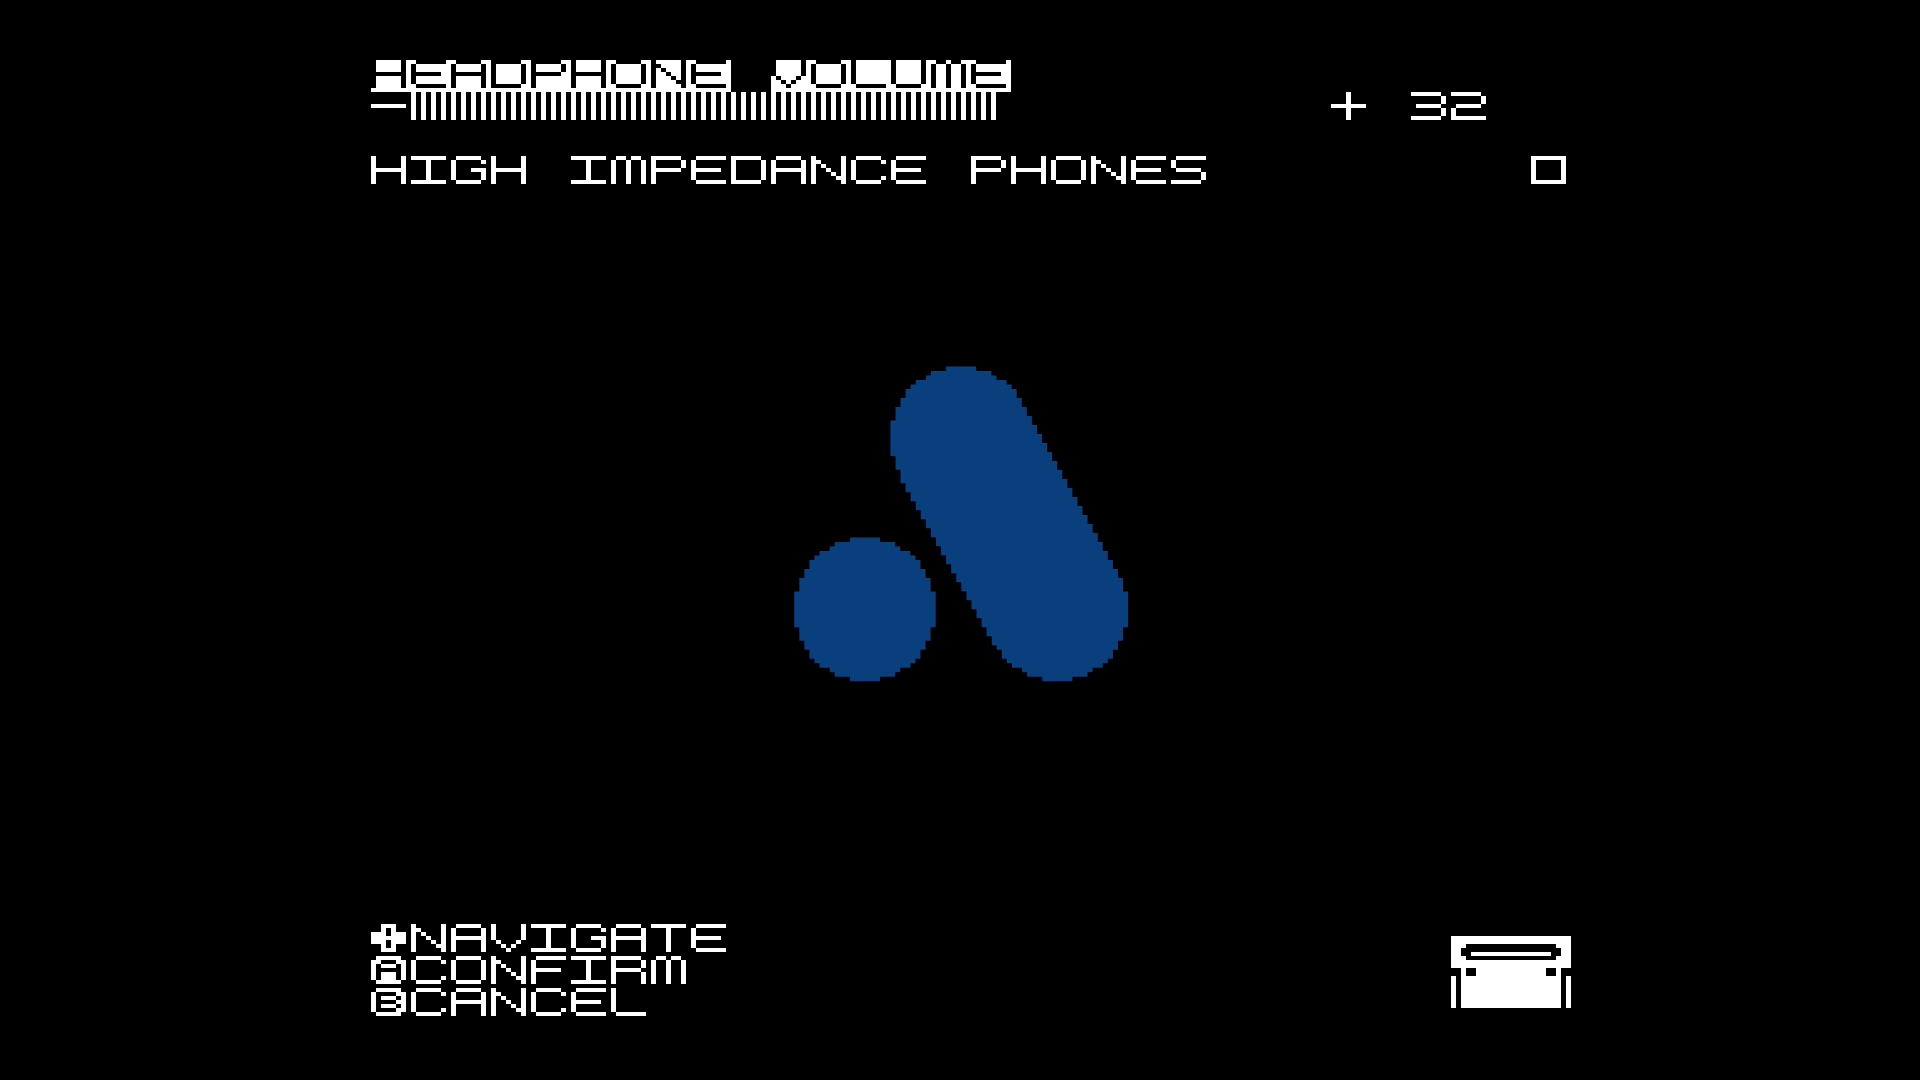
- Headphone Volume: adjust the volume of the audio output to headphones.
- High Impedance Phones: For headphones with high impedance (above 50 Ohms) select this option.
Channel Levels
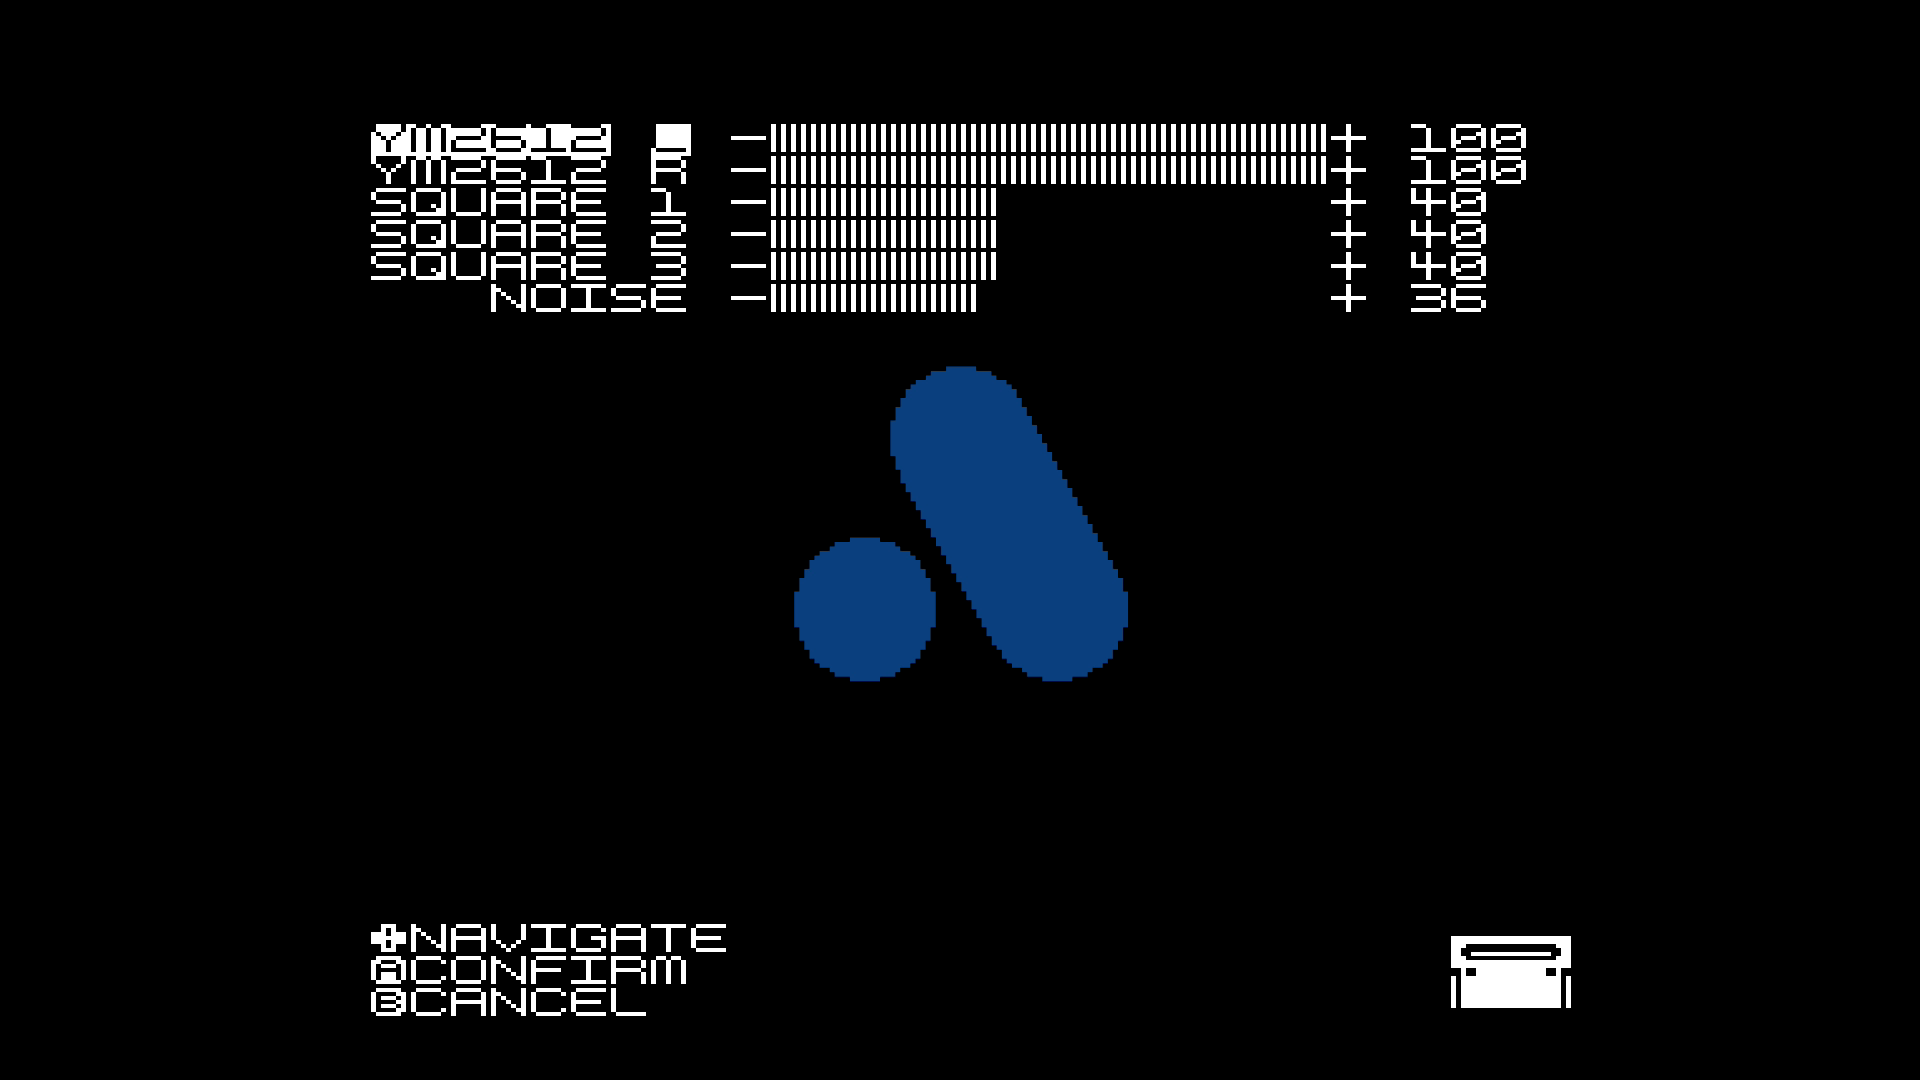
Change the volume levels for left and right for FM (YM2612) and (mono) volume for PSG (Squares and Noise).
Channel Panning
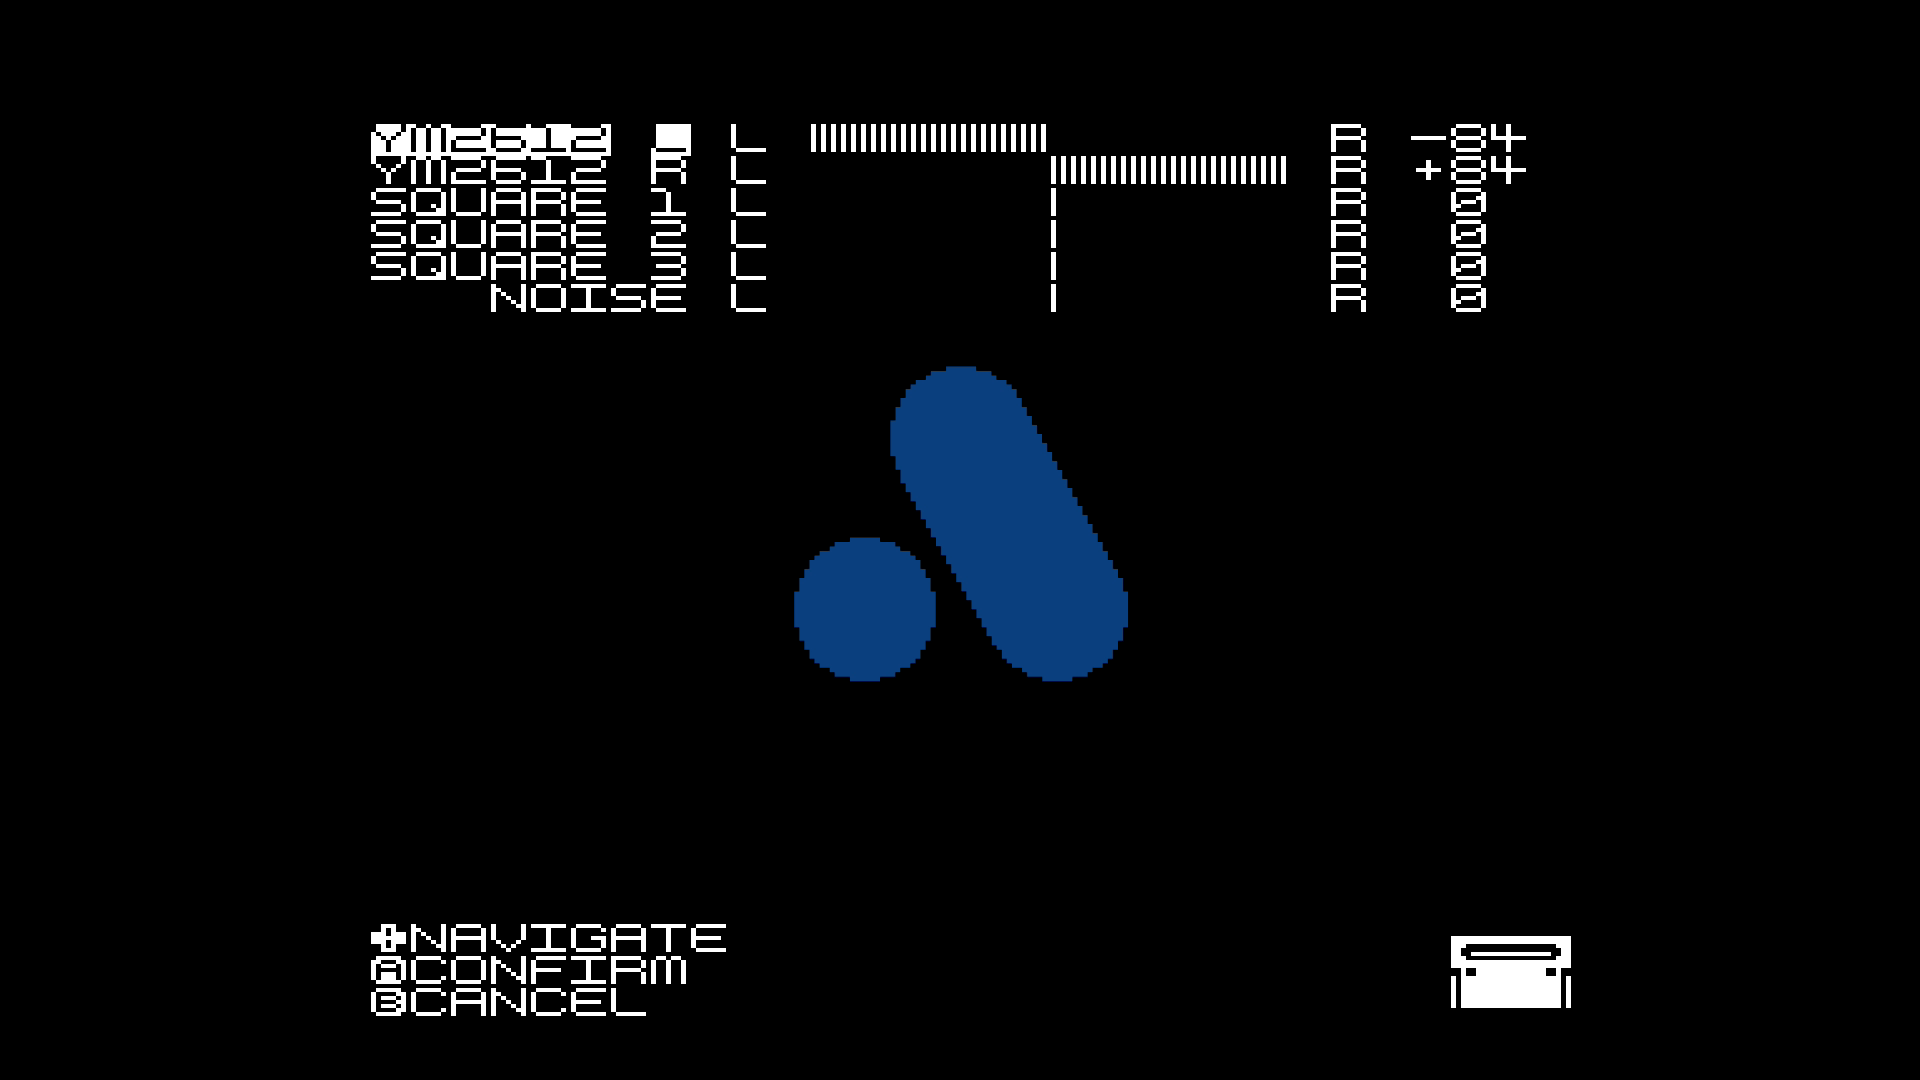
Adjust the stereo panning. For mono set to 0.
-3DB Output Cut
Enable this option if the audio is clipped or not working. Some speakers cannot recognise the full volume signal and may affect the output of the sound.
Enable Cartridge % CD Audio
Enable the sound from the Mega CD and to enable expansion audio from Power Base Mini FM or Everdrive v2/X7.
Swap Left & Right
Swap stereo channels.
Catridge & CD Audio Volume
Adjust the volume of the expansion audio.
Advanced Filter Settings
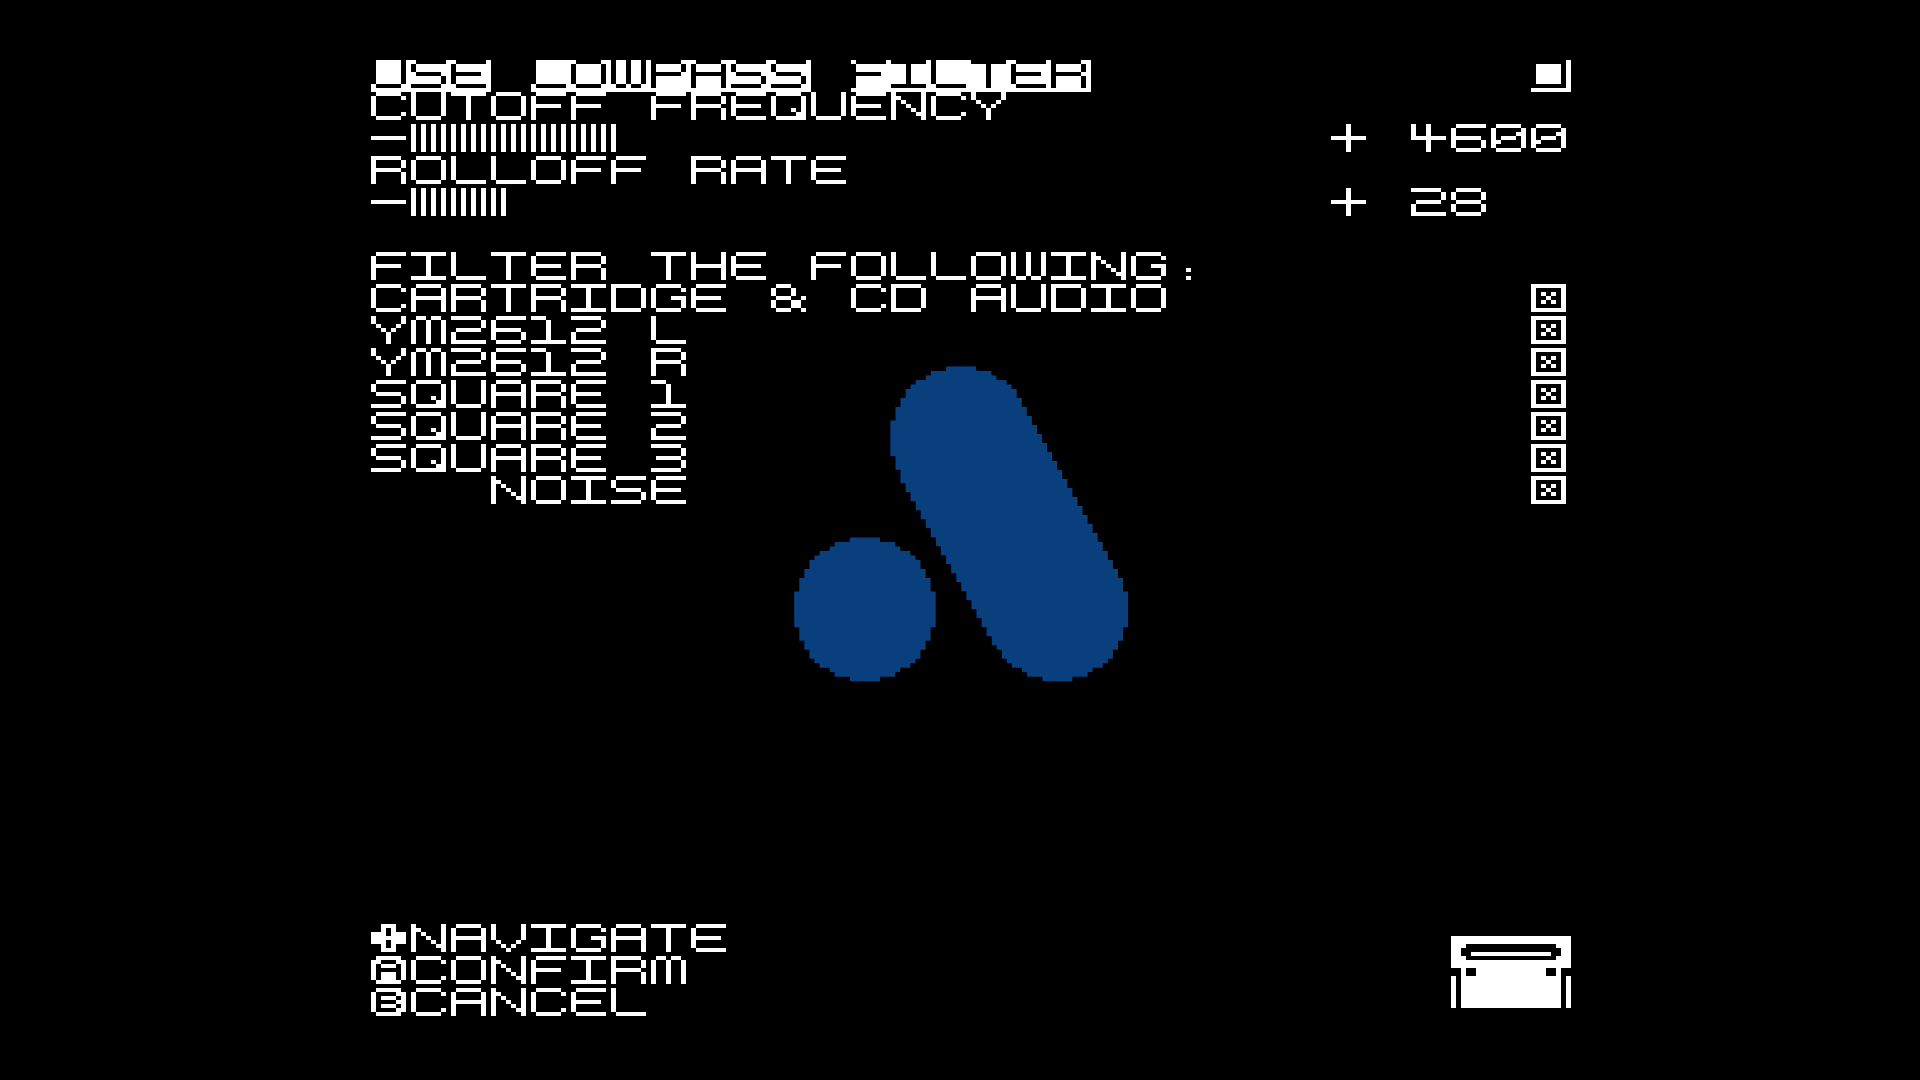
Adjust the filter and cutoff frequencies from 100 to 20000Hz. Will sound warmer and like original. You can also choose which sources will be filtered.
Ladder Effect Depth
Allows to get a more analogue sound, used in several games.
YM2612 High Quality Mode
Output sound using 14 bits, instead of 9. High quality sound is produced, but will sound a bit different than the original. Original sound was initially 14 bit and than truncated to 9.
YM2612 Waveform
You can select from 31 wave form modulations and they will make the sound very different. This setting won’t be saved!
Sinewave, Half Sine, Rectified Sine, Quarter Sine, 2X Sine, 2X Rectified Sine, Square Wave, Exponential Wave, Clipped Sine, Clipped Half Sine, Clipped Rect Sine, Clipped Quarter Sine, Clipped 2X Sine, Clipped 2X Rect Sine, Clipped Half Square, Half Exponent, Triangle Wave, Half Triangle, Rectified Triangle, Quarter Triangle, 2X Triangle, 2X Rect Triangle, 2X Rect Square, 2X Rect Exponent, Sawtooth, Half Sawtooth, Rectified Sawtooth, Quarter Sawtooth, 2X Sawtooth, 2X Half Sawtooth, Half Square, Half Exponential
System Settings
Menu Options
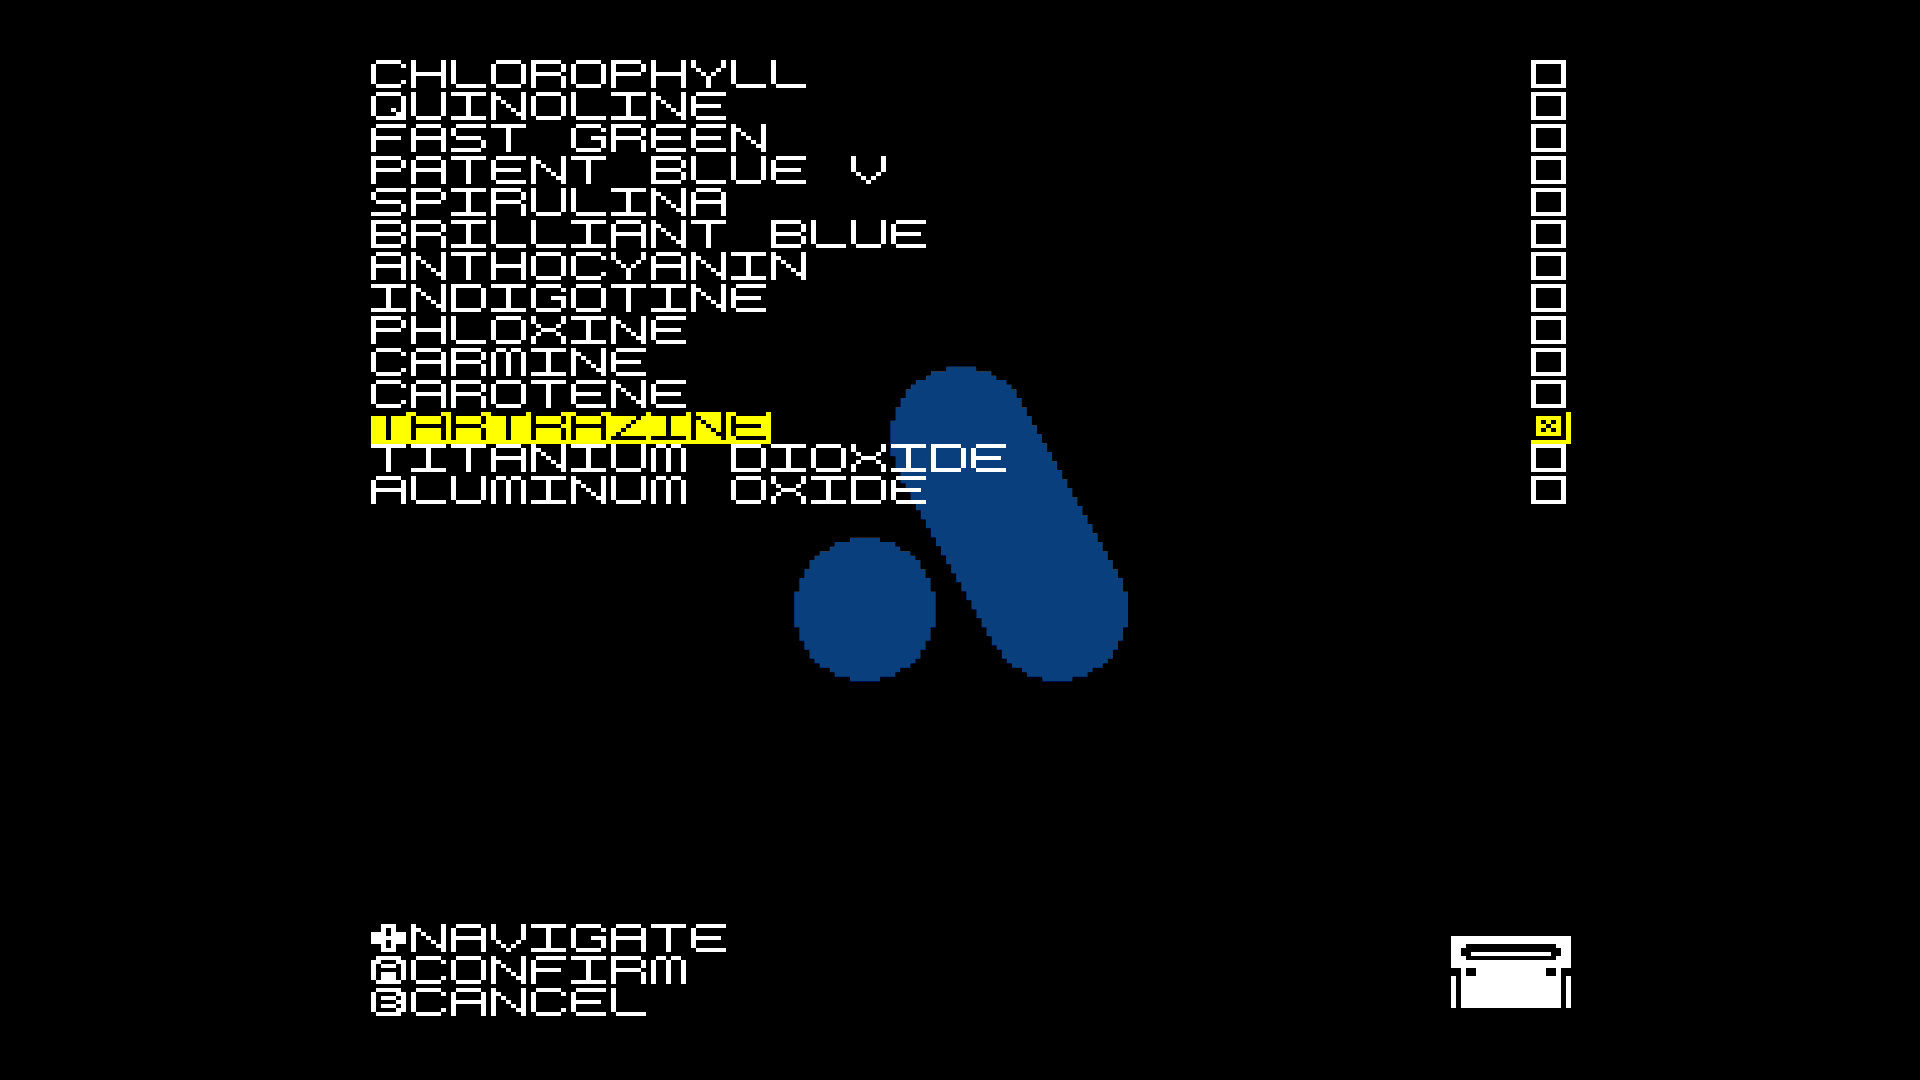
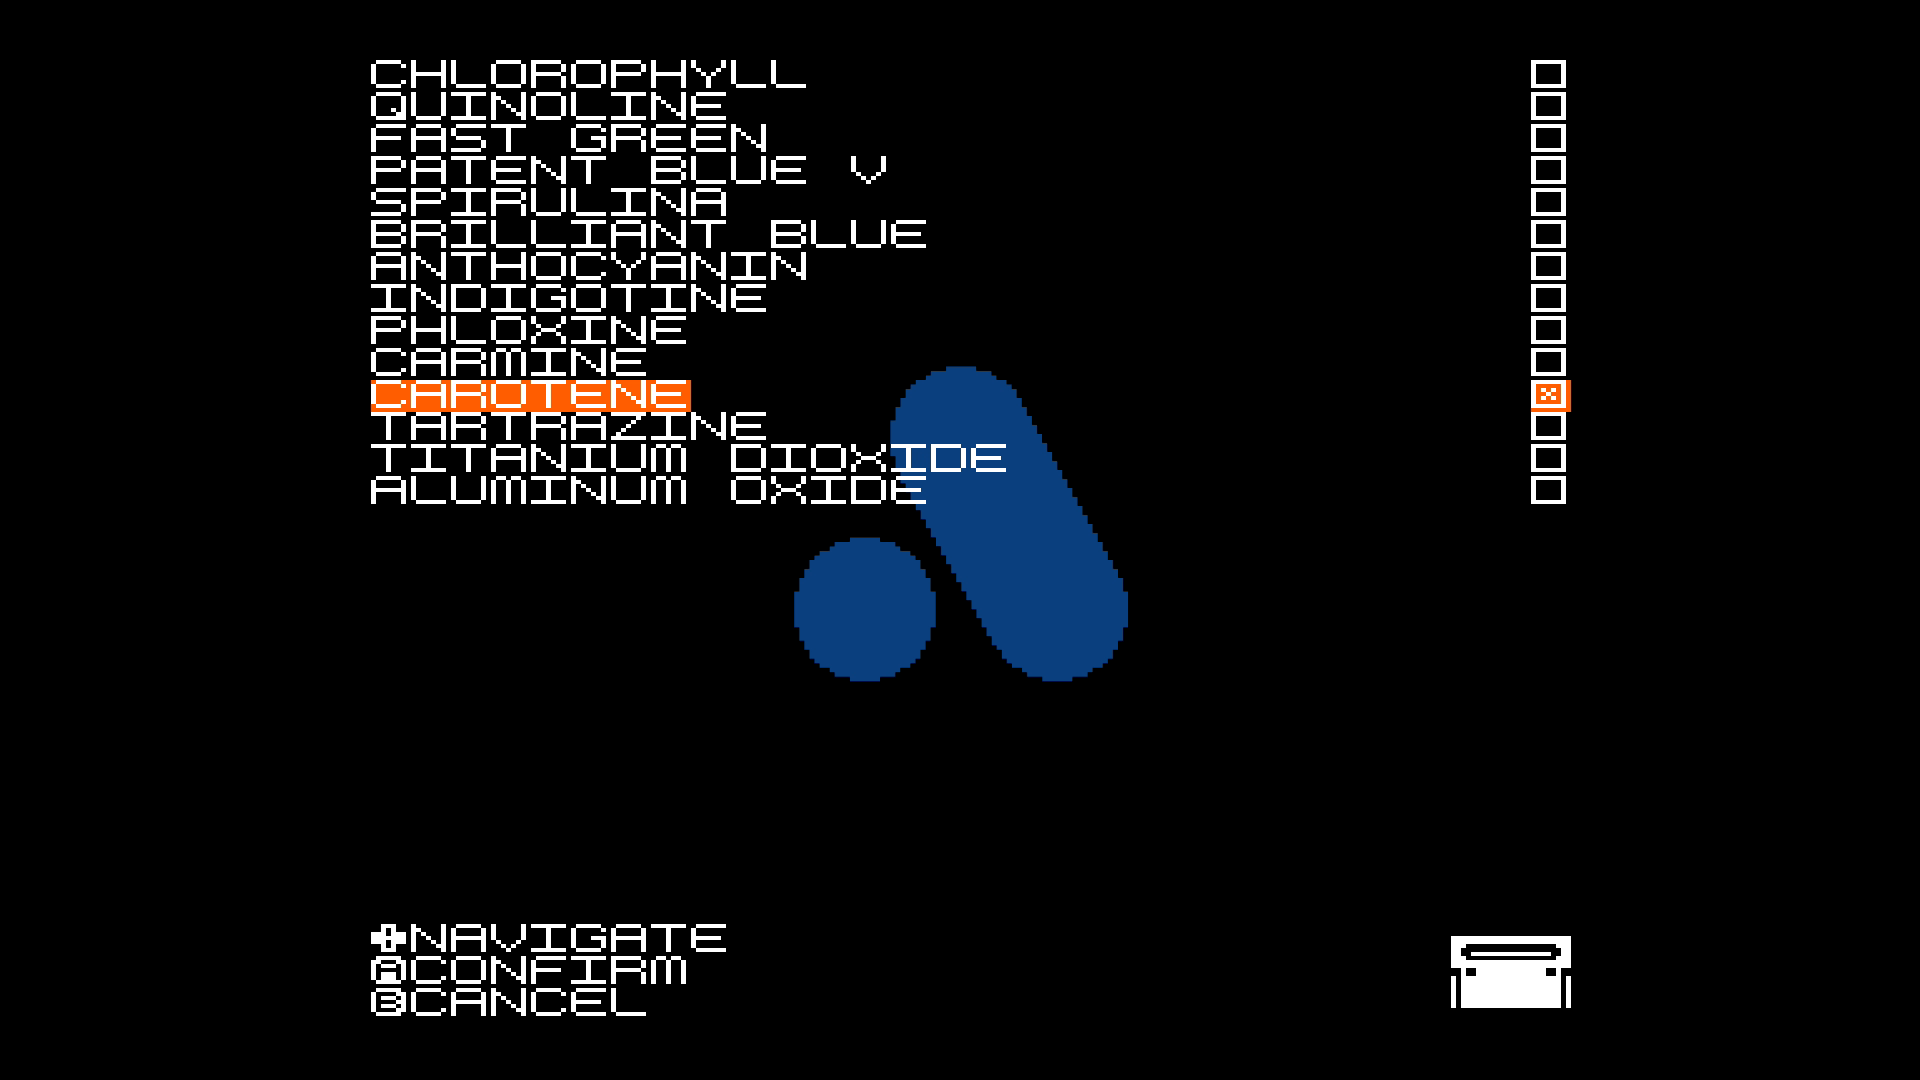
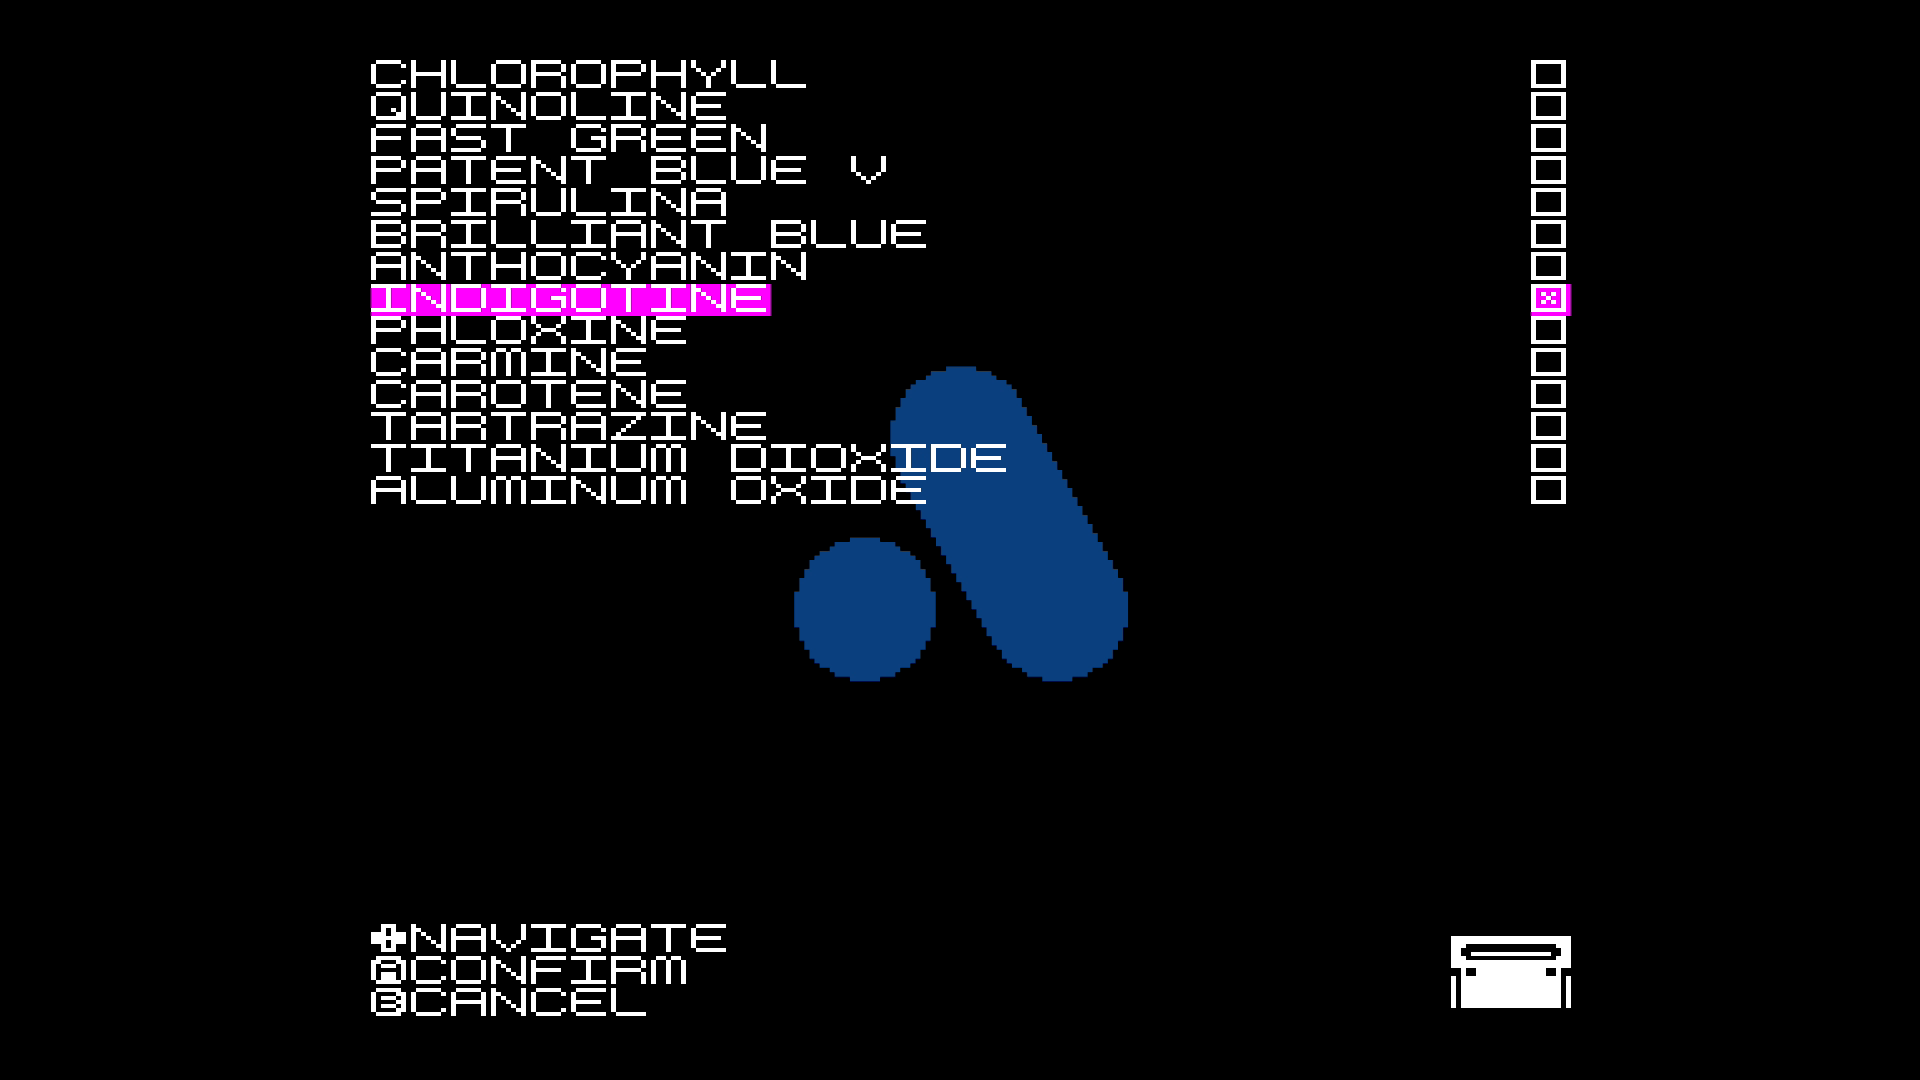
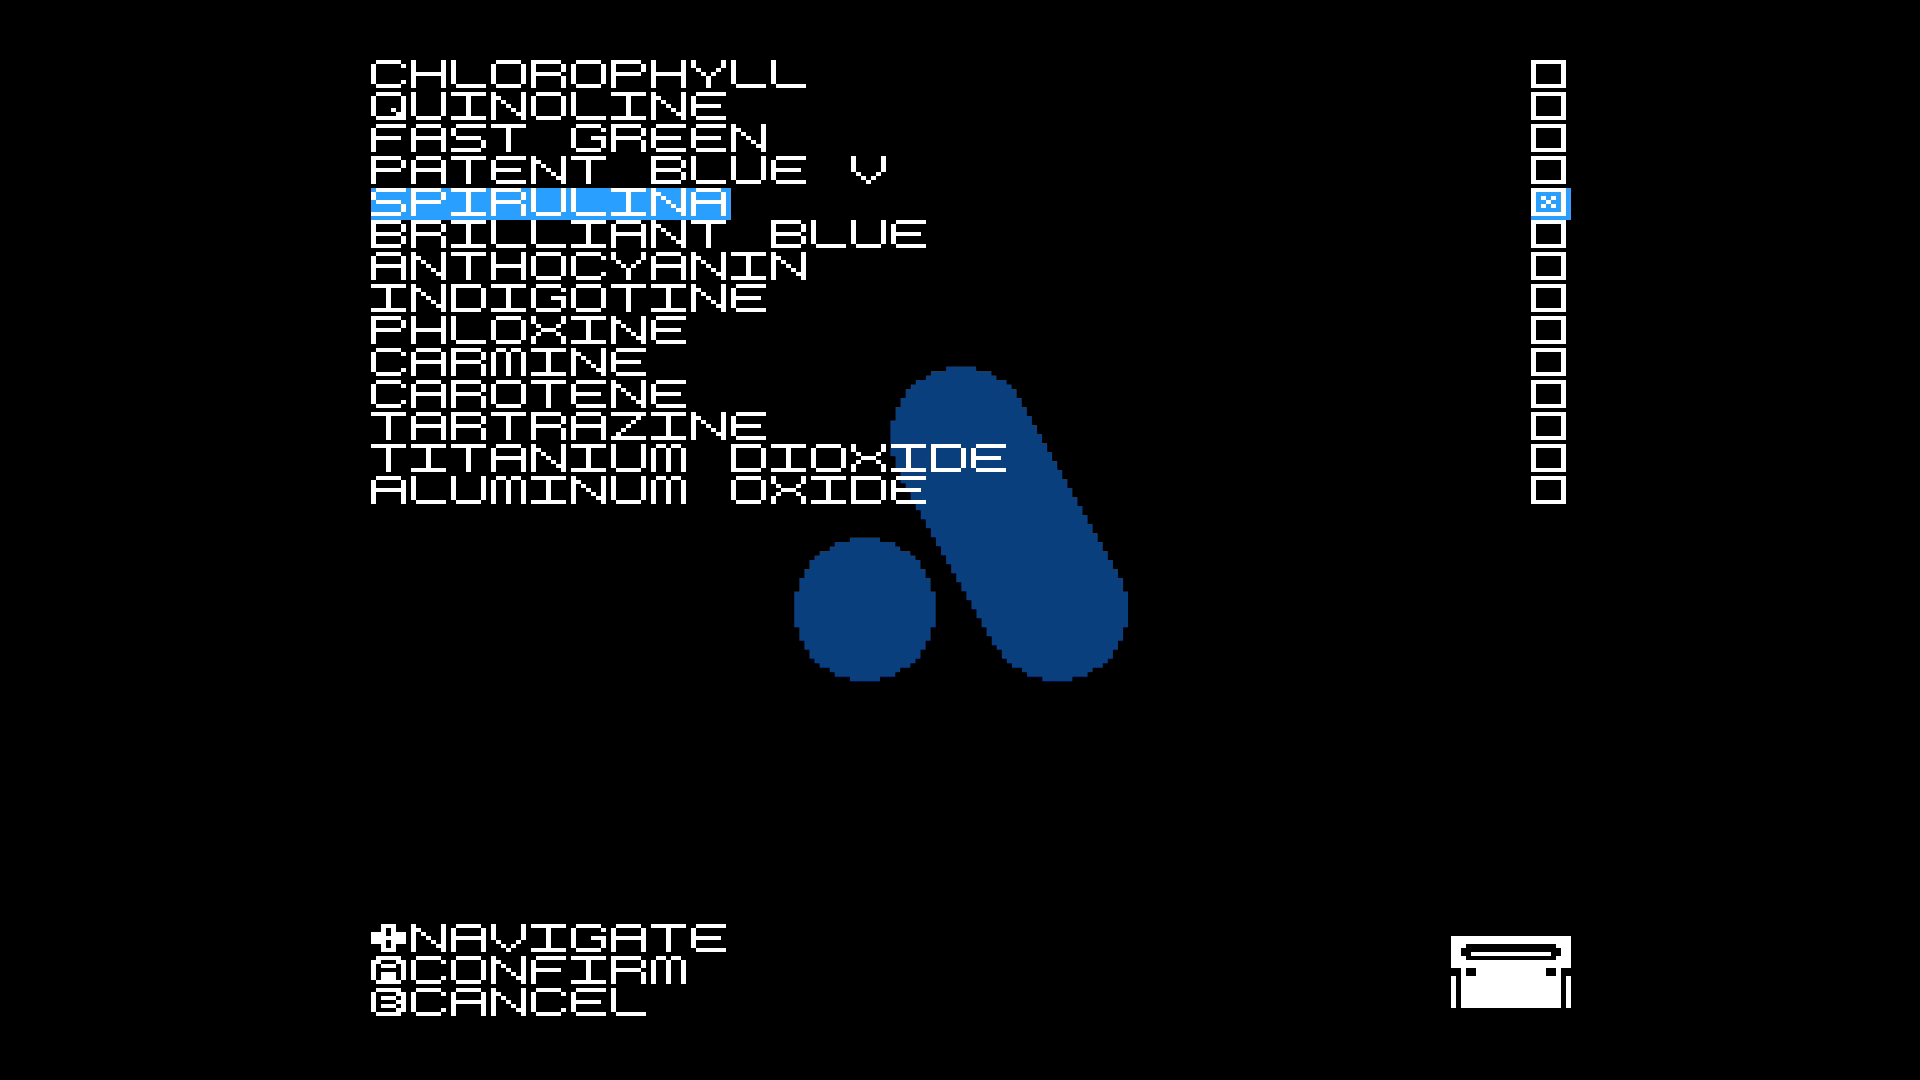
- Skin: choose between form and highlighting of the cartridge icon.
- Highlight style: how the current selection is highlighted.
- Solid
- Swipe
- Flash
- Rolling
- Throb
- Highlight Color:
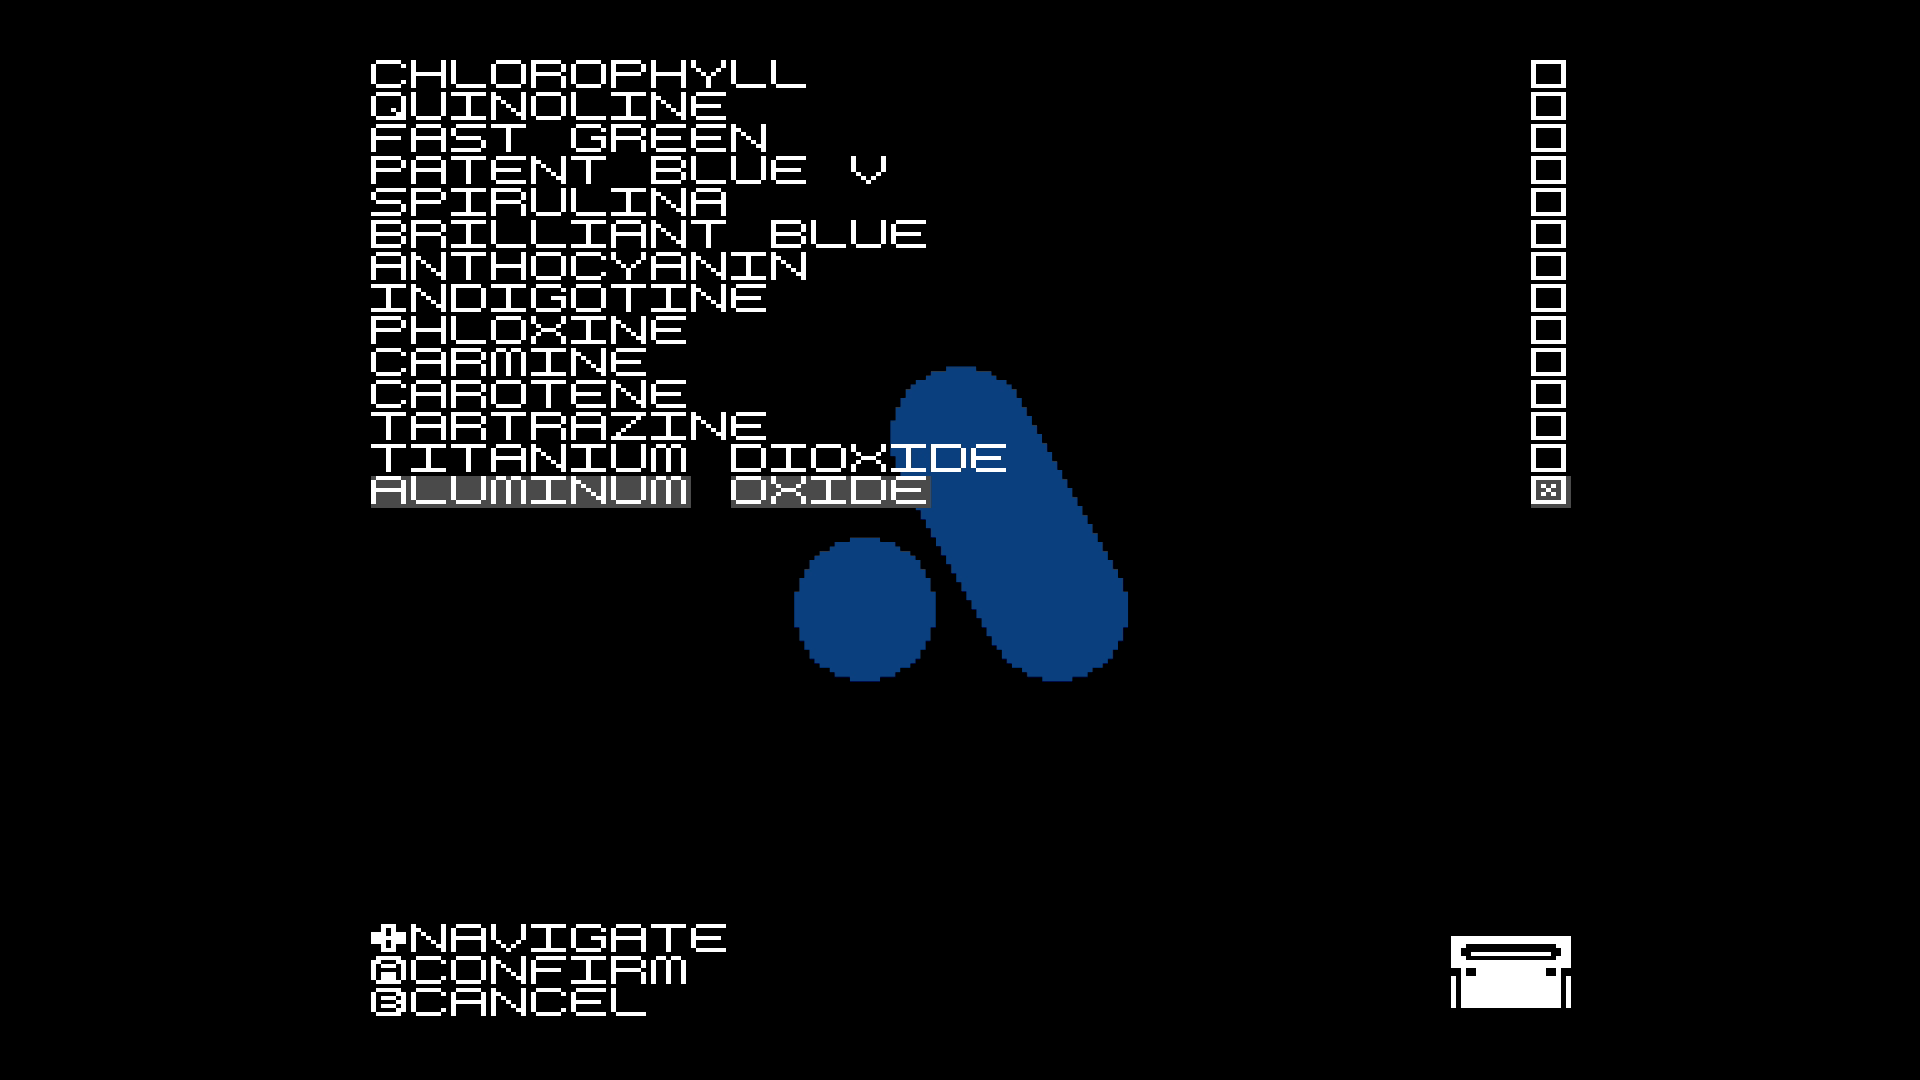


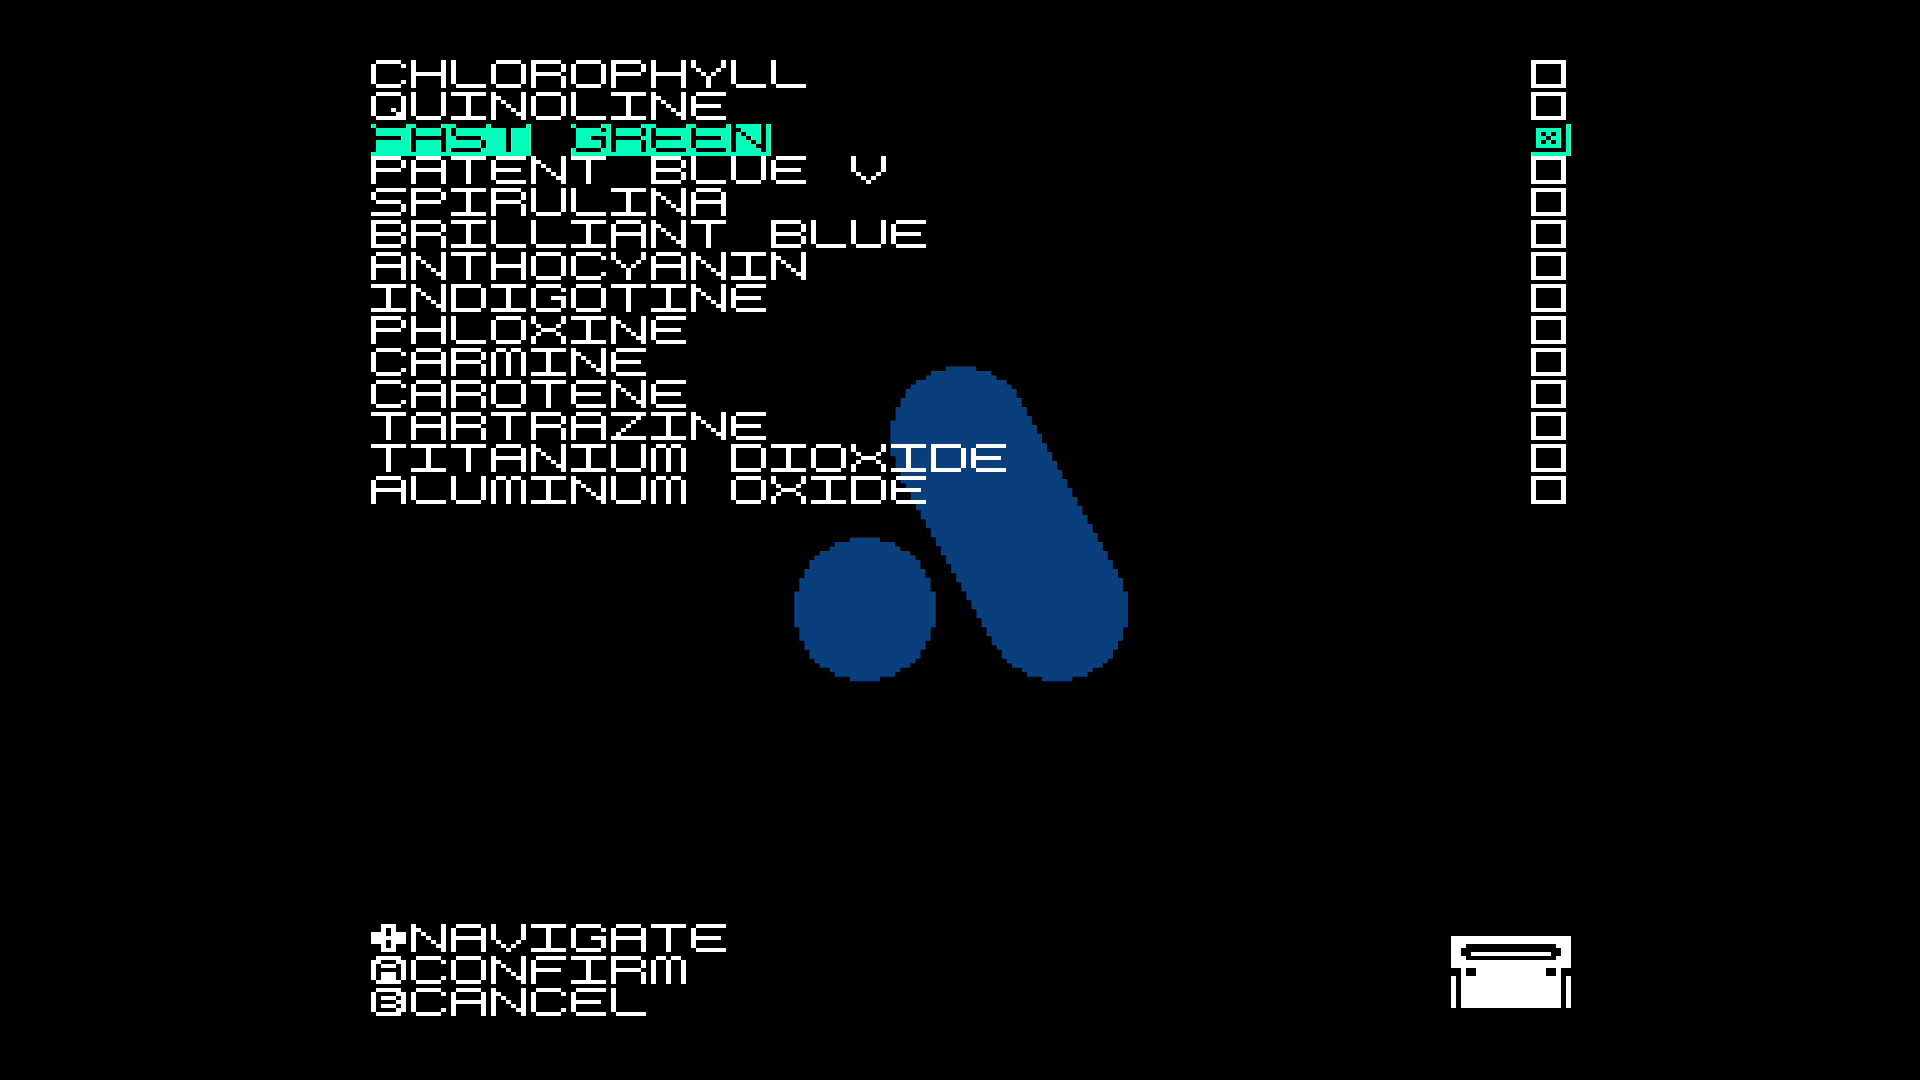
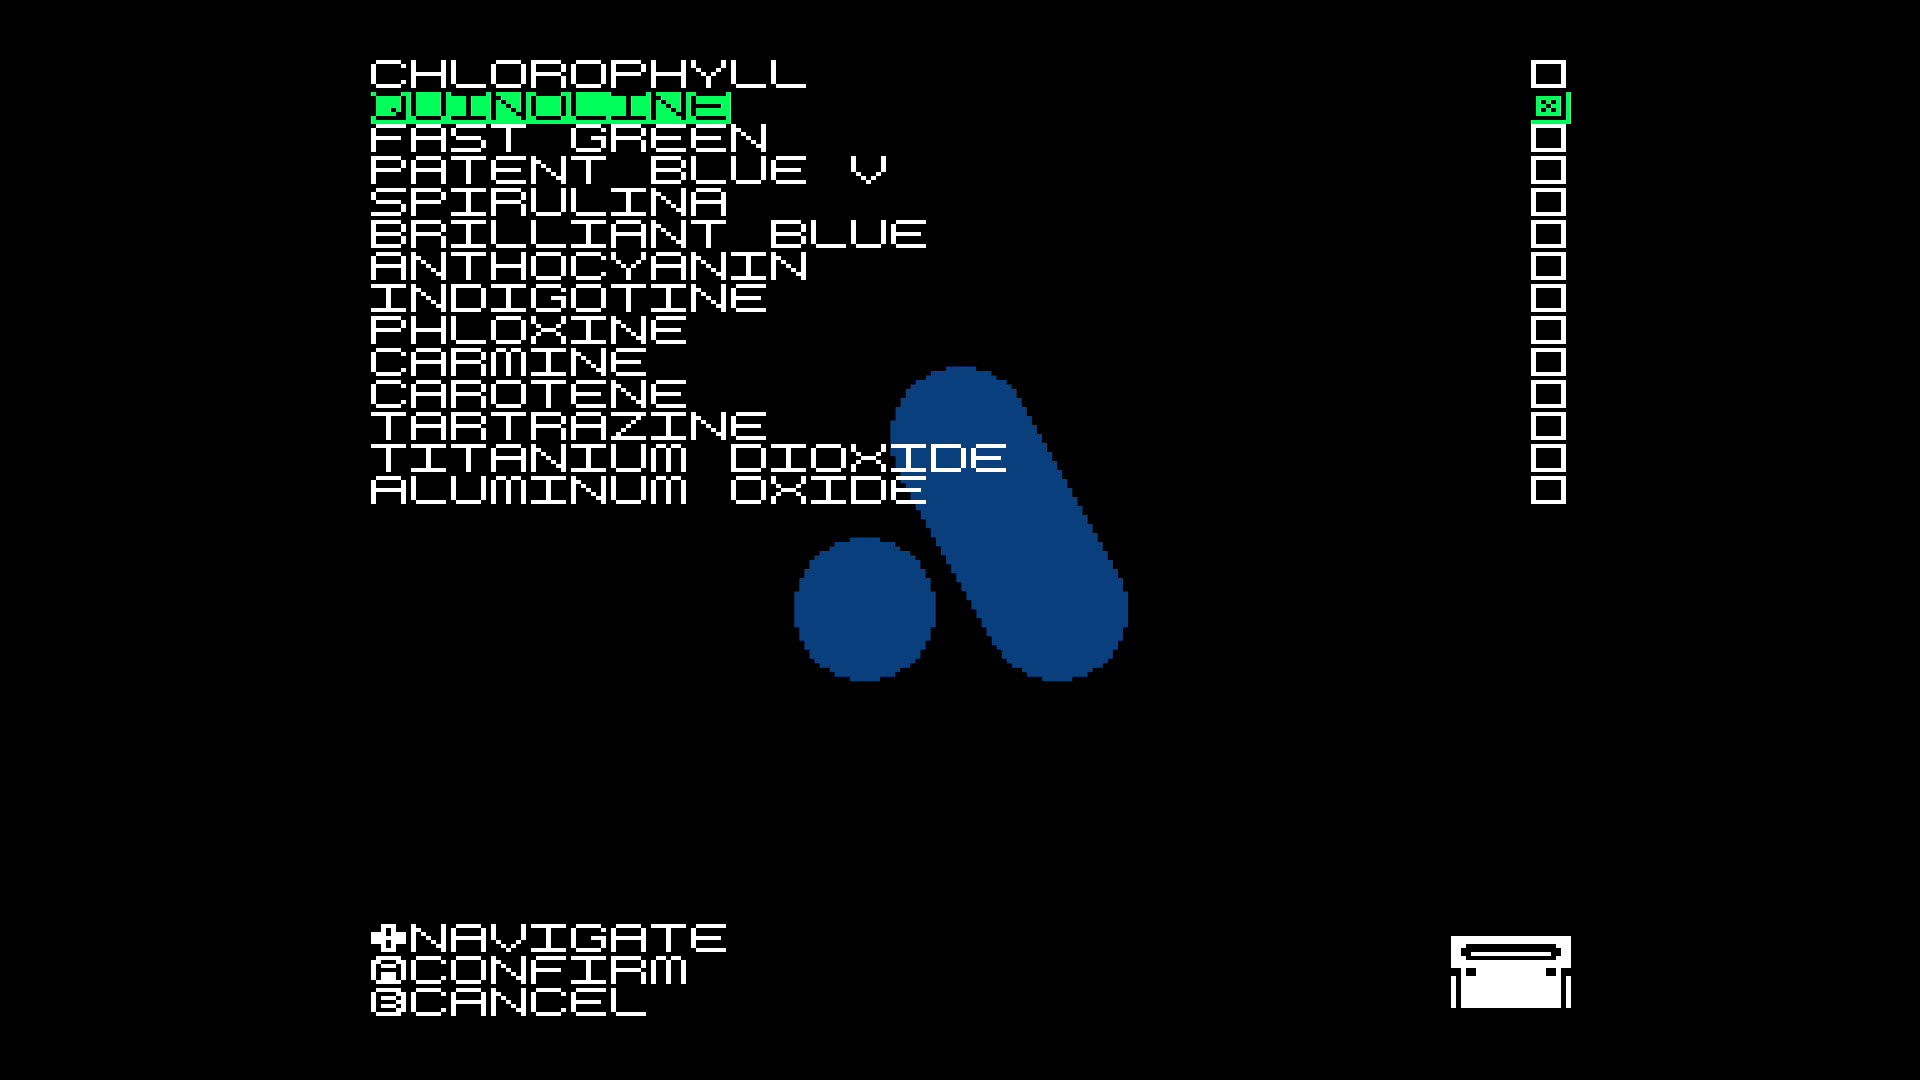
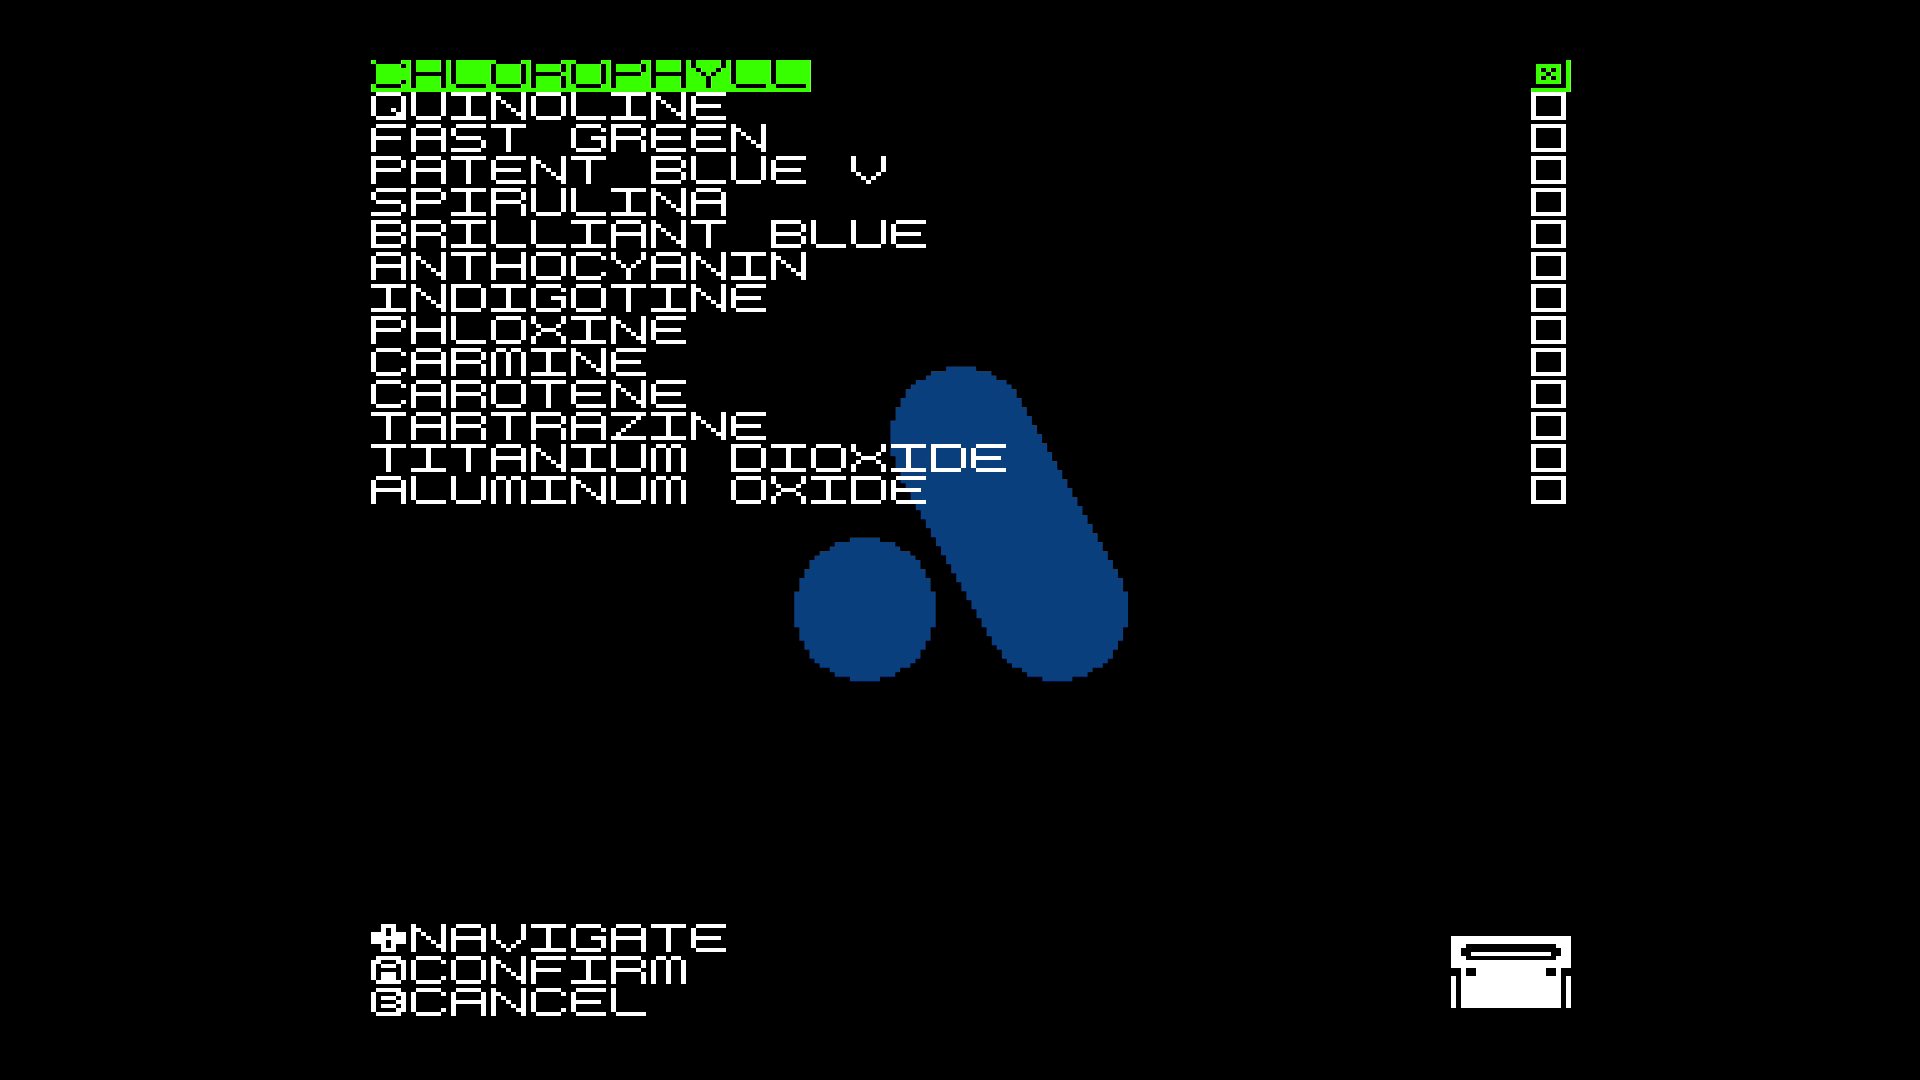
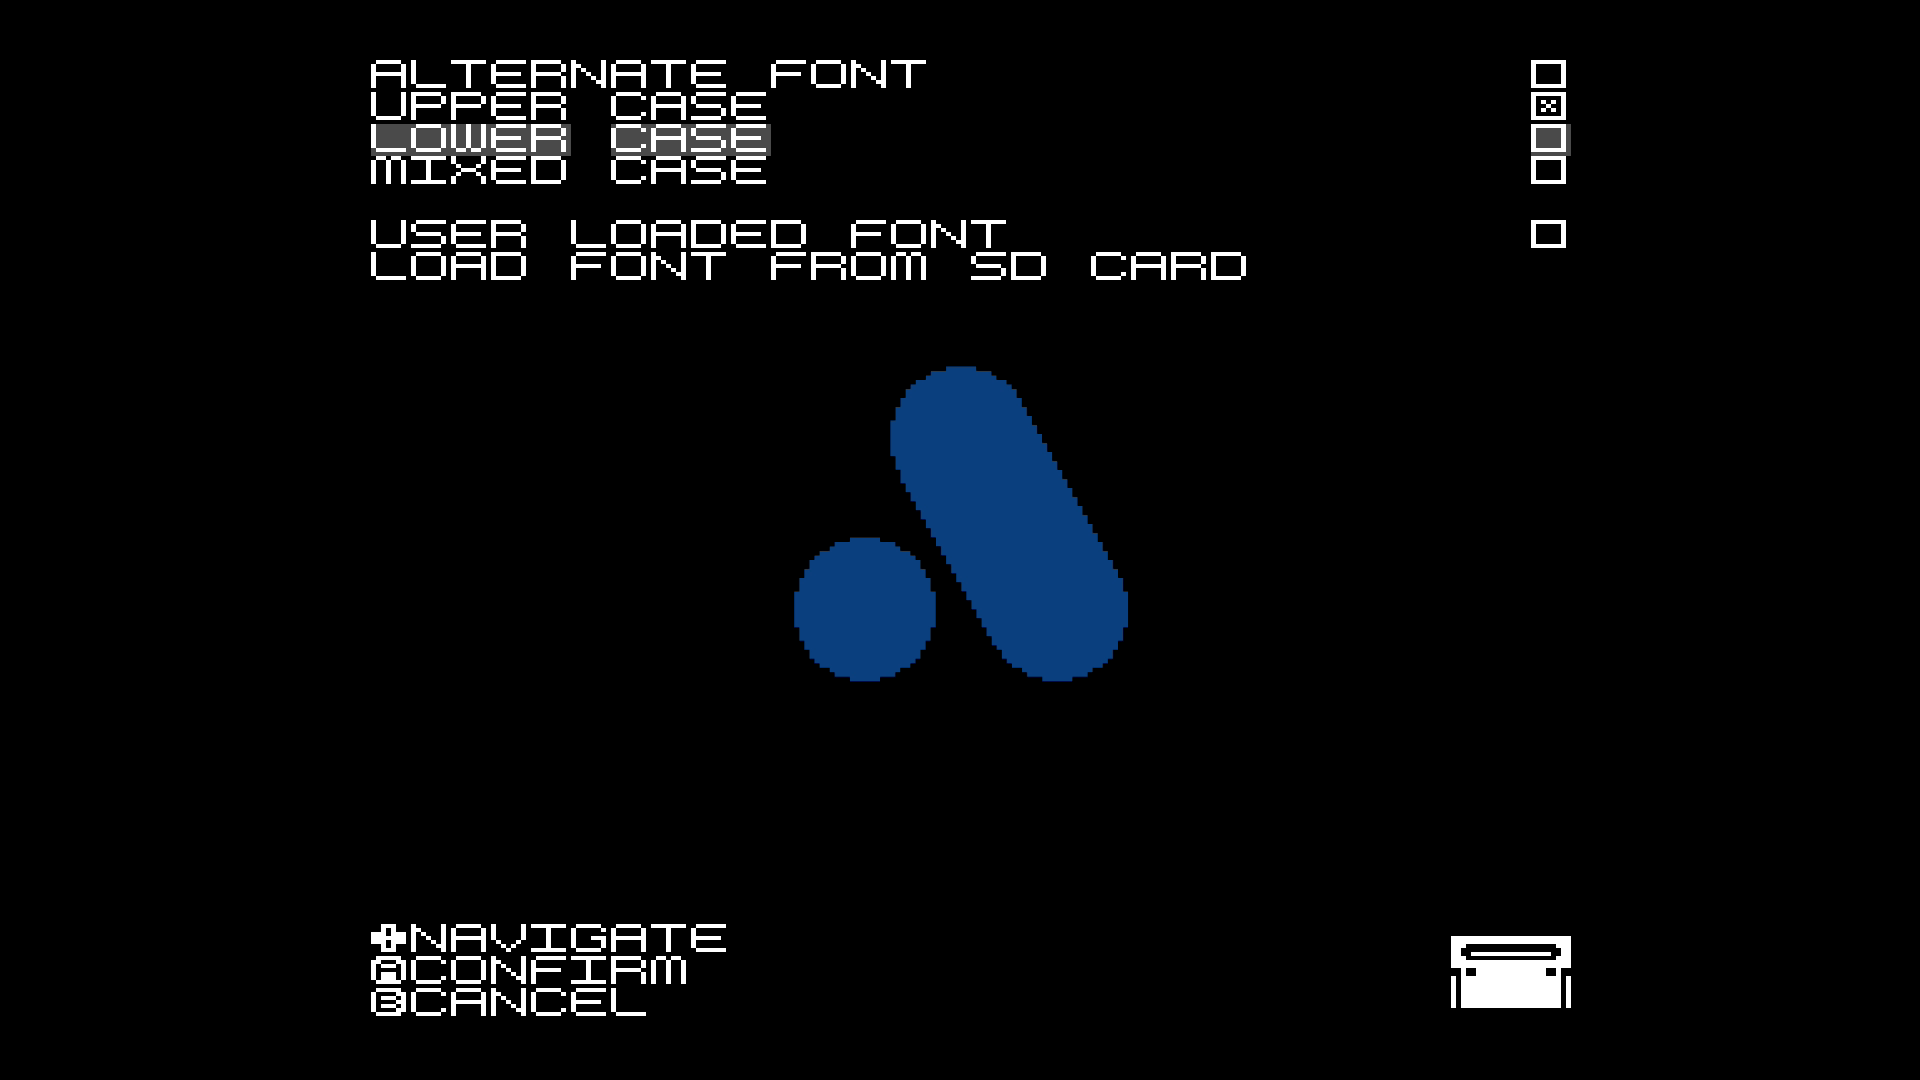
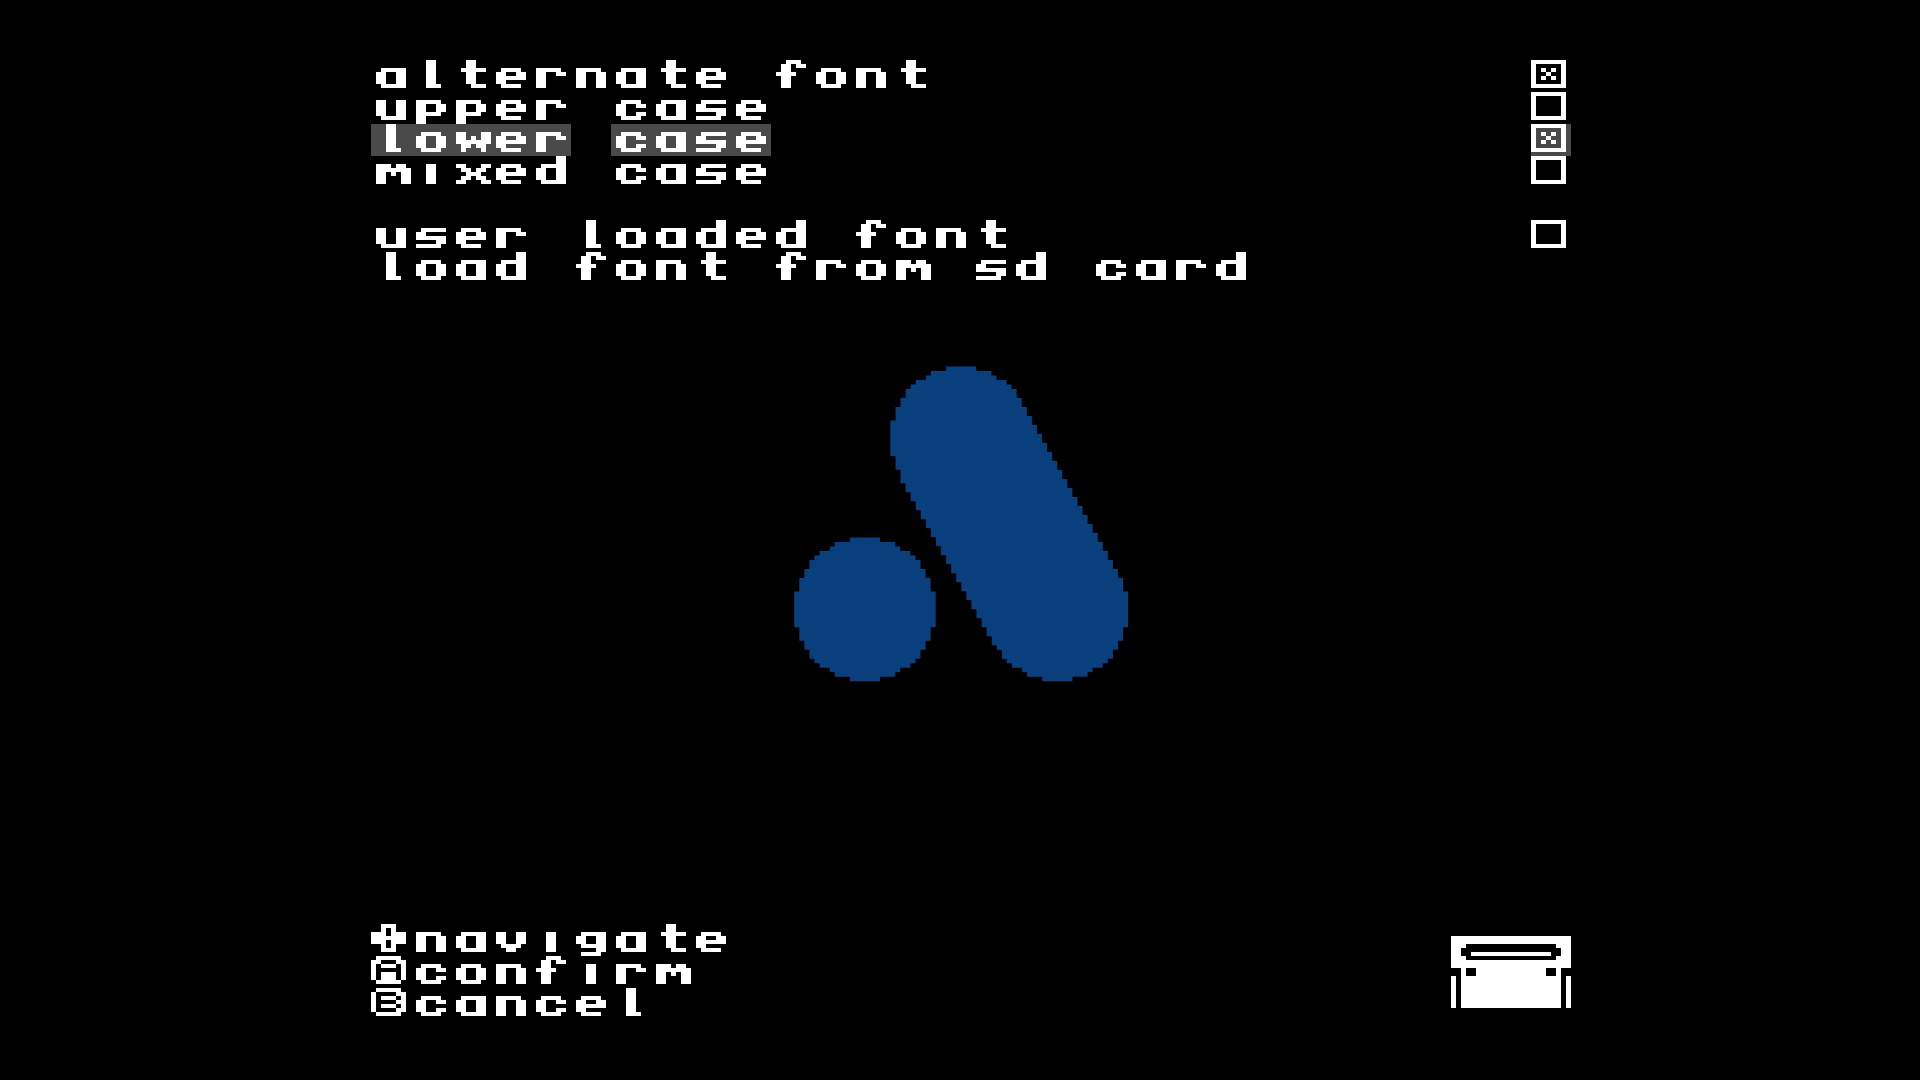
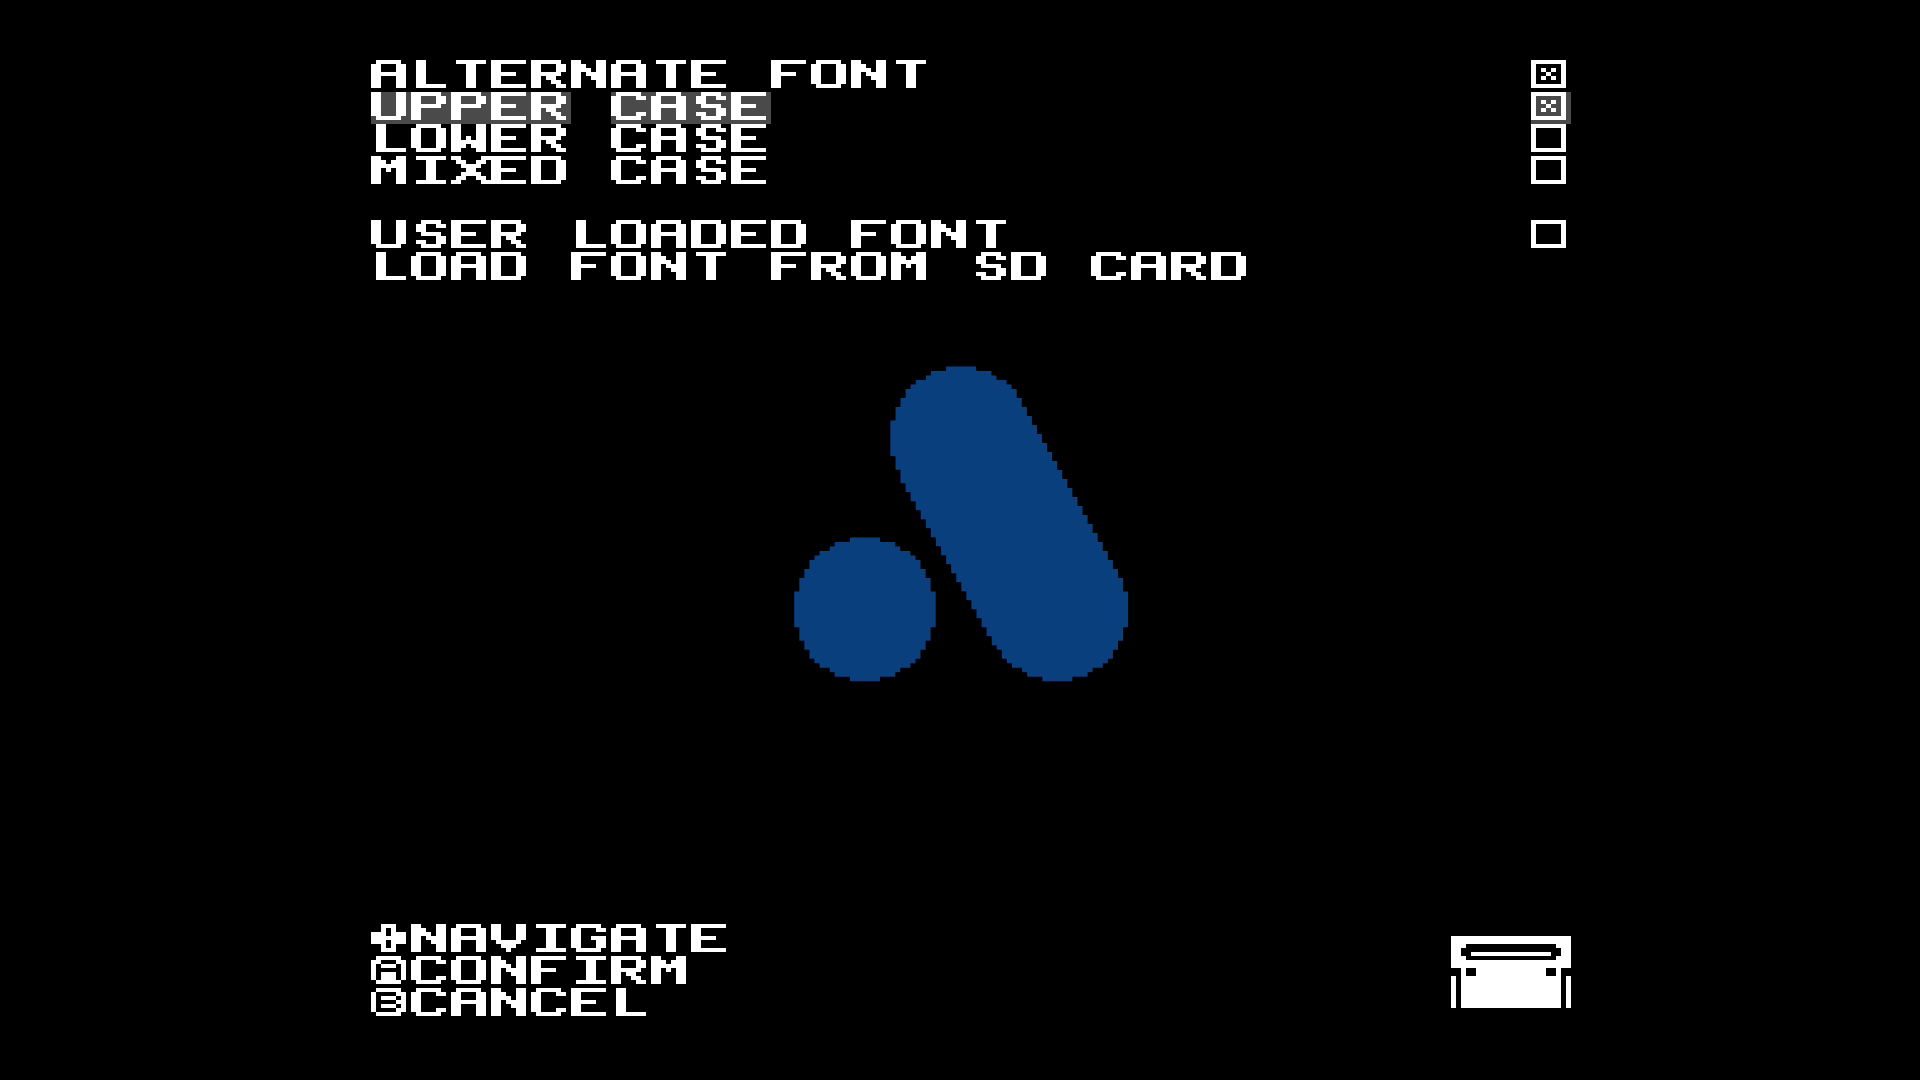
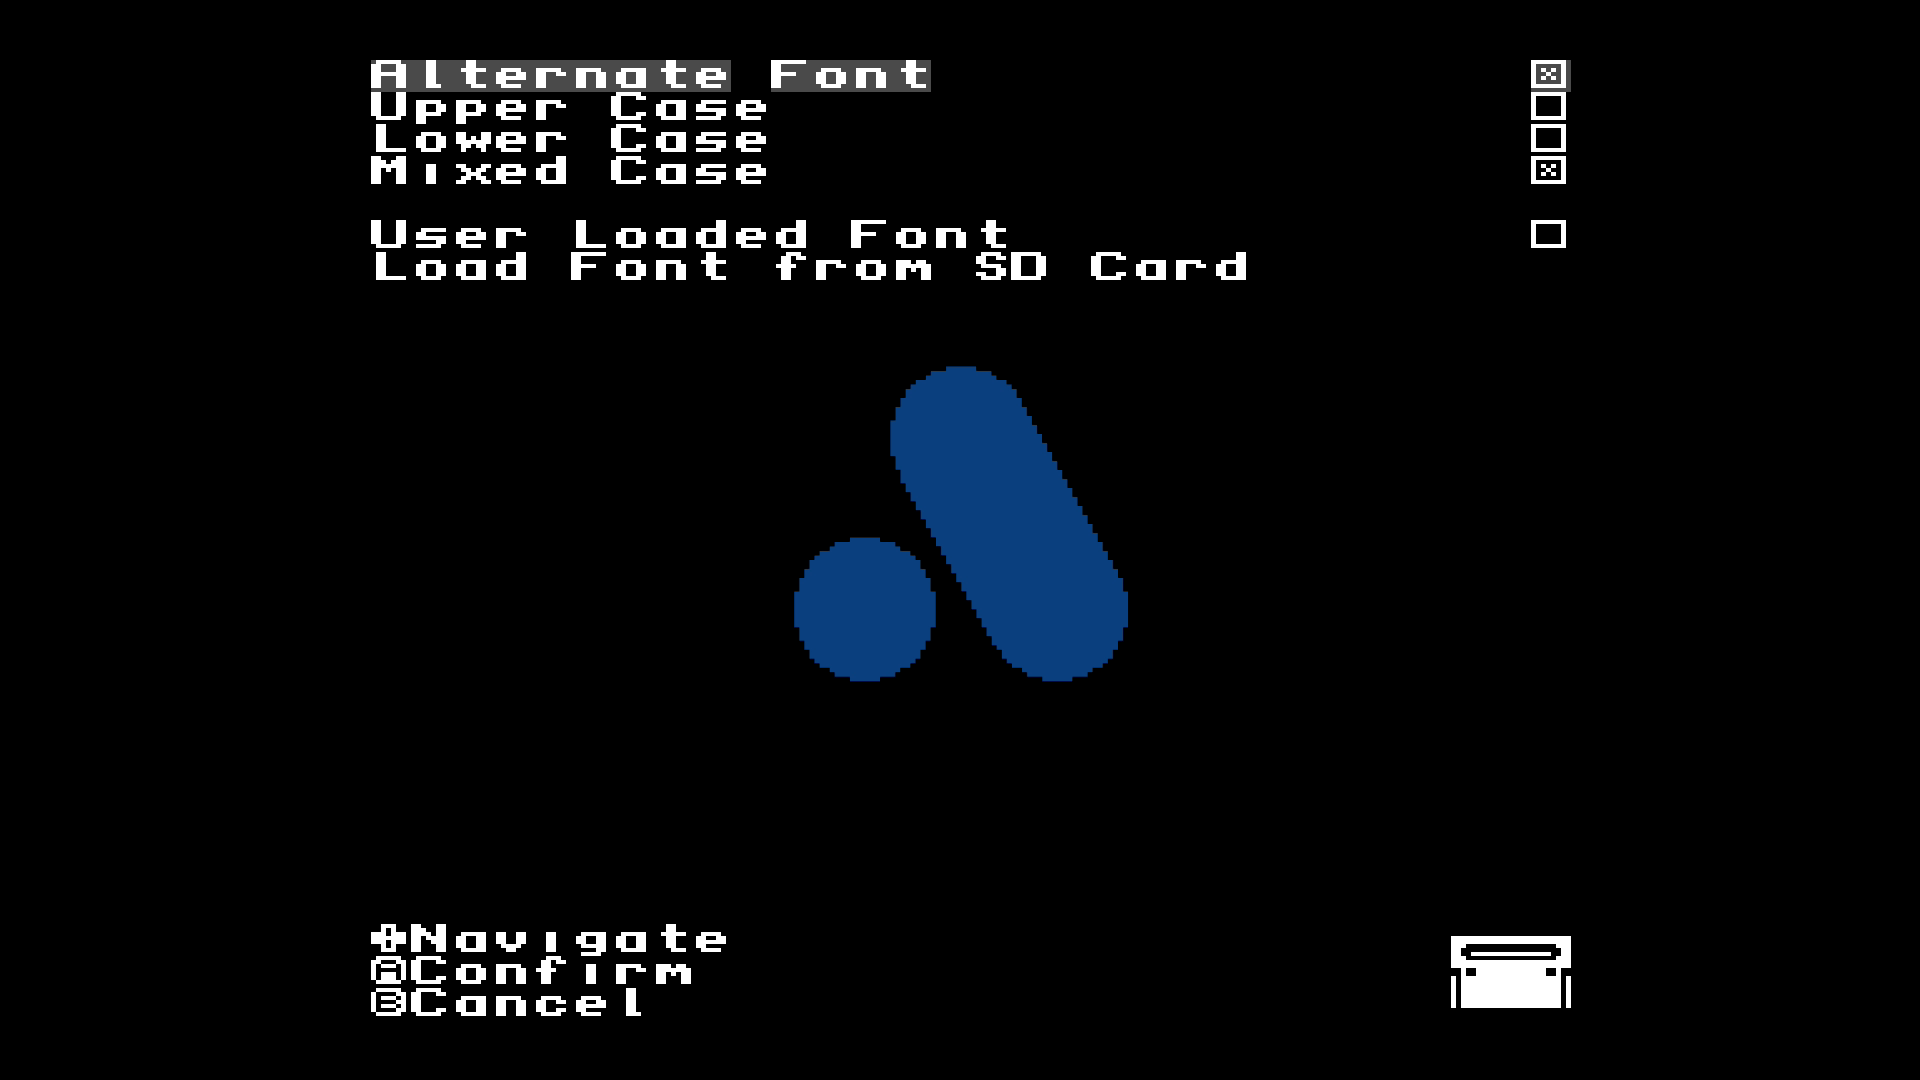
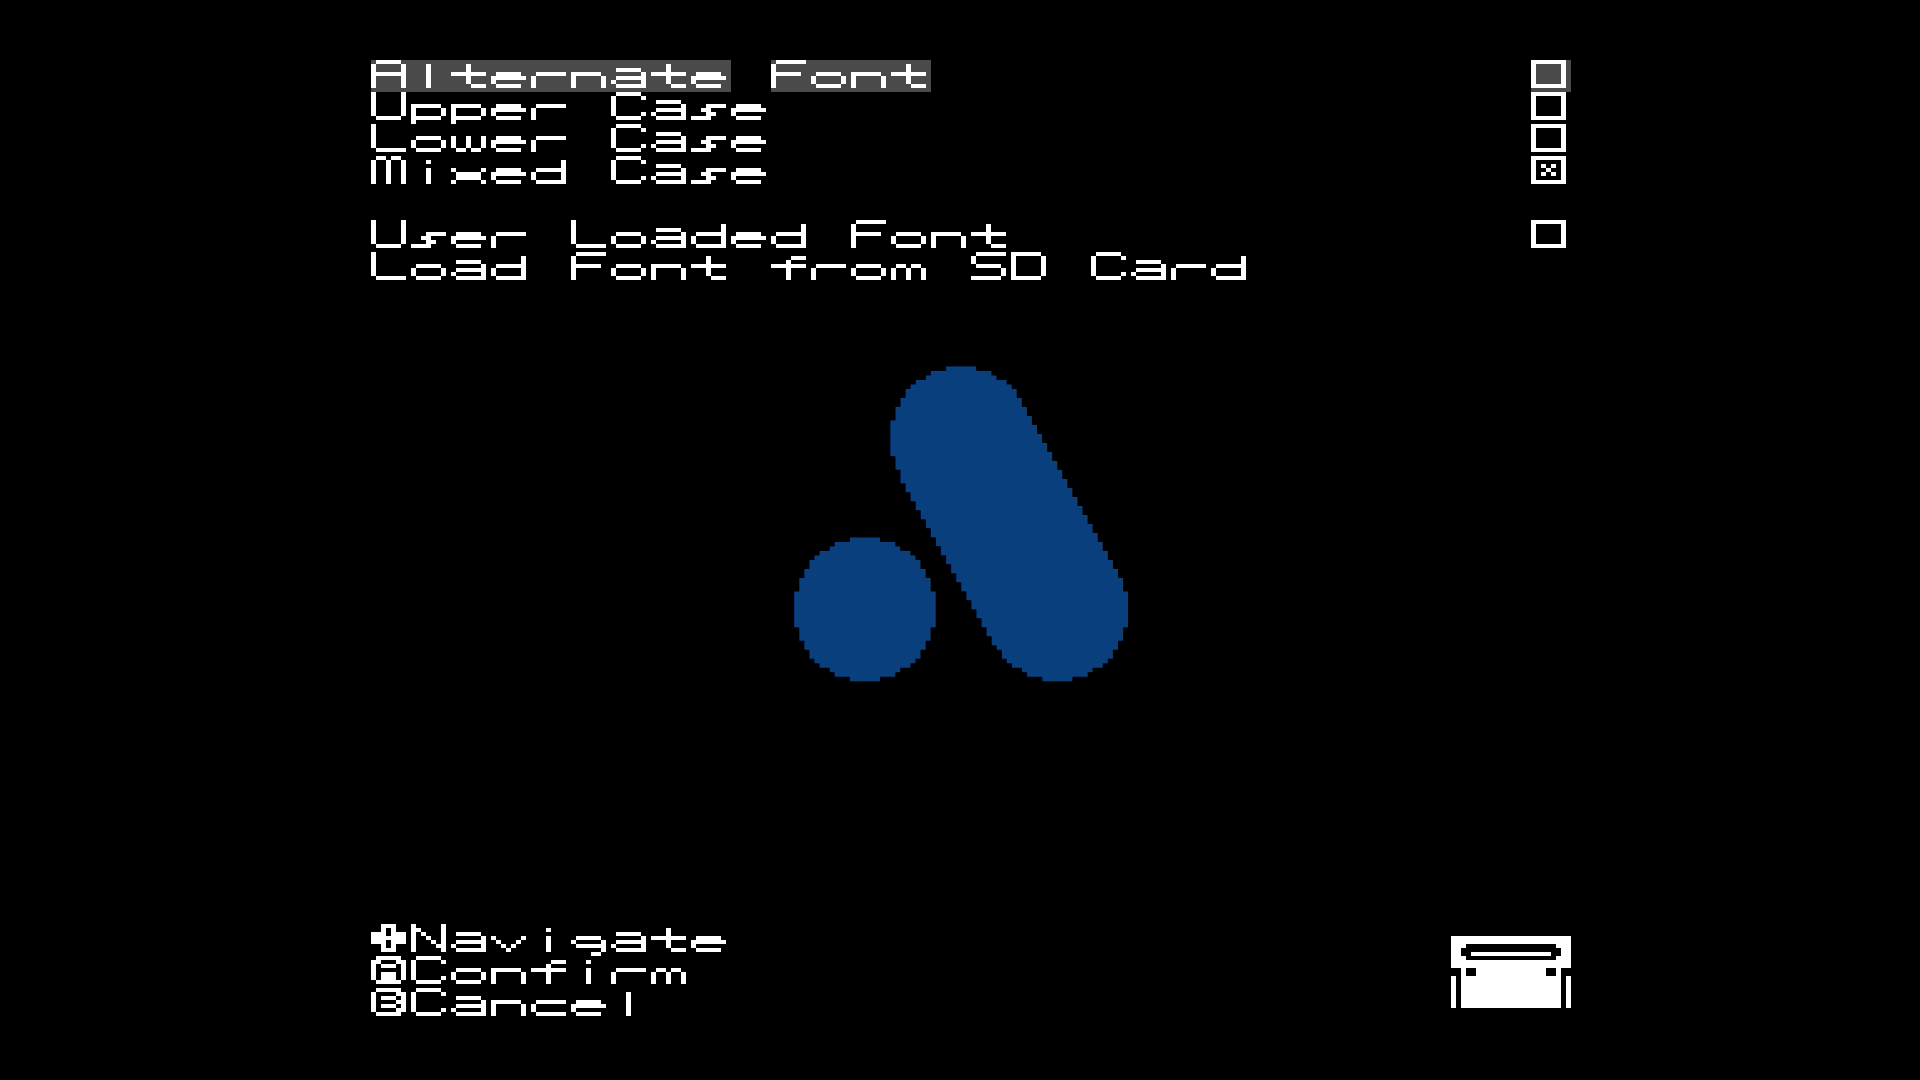
- Font:
You can adjust the font or load any other font from the SD (default folder is FONT).
User fonts should have following format:
8×8 text box with a binary representation of the letter. Each character should take 8 bytes. The file should be 768 bytes in size and have extension .fnt. Characters should start with ASCII 20 (Space) and end at ASCII 7F (Delete).
There is a font generator with fonts on the rgbsource site.


- Menu Bounce: should the menu bounce when it appears?
- Dim Game in Menu: if the Mega SG menu is shown, the game will be dimmed
Hotkeys & Controllers
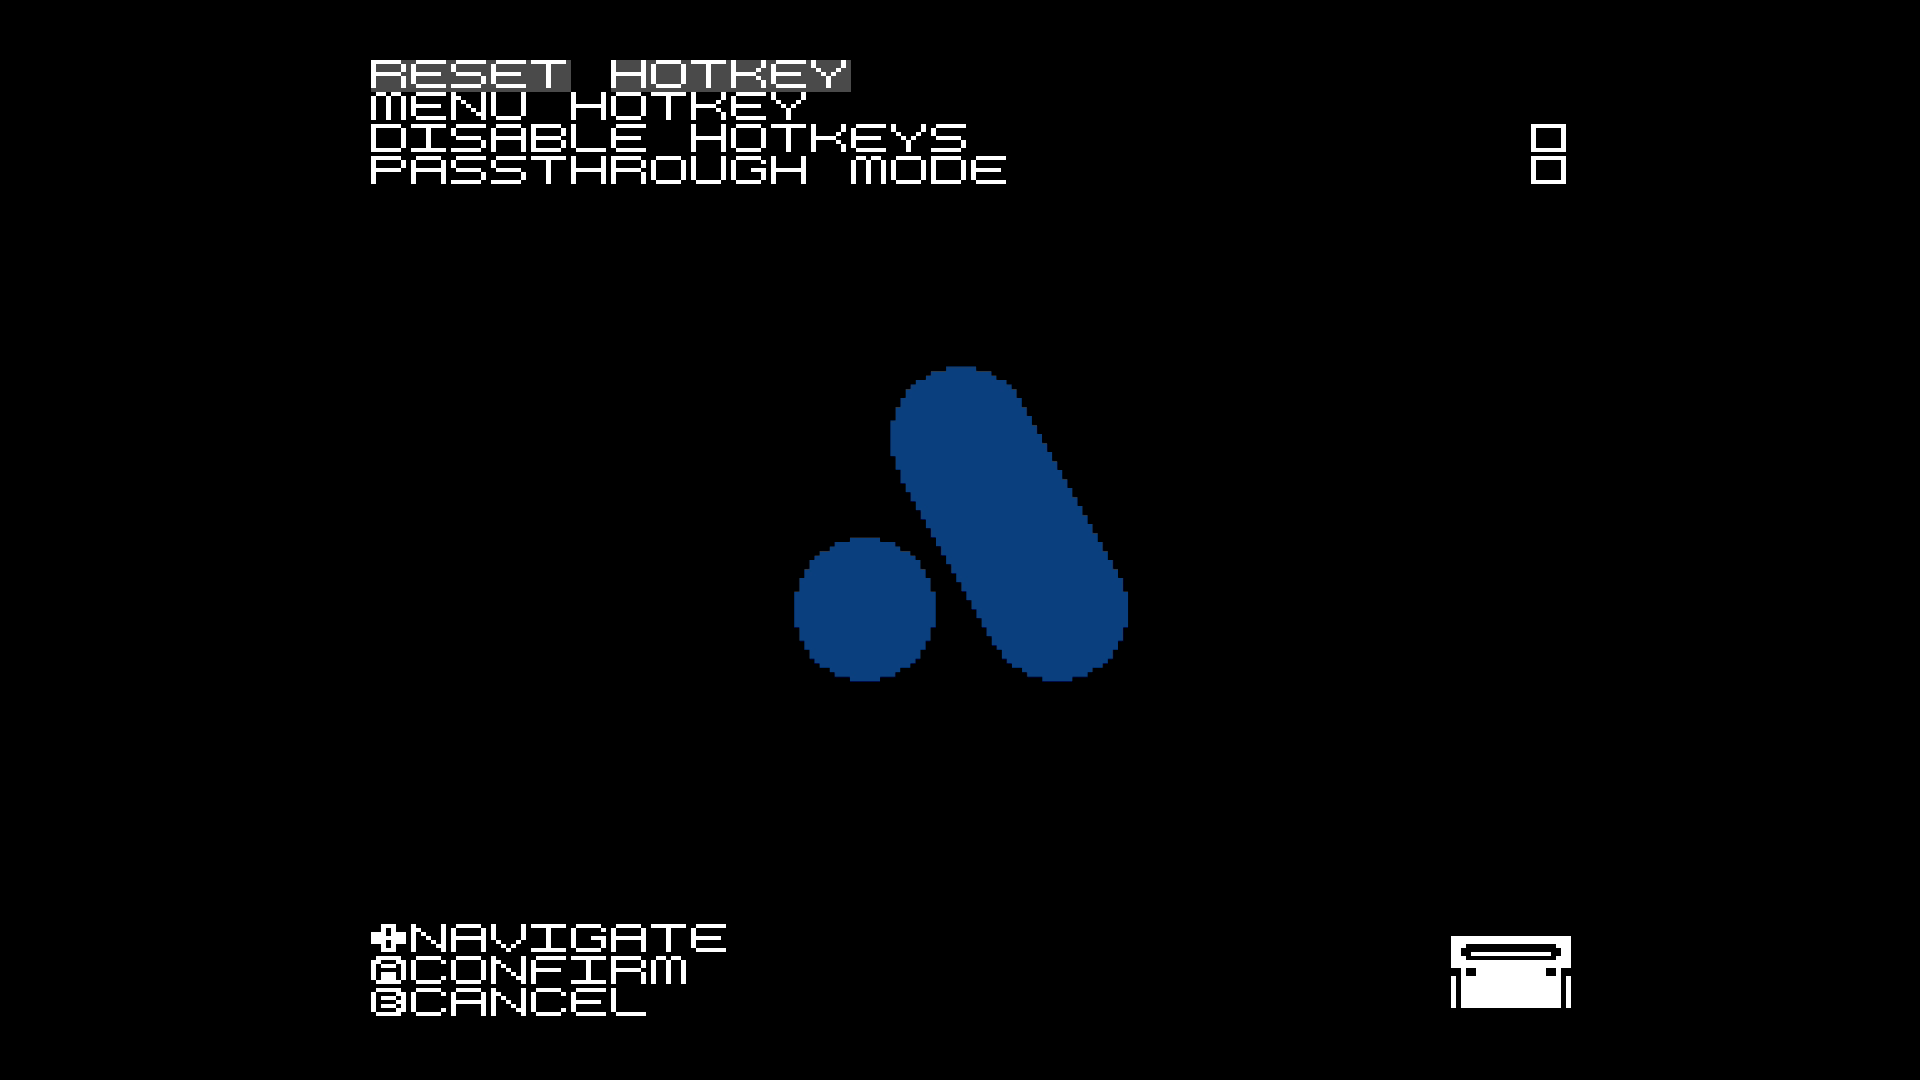
- Reset Hotkey: Choose the button combination for game reset.

- Menu Hotkey: Same menu screen, but to call the Mega SG menu.
- Disable Hotkeys: This option can’t be saved and allows to temporarily disable any hotkeys combinations.
- Passthrough Mode: This options can’t be saved and disables all Mega SG internal extra processing for controllers.
Startup Options

- Boot sequency delay: add X seconds delay after the screen is activated. Some monitors can’t process information immediately so this option can help.
- Title -> Menu: after initial sequence go to the root menu
- Title -> Cartridge: after initial sequence start the game
- Cartridge direct: no initial sequence, just start the game
Hardware
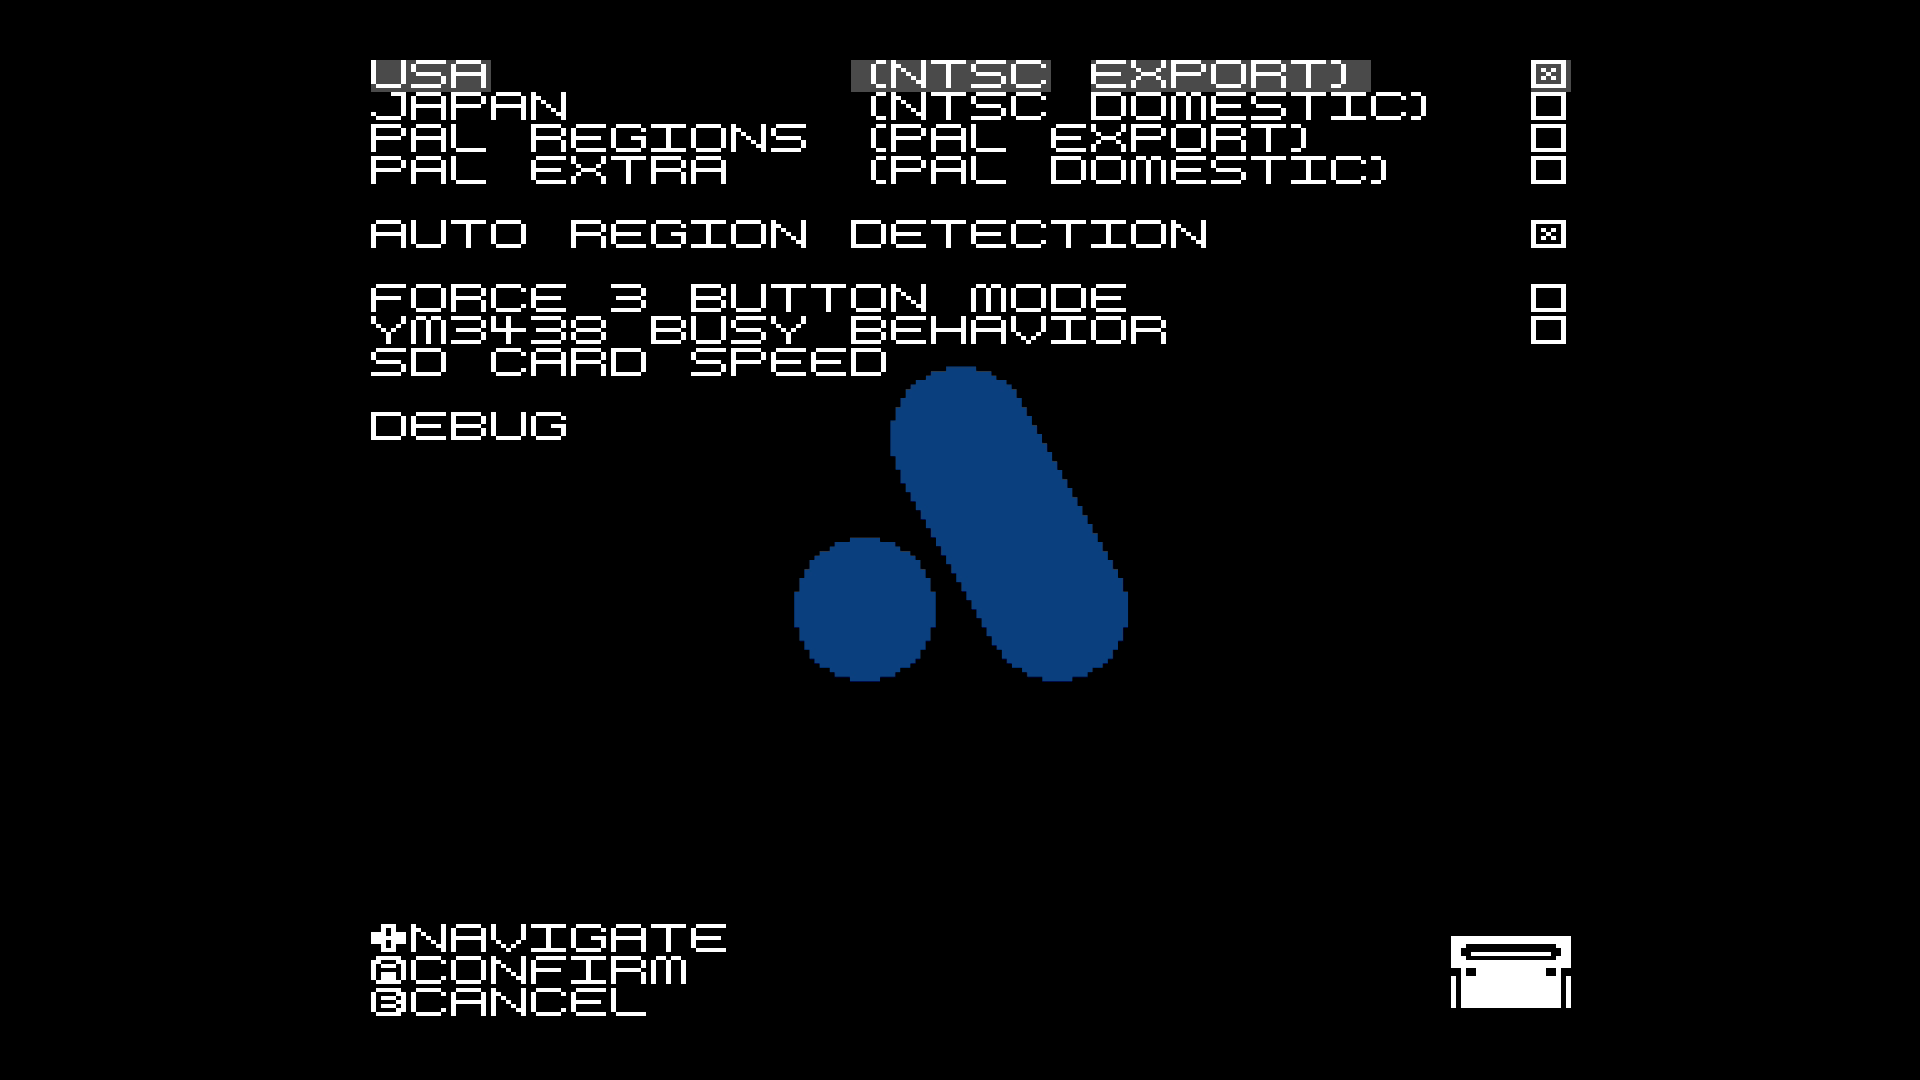
- USA: Use this options for games, released in the NTSC (North America) region
- Japan: Use this options for games, released in the NTSC (Japan) region
- PAL Regions: Use this options for games, released in the PAL region and if they don’t work with other regions (region protection)
- PAL Extra: Use this options for games, released in the PAL region and if they don’t work with other regions (region protection)
- Auto Region Detection
- Force 3 Button Mode
- YM3438 Busy Behavior
- SD Card Speed
- Debug
Note: List of region locked games can be seen on this page.
LED Options
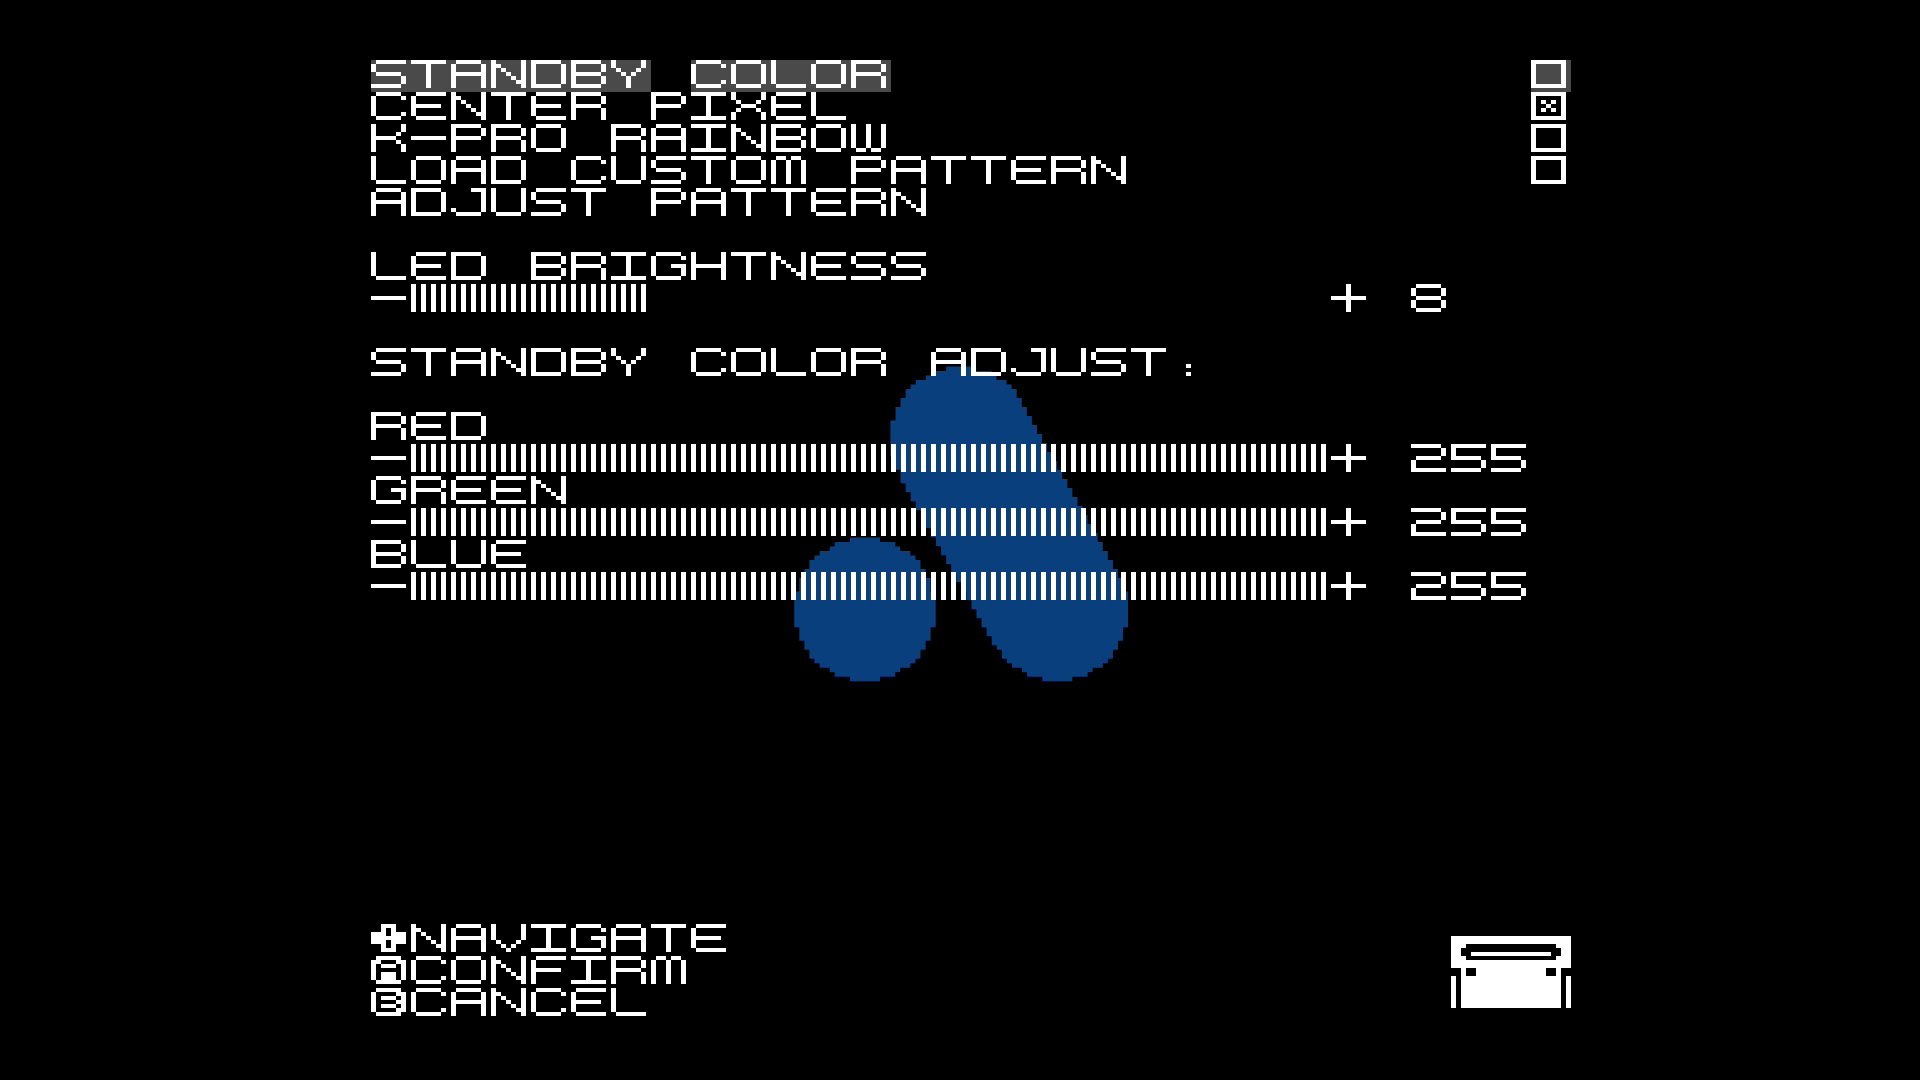
- Standby Color: solid colour
- Center Pixel: the colour is of the pixel in the middle of the screen
- K-Pro Rainbow: alternating colours
- Load Custom Pattern: load your pattern from the SD card
- Adjust Pattern: adjust the pattern
- LED Brightness: adjust the brightness of the LED
- Standby Color Adjust (Red, Green, Blue)
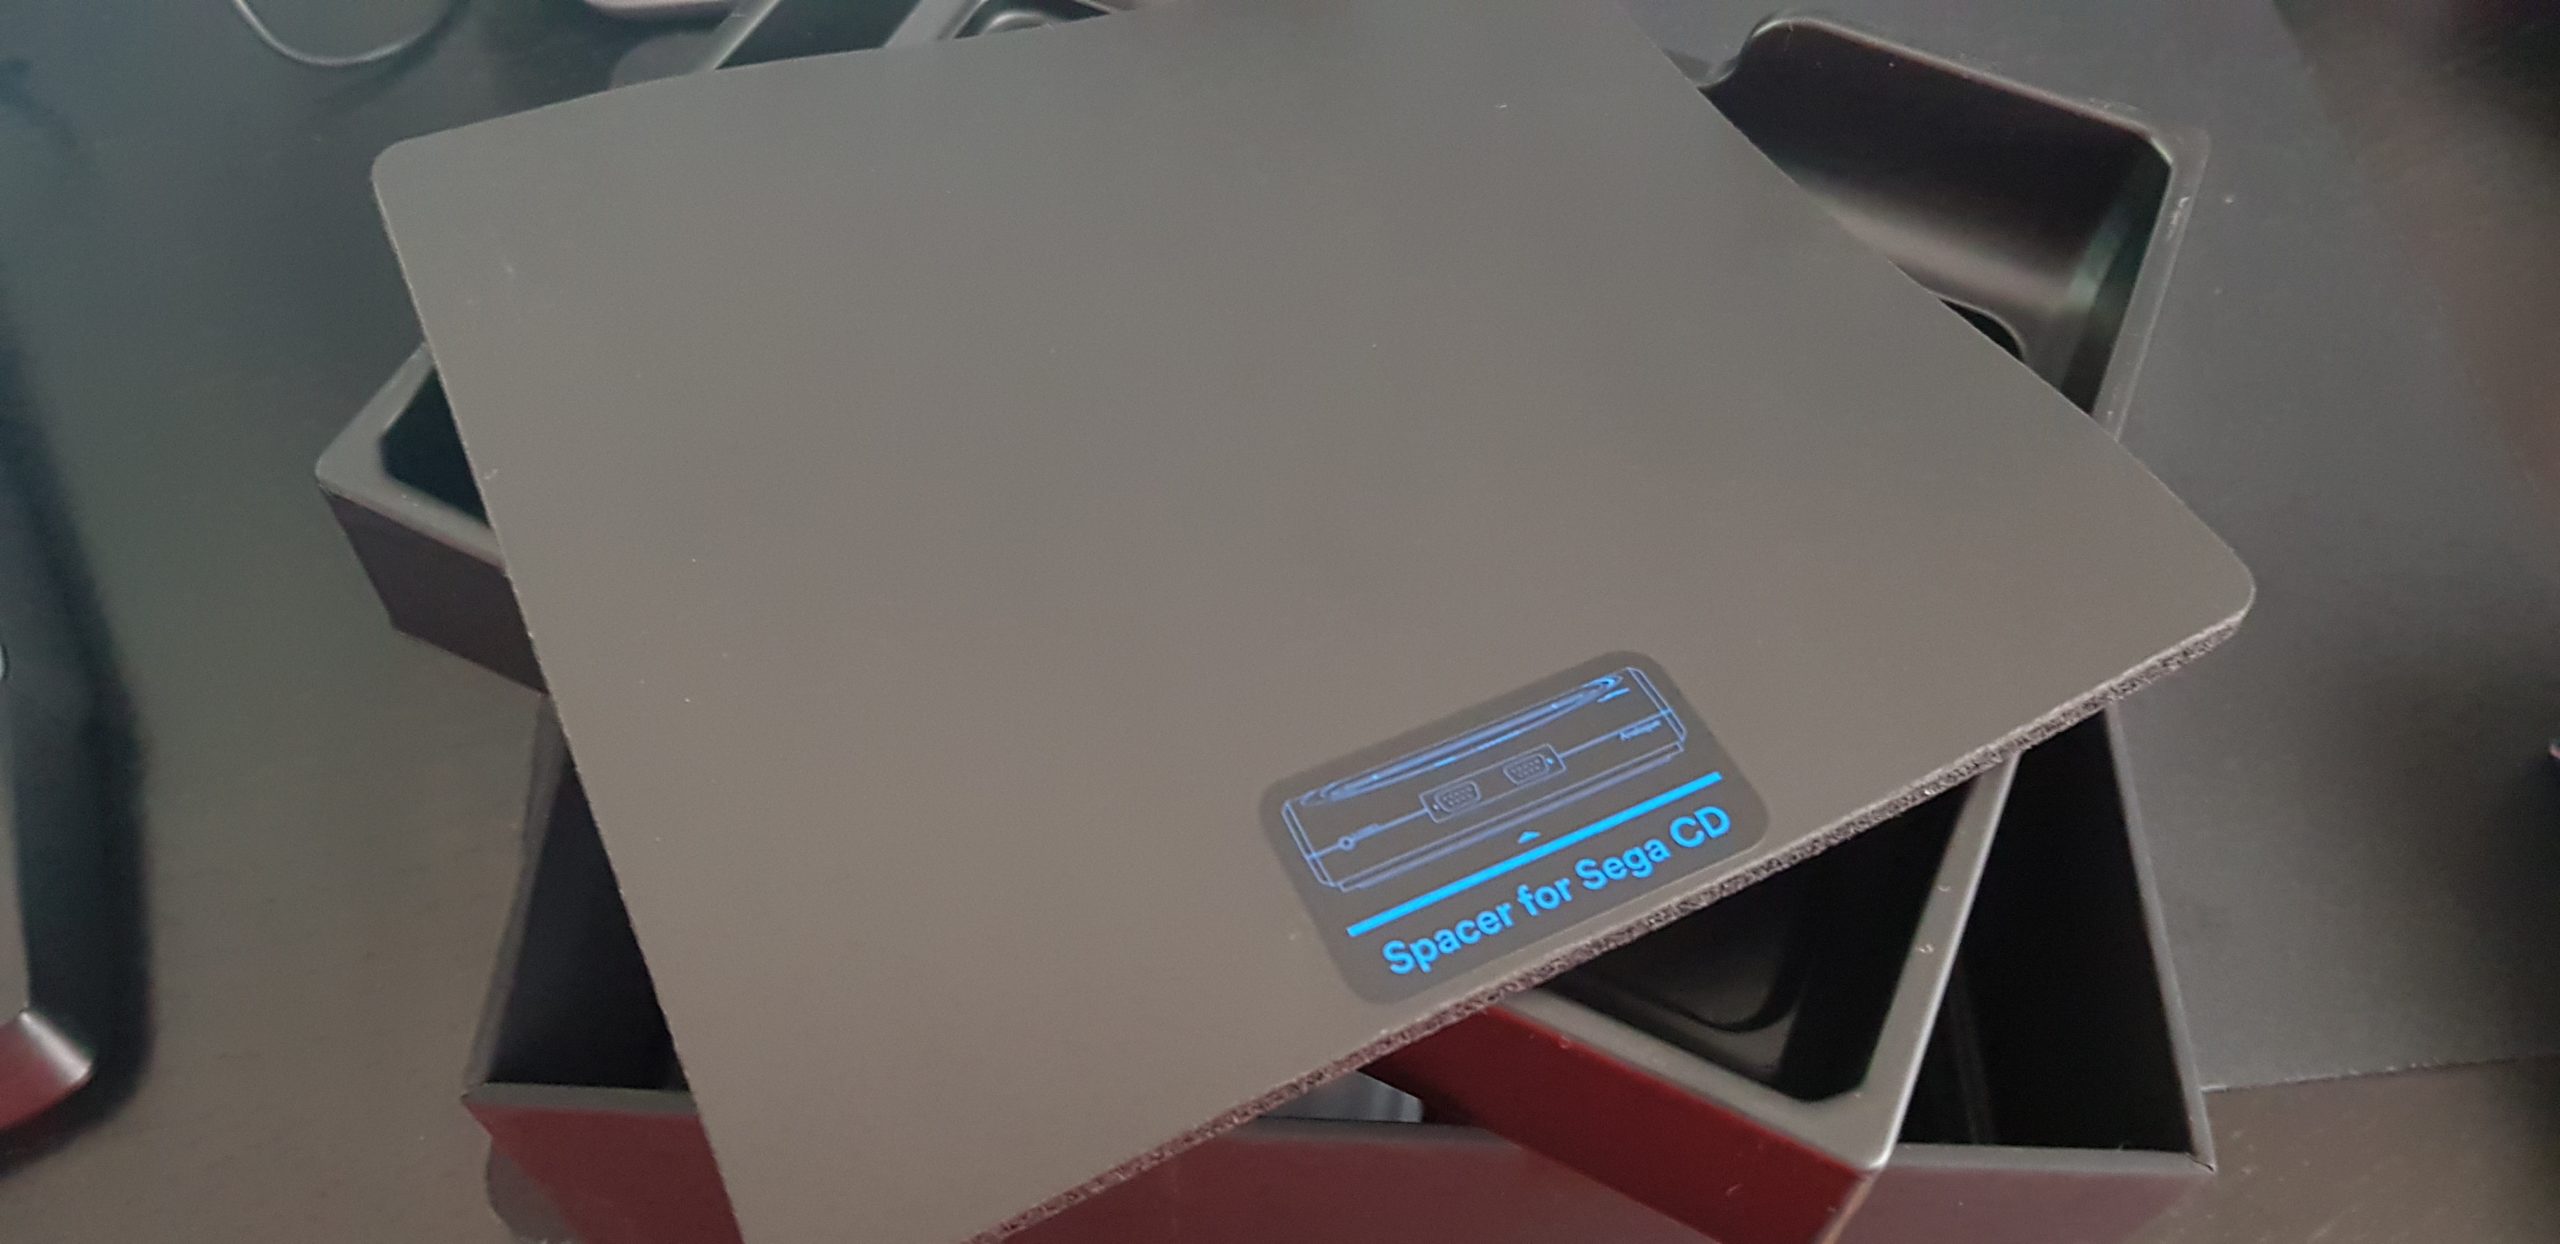
Using Sega CD or Mega CD
Remove the expansion slot cover and attach the console to the Sega CD or Mega CD. Use the included spacer to raise the height of the console.
Jailbreak
You can find the latest version on this page.
Adds several useful options and allows to play games of four different platforms by using separate cores.
Additional cores available for:
- Genesis / Mega Drive
- Game Gear
- Sega Master System (SMS) / SG-1000
- Colecovision
Documentation
There is a dedicated user manual for this jailbreak.
Installation
1)Place the Jailbreak update in the root folder of an SD Card and update the console.
2)Prepare the SD card, if you want to load roms via cores: format in fat 32 and use this directory structure.
- \BIOS:
- \COLECO
- \FONT: for user fonts (used also by the normal firmware)
- \GENESIS
- \GG
- \PATTERN: for user LED patterns (used also by the normal firmware)
- \SAVES
- \SMS
Read the user manual and put roms into corresponding folders (these are default folders). Check the extensions. Some systems may need BIOS files and some games need other extensions in order to work at all.
Menu Changes
Root Menu
In the main menu a new option is available: “Cores”. From there you can load one of the following cores:

Choose one of the cores and the corresponding folder with roms will be shown (you can also navigate to other folders).
System -> Menu Options
- Prompt when Saving RAM
- Save Warning Message
- High-Rez File Browser

Settings
- Core Options
Using Cheat Codes
In the root menu choose Tools -> Cheat Codes
Navigate to the row and use button A to choose the letter. Enable separate rows (separate codes). Enable or disable everything using “ENABLE CHECKED CODES” checkbox.
Using Everdrives
All available Everdrives (Mega Everdrive, Everdrive MD) are supported.
Advantages of Everdrives:
- In-Game instant Save & Load
- In-Game menu to return to the main menu of the Everdrive
Everdrive also allows to load a couple of very large games. Otherwise the compatibility is the same as with the jailbreak’s core.
Other hints:
- Enable the Game mode in you TV