What is Super SD System 3?
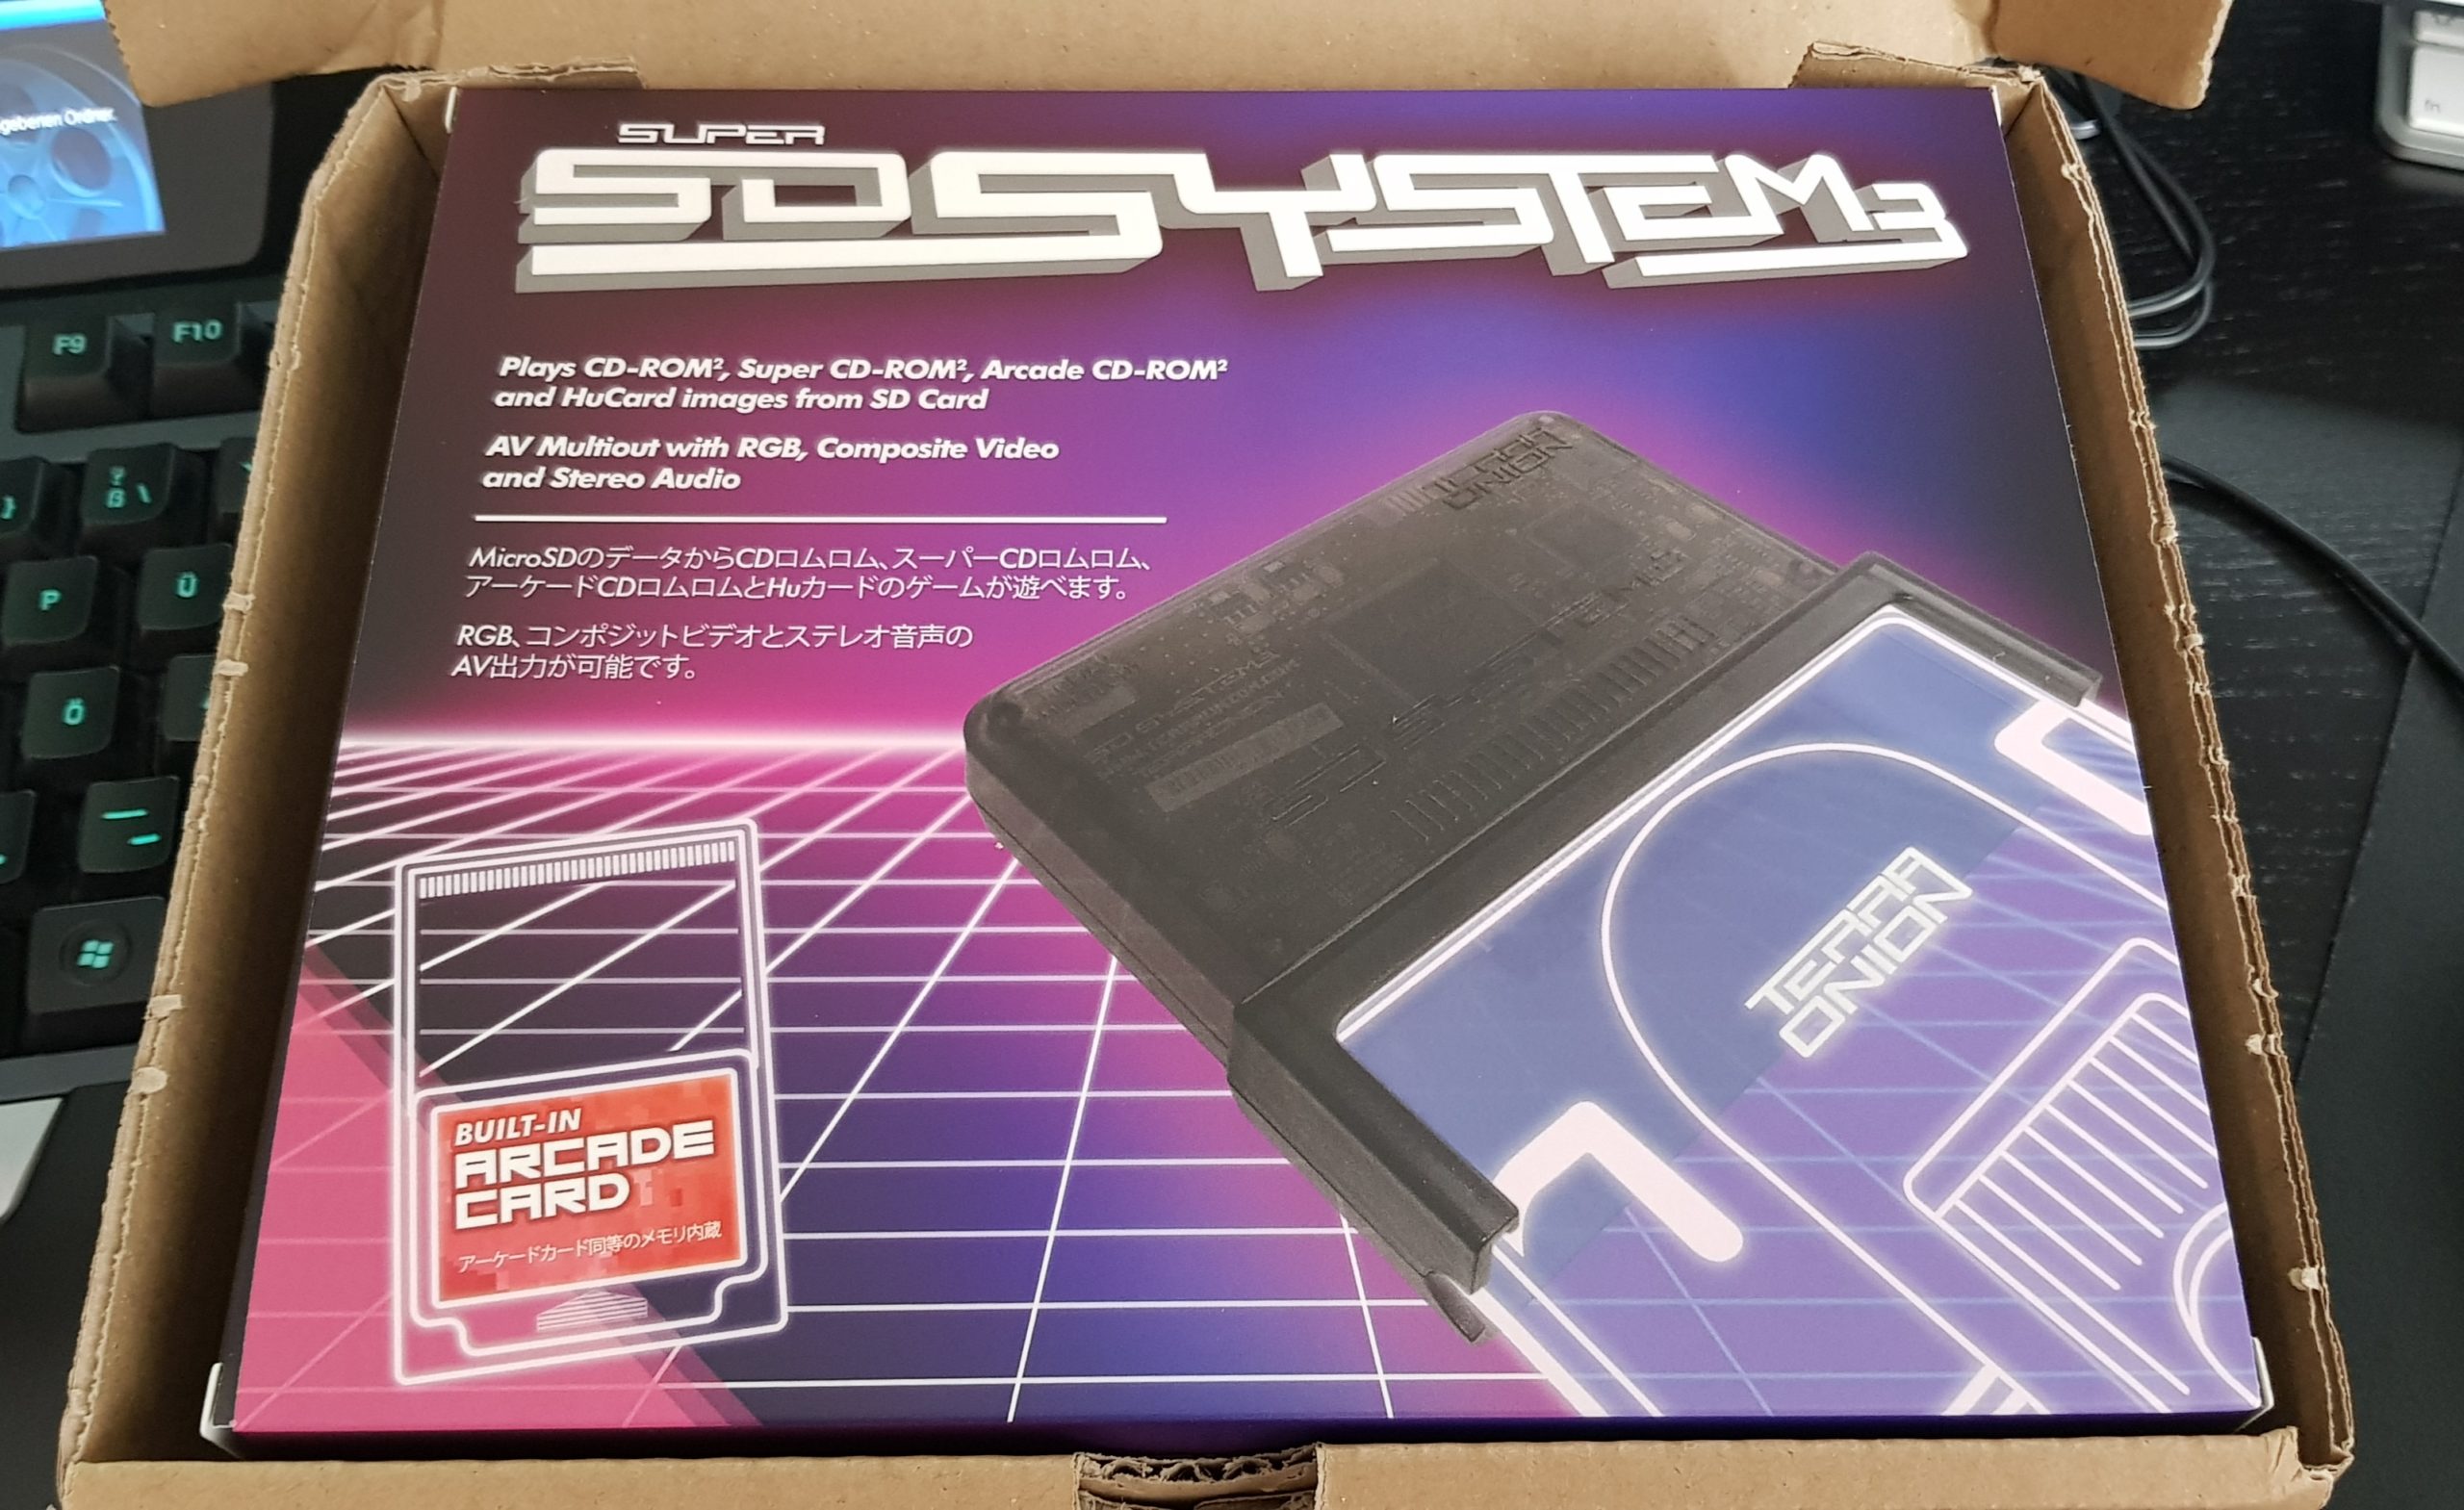
Super SD System 3 is a new flash cartridge for PC Engine and TurboGrafx 16, which allows you to play games on original hardware by loading CD images and roms from the Micro SD card. This flash cartridge supports following platforms:
- PC Engine (including Core Grafx, Core Grafx 2 and Super Grafx)
- TurboGrafx 16
- TurboGrafx-CD/CD-ROM², Super CD-ROM² and Arcade Card
Support for all this is available thanks to the FPGA implementation inside the cartridge. Apart from the support for every single game in the library, the whole CD drive hardware is fully implemented in FPGA and you can load CUE/ISO/BIN files with games for CD Add Ons without the need of the real hardware. This is the main difference when comparing to Turbo Everdrive.
Games for Super Grafx are supported only if this add-on is physically attached. All other games can be run on stock hardware (e.g. I am using Core Grafx 2 console only).
Other Specs
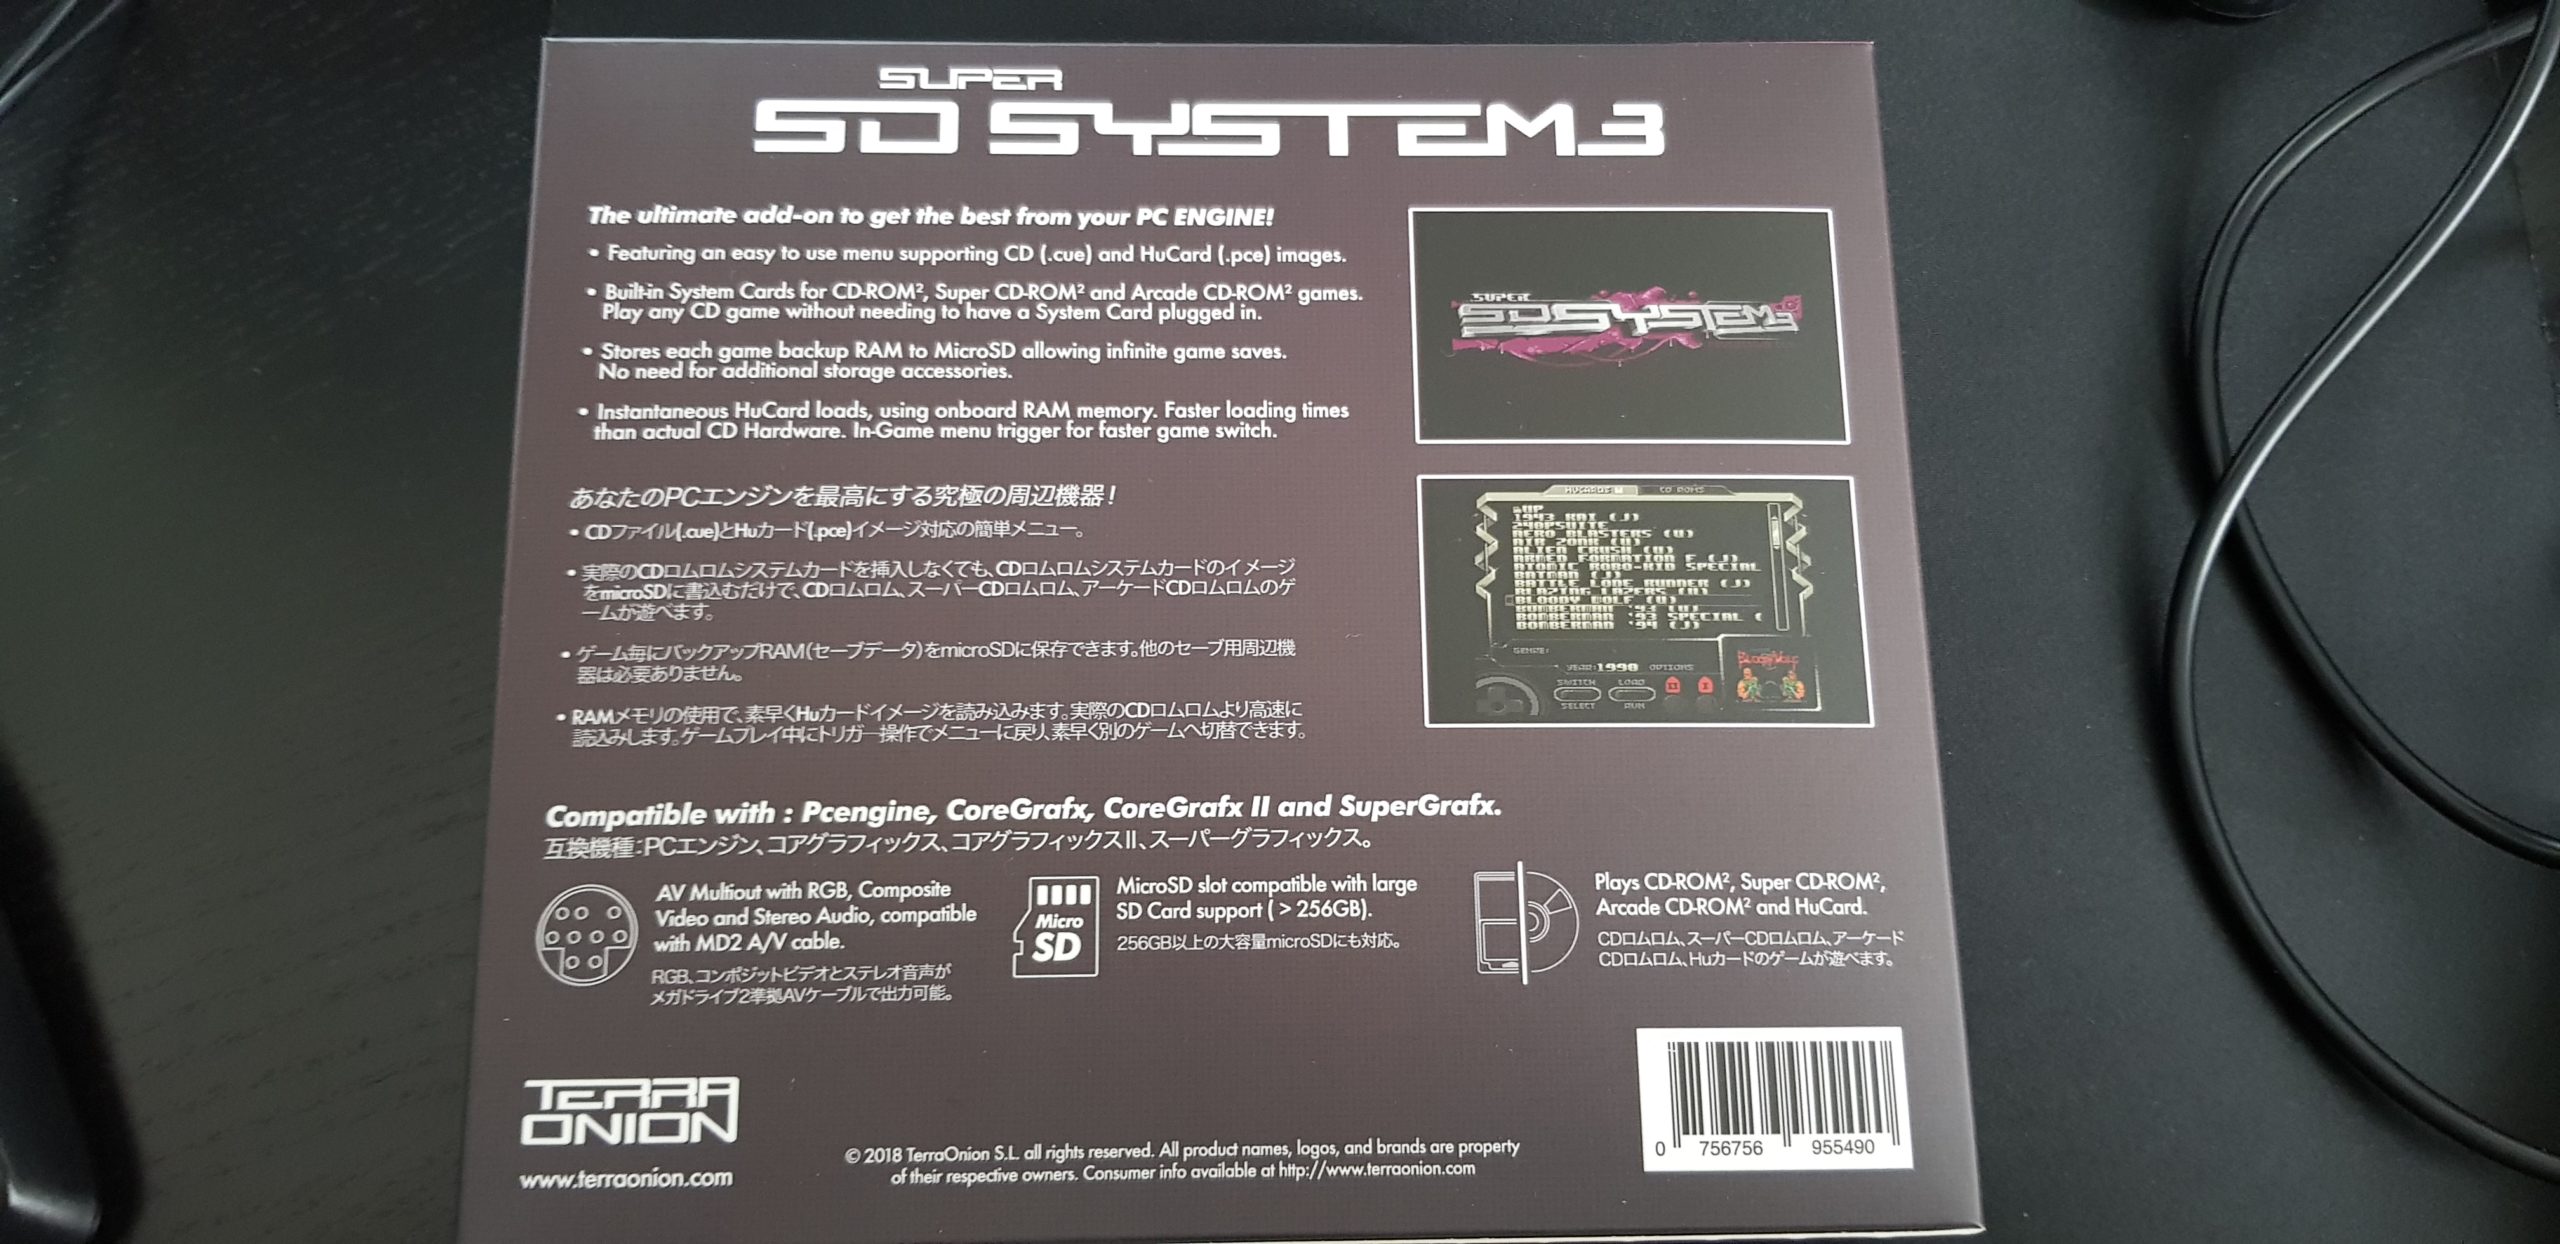
- Support for MicoSD (SDHC, SDXC upto 400 Gb, FAT32 or exFAT)
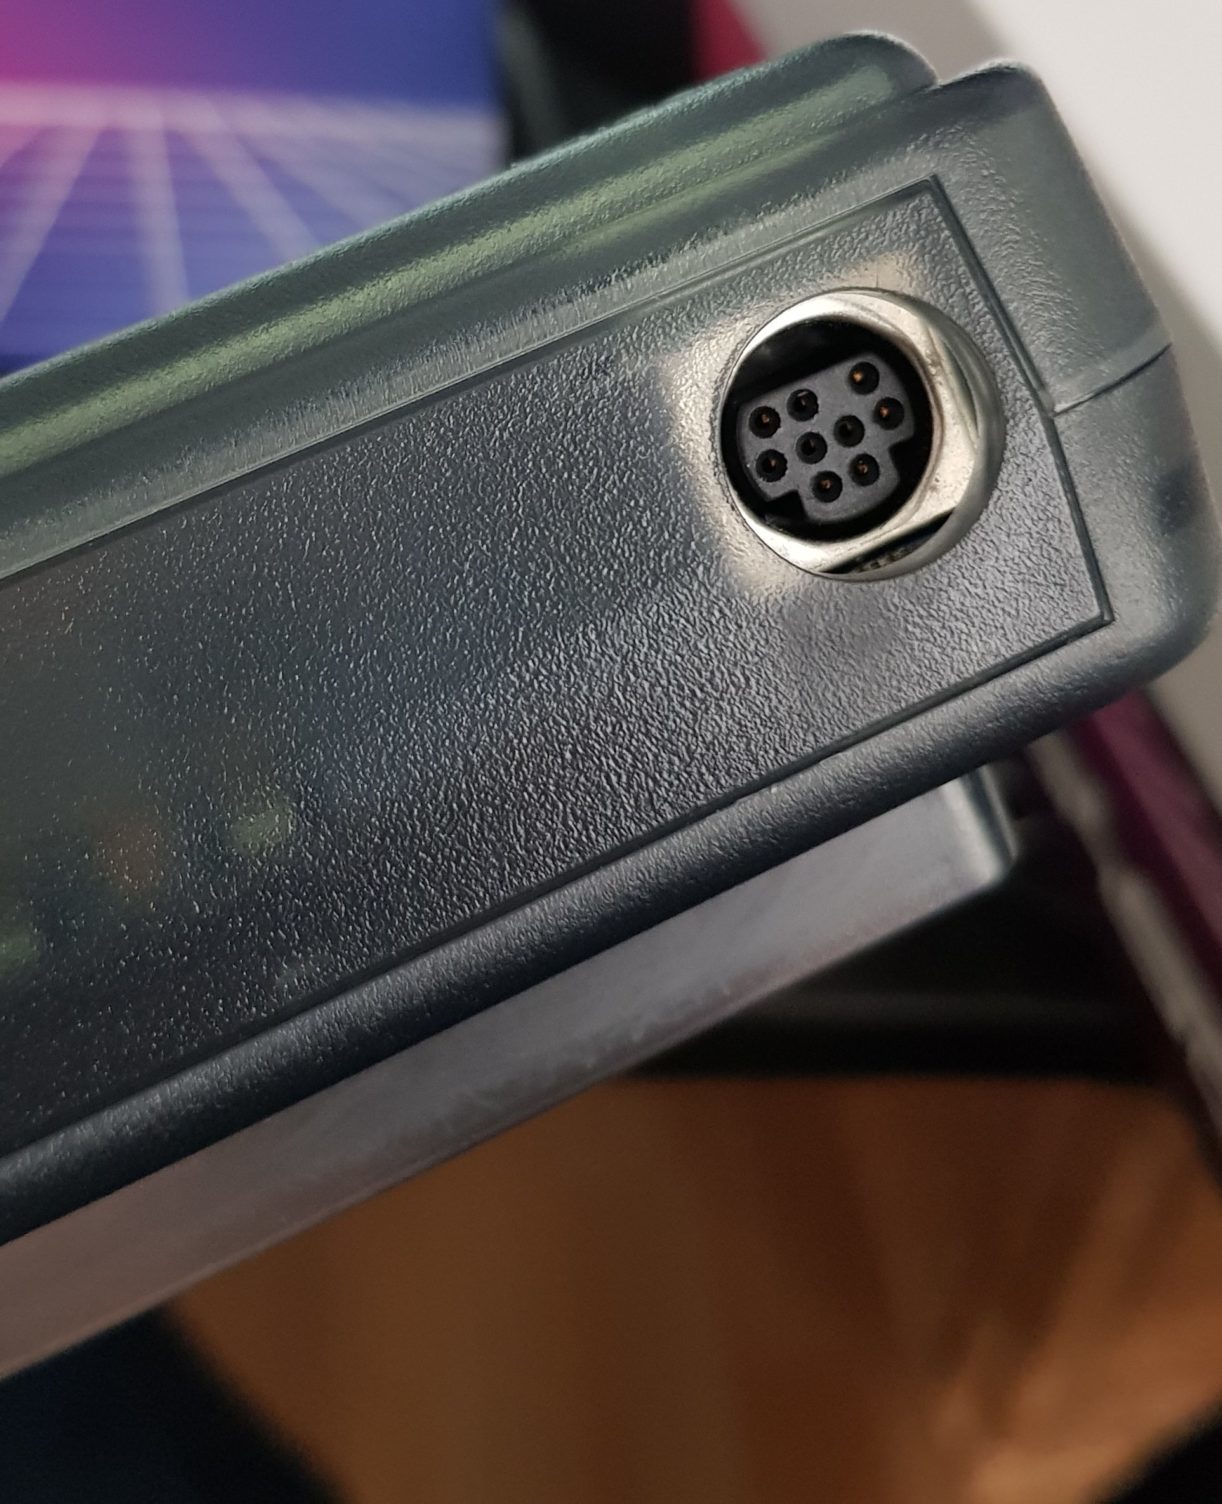
- RGB video output (you can use Mega Drive 2 / Genesis 2 cables with MiniDin 9 connector)
- Composite video output is supported as well
- Saving directly on the MicroSD
- Backup RAM per game for CD games (automatically saved to microSD)
What’s inside the box?

Inside the box you will find a paper manual and a flash cartridge.
What you will need?
A MicroSD for firmware updates and for your ROMs and CD images. The whole library could fit onto a 256 Gb MicroSD. Create Folder “BIOS” and out
You will also need a video cable to connect to your TV. Mega Drive 2 compatible MiniDin 9 cable with SCART is recommended. Also the new Rad2X adapter will work and will allow to connect directly using HDMI wich linedoubled resolution of 480p.

Even better and sharper image quality can be obtained by using a SCART cable together with the OSSC and the 3-5x Line option.
All screenshots in this artcile are made using the RAD2X adapter with 480p resolution.
First usage
You will need:
- roms for HuCard card based games
- CUE/BIN images for CD based games
- System Card files for CD hardware
Note: if any HuCard or Turbo Everdrive are inserted, they will be loaded instead of the SSDS3 software!
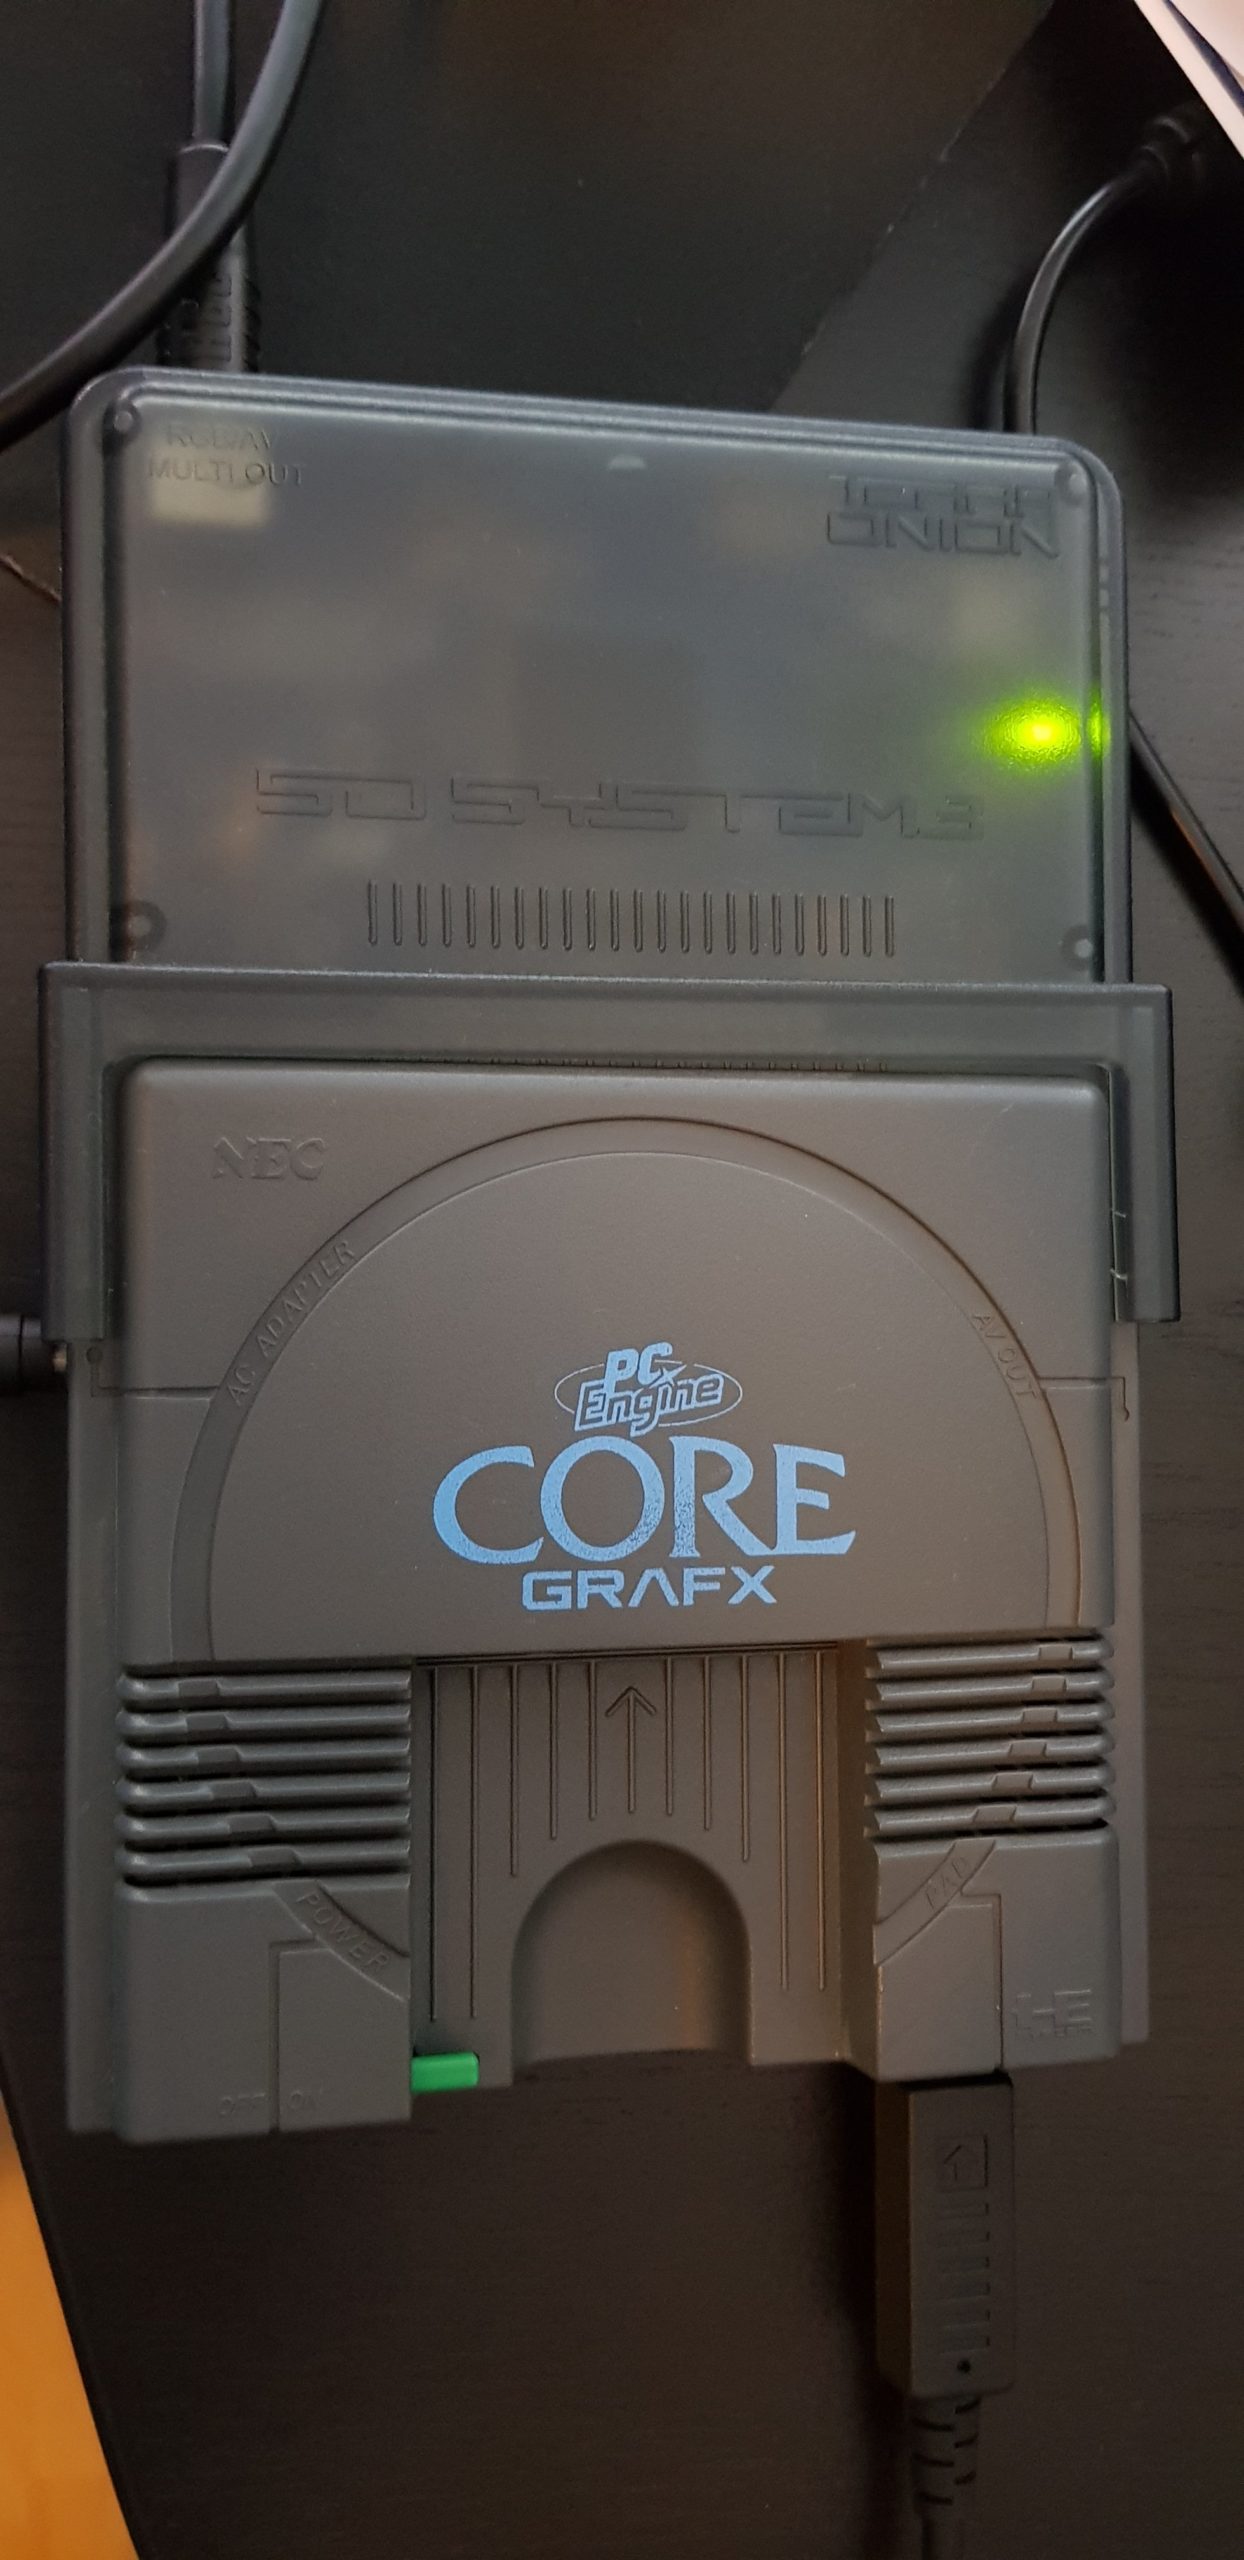
Insert the flash cartridge to the back connector port of the PC Engine or TurboGrafx.
 This is how it will look like:
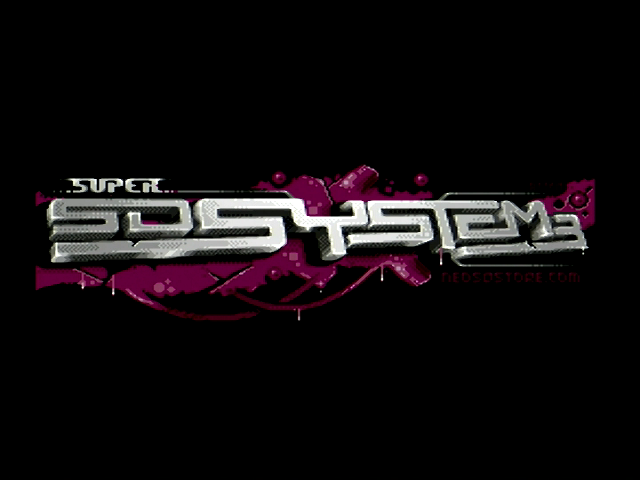
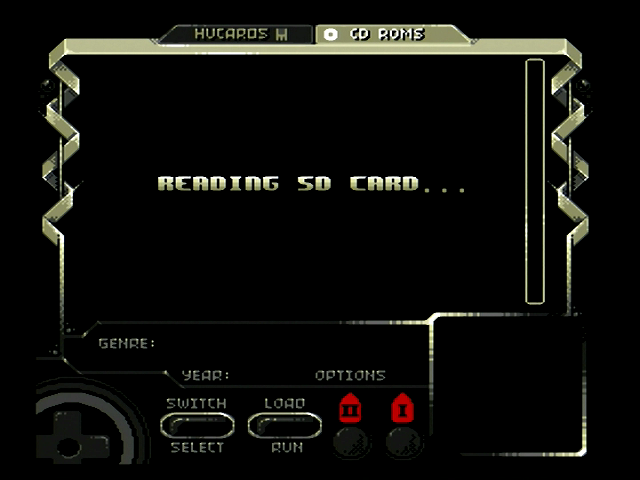
After start, you will be greeted by a splash screen.
After that you will get to the main menu, where you can see navigate and choose games.
There are two tabs which you can switch using the SELECT button: HUCARDS and CD ROMS.
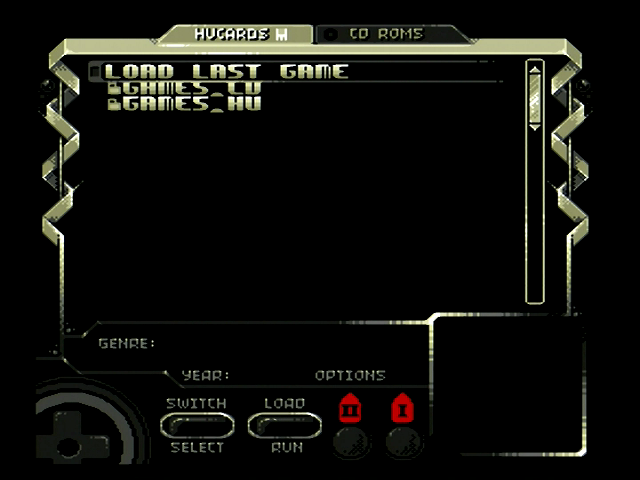
Previously played games can be loaded via shortcut “Load last game” in the root folder.
Pressing RUN you can go into folder or start a game. If you go to a folder which contains many files, this screen is shown first:
If the name of any selected game doesn’t fit into screen, it will scroll.
MicroSD preparations

So:
1)Format a microSD (both FAT32 and EXFAT is supported) and put your games into a folder. For CD games it is recommended to put every game into a separate folder and I also recommend splitting the folder into two subfolders (A-M and N-Z) to make the loading process faster.
2)Do not forget to put BIOS Files into a folder named BIOS (in the root folder). There are BIOS files for all three regions (NTSC, PAL and Japan). You can configure all three of them in the settings, so for each region an appropriate file is used.
3)Put each CD game into a separate folder. You need to have games in BIN format with CUE files. For games with multiple discs, name the files so that they can be automatically sorted accordingly.
Main Menu
- Press UP and Down to move the cursor up and down (select game)
- Press Left and Right to scroll pagewise
- SELECT: switch between HuCards and CD-ROM games
- RUN: select the game and start it or accept, confirm in the menu or open a folder
- II: open the main menu
- I: accept or select menu item
Settings
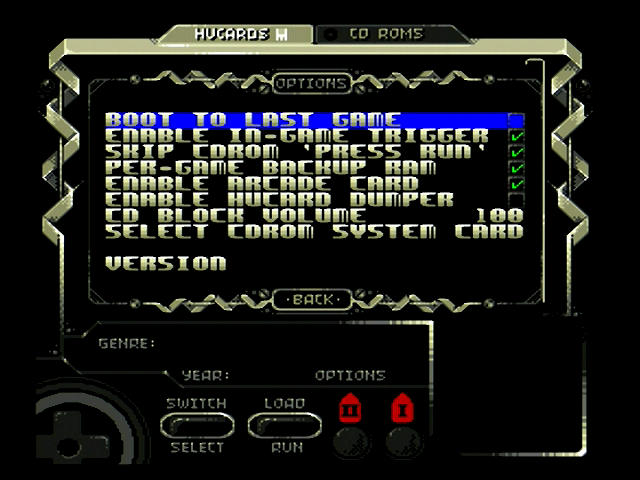
- Boot from last game: when enabled, after power on the last loaded game will be automatically loaded. To disable it, delete the file LASTPCECFG file.
- Enable in-game trigger: enable the in-game reset by holding SELECT + RUN.
- Skip CD-ROM ‘Press RUN’: this option will automatically press RUN on the start screen with the message “Press RUN button” to save time.
- Per game backup RAM: store the internal backup ram and backup cartridge ram for every game in a separate file, otherwise they will be saved in a single file (BACKUPPUB).
- Enable Arcade Card: you can disable the usage of the arcade card for compatibility reasons
- Enable Hucard Dumper: using this option you can dump games from Hucards
- CD Block Volume: adjust the volume of the audio played from CD-ROM
- Select CD-ROM System Card: choose a system card (bios) for CD-ROM games
- Version: see the version of the firmware and the serial number.
Resetting to the main menu
Press and hold SELECT and RUN. Unfortunately you will be in the root folder but you can always load the last loaded game from the upper position. Correct restart will be accompanied by the splash screen.
Updating
You can update the internal software by downloading the latest software. In order to do it, you will need to know your serial number (it’s on a sticker on the back side, behind the shell). Go to the https://terraonion.com/en/support/ page and register your product using the serial number. You can go to the download page and check if your product has a new update.
In order to update, download the update, unpack it and put the file with the extension “upd” into the root folder. Turn on the console and after the splash screen another message will appear with the question if you want to update.
During the update don’t turn off the console. There is a progress bar and the whole process will take about 1 minute to complete.
Gallery
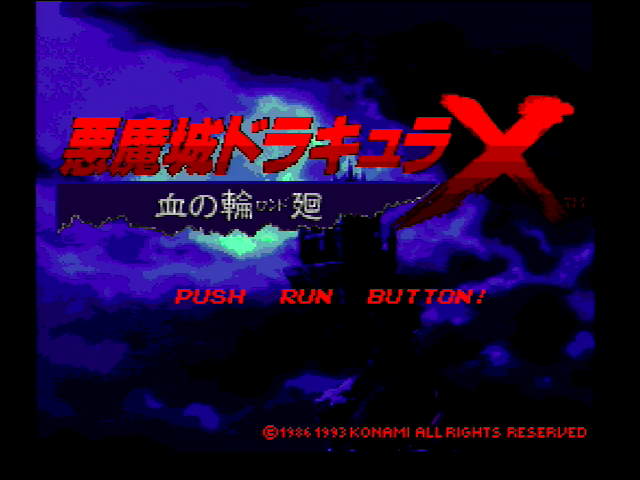
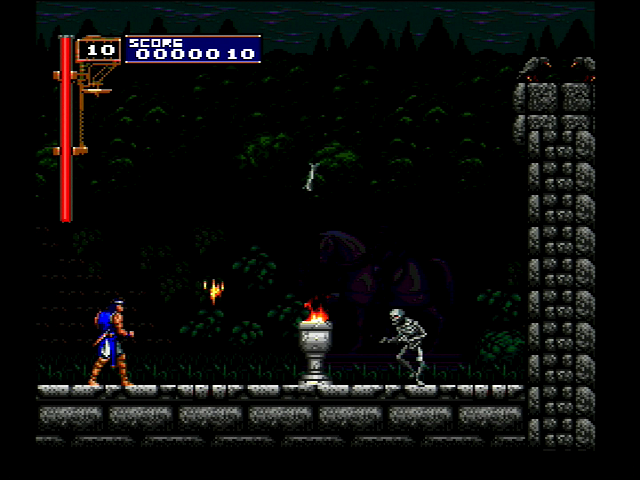
Please note, following images were created using the RAD2X adapter and captured by Elgato HD.
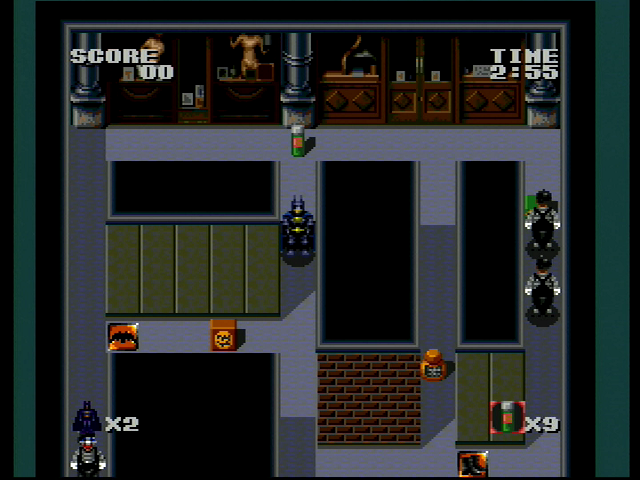
Batman
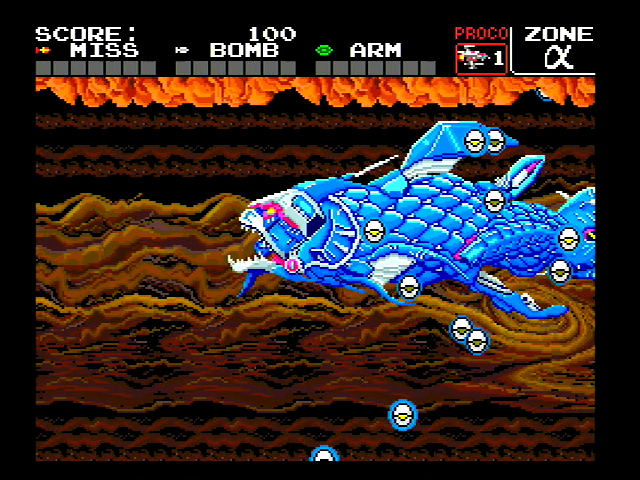
Darius Alpha
 Castlevania: Rondo of Blood
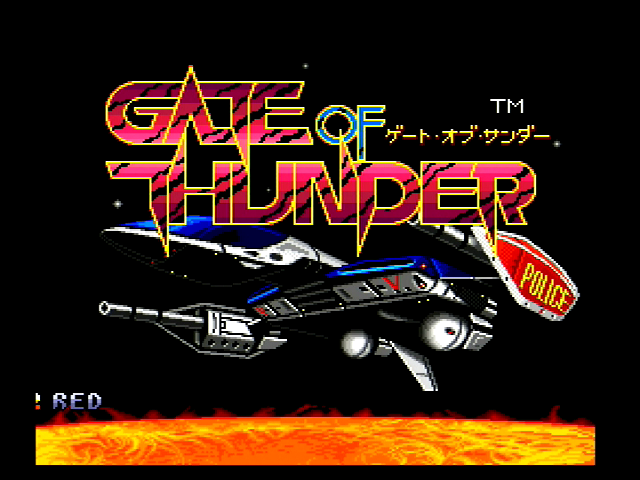
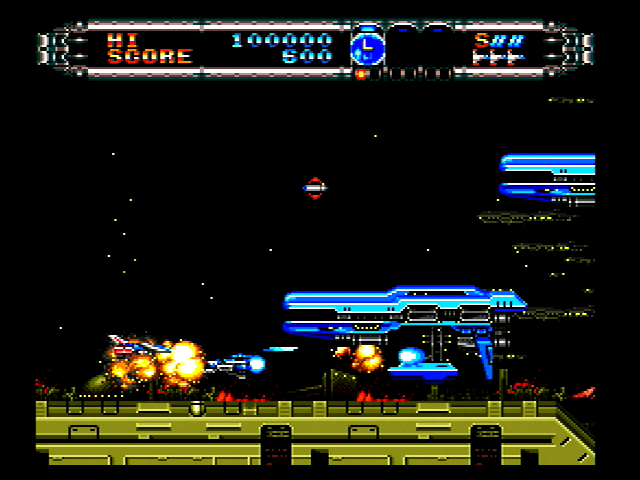
 Gate of Thunder